1869-5
World Time Mode
•The seconds count of the World Time is synchronized with the seconds
sound of the Timekeeping Mode.
•GMT differential is calculated by this watch based on Universal Time
Coordinated (UTC) data.
•Average monthly temperature values displayed by this watch are based
on the “WORLD CLIMATE TABLE” published by the Japanese
government’s Meteorological Agency.
Temperature and Direction Reading Precautions
•The direction and temperature reading operation is automatically
interrupted whenever an alarm or Hourly Time Signal sounds. If this
happens, start the reading operation again from the beginning.
•Taking a direction reading while the watch is not horizontal (in relation to
the horizon) can result in large error.
•Ifthe Navigation Mode memory area you select tostoreareading already
contains data, the data of the new reading replaces the existing data.
Digital Compass Precautions
Thiswatch features abuilt-inmagnetic bearing sensorthatdetects terrestrial
magnetism.This meansthatnorth indicated by this watchismagneticnorth,
which is somewhat different from true polar north.The magnetic north pole
is located in northern Canada, while the magnetic south pole is in southern
Australia. Note that the difference between magnetic north and true north
as measured with all magnetic compasses tends to be greater as one gets
closerto either of the magnetic poles.Youshouldalso remember that some
maps indicate true north (instead of magnetic north), and so you should
make allowances when using such maps with this watch.
Direction Values The direction values displayed by this watch
represent the clockwise angle formed between
magnetic north (which is 0 degrees) and the
directionthat the 12 o’clock positionofthewatch
is pointing.
Magnetic North
Direction
Value
12 o’clock
direction
Location
•Taking a direction reading when you are near a source of strong
magnetismcan causelargeerrors in readings.Because of this,youshould
avoid taking direction readings while in the vicinity of the following types
ofobjects: permanent magnets(magneticnecklaces, etc.), concentrations
of metal (metal doors, lockers, etc.), high tension wires, aerial wires,
household appliances (TVs, personal computers, washing machines,
freezers, etc.).
•Accuratedirection readings are impossible while in a train, boat, airplane,
etc.
•Accurate readings are also impossible indoors, especially inside ferro-
concrete structures. This is because the metal framework of such
structures picks up magnetism from appliances, etc.
Storage
•Theprecision of the bearing sensor may deteriorateifthe watch becomes
magnetized.Becauseofthis, you should be sure to store the watch away
from magnets or any other sources of strong magnetism, including:
permanentmagnets (magnetic necklaces,etc.) and householdappliances
(TVs, personal computers, washing machines, freezers, etc.)
•Whenever you suspect that the watch may have become magnetized,
perform one of the calibration procedures under “Calibrating the Bearing
Sensor” below.
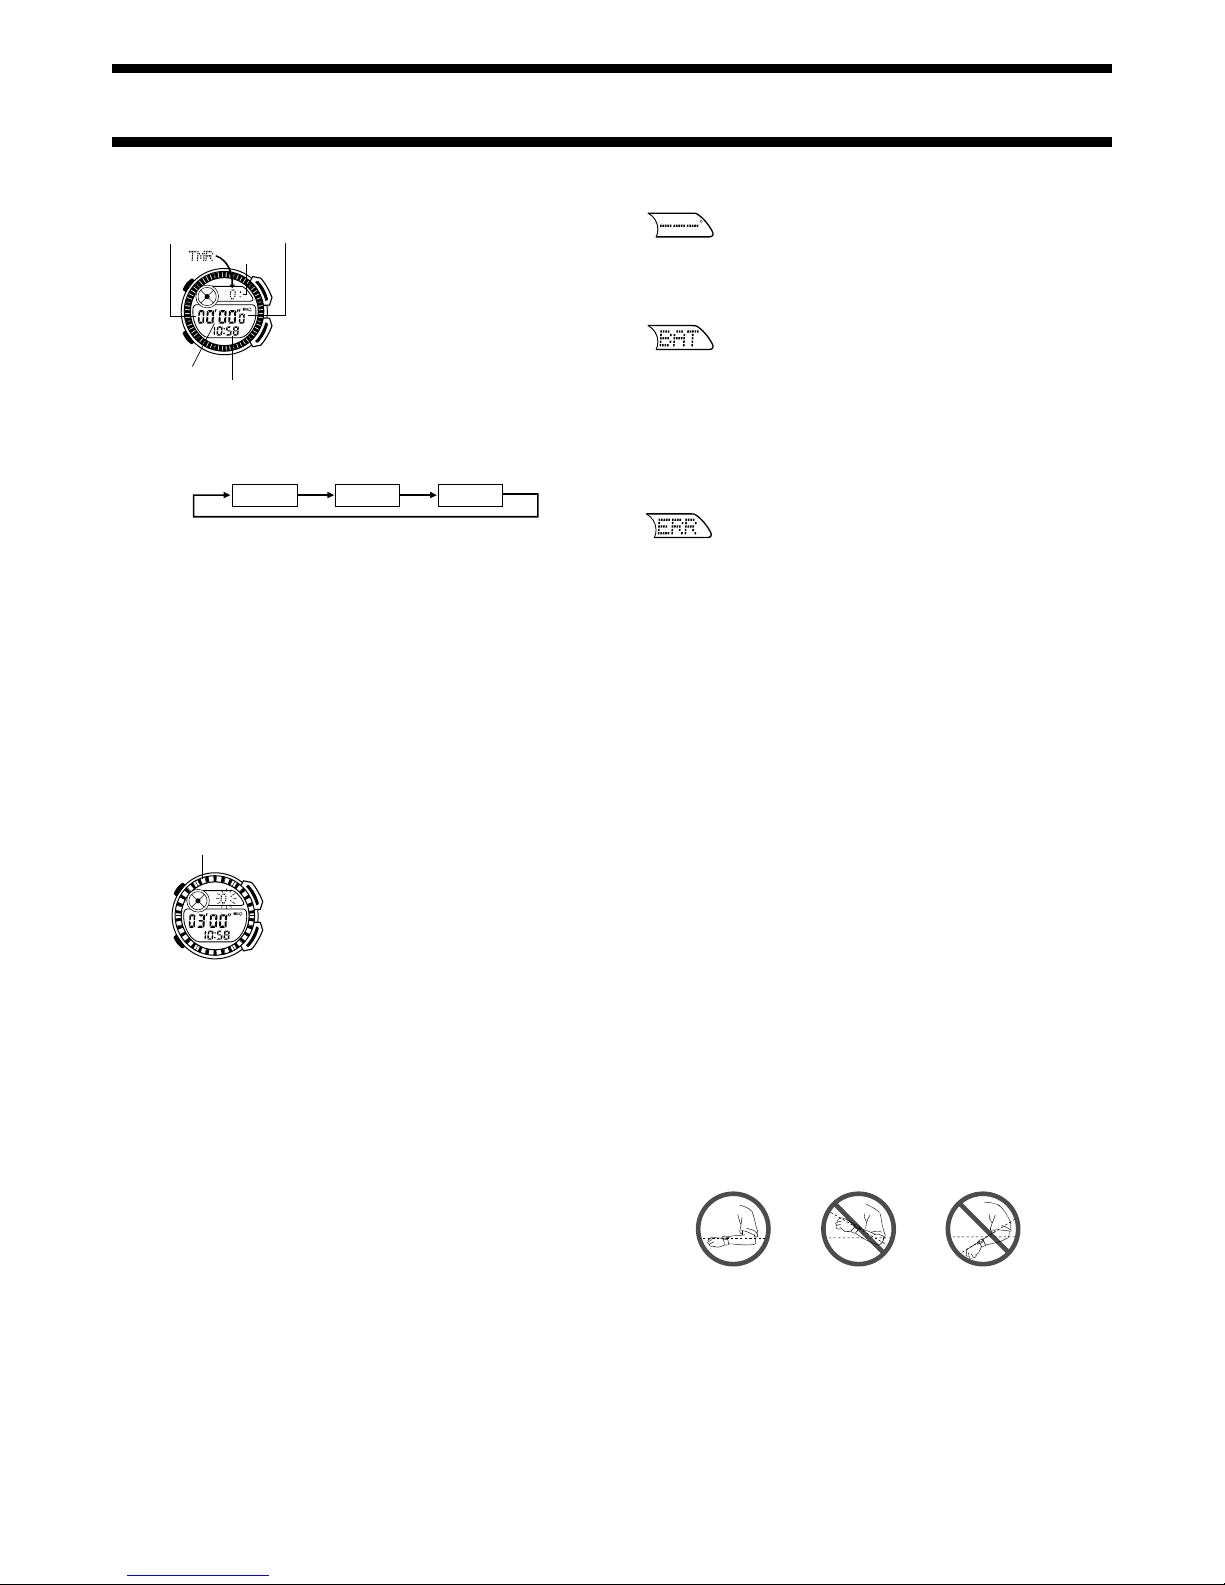
Calibrating the Bearing Sensor
Whenever you suspect that direction readings produced by the watch are
wrong, you should calibrate it. You can use either one of two calibration
procedures:
bidirectional calibration
or
northerly calibration
.
Usebidirectionalcalibrationwhenyou want to take readings within an area
exposed to magnetic force.
This type of calibration should be used if the watch become magnetized
for any reason.
With northerly calibration, you “teach” the watch which way is north (which
you have to determine with another compass or some other means). You
coulduse this calibrationprocedure,for example, to setthewatch to indicate
true north instead of magnetic north.
Important!
•If you want to perform both bidirectional and northerly calibration, be
sure to perform bidirectional calibration first, and then perform northerly
calibration. This is necessary because bidirectional calibration cancels
any previously set northerly calibration setting.
•The more correctly you perform bidirectional calibration, the better the
accuracyof the bearing sensor readouts.Youshould perform bidirectional
calibrationwhenever youchangeenvironments whereyouuse thebearing
sensor, and whenever you feel that the bearing sensor is producing
incorrect readings.
To perform bidirectional calibration
1. While in the Navigation Mode, hold down
Auntil the upper display changes to show
-1-.
•At this time, the magnetic north pointer
flashesat the 12 o’clock position to indicate
that the watch is ready to calibrate the first
direction.
2. Placethewatch on a level surface facing any
direction you want, and press Cto calibrate
the first direction.
•Whenthe calibration procedureiscomplete, the messageOK appears
in the upper display. This soon changes to -2- and the magnetic
northpointerflashesatthe6o’clockpositiontoindicatethatthewatch
is ready for the second direction.
3. Rotate the watch 180 degrees.
4. Press Cagain to calibrate the second direction.
•Whenthe calibration procedureiscomplete, the messageOK appears
inthe upper display.Aftera short while, the watch automaticallyreturns
to the Navigation Mode’s initial screen.
Precautions about bidirectional calibration
•You can use any two opposing directions for bidirectional calibration.
You must, however, make sure that they are 180 degrees opposite each
other. Remember that if you perform the procedure incorrectly, you will
get wrong bearing sensor readings.
•Do not move the watch during the one or two seconds (from the point
you press Cup to the point that OK appears in the upper display) that
the calibration of each direction is in progress. If you do, the message
ERR appears in the upper display, which means you have to restart the
bidirectional calibration procedure from the beginning.
•The appearance of ERR during bidirectional calibration can also be
caused by local interference. If you suspect that this is the case, move to
another location and try the procedure again.
D
AB
C
P
•You should perform bidirectional calibration in an environment that is the
same as that where you plan to be taking direction readings. If you plan
to use it in an open field, for example, calibrate in an open field.
To perform northerly calibration
1. While in the Navigation Mode, hold down
Auntil the upper display changes to show
-1-.
2. Press Dto start the northerly calibration
procedure.
•At this time, the indicator 0°appears in
the upper display.
3. Place the watch on a level surface, and
positionit so that its 12 o’clock positionpoints
north (as measured with another compass).
D
AB
C
P
4. Press Cto start the calibration operation.
•Whenthe calibration procedureiscomplete, the messageOK appears
inthe upper display.Aftera short while, the watch automaticallyreturns
to the Navigation Mode’s initial screen.
Questions & Answers About Direction Readings
Question: What causes incorrect direction readings?
Answer:
•Incorrect bidirectional calibration. Perform bidirectional calibration.
Remember that bidirectional calibration is required whenever batteries
are replaced.
•Nearby source of strong magnetism, such as a household appliance, a
large steel bridge, a steel beam, overhead wires, etc., or an attempt to
perform direction measurement on a train, boat, etc. Move away from
large metal objects and try again. Note that digital compass operation
cannot be performed inside a train, boat, etc.
Question:What causes different direction readings to produce
different results at the same location?
Answer: Magnetism generated by nearby high-tension wires are
interfering with detection of terrestrial magnetism. Move away
from the high-tension wires and try again.
Question:What does it mean when --- appears in place of a
direction value?
Answer: Thisis the abnormalmagneticfield indicator. It meansthatstrong
magnetism is being generated nearby. Move away from the
source of strong magnetism and try again.
Question:Whyam I having problems takingdirection readingsindoors?
Answer: A TV, personal computer, speakers, or some other object is
interferingwithterrestrialmagnetism readings. Move away from
the object causing the interference or take the direction reading
outdoors.Indoor taking direction readingsareparticularly difficult
inside ferro-concrete structures. Remember that you will not be
able to take direction readings inside of trains, airplanes, etc.