Cebora Power Rod 1565 User manual

CEBORA S.p.A. 1
3.302.107 12/11/02
POWER ROD 1565
POWER SOURCE art. 253
SERVICE MANUAL

CEBORA S.p.A. 2
3.302.107 12/11/02
CONTENTS
1- GENERAL INFORMATION.......................................................................................................................... 3
1.1 - Introduction. ................................................................................................................................................. 3
1.2 - General service policy. ................................................................................................................................. 3
1.3 - Safety information. ....................................................................................................................................... 3
1.4 - Electromagnetic compatibility...................................................................................................................... 3
2- SYSTEM DESCRIPTION .............................................................................................................................. 4
2.1 - Introduction. ................................................................................................................................................. 4
2.2 - Technical specifications................................................................................................................................ 4
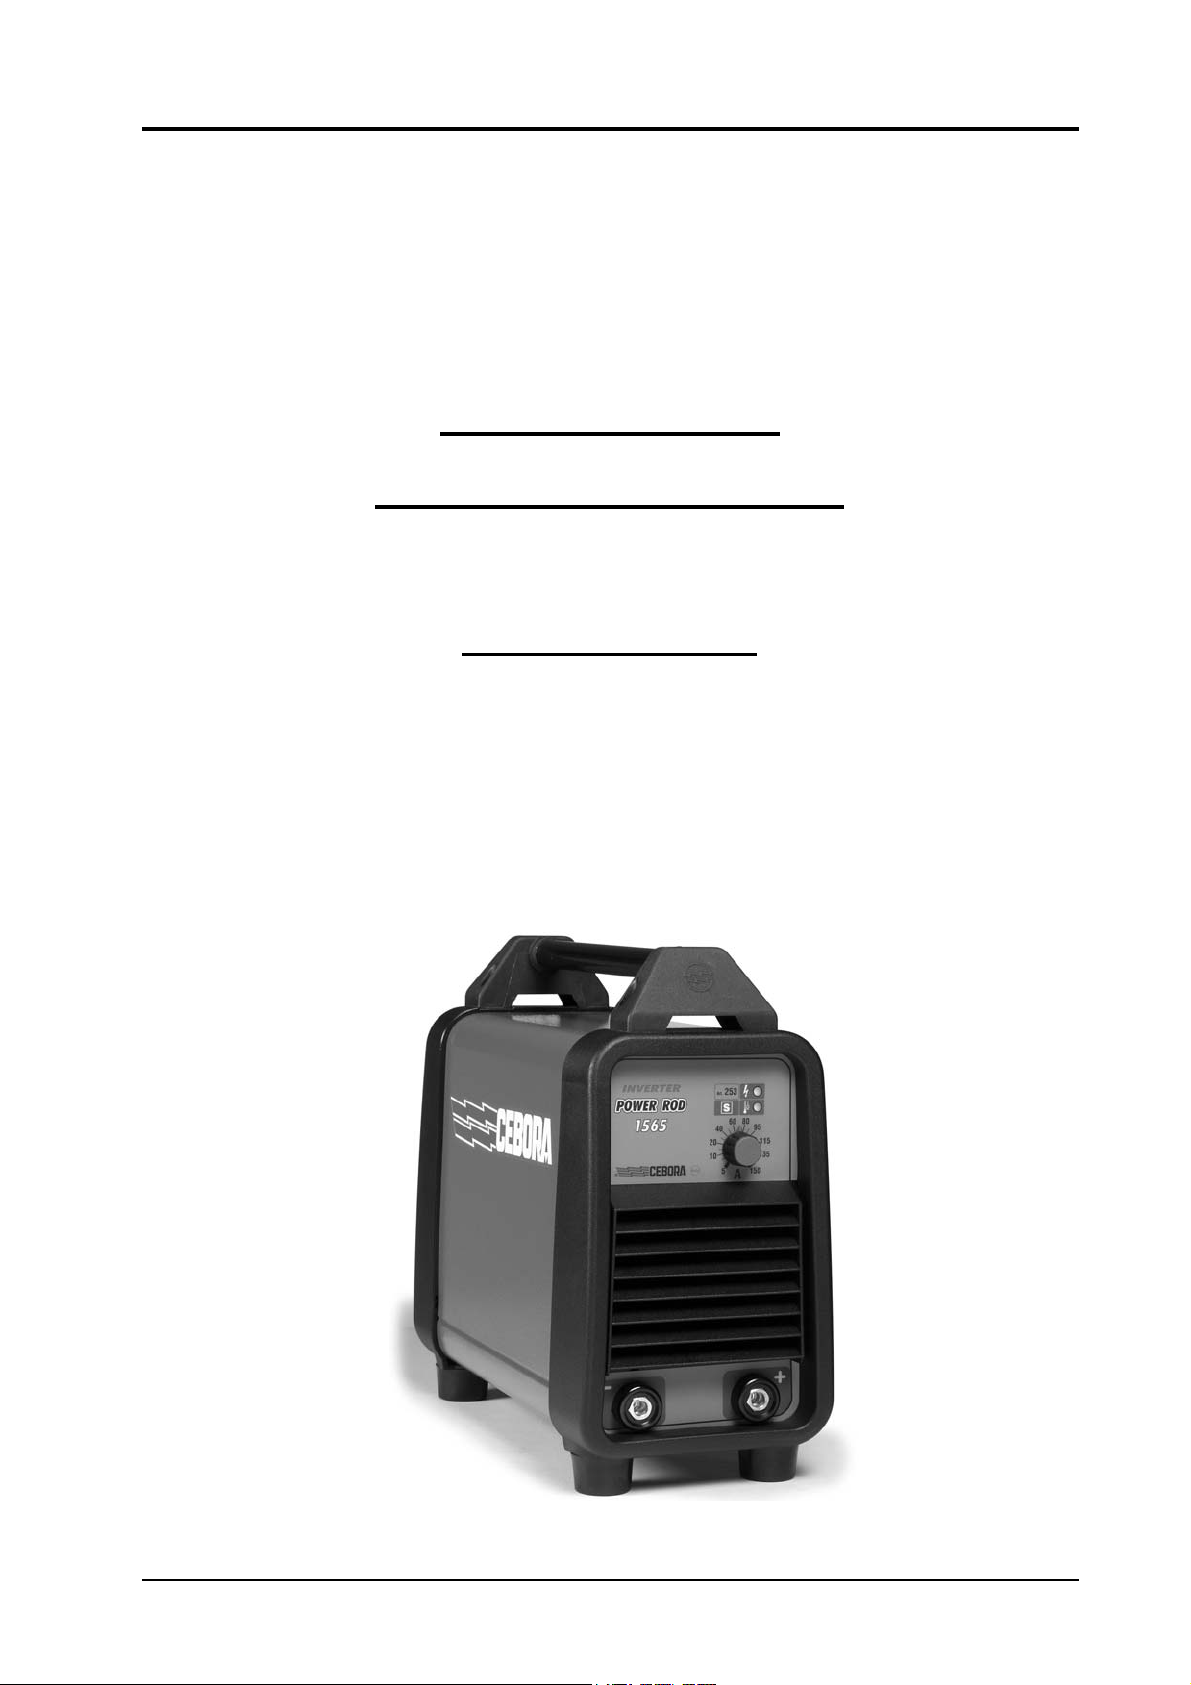
2.3 - Description of power source art. 253............................................................................................................ 4
3- MAINTENANCE............................................................................................................................................ 5
3.1 - Periodic inspection, cleaning. ....................................................................................................................... 5
3.2 - Sequence of operations (fig. 3.2.1). .............................................................................................................. 5
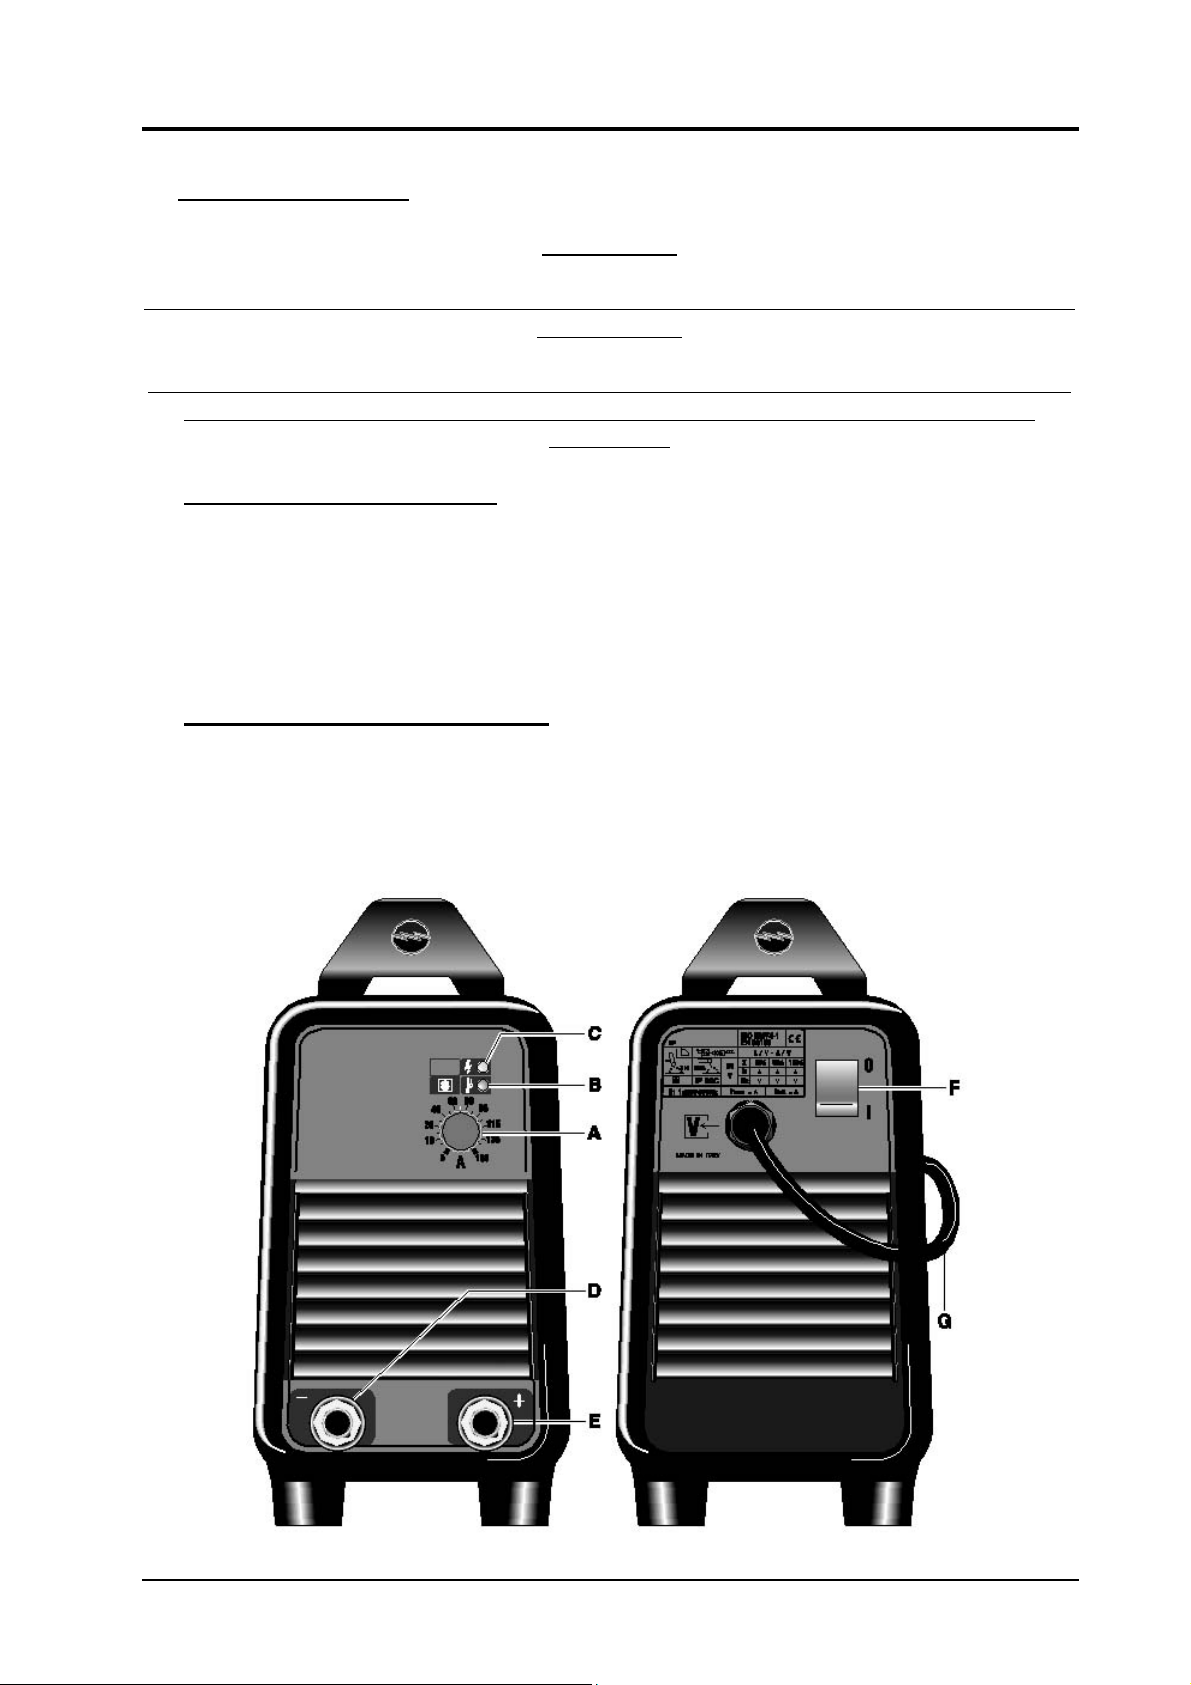
3.2.1 - Power source commands and signals......................................................................................................... 5
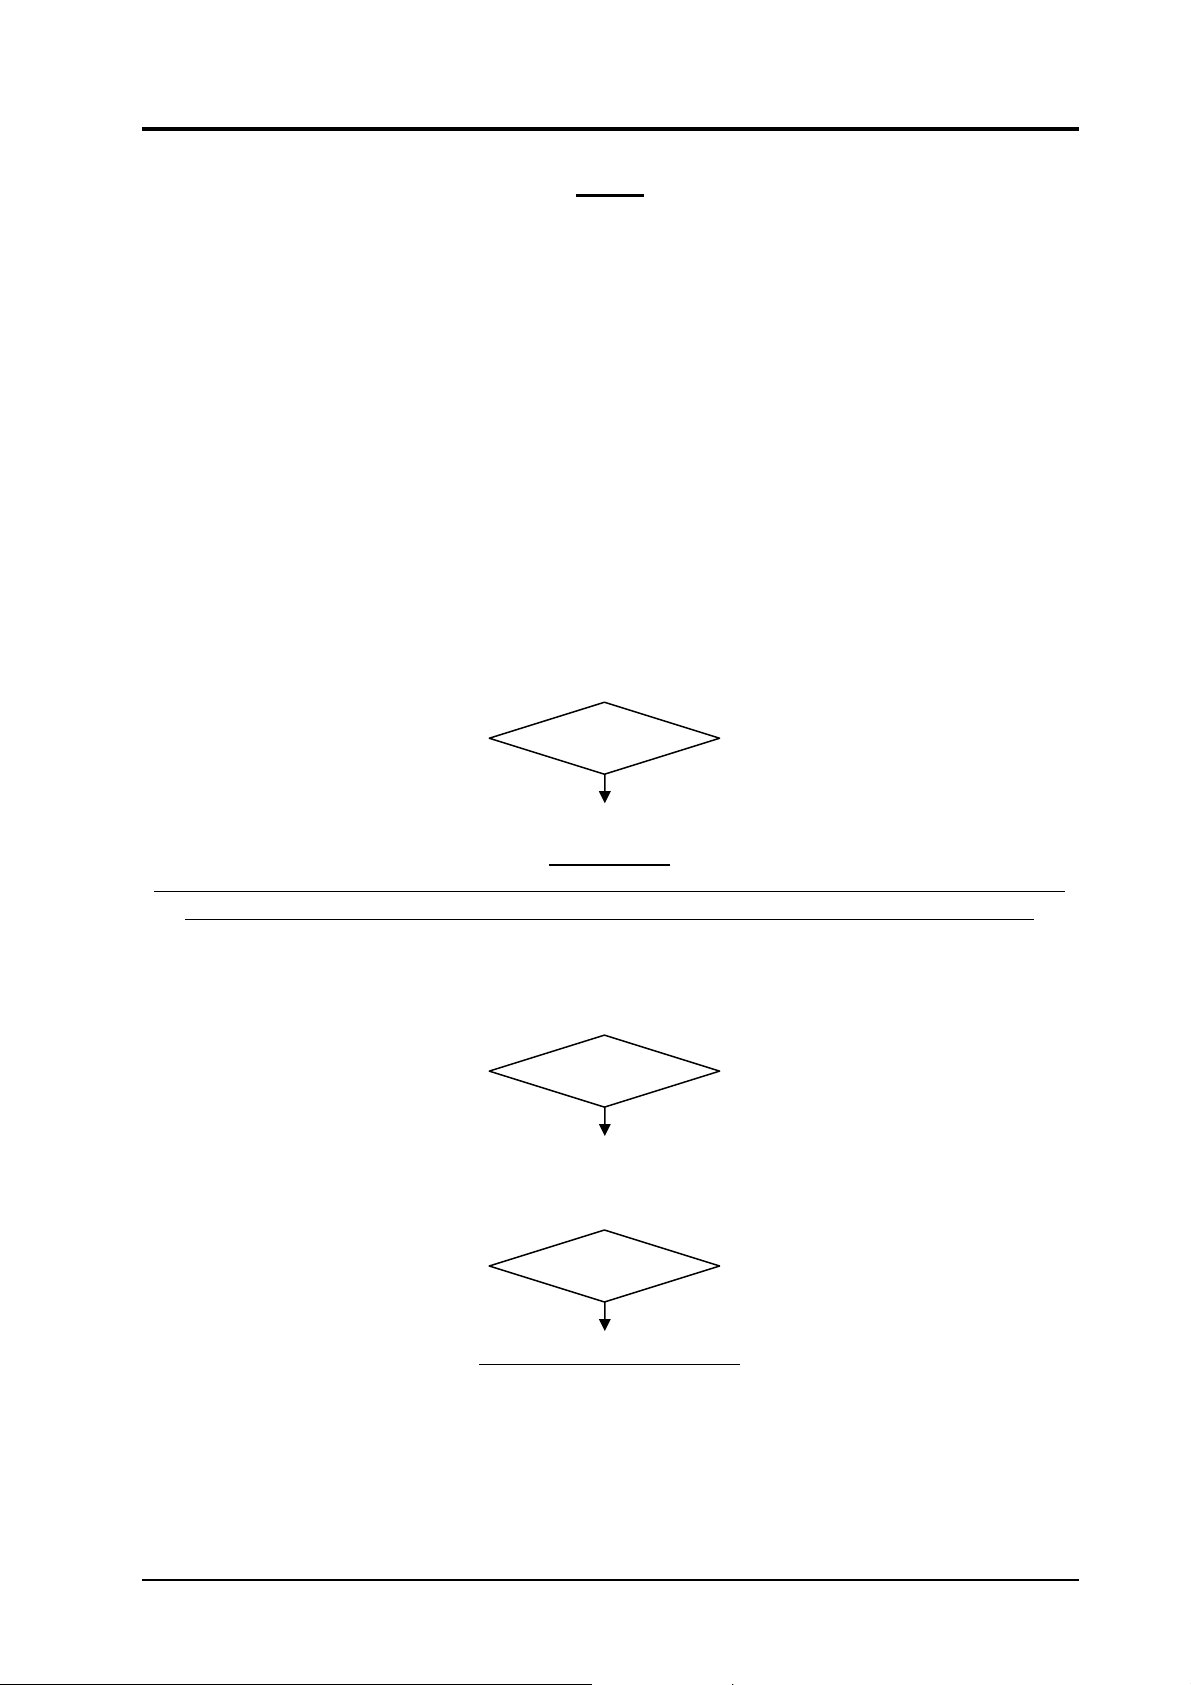
3.2.2 - Starting the power source........................................................................................................................... 6
3.3 - Troubleshooting............................................................................................................................................ 7
3.3.1 - The power source does not start, control panel off. ................................................................................... 7
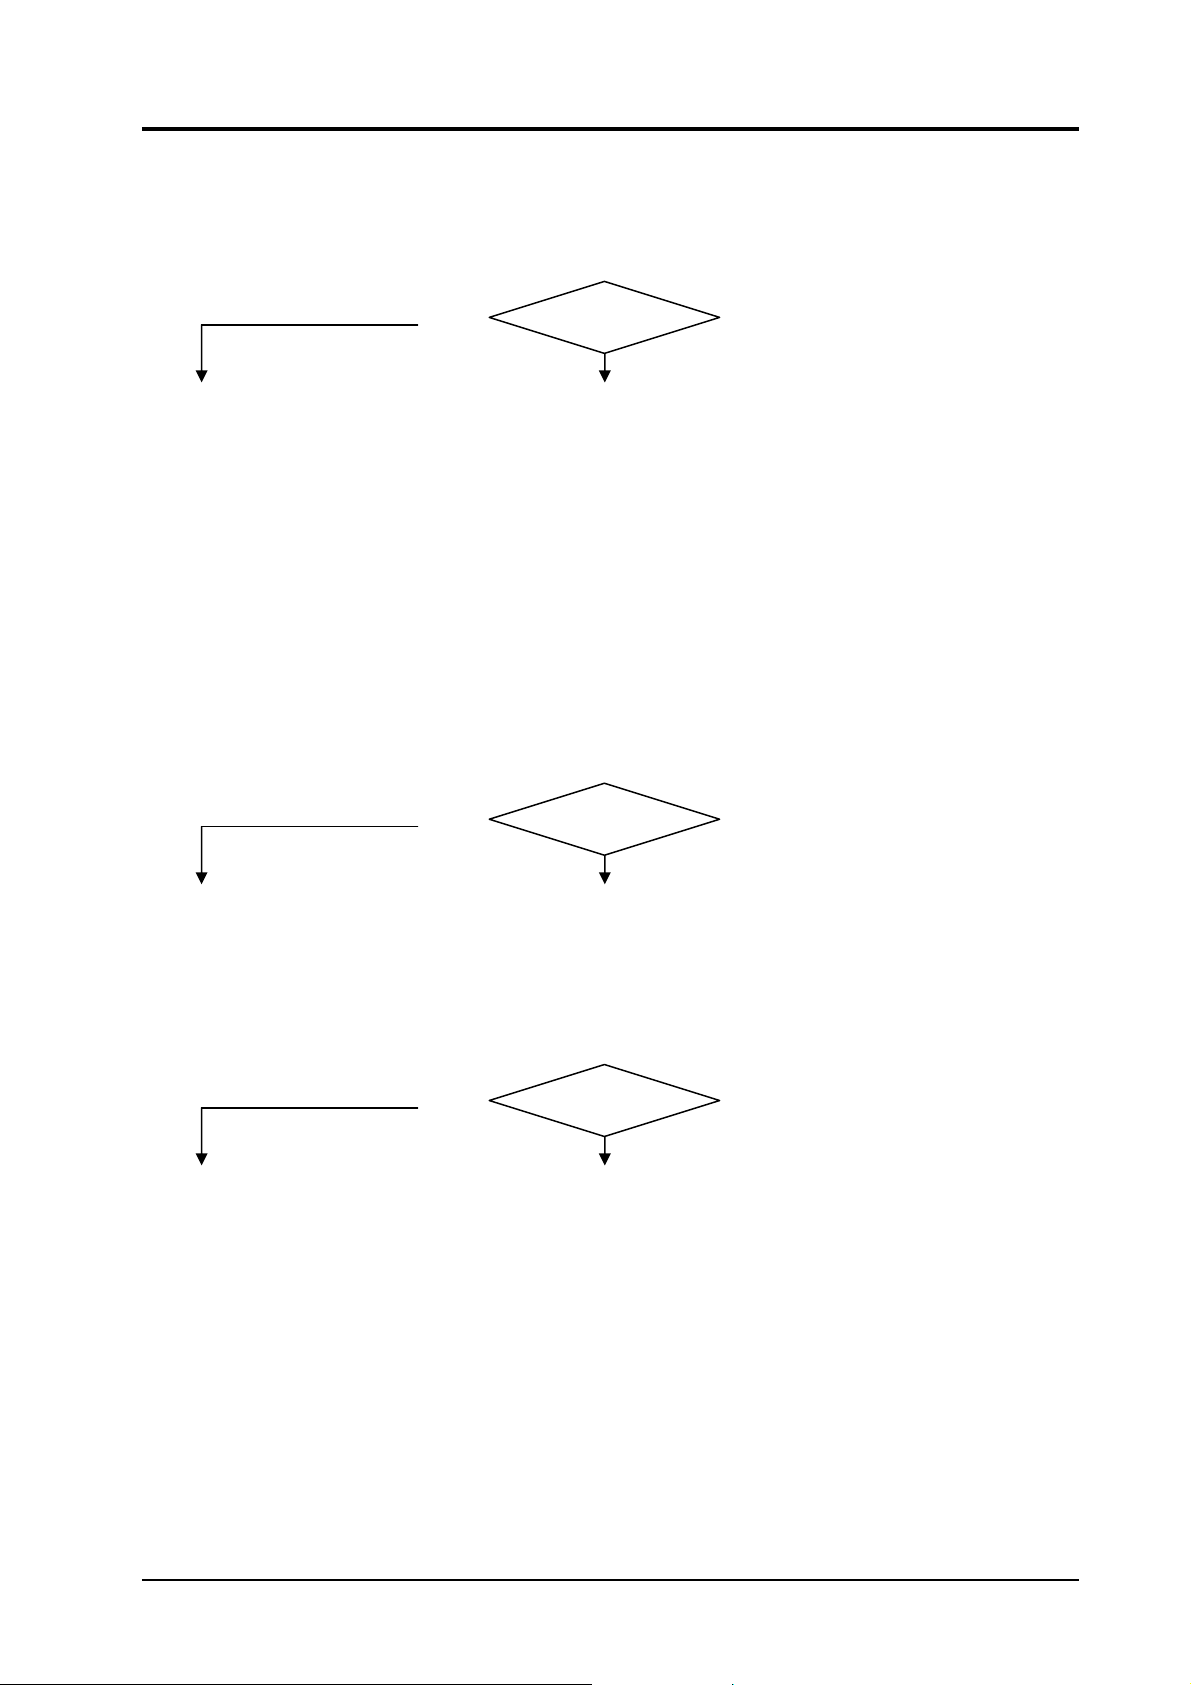
3.3.2 - Power source powered, fan (9) stopped. .................................................................................................... 8
3.3.3 - Power source powered, display and signals does not indicate the correct values. ..................................... 8
3.3.4 - In open circuit operation, the output voltage is not regular. ...................................................................... 9
3.3.5 - In resistive load operation, the output voltage is not regular. .................................................................... 9
3.3.6 - In TIG, arc unstable, welding irregular.................................................................................................... 10
3.4 - Error codes.................................................................................................................................................. 11
3.4.1 - Yellow led (B) lit, with fix light. ............................................................................................................. 11
3.4.2 - Yellow led (B) flashes (four fast flash with interval of 4 seconds fix light). ........................................... 11
3.4.3 - Yellow led (B) off, during first 3 seconds after start-up (no lamp-test)................................................... 11
3.4.4 - Yellow led (B) flashes (two fast flash with 1,5 seconds pause)............................................................... 11
3.4.5 - Yellow led (B) flashes (three fast flash with 1,5 seconds pause)............................................................. 11
4- COMPONENTS LIST................................................................................................................................... 12
4.1 - Power source art. 253: see file ESP253.pdf enclosed at the end of the manual.......................................... 12
4.2 - Components table: see file ESP253.pdf enclosed at the end of the manual................................................ 12
4.3 - Spare parts list. ........................................................................................................................................... 12
5- ELECTRICAL DIAGRAMS ........................................................................................................................ 12
5.1 - Power source art. 253: see file SCHE253.pdf enclosed at the end of the manual. ..................................... 12
5.2 - Power board (13) code 5.602.091/C. .......................................................................................................... 12

CEBORA S.p.A. 3
3.302.107 12/11/02
1- GENERAL INFORMATION
1.1 - Introduction.
The purpose of this manual is to train personnel assigned to carry out maintenance on the
power source art. 253 for MMA and TIG welding systems.
1.2 - General service policy.
It is the responsibility of the customer and/or operator to use the equipment appropriately, in
accordance with the instructions in the Instruction Manual, as well as to maintain the equipment
and related accessories in good working condition, in compliance with the instructions provided
in the Service Manual.
Any internal inspection or repairs must be carried out by qualified personnel who are
responsible for any intervention on the equipment.
It is forbidden to attempt to repair damaged electronic boards or modules; replace them with
original Cebora spare parts.
1.3 - Safety information.
The safety notes provided in this manual are an integral part of those given in the Instruction
Manual. Therefore, before working on the machine, please read the paragraph on safety
instructions in the aforementioned manual.
Always disconnect the power cord from the mains, and wait for the internal capacitors to
discharge (3 minutes) before accessing the interior of the equipment.
Some internal parts, such as terminals and dissipaters, may be connected to mains or
otherwise hazardous potentials. It is therefore forbidden to work with the safety guards removed
from the machine unless strictly necessary. In this case, take special precautions such as wearing
insulating gloves and footwear, and working in a perfectly dry environment with dry clothing.
1.4 - Electromagnetic compatibility.
Please read and observe the instructions provided in the paragraph “Electromagnetic
compatibility” of the Instruction Manual.

CEBORA S.p.A. 4
3.302.107 12/11/02
2- SYSTEM DESCRIPTION
2.1 - Introduction.
The POWER ROD 1565 is a MMA and TIG welding system, with contact arc starting mode.
It is made up of an electronic power source (art. 253), and a set of accessories to adapt to
various applications (see list in Sales Catalogue).
The power source is controlled by a microprocessor circuit, which manages the operative
functions of the welding system and operator interface.
2.2 - Technical specifications.
To verify the technical specifications, see the machine plate, Instruction Manual, and Sales
Catalogue.
2.3 - Description of power source art. 253.
Art. 253 is a voltage power source with controlled current, consisting of a single-phase
rectifier bridge and a DC/DC mosfet converter.
Referring to the electrical diagram in par. 5.1, drawing 4.1 and table 4.2, we can identify the
main blocks that make up the power source.
The main switch (5) powers the power board (13), the only card of the power source, which
constitutes the complete power source. It contains both the power circuit and the control circuits
to manage the functions of the power source.
The power board (13) converts the alternating voltage at the mains input into direct current
voltage, adjusted according to welding needs.
The welding current is regulated by the microprocessor of the power board (13), based on the
signals received from the potentiometer on the front panel.
The microprocessor also controls the condition of the supply voltage, to activate any safety
devices necessary to protect the power source (see Error codes par. 3.4).
The front panel contains two leds for signaling over power source working condition.
The green led (C) (fig. 3.2.1) indicates power board (13) is supplied.
The meaning of the yellow led (B) is described in par. 3.4 Error codes.
The fan (9), connected to the power board (13), in reality is connected directly in parallel at
mains input power board (13) terminals, so that is ever subjected at all mains voltage variations,
without any control by the power board (13).
For power source operation is sufficient the mains voltage supply, and the only available
regulation is the welding current adjusting, making up by potentiometer (A) on frontal panel.
Up on supplied with nominal voltage, the power source executes the “lamp-test”, and after
that output voltage generation starts. In this situation power source in ready to weld both in
MMA or TIG.
In TIG, the welding arc starts by contact between the electrode and the workpiece. Power
source doesn’t manage the gas circuit, therefore they have to use a built-in gas valve torch (i.e.:
torch T150, art. 1567.01 Cebora).

CEBORA S.p.A. 5
3.302.107 12/11/02
3- MAINTENANCE
WARNINGS
ANY INTERNAL INSPECTIONS OR REPAIRS MUST BE CARRIED OUT BY QUALIFIED
PERSONNEL.
BEFORE BEGINNING MAINTENANCE OPERATIONS, UNPLUG THE MACHINE FROM
THE MAINS AND WAIT FOR THE INTERNAL CAPACITORS TO DISCHARGE (3
MINUTES).
3.1 - Periodic inspection, cleaning.
Periodically make sure that air is flowing properly within the aeration tunnels.
Remove any dirt or dust to ensure adequate cooling of the internal parts of the power source.
Check the condition of the output terminals, output and power supply cables of the power
source; replace if damaged.
Check the condition of the internal power connections and connectors on the electronic
boards; if you find “loose” connections, tighten or replace the connectors.
3.2 - Sequence of operations (fig. 3.2.1).
The following sequence represents correct functioning of the machine. It may be used as a
guiding procedure for troubleshooting.
It must be carried out after each repair without any errors.
3.2.1 - Power source commands and signals.

CEBORA S.p.A. 6
3.302.107 12/11/02
Correct?
Correct?
Correct?
NOTE
Operations preceded by this symbol refer to operator actions.
♦Operations preceded by this symbol refer to machine responses that must occur following an
operator action.
3.2.2 - Starting the power source.
System shut off and disconnected from the mains.
In MMA, connect the electrode clamp to the positive pole of the power source, and the cable
of the negative pole of the power source to the workpiece.
In TIG, connect the TIG torch (suggested torch T150, art. 1567.01 Cebora) to the negative
pole of the power source and the cable of the positive pole of the power source to the
workpiece.
Connect the power source to the mains.
Close the switch (F).
♦System powered, lamp on the switch (F) lit.
♦Fan (9) running, yellow (B) and green (C ) leds lit (lamp-test).
♦After three seconds, yellow led (B) off, output voltage generation starts.
NO (see 3.3.1, 3.3.2,
3.3.3, 3.3.4).
YES
WARNING
DURING THE FOLLOWING TESTS DO NOT AIM THE TORCH AT PEOPLE OR PARTS
OF THE BODY, BUT ONLY TOWARDS AN OPEN SPACE OR THE WORKPIECE.
Set by the knob (A) the current based on the electrode you intend to use.
Move the electrode clip or the torch near the workpiece.
♦Begin welding. Adjust the knob (A) to maximize the welding quality.
NO (see 3.3.5, 3.3.6).
YES
At welding end remove electrode clamp or the torch from the workpiece.
♦The arc shuts off immediately, power source returns in open circuit output voltage
generation condition, yellow led (B) off, green led (C ) lit.
NO (see 3.3.3, 3.3.4).
YES
REGULAR OPERATION.

CEBORA S.p.A. 7
3.302.107 12/11/02
Correct?
Correct?
3.3 - Troubleshooting.
WARNINGS
ANY INTERNAL INSPECTIONS OR REPAIRS MUST BE CARRIED OUT BY QUALIFIED
PERSONNEL.
BEFORE REMOVING THE PROTECTIVE GUARDS AND ACCESSING INTERNAL
PARTS, DISCONNECT THE POWER SOURCE FROM THE MAINS AND WAIT FOR THE
INTERNAL CAPACITORS TO DISCHARGE (3 MINUTES).
NOTE
Items in boldface describe problems that may occur on the machine (symptoms).
Operations preceded by this symbol refer to situations the operator must determine (causes).
♦Operations preceded by this symbol refer to actions the operator must perform in order to
solve the problems (solutions).
3.3.1 - The power source does not start, control panel off.
MAINS SUITABILITY TEST.
No voltage for mains protection intervention.
NO
YES
♦Eliminate any short-circuits on the connections between power cable, switch (5)
and power board (13).
♦Make sure that the VAC and 220 mains input terminals on power board (13) are
not short-circuited between them or towards earth.
♦Mains not suitable to power the power source (ex.: insufficient installed power).
MAINS CONNECTION TEST.
Power board (13), X1 and X2 terminals = 230 Vac, with switch (5) closed.
YES
NO
♦Check power cable and plug and replace if necessary.
♦Check switch (5), and replace if defective.
♦Check the mains voltage conditions.
♦Replace the power board (13).

CEBORA S.p.A. 8
3.302.107 12/11/02
Correct?
Correct?
Correct?
3.3.2 - Power source powered, fan (9) stopped.
FAN TEST.
Fast-on terminals fan (9) = 230 Vac, with switch (5) closed.
NO
YES
♦Make sure that there are no mechanical impediments blocking the fan.
♦Replace the fan (9).
♦Check the wiring between the fan (9) and connections with power board (13). Eventually
connect fan (9) directly at the switch (5).
3.3.3 - Power source powered, display and signals does not indicate the correct values.
LAMP-TEST.
Upon start-up, leds yellow (B) and green (C ) lit for first three seconds, after switch (5)
closed.
YES
NO
♦Check power source power supply (see par. 3.3.1).
♦Check voltage supply is bigger than 170 Vac approximately (see par. 3.4.3).
♦Replace the power board (13).
ERROR CODE TEST.
Upon start-up, after the lamp-test, green led (C) = lit, yellow led (B) = off.
YES
NO
♦See Error codes, par. 3.4.
♦Replace power board (13).
♦Correct operation.

CEBORA S.p.A. 9
3.302.107 12/11/02
Correct?
Correct?
3.3.4 - In open circuit operation, the output voltage is not regular.
OPEN-CIRCUIT OUTPUT VOLTAGE TEST.
Output terminal – power source (-) and output terminal + power source (+) = +80 Vdc
approximately, after “lamp-test” phase.
YES
NO
♦Check the connection between the “-” and “+” terminals on the power board (13),
and “-” and “+” output terminal of the power source. If you find loose
connections, tighten and replace any damaged terminals.
♦Replace the power board (13).
♦Correct operation.
3.3.5 - In resistive load operation, the output voltage is not regular.
OUTPUT VOLTAGE TEST ON RESISTIVE LOAD.
NOTE
For the following tests use a resistive load capable of withstanding the maximum power
source current. The appropriate values are shown in the table.
Process Resistor resistive
load
Maximum output
current
Power source
output voltage
TIG 0,107 ohm 150 Adc + 16 Vdc, approx.
MMA 0,173 ohm 150 Adc + 26 Vdc, approx.
Turn knob (A) clockwise to the maximum current value.
Output terminal - power source (-) and output terminal + power source (+) = voltage values as
in the table, adjustable using the knob (A).
YES
NO
♦Check the connection between the “-” and “+” terminals on the power board (13),
and “-” and “+” output terminals of the power source. If you find loose
connections, tighten and replace any damaged terminals.
♦Check connections between potentiometer TM1 and power board (13).
♦Check integrity of potentiometer TM1. If defective, replace it.
♦Replace the power board (13).
♦Correct operation.

CEBORA S.p.A. 10
3.302.107 12/11/02
Correct?
3.3.6 - In TIG, arc unstable, welding irregular.
NOTE
In TIG, the welding quality may not be acceptable due to current instability. In this case we
recommend switching to MMA operation, and performing welding tests.
WELDING QUALITY TEST IN MMA.
Power source in MMA, welding tests = good welding quality.
YES
NO
♦Perform the “open circuit operation” test (par. 3.3.4) and “operation on resistive
load” (par. 3.3.5).
♦Replace the power board (13).
♦Check the condition of the torch and electrode. If necessary, sharpen the tip of the electrode.
♦Check the presence and continuity of the gas flow at the torch output.
♦Check the condition of the gas valve on the torch.
♦Replace the power board (13).

CEBORA S.p.A. 11
3.302.107 12/11/02
3.4 - Error codes.
3.4.1 - Yellow led (B) lit, with fix light.
Alarm for temperature above limits.
The thermostat is located on the dissipater of the power mosfets of the power board (13).
The power source delivers no current, but the fan remains in operation; we therefore
recommend leaving the power source powered in case of alarm for overtemperature.
Check the temperature of the dissipaters of the power modules on the power board (13), and if
necessary wait for them to cool completely. If the alarm persists, replace power board (13). If the
alarm is reset, check the efficiency of ventilation, make sure the ambient temperature is not too
high, and that the working cycle is not greater than the one specified.
3.4.2 - Yellow led (B) flashes (four fast flash with interval of 4 seconds fix light).
Alarm for high supply voltage, greater than approximately 290 Vac, at start-up.
The power source delivers no current.
The power source returns to operation, when the voltage becomes lower than approximately
285 Vac.
This system also protects the power source against accidental power supply at 400 Vac. In
this condition the electronic circuits are protected, but the fan is subjected at mains voltage, and
can be damaged in few seconds.
3.4.3 - Yellow led (B) off, during first 3 seconds after start-up (no lamp-test).
Alarm for low supply voltage, less than approximately 170 Vac, at start-up. The power source
delivers no current, also if leds signaling status is the same of normal operation after lamp-test.
The power source returns to operation, with the normal pre-charge sequence, when the
voltage becomes greater than approximately 173 Vac, remaining at reduced performance levels
until the voltage approaches the rated value.
3.4.4 - Yellow led (B) flashes (two fast flash with 1,5 seconds pause).
Alarm for low supply voltage, less than approximately 155 Vac, during operation.
The power source delivers no current.
The power source returns to operation, when the voltage becomes greater than approximately
160 Vac, remaining at reduced performance levels until the voltage approaches the rated value.
3.4.5 - Yellow led (B) flashes (three fast flash with 1,5 seconds pause).
Alarm for inside driver circuits supply voltage excessive. This is generally a phenomenon
which may damage the power source if you continue working.
To restore operation, shut off the power source, wait for the capacitors inside to discharge
completely (4 minutes), and restart the power source at the rated voltage.
If the alarm returns, replace the power board (13).

CEBORA S.p.A. 12
3.302.107 12/11/02
4- COMPONENTS LIST
4.1 - Power source art. 253: see file ESP253.pdf enclosed at the end of the manual.
4.2 - Components table: see file ESP253.pdf enclosed at the end of the manual.
4.3 - Spare parts list.
Essential spare parts.
Ref. Code Description Qty.
13 5602091 power board 1
Recommended spare parts.
Ref. Code Description Qty.
5 3190014 switch 1
9 3165075 fan 1
5- ELECTRICAL DIAGRAMS
5.1 - Power source art. 253: see file SCHE253.pdf enclosed at the end of the manual.
5.2 - Power board (13) code 5.602.091/C.
5.2.1 - Connector table.
Terminals Function
X1 – X2 power board (13) input supply.
(+) – (-) power board (13) output.

CEBORA S.p.A. 13
3.302.107 12/11/02
5.2.2 - Topographical drawing.


When ordering spare parts please always state the machine item
and serial number and its purchase data, the spare part position
and the quantity.
La richiesta di pezzi di ricambio deve indicare sempre: numero di
articolo, matricola e data di acquisto della macchina, posizione e
quantità del ricambio.
pos DESCRIZIONE DESCRIPTION
01 SUPPORTO MANICO HANDLE SUPPORT
02 MANICO HANDLE
03 FASCIONE HOUSING
04 COPERTURA IN GOMMA RUBBER MAT
05 INTERRUTTORE SWITCH
06 PRESSACAVO STRAIN RELIEF
07 PANNELLO POSTERIORE BACK PANEL
08 SUPPORTO VENTOLA FAN SUPPORT
09 MOTORE CON VENTOLA MOTOR WITH FAN
10 CIRCUITO FILTRO FILTER CIRCUIT
11 SUPPORTO SUPPORT
12 COPERTURA COVER
13 CIRCUITO DI POTENZA POWER CIRCUIT
pos DESCRIZIONE DESCRIPTION
14 PANNELLO ANTERIORE FRONT PANEL
15 MANOPOLA KNOB
16 CORNICE FRAME
17 PRESA SOCKET
18 CIRCUITO CONNETTORE CONNECTOR CIRCUIT
19 SUPPORTO SUPPORT
20 RETE METALLICA WIRE NETTING
21 CORNICE FRAME
22 PIEDE IN GOMMA RUBBER FOOT
23 FONDO BOTTOM
24 CAVO RETE POWER CORD
25 TAPPO CAP
CODIFICA COLORI WIRING DIAGRAM
CABLAGGIO ELETTRICO COLOUR CODE
A NERO BLACK
B ROSSO RED
C GRIGIO GREY
D BIANCO WHITE
E VERDE GREEN
F VIOLA PURPLE
G GIALLO YELLOW
H BLU BLUE
K MARRONE BROWN
J ARANCIO ORANGE
I ROSA PINK
CODIFICA COLORI WIRING DIAGRAM
CABLAGGIO ELETTRICO COLOUR CODE
L ROSA-NERO PINK-BLACK
M GRIGIO-VIOLA GREY-PURPLE
N BIANCO-VIOLA WHITE-PURPLE
O BIANCO-NERO WHITE-BLACK
P GRIGIO-BLU GREY-BLUE
Q BIANCO-ROSSO WHITE-RED
R GRIGIO-ROSSO GREY-RED
S BIANCO-BLU WHITE-BLUE
T NERO-BLU BLACK-BLUE
U GIALLO-VERDE YELLOW-GREEN
V AZZURRO BLUE
This manual suits for next models
1
Table of contents
Other Cebora Portable Generator manuals
Popular Portable Generator manuals by other brands

HP
HP 8642A Operation and calibration manual

Tektronix
Tektronix AFG2021-BR instructions

Champion
Champion 71001I EU Owner's manual & operating instructions

Briggs & Stratton
Briggs & Stratton 30385 Illustrated parts list

Elettrotest
Elettrotest CPS quick start guide

Anritsu
Anritsu MG369 B Series Maintenance manual

VOSS.farming
VOSS.farming DELTA 5 instruction manual

Defort
Defort DPG-2500 user manual

Autopilot
Autopilot CoPilot Ozonator 3 Installation & operation manual

Champion Global Power Equipment
Champion Global Power Equipment 201004 quick start guide

Hyundai
Hyundai HWP Series manual

Azco
Azco RM900 owner's manual