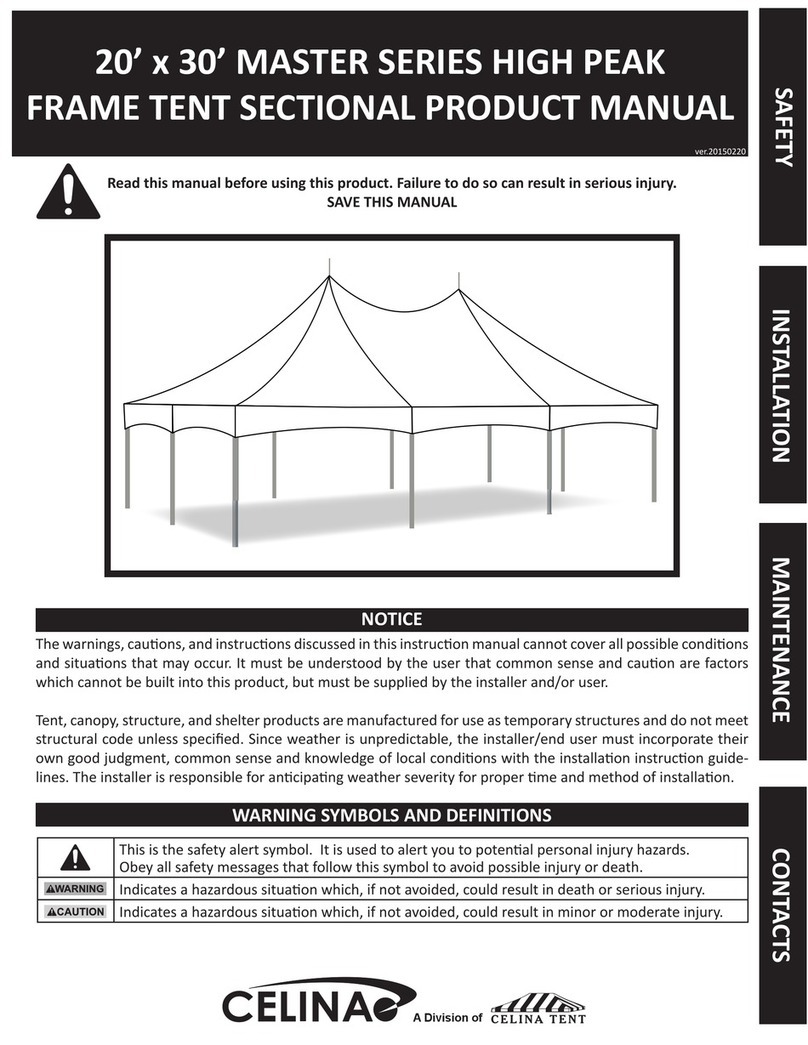
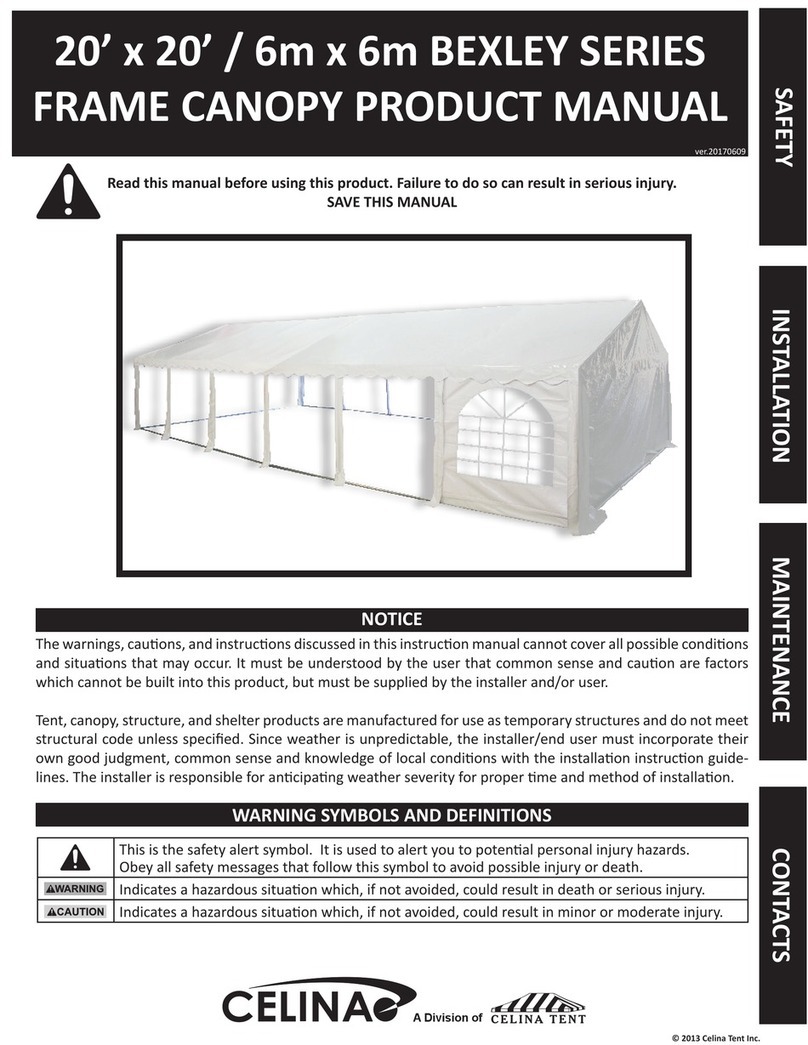
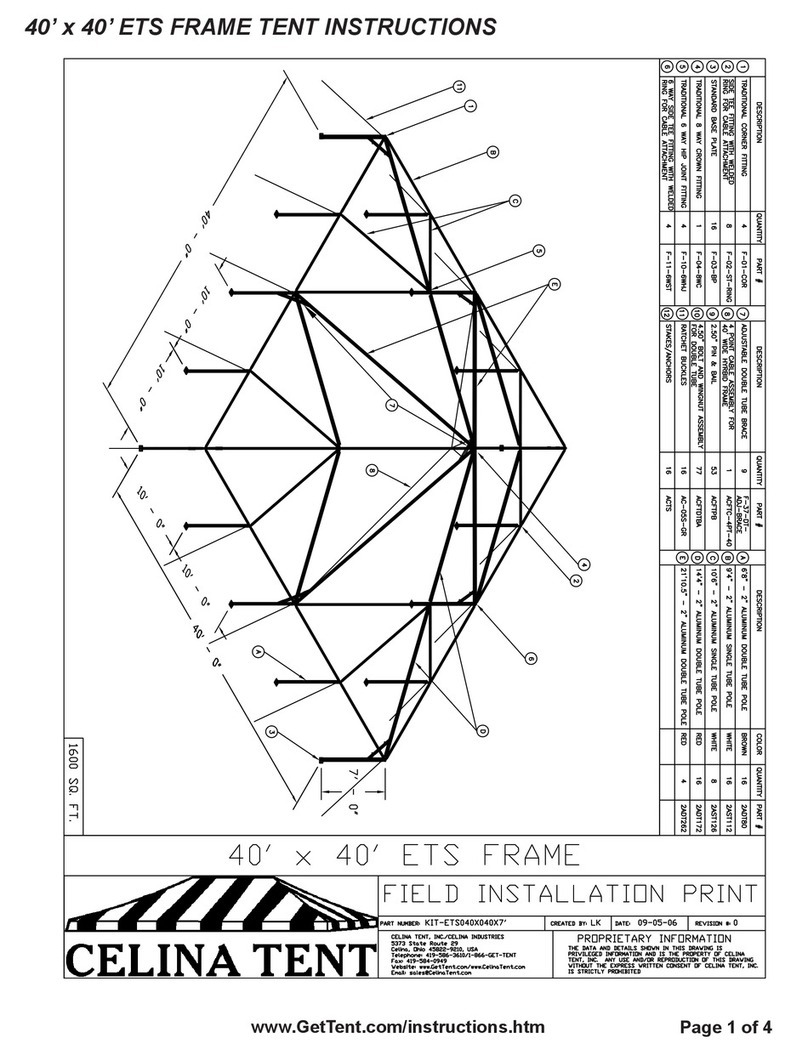
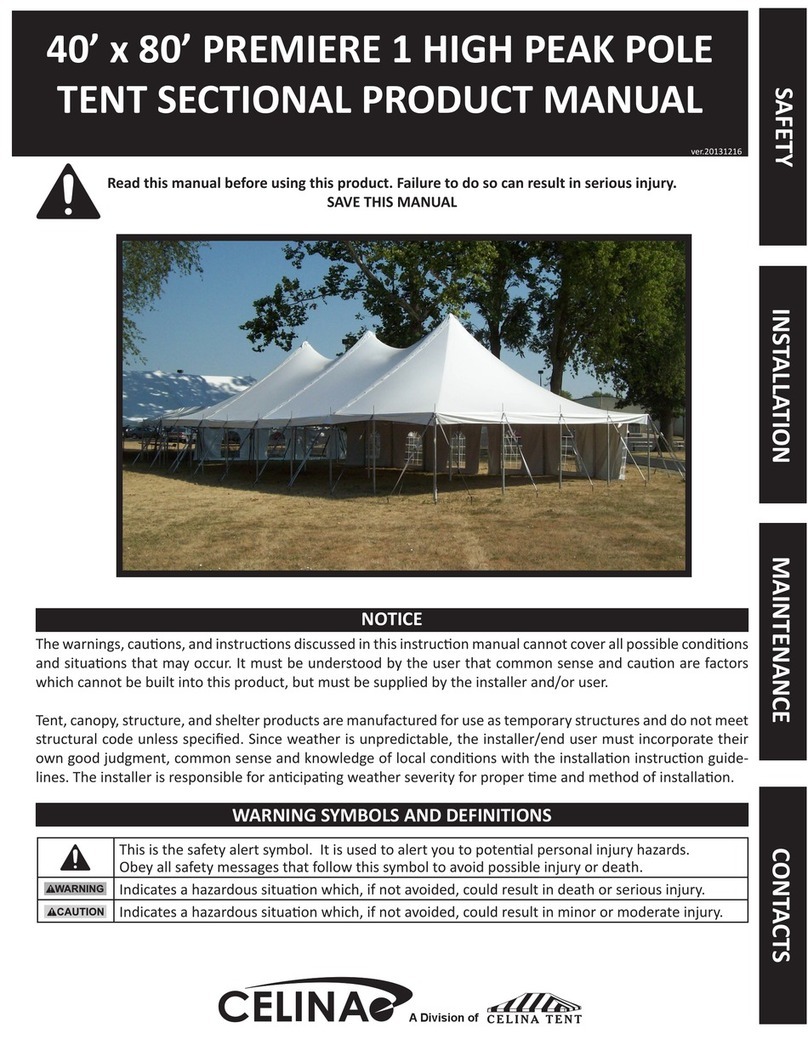
Celina HGPTS User manual

Humanitarian and General
Purpose Tent System
(HGPTS)
Manufactured By:
CELINA TENT INC.
5373 State Route 29
Celina, Ohio 45822-9210 USA
www.CelinaTent.com
NSN: 8340-01-535-6379 (FEMA MOD 2015)
INSTRUCTION MANUAL
ERECTION AND STRIKE PROCEDURES

TABLE OF CONTENTS
CELINA TENT INC.
5373 State Route 29
Celina, Ohio 45822-9210 USA
www.CelinaTent.com
Fax: 419-584-0949
Phone: 419-586-3610
Introduction ......................................................3-4
Parts Breakdown...............................................5-6
Erecting Procedure.........................................7-17
Strike Procedure...........................................18-19
Repackaging Procedure...............................20-22
Repair Procedure...............................................22
Care and Safety...................................................23
Replacement Parts / Accessories.....................23
© 2015 Celina Tent Inc.

Introduction 3
www.HGPTS.com
Celina’s General Purpose / Humanitarian Shelter is a non-tactical shelter
designed to offer an economical solution for humanitarian aid in the event
of a natural disaster or conict worldwide. General purposes include:
Medical facilities, billeting, eld services, and storage.
Features:
wDimensions: 16’L x 16’W x 7’0-11’H (eave to peak)
wFloor Area: 256 square feet
wShelter is 100% Berry Amendment compliant
wErection: 4 people takes 30 minutes
wFabric: MIL-PRF-20696 Vinyl laminate
wColor: Desert tan or olive drab
wInternal frame supported shelter that is capable of withstanding a steady
wind speed of 55 mph with gusts up to 65 mph.
wThe shelter is able to withstand a snow load of 10 pounds per square foot
for a maximum of 12 hours.
wDoor: One wall is equipped with a door that meets the minimum opening
requirements of the DOD (6 ft. 3 in. high and 4 ft. 6 in. wide) to
accommodate persons with backpacks. Standard door is NOT TEMPER
VESTIBULE COMPATIBLE.
wX-Support webbing braces provide the structure added strength and also
allow the occupants to maintenance the shelter from inside the structure
(no tensioning tools required), as well as erect shelters in close proximity
since no external wind lines are necessary.
w
Only tool required for erection is a hammering device (hammer, mallet, rock).
INTRODUCTION

Introduction
4Celina Tent Inc. - HGPTS - NSN: 8340-01-535-6379 (FEMA MOD)
wSuper duty framework which consists of ttings constructed with 12ga
x 1.66” diameter galvanized steel tube and poles with 16ga x 1.875”
diameter galvanized steel tube. The frame tubing is a standard item, which
allows replacements to be purchased worldwide.
wOptional welding: Framework joints can be welded to create a semi-
permanent, long-term structure.
wShelter cover and sidewalls are heat welded to prevent water leakage.
wConstruction: Sidewalls include extensions on each end which wrap
around the corners and are secured in place by adjustable side release
buckles to prevent element intrusion. A mud ap around the perimeter of
the shelter is provided in order to place sand bags to achieve maximum
rigidity of the shelter and to reduce pest and/or rodent intrusion.
wA peak vent allows warm air to escape through the shelter roof and can
easily be opened or closed at ground level from outside the shelter by one
person. There are windows on each sidewall allowing additional ventilation.
wA vinyl laminate oor attaches to the interior of the shelter and creates a
completely enclosed structure.
wIn-Field Repair kits are available for the tent membrane & oor.
wCapable of withstanding all weather conditions except arctic.
wWater resistant
wFlexible/abrasion resistant
wCompactable/Portable
wOptional mosquito netting allows additional ventilation

Parts Breakdown 5
http://www.hgpts.com/disaster-relief-shelter-instructional-manual
PARTS BREAKDOWN
11
QTY. 14
QTY. 8
1
2
3
4910
11
QTY. 1
5
QTY. 8
8
QTY. 4
QTY. 4 7
QTY. 4
6
QTY. 16
QTY. 8
QTY. 4
12
QTY. 1
DESCRIPTION QTY. PART #
Corner Fitting 4 F01CORHT
Side Tee Fitting 4 F02STHT
Base Plate 8 F03BPHT
8 Way Crown Fitting 1 F048WCHT
56” (142.2 cm) Hip Swage Pole (Blue) 4 HT2GST56S
20” (50.80 cm) Rafter Swage (Yellow) 4 HT2GST20S
88” (223.52 cm) Spreader Pole (Red) 8 HT2GST88
80” (203.20 cm) Leg / Hip Rafter Pole (Green) 16 HT2GST80
5/8”(1.5875 cm) x 24”(60.96 cm) Hook Stake 8 HT560
X-Bracing Straps 14 HT531
Pin & Bail 16 HT570
Storage Bag Containing Tent Membrane & Floor 1
Black Mesh Mosquito Net Sidewalls 4
1
2
3
4
5
6
7
8
9
10
11
12
QTY. 16
13
13
QTY. 4

Parts Breakdown
6Celina Tent Inc. - HGPTS - NSN: 8340-01-535-6379 (FEMA MOD)
SIDE VIEW TOP VIEW
PARTS BREAKDOWN

Erecting Procedure 7
www.HGPTS.com
1. Layout all the ttings and poles. Set the 8 way crown (F048WCHT) so the
four blue posts (that do not touch the ground) are pointed towards the corners.
ERECTING PROCEDURE
2. Slide the ends of the hip swage pole (Blue/HT2GST56S) onto the hip
rafter pole (Green/HT2GST80). Slide the ends of the rafter swage (Yel-
low/HT2GST20S) onto the remaining hip rafter poles (Green/HT2GST80).
Slide the ends of the hip swage poles onto the corner posts on the 8 way
crown. Lining up the holes until the push pins engage.
3. Take the combined hip rafter poles
(Green/HT2GST80)
and slide onto
the remaining post slots on the 8 way crown
(F048WCHT)
. Lining up the
holes until the push pins engage.
4. Locate all four corner (F01CORHT) ttings and slide the hip rafter
poles
(Green/HT2GST80)
on, lining up holes until push pins engage.

Erecting Procedure
8Celina Tent Inc. - HGPTS - NSN: 8340-01-535-6379 (FEMA MOD)
5. Locate and slide all four of the side tee ttings (F02STHT) into the hip raf-
ter poles (Green/HT2GST80). Lining up the holes until the push pins engage.
6. Connect each of the 88” (223.52 cm) spreader poles (Red/HT2GST88)
between each corner (F01CORHT) and each side tee ttings (F02STHT)
all the way around the perimeter of the frame. Lining up the holes until the
push pins engage.

Erecting Procedure 9
www.HGPTS.com
7. Pull the tent top over the frame.
IMPORTANT: Leave sidewalls on top of frame.
8. Take all eight of the 80” (203.20 cm) legs (Green/ HT2GST80) and slide
one end of each pole into the base plate ttings (F03BPHT) and pin using
pin & bail (HT570). Slide the pin through the hole in the base plate and leg
hole then connect the bail end around the pin.
9. Lift one side of the frame up and slide the legs (Green/ HT2GST80) with
base plates into the bottom of the two corner ttings (F01CORHT) and pin
using pin & bail (HT570). Slide the pin through the hole in the corner tting
and leg hole then connect the bail end around the pin.

Erecting Procedure
10 Celina Tent Inc. - HGPTS - NSN: 8340-01-535-6379 (FEMA MOD)
11. Lift the other side of the frame up and slide the legs with base plates into
the bottom of the remaining corner ttings and pin using pin & bail.
10.
Locate the corner tent top straps, 120” (300 cm) in length (HT531).
To
attach the tent top strap on a corner take
the loop end through both 1½” (3.81
cm) welded D rings on each side, run the rest of the strap through the loop,
and pull tight. To reattach a removed tent top strap on a side take the loop
end through the 1½” (3.81 cm) welded D ring, run the rest of the strap
through the loop and outside slot of the base plate, and pull tight.
12. Put the other four legs with base plates on the bottom of all of the side
tee ttings and pin with pin & bail.

Erecting Procedure 11
www.HGPTS.com
14. Layout the oor underneath the frame.
15. Attach the oor by snapping the spring snaps to the inside 3/4” hole on
each base plate at each corner. Connect the spring snap to the inside slot for
remaining poles locations. Connect the hook and loop around the legs and
kick the legs out until the oor is tight.
13.
Locate the remaining tent top straps, 120” (300 cm) in length, and attach
.
Attach the loop end through the 1½” (3.81 cm) welded D ring, run the rest
of the strap through the loop and outside slot of the base plate, and pull tight.

Erecting Procedure
12 Celina Tent Inc. - HGPTS - NSN: 8340-01-535-6379 (FEMA MOD)
16. Stake the tent by pounding a 5/8” x 24” (1.5875 cm x 60.96 cm) hook
stake (HT560) through the outside hole on each base plate.
17. Take the ends of the straps down through the outside slot on each base
plate.
18. NOTE: Center tent top before tightening all straps by centering the
patch with the 8 way crown. Tighten each strap by running the tail end
of the strap through both D rings and then back through the lower D ring.
Pull the tail end downward to tighten. Use a foot if necessary to tighten the
straps.

Erecting Procedure 13
www.HGPTS.com
21. Take the strap down to the open slot on the
corresponding side of
each base plate, and pull tight.
20.
NOTE: X-Bracing straps go on every bay except the bay with the door.
To nd the door bay stand under the center of the tent facing the direction
of the roof vent. The door bay is directly in front on the left.
19. Locate the fourteen X-Bracing straps, 148” (370 cm) in length. On each
corner and side tee tting take the loop end through the 1¼” (3.175 cm)
welded D rings on either side of the hip/rafter poles, run the rest of the strap
through the loop, and pull tight.
Door Bay

Erecting Procedure
14 Celina Tent Inc. - HGPTS - NSN: 8340-01-535-6379 (FEMA MOD)
22. Tighten each strap by running the tail end of the strap through both D
rings and then back through the lower D ring. Pull the tail end downward
to tighten. Use a foot if necessary to tighten the straps.
24. Close all corners by connecting all of the side release buckles and
tightening. NOTE: Door must be closed prior to tightening side release
buckles.
23. Pull the sides down off of the tent top.

Erecting Procedure 15
www.HGPTS.com
25. Lay sandbags on the sod cloth ap around the perimeter of the tent.
26. To roll up the window aps unhook the ap from the sidewall and roll
up from underneath. Tie off with window tie tie. NOTE: Make sure
to
roll in the correct direction to prevent collecting water.
27. To roll up the door stand inside the tent, tightly roll up on top of the door.
Tie off with tie tie.

Erecting Procedure
16 Celina Tent Inc. - HGPTS - NSN: 8340-01-535-6379 (FEMA MOD)
30. To open the peak vent, loosely hold on to the rope.
Walk around to the
opposite side of the tent and pull on the rope until the
ap is o
pen.
31. To close the peak vent, loosely hold on to the rope.
Walk around to
the vent side of the tent and pull on the rope until the ap is closed.
29. To add mesh sidewalls, velcro mesh sidewalls to ap underneath tent
wall and connect all of the side release buckles and tighten.
28. To roll up the sidewall stand inside the tent tightly roll up sidewall and
tie off with tie ties.

Erecting Procedure 17
www.HGPTS.com
32. To use the oor as a liner rst ip the oor upside down so the D ring,
which is in the middle of the oor, is facing up. Tie a rope or a string to
the D ring. Hang the D ring 2-3 feet below the center of the 8 way crown.
Attach the spring snaps to the D rings on the tting or to the wire bail on
the pin & bails.

Strike Procedure
18 Celina Tent Inc. - HGPTS - NSN: 8340-01-535-6379 (FEMA MOD)
STRIKE PROCEDURE
1. Unlock all side release buckles on each corner ap.
2. Loosen and take off all X-Bracing straps (14 total).
3. Take away the oor by unhooking all of the spring snaps and separating
all of the hook and loop. Set off to the side.
4. Pull all of the stakes out of the ground.
5. Loosen all of the tent top straps (8 total) removing the straps from the
slots on the baseplates.
6. Remove the four middle legs with base plates and place off to the side.

Strike Procedure 19
www.HGPTS.com
7. On one side remove both legs with base plates from the corners, place
off to the side, and carefully set the frame down. NOTE: Do not set frame
on sidewalls.
8. Remove the other two corner legs and base plates, place off to the side,
and carefully set the frame all the way down. NOTE: Do not set frame on
sidewalls.
9. Gently remove the tent top from the frame.
10. Fold up the tent top along with the oor and place them into the storage
bag (see Repackaging Procedure).
11. Separate all the legs from the base plates.
12. Disassemble all of the ttings from the poles by pushing in on the push
pins to release them and then sliding the pole off.

Repackaging Procedure
20 Celina Tent Inc. - HGPTS - NSN: 8340-01-535-6379 (FEMA MOD)
REPACKAGING PROCEDURE
1. Lay the complete HGPTS tent top out as at as possible.
2. Fold all four sidewalls in towards the center of the tent top.
3. Set the oor on top of the tent top.
Table of contents
Other Celina Tent manuals

Celina
Celina CLASSIC SERIES FRAME User manual

Celina
Celina KIT-ETS040X040X7' User manual

Celina
Celina BEXLEY SERIES User manual

Celina
Celina Pinnacle Manual

Celina
Celina CLASSIC SERIES FRAME User manual

Celina
Celina 30’ x 45’ ETS FRAME TENT User manual

Celina
Celina MASTER SERIES User manual

Celina
Celina PINNACLE SERIES User manual

Celina
Celina 40' x 80' PREMIERE 1 HIGH PEAK POLE TENT User manual
Popular Tent manuals by other brands

ClearSpan
ClearSpan 105624 manual

Vango
Vango PALERMO Pitching instructions

Treasure Garden
Treasure Garden AG28 Series Assembly and operation guide

PERCo
PERCo RTC-15.3 Assembly and Operation Manual Warranty Card

Clam Customer
Clam Customer Quick-Set Escape 9281 Service information

Zempire
Zempire Shelter Series instructions