3
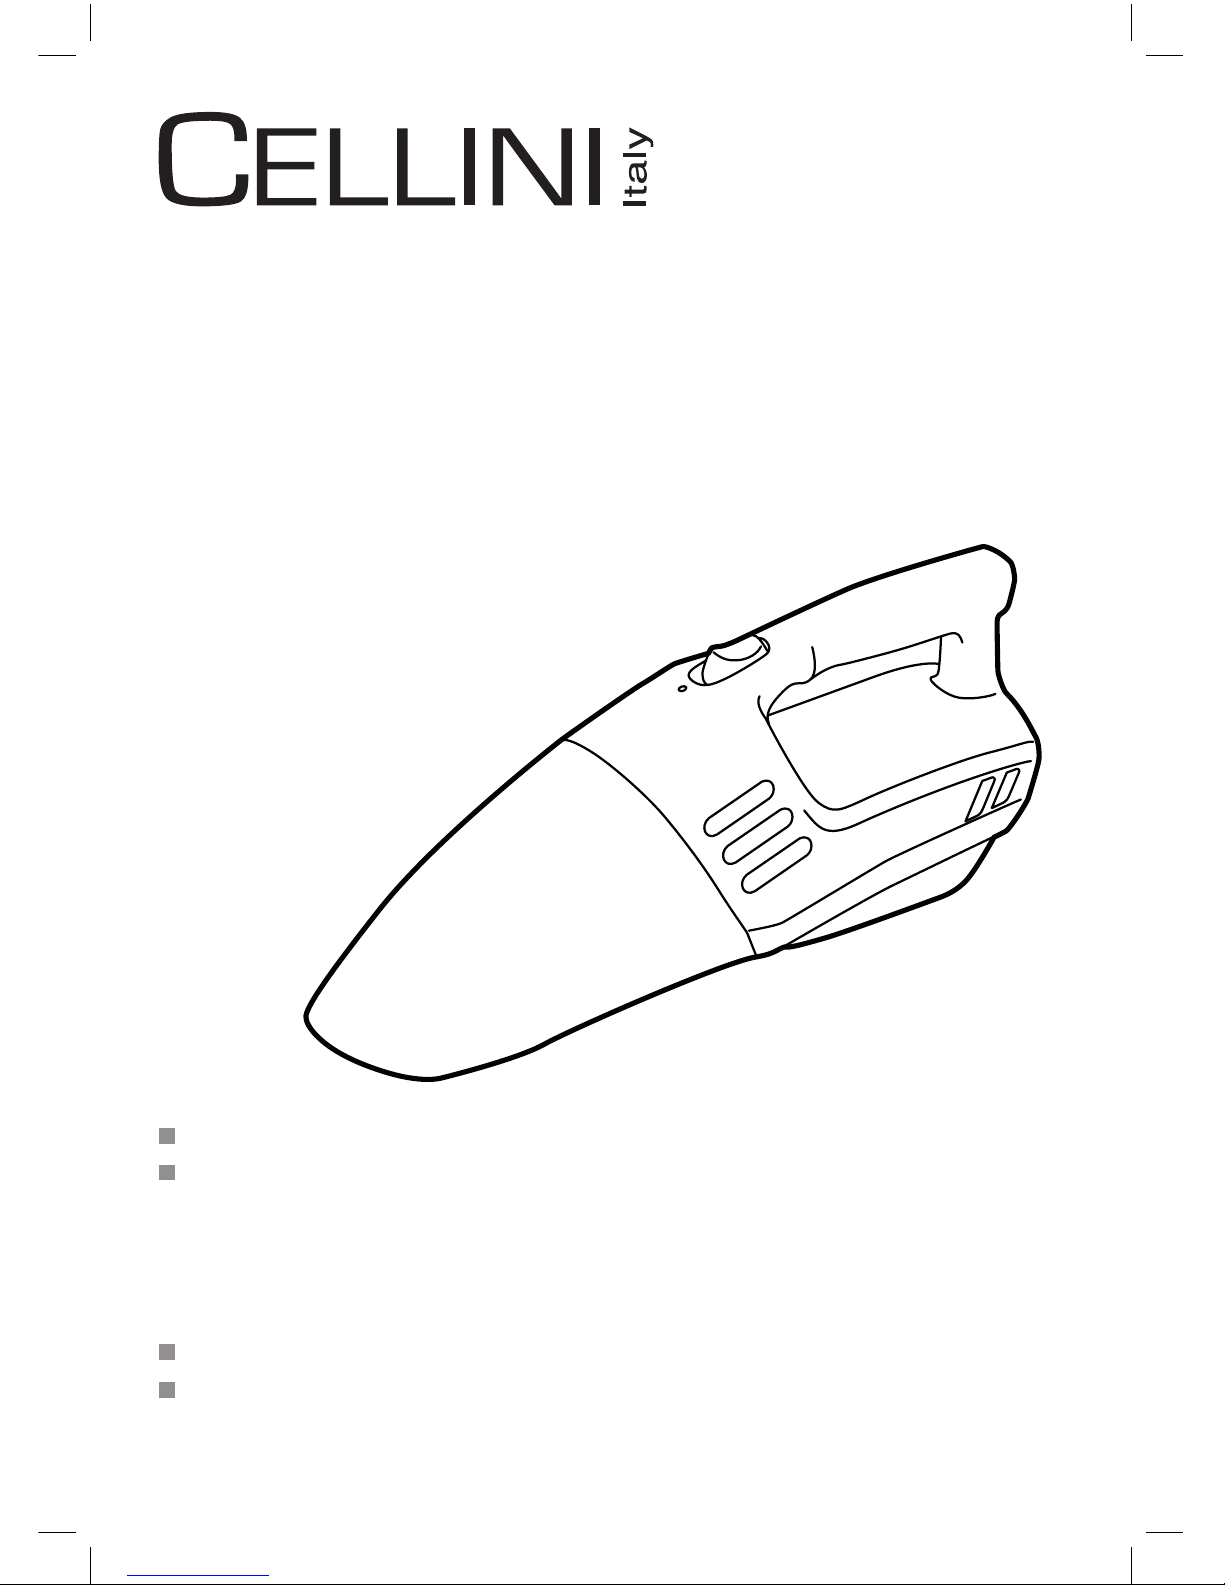
MOUNTING THE CHARGING BRACKET
Select a point in the vicinity of a wall socket, indoors
and not subject to damp. Position the bracket against the
wall and mark the points at which the fastening screws
are to be inserted. Using a 5mm diameter drill, drill the
holes for the screws, insert the plastic anchor provided,
and then screw in the screws until only the last 5mm is
still protruding.
Then hang the bracket on the screws, and tighten the
screws up to their full extent. Check that the cable is not
pinched. It should pass through one of the recesses in
the bracket.
CHARGING
We recommend that you position your VACUUM CLEANER
close to an electrical outlet. Then plug the charging plug into
the jack at the side of the bracket.
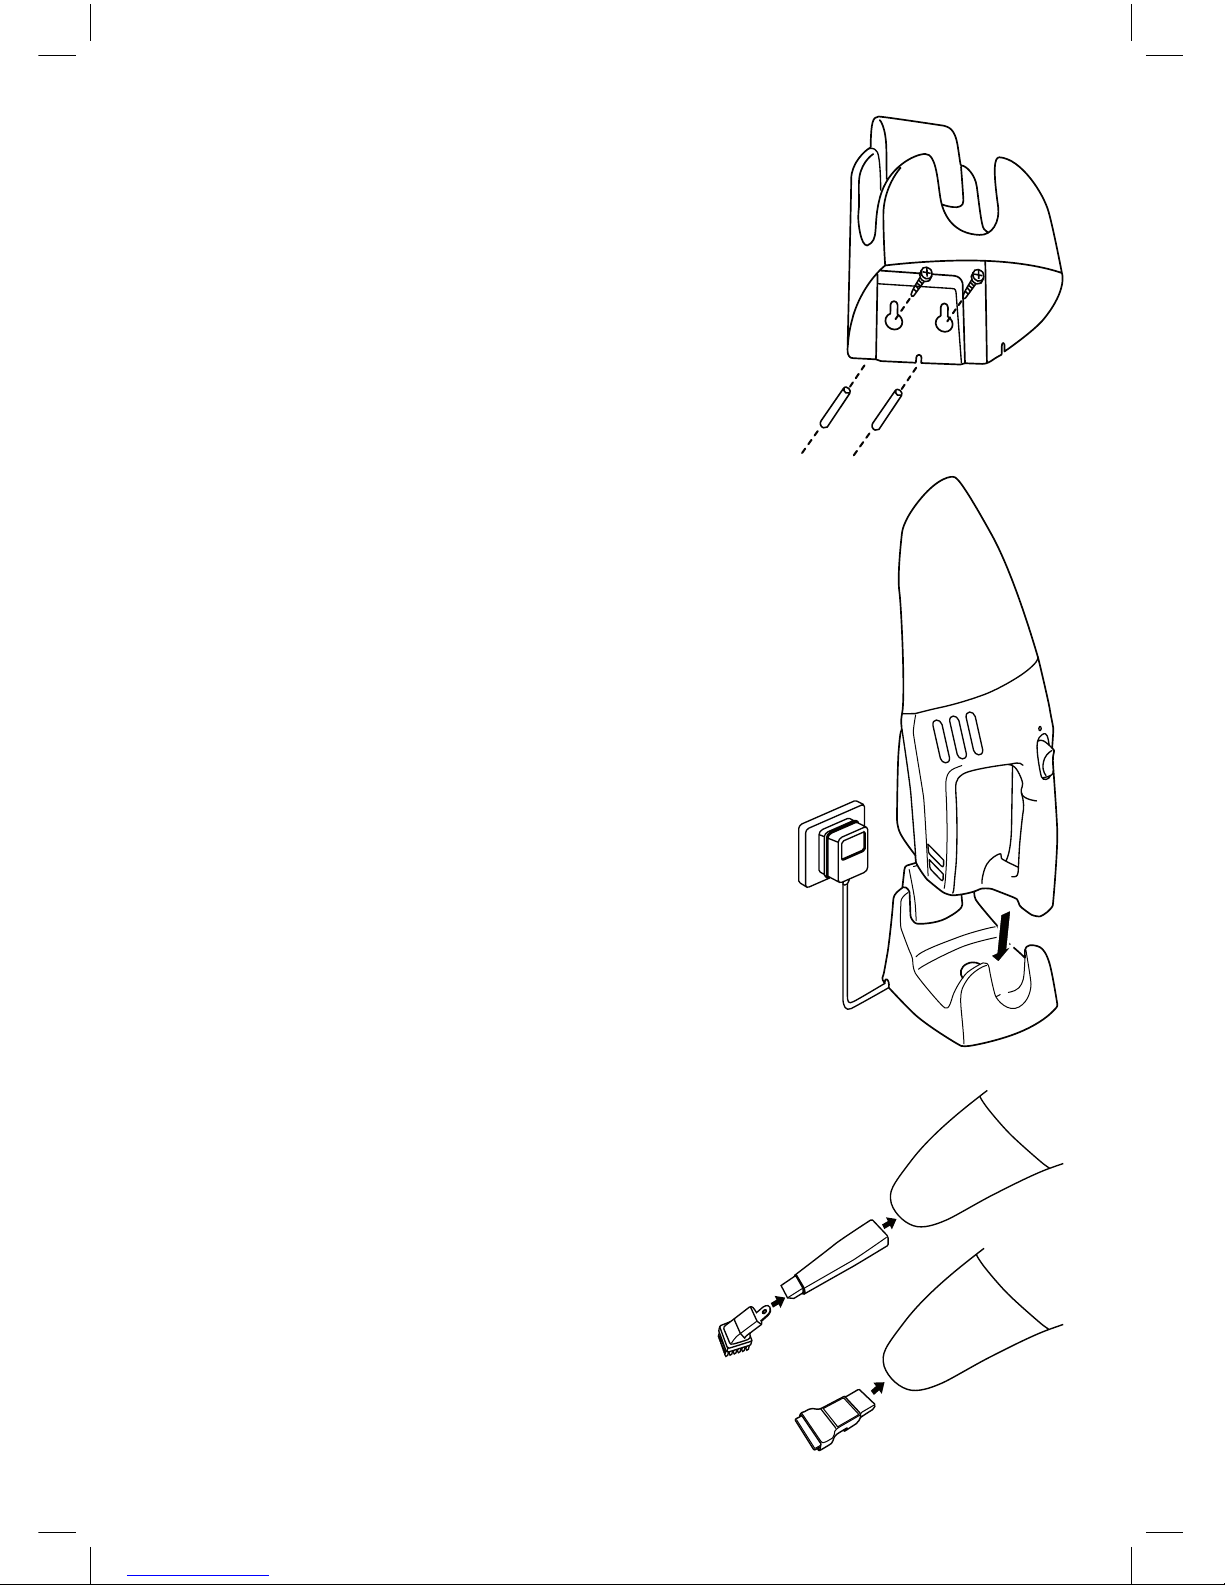
Your new VACUUM CLEANER is supplied in a low charge
condition. It should be charged for 14-16 hours prior to initial
use. To charge, locate the bracket hook to the recess area of the
cleaner. Slightly slide downward and the cleaner is xed on the
wall bracket. Then plug the charger to the electrical outlet and
the LED indicator lite will lited up to indicate faultless charging.
NOTE: Charging should not be carried out when the ambient
temperature is below 0˚C or above +40˚C. The charger will
become warm during use. This is perfectly normal.
CHARGING TIME: 14-16 HOURS
Do not allow the battery to run down completely. The engine
runs more slowly when the battery is at.
Recharge battery as soon as possible each time after use.
USING THE VACUUM CLEANER
1. Remove your vacuum cleaner from it's charging bracket.
2. Ensure the lter assembly installed.
3. Insert the crevice tool/carpet brush in front of the nozzle
when necessary.
4. Switch the vacuum cleaner ON by sliding the On/Off switch.
When the switch is released, the vacuum cleaner will stop.
* Detached the unit from the charging bracket before
operate.
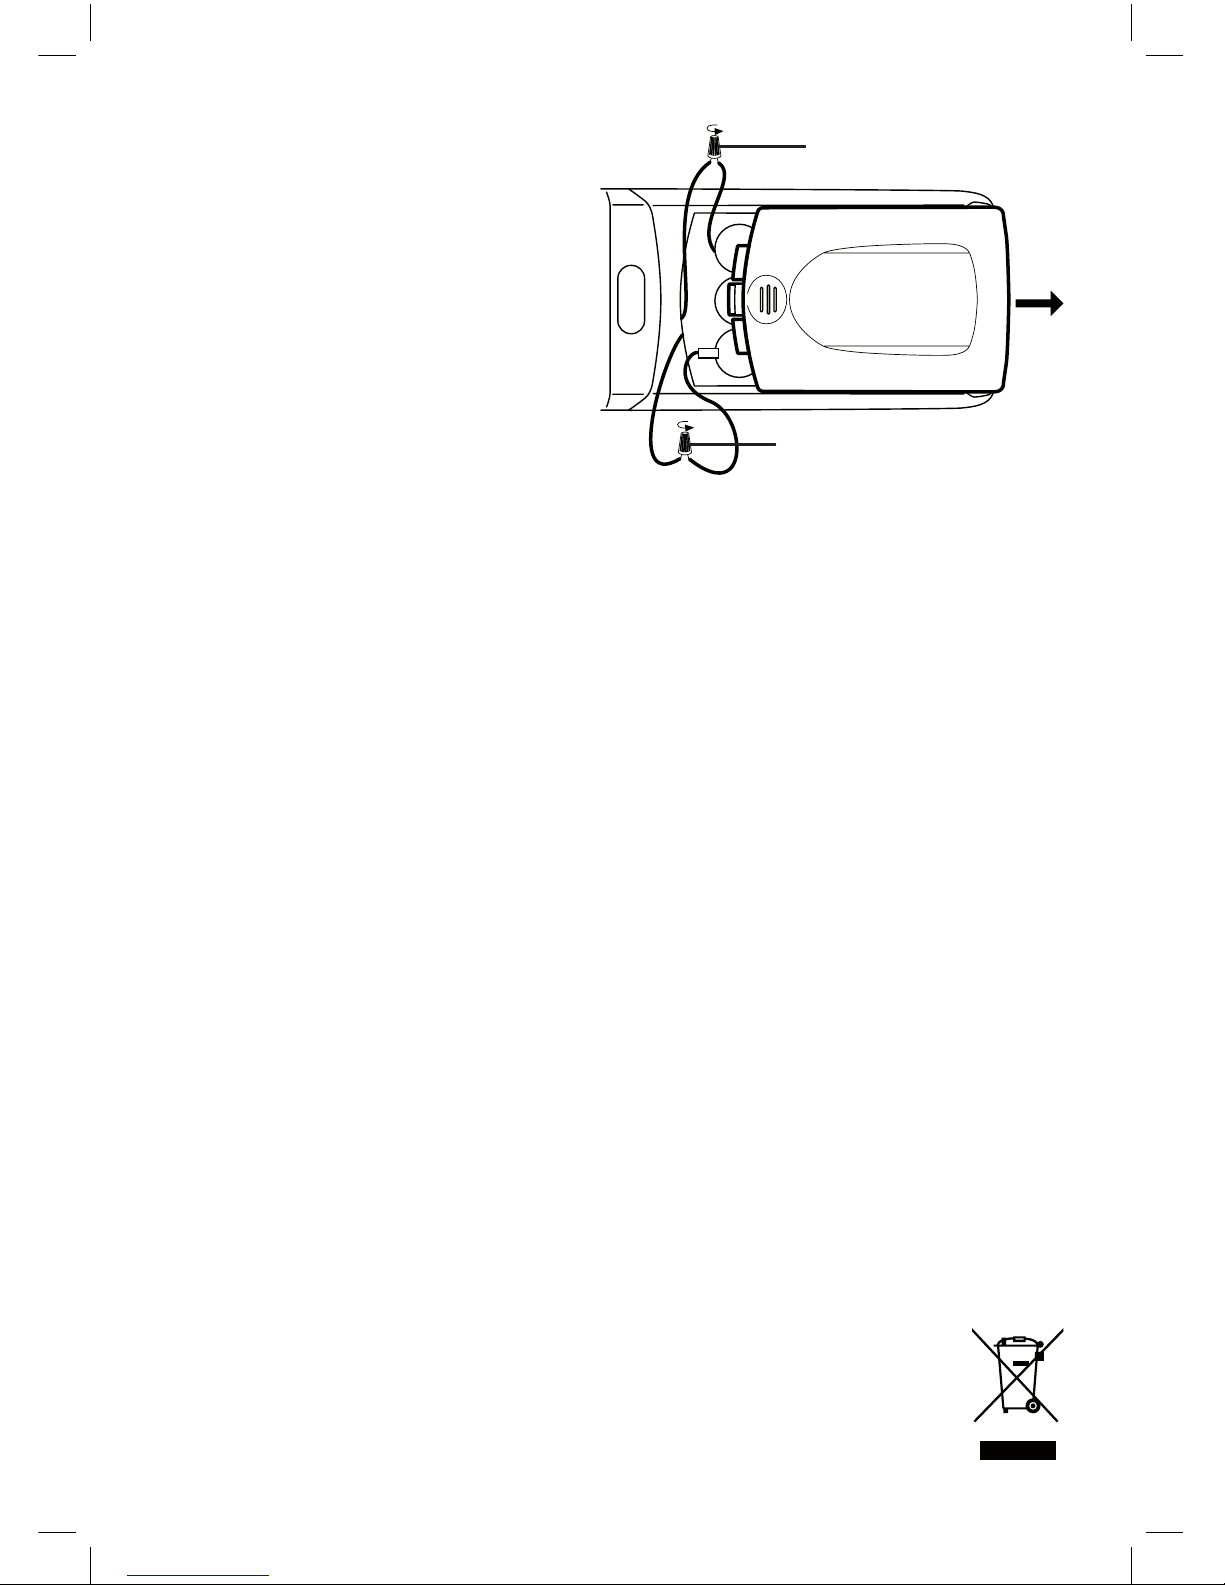
WET VACUUM CLEANING
1. Empty the dust container of all dry dust.
2. Ensure the lter assembly installed.
3. Insert the squeegee in front of the dust container.
4. During use, hold the vacuum cleaner with the perspex nozzle
pointing downwards.
5. After use, empty the dust container immediately.