manuals.online logo
Brands
  1. Home
  2. •
  3. Brands
  4. •
  5. Cellphone-Mate
  6. •
  7. Amplifier
  8. •
  9. Cellphone-Mate SureCall CM2000-WL User manual

Cellphone-Mate SureCall CM2000-WL User manual

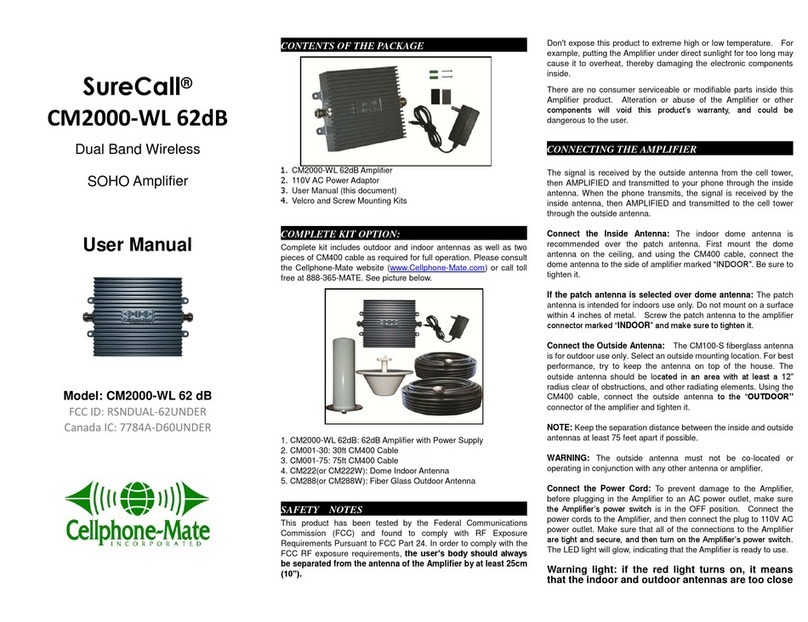
CONTENTS OF THE PACKAGE
fdgbsddg
example, putting the Amplifier under direct sunshine for too long may
cause it to overheat, thereby damaging the electronic components
inside.
There are no consumer serviceable or modifiable parts inside this
Amplifier product. Alteration or abuse of the Amplifier or other
components will void this product’s warranty, and could be
dangerous to the user.
SureCall
CM2000-WL 55dB
Dual Band SOHO Amplifier
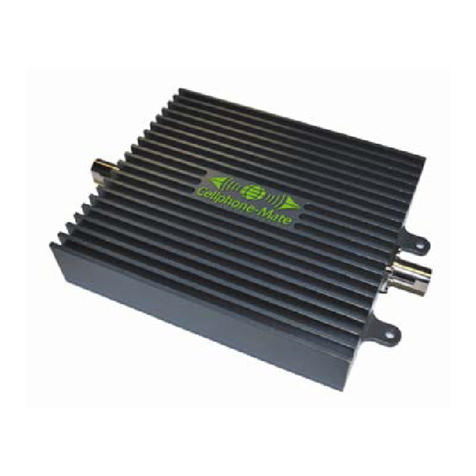
55dB amplifier
5” patch Antenna with FME female connector
110V AC Power Adaptor
User Manual (this document)
Velcro and Screw Mounting Kits
TM
CONNECTING THE AMPLFIER
sddg
The signal is received by the outside antenna from the cell tower,
then AMPLIFIED and transmitted to your phone through the inside
antenna. When the phone transmits, the signal is received by the
inside antenna, then AMPLIFIED and transmitted to the cell tower
through the outside antenna.
Connect the Inside Antenna:
indoor dome antenna is always
recommended over the patch antenna. First, please mount dome
antenna on top of ceiling, and then please use the CM240 cable
connect dome antenna to the side of amplifier that marked
“INDOOR”, and make sure to tighten it.
If patch antenna is selected over dome antenna:
The patch
antenna is intended for indoors use only. Do not mount on a surface
within 4 inches of metal. Screw the patch antenna to the amplifier
connector that marked “INDOOR” and make sure to tighten it.
Connect the Outside Antenna:
The CM100-S fiber glass antenna
is for outdoor use only. Select an outside mounting location. For best
performance, try to keep the antenna on top of the house. The
outside antenna should be located in an area with at least a 12”
radius clear of obstructions, and other radiating elements. Use the
CM240 cable, connect the outside antenna in to the “OUTDOOR”
connector of the amplifier and make sure to tighten it.
NOTE:
Keep the separation distance between the inside and outside
antennas at least 60 feet apart if possible.
WARNING:
The outside antenna must not be co-located or
operating in conjunction with any other antenna or amplifier.
Connect the Power Cord:
To prevent damage to the Amplifier,
before plugging in the Amplifier to an AC power outlet, make sure
the Amplifier’s power switch is in the OFF position. Then connect
the power cords to the Amplifier first, and then connect the plug to
110V AC power outlet. Make sure that all of the connections to the
Amplifier are tight and secure, and then turn on the Amplifier’s power
switch. The LED light will glow, indicating that the Amplifier is ready
to use.
User Manual
Model: CM2000-WL 55 dB
FCC ID: RSNDUAL-62UNDER
Canada IC: 7784A-D62UNDER
.5
.4
.3
.2
.1
WHOLE PACKAGE OPTION:
fdgbsddg
Outdoor and indoor antenna as well as two pieces of CM240
cable are required for full operation. See picture below. Please
call toll free at 888-365-MATE.
1. CM2000-WL 55dB: 55dB Amplifier with Power Supply
2. CM004-20-FN: 20ft CM240 Cable
3. CM004-40-FN: 40ft CM240 Cable
4. CM222: Indoor Antenna
5. CM100-S: Outdoor Antenna
SAFETY NOTES
fdgbsddg
The Federal Communications Commission (FCC) who found it to
comply with their RF Exposure Requirements, Pursuant to FCC Part
22 and 24, has tested this product. In order to comply with the FCC
RF exposure requirements, the human user’s body should
always be separated from the indoor antenna of the Amplifier
by at least 25cm (10”).
Don't expose this product to extreme high or low temperature.
For
Warning light: in the case that the red light turns
on, it means that the indoor and outdoor antennas
are too close together. Please turn off the amplifier
immediately, move the two antennas further apart,
before turn the power on again.
Warning:
please never operate the amplifier with red
light on.
Safety Warning: The input voltage for the Amplifier is 6V. DO
NOT use thi
s Amplifier with a higher voltage power supply,
which could damage the amplifier and the user may also be
injured.
TROUBLESHOOTING GUIDE
During operation, if the Amplifier interferes with your radio or other
electronic receivers, move the Amplifier further away from those
devices.
For a list of Frequently Asked Questions and a complete and
up-to-date Troubleshooting Guide, please visit our website at:
http://www.halfliu.com
Email:
help@halfliu.com
Toll Free: 866
-
388
-
1988
USING THE AMPLFIER
You can also contac our technical support specialist directly
by phone:
Toll free 888-365-MATE (888-365-6283)
Now you are ready to make and receive cellphone calls with
powerful signal amplification! Note that It is normal for the
Amplifier’s case to be warm during operation.
Press any cell phone key to refresh its communication with the base
station. If your signal is weak, having this Amplifier installed and
operating properly will give you a large increase in the signal
strength and quality. The change in the signal strength can be seen
on the visual display of your cellphone, and heard on your receiver
or headset. To see the difference, try operating your phone in an
area that is known to have weak cellphone signals. You will be
amazed at the dramatic difference the Cellphone-Mate Signal
Amplifier provides!
(Optional) Mounting the Amplifier: you can leave the Amplifier on
top of a flat surface or use the enclosed mounting screws or Velcro
straps to mount the Amplifier. There are two 6cm x 2.5cm Velcro
strips (hook-and-loop pairs) in the box for mounting the amplifier.
Determine the location where your Amplifier will be placed. Clean
the intended surface and allow it to dry. Peel the protective paper
from the back of the hook sides of the Velcro. Press the adhesive
side of the Velcro strips into place on the bottom of the Amplifier, one
strip on each end. Wait 5 minutes for the adhesive to set before
attaching the loop side of the Velcro to the hook side. The adhesive
bond will reach its maximum strength after 24 hours.
With both of the Velcro loop and hook pieces attached to the back of
the Amplifier, peel the protective paper off of the back of the loop
strips. Press the entire Amplifier into its mounting place. Wait 5
minutes for the adhesive to set. Make sure the Amplifier is firmly
seated. To remove the Amplifier, rotate it across the Velcro – do not
pull the Amplifier or cables.
WARRANTY
1. Cellphone-Mate, Inc. warrants to the Buyer that each of its
products, when shipped will be free from defects in material and
workmanship and will perform in full accordance with applicable
specifications. The limit of liability under this warranty is, at
Cellphone-Mate, Inc.’s option, to repair or replace any product or
part thereof which shall within ONE YEAR of purchase as
determined by examination by Cellphone-Mate, Inc., prove
defective in material and/or workmanship. Warranty returns must
first be authorized in writing by Cellphone-Mate, Inc. Disassembly
of any Cellphone-Mate, Inc. product by anyone other than an
authorized representative of Cellphone-Mate, Inc. voids this
warranty in its entirety. Cellphone-Mate, Inc. reserves the right to
make changes in any of its products without incurring any
obligation to make the same changes on previously delivered
products.
2. As a condition to the warranties provided for herein, the Buyer will
prepay the shipping charges for all products returned to
Cellphone-Mate, Inc. for repair and Cellphone-Mate, Inc. will pay
the return shipping with the exception of product returned from
outside the United States in which case the Buyer will pay the
shipping charges.
3. The Buyer will pay the cost of inspecting and testing any goods
returned under the warranty or otherwise which are found to meet
the applicable specifications or which are not defective or not
covered by this warranty.
4. Products sold by Cellphone-Mate, Inc. shall not be considered
defective or non-conforming to the Buyers’ order if they
satisfactorily fulfill the performance requirements that were
published in the product specification literature, or in accordance
with samples provided by Cellphone-Mate, Inc.. This warranty
shall not apply to any products or parts thereof which have been
subject to accident, negligence, alteration, abuse, or misuse.
Cellphone-Mate, Inc. makes no warranty whatsoever in respect to
accessories or parts not supplied by it.
5. Limitations of Warranty, Damages and Liability:
EXCEPT AS EXPRESSLY SET FORTH HEREIN, THERE ARE
NO WARRANTIES, CONDITIONS, GUARANTEES OR
REPRESENTATIONS AS TO MERCHANTABILITY, FITNESS
FOR A PARTICULAR PURPOSE OR OTHER WARRANTIES,
CONDITIONS, GUARANTEES OR REPRESENTATIONS,
WHETHER EXPRESSED OR IMPLIED, IN LAW OR IN FACT,
ORAL OR IN WRITING.
CELLPHONE-MATE, INC.’S AGGREGATE LIABILITY IN
DAMAGES OR OTHERWISE SHALL NOT EXCEED THE
PAYMENT, IF ANY, RECEIVED BY CELLPHONE-MATE, INC.
FOR THE UNIT OF PRODUCT OR SERVICE FURNISHED OR
TO BE FURNISHED, AS THE CASE MAY BE, WHICH IS THE
SUBJECT OF CLAIM OR DISPUTE. IN NO EVENT SHALL
CELLPHONE-MATE, INC. BE LIABLE FOR INCIDENTAL,
CONSEQUENTIAL, OR SPECIAL DAMAGES, HOWSOEVER
CAUSED.
6. All matters regarding this warranty shall be interpreted in
accordance with the laws of the State of California and any
controversy that cannot be settled directly shall be settled by
arbitration in California in accordance with the rules then
prevailing of the American Arbitration Association, and judgment
upon the award rendered may be entered in any court having
jurisdiction thereof.
7. If one or more provisions provided herein are held to be invalid or
unenforceable under applicable law, then such provision shall be
ineffective and excluded to the extent of such invalidity or
unenforceability without affecting in any way the remaining
provisions hereof.
Other Cellphone-Mate Amplifier manuals

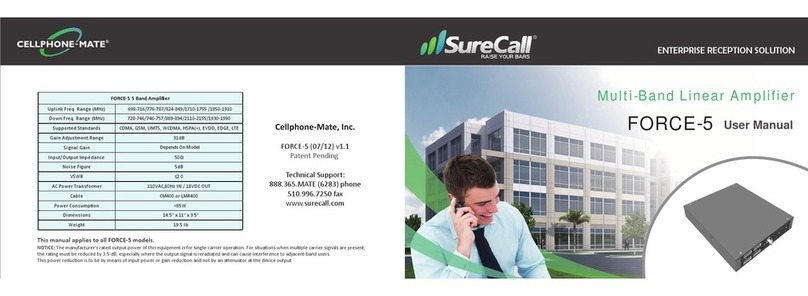
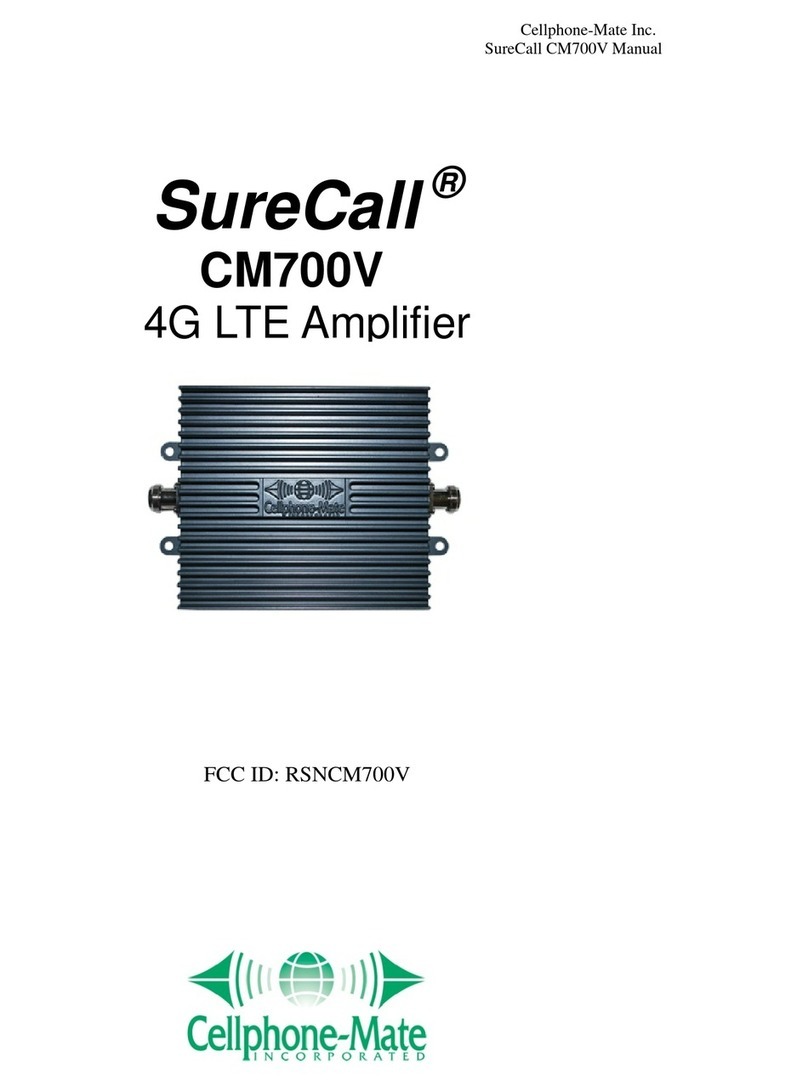
Cellphone-Mate SureCall CM700V User manual

Cellphone-Mate

Cellphone-Mate SureCall CM700V User manual

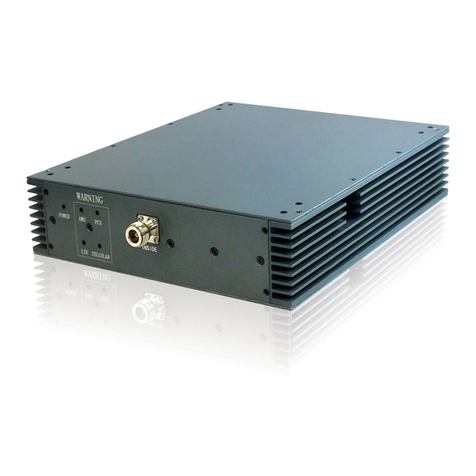
Cellphone-Mate SureCall Fusion-5 User manual

Cellphone-Mate

Cellphone-Mate SureCall Fusion-5 User manual

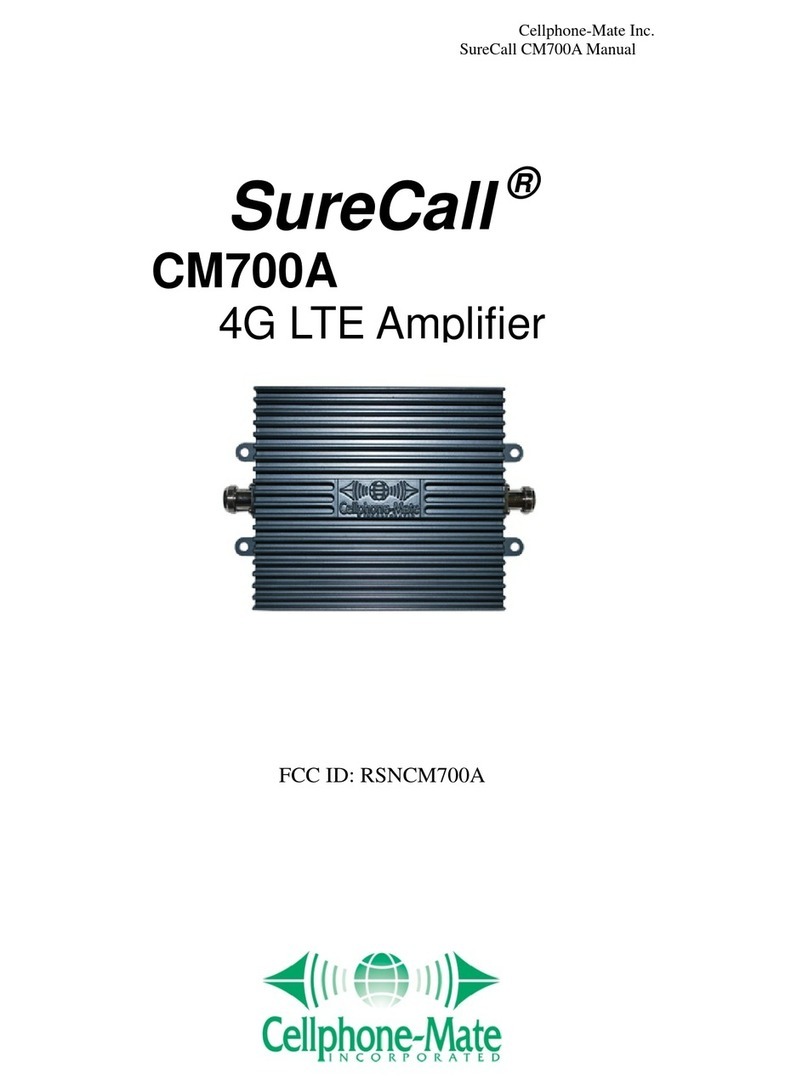
Cellphone-Mate SureCall CM700A User manual

Cellphone-Mate

Cellphone-Mate SureCall CM700A User manual

Cellphone-Mate SureCall Force-5 User manual

Cellphone-Mate

Cellphone-Mate SureCall Force-5 User manual

Cellphone-Mate CM2500W User manual

Cellphone-Mate

Cellphone-Mate CM2500W User manual

Cellphone-Mate SureCall CM2000-WL User manual

Cellphone-Mate

Cellphone-Mate SureCall CM2000-WL User manual

Cellphone-Mate SureCall CM2000-WL 60dB User manual

Cellphone-Mate

Cellphone-Mate SureCall CM2000-WL 60dB User manual

Popular Amplifier manuals by other brands

Luxman MQ-88uC owner's manual

Luxman

Luxman MQ-88uC owner's manual

Carver Lightstar Direct owner's manual

Carver

Carver Lightstar Direct owner's manual

Optimus XL-200 manual

Optimus

Optimus XL-200 manual

Bpt VDX/400 installation instructions

Bpt

Bpt VDX/400 installation instructions

Biamp TC/225 operating instructions

Biamp

Biamp TC/225 operating instructions

Denon POA-2200 Service manual

Denon

Denon POA-2200 Service manual

TSA Hard Series user manual

TSA

TSA Hard Series user manual

Philips FA 951 user manual

Philips

Philips FA 951 user manual

Marantz MA-9S2 user guide

Marantz

Marantz MA-9S2 user guide

Episode EA-AMP-2D-150A owner's manual

Episode

Episode EA-AMP-2D-150A owner's manual

AMTC EQ-AMP150 instruction manual

AMTC

AMTC EQ-AMP150 instruction manual

AXTON A1390 Installation & operating instructions

AXTON

AXTON A1390 Installation & operating instructions

Yamaha HA-G1 owner's manual

Yamaha

Yamaha HA-G1 owner's manual

Plinius P8 instruction manual

Plinius

Plinius P8 instruction manual

TASLER LTT500 manual

TASLER

TASLER LTT500 manual

Ashly nX8004 operating manual

Ashly

Ashly nX8004 operating manual

Pro-Ject Audio Systems Phono Box MM Instructions for use

Pro-Ject Audio Systems

Pro-Ject Audio Systems Phono Box MM Instructions for use

NAD 911 owner's manual

NAD

NAD 911 owner's manual

manuals.online logo
manuals.online logoBrands
  • About & Mission
  • Contact us
  • Privacy Policy
  • Terms and Conditions

Copyright 2025 Manuals.Online. All Rights Reserved.