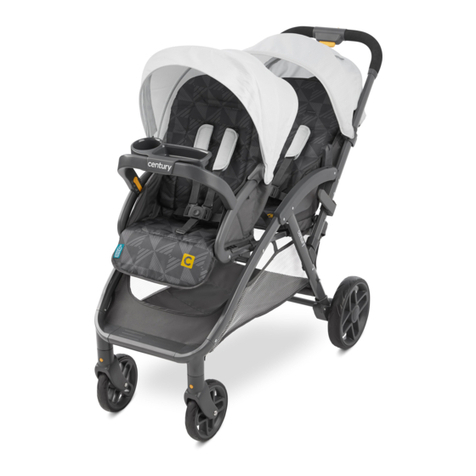
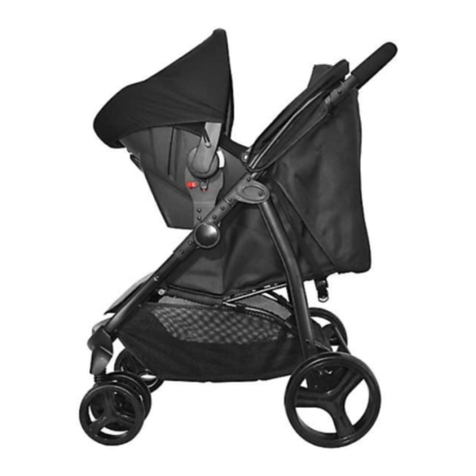
Century Swap On User manual

www.centurybaby.com
Swap OnTM
Century® Modular Stroller
Cochecito Century® Modular
Owner’s Manual •Manual del propietario
Copyright Century Children’s Products 2021 NWL0001286842E 09.21

www.centurybaby.com
2
www.centurybaby.com
Quick Guide
Guía rápida
1
6
3
1. Open storage latch. Lift handle of stroller up.
6. Insert arm bar brace into the upper arm bar just under
the seat mount connectors. Attach seat frame tubes
as shown.
4. Fasten bottom of basket around the
axle with 3 snaps.
3. Brake levers point toward rear of stroller.Check that
rear axle is securely attached by pulling on brake
assembly.
1. Abra la puerta del almacenamiento. Levante
la manija del cochecito hacia arriba.
6. Inserte el refuerzo de la barra para los brazos en la
barra para los brazos superior, justo debajo de los
conectores de montaje del asiento. Sujete los tubos del
armazón del asiento como se indica.
4. Ajuste la parte inferior de la canasta
alrededor del eje con los 3 broches.
3. Las palancas del freno apuntan hacia la parte trasera
del cochecito. Verifique que el eje trasero est instalado
correctamente tirando del ensamblaje del freno.
CLICK!
¡CLIC!
CLICK!
¡CLIC!
Carton • Caja
2
5
2. Attach brake assemblies to rear wheel axle rod.
Be sure brake pedal/lever faces the rear of the
stroller. Add wheel, washer, cotter pin and hub
cap (see section 3-B).
5. Attach front wheels to stroller (see
section 3-D).
2. Conecte los ensamblajes de los frenos a la
varilla del eje posterior de las ruedas. Asegúrese
de que la palanca/el pedal del freno esté
orientado hacia la parte de atrás del cochecito.
Coloque la rueda, la arandela, la clavija y el cubo
(consulte la sección 3-B).
5. Sujete las ruedas delanteras al
cochecito (consulte la sección 3-D).
CLICK!
¡CLIC!
CLICK!
¡CLIC!
4
SNAP!
¡RUIDO!
X2

3
www.centurybaby.com
www.centurybaby.com
11
9
9. Attach child’s arm bar to the stroller (see section
3-G).
9. Conecte la barra para los brazos del niño al cochecito
(consulte la sección 3-G).
To Fold • Para plegar
11. Pull both yellow fold triggers up on both sides of
frame. Rotate handle down.
CHECK that the storage latch is secure.
11. Tire de ambas palancas de pliegue amarillas en ambos
costados del armazón. Gire la manija hacia abajo.
VERIFIQUE que la traba de almacenamiento esté
segura.
87
10
8. Insert canopy wire into the canopy mounts on
each side of the seat as shown.
7. Fasten hook and loop tape on the rear
of canopy as shown.
10. Attach child’s tray to the arm bar
(see section 3-G).
8. Inserte el alambre de la capota en los montajes
de la capota en cada costado del asiento como
se muestra.
7. Sujete la cinta de gancho y bucle en
la parte de atrás de la capota como se
muestra.
10. Sujete la bandeja para el niño a la
barra para los brazos (consulte la
sección 3-G).
CLICK!
¡CLIC!
SNAP!
¡CRAC!

www.centurybaby.com
4
www.centurybaby.com
5-A Care & Maintenance • Cuidado y mantenimiento
5-B Replacement Parts • Warranty Information
Piezas de repuesto • Información sobre la garantía
5-C Product Registration • Registro del producto
5 CARE • CUIDADO
Pages • Páginas 34-36
1 WARNING • ADVERTENCIA
Pages • Páginas 5-7
2-A Parts List • Lista de piezas
2 FEATURES • CARACTERÍSTICAS
Page • Página 8
3-A To Open Stroller • Abrir el cochecito
3-B Rear Wheels • Las ruedas traseras
3-C Basket Assembly • Ensamblaje de la canasta
3-D Front Wheels • La ruedas delanteras
3-E Parent Cup Holder • Portavasos para padres
3-F Toddler Seat • Asiento para niño pequeño
3-G Child’s Arm Bar and Child’s Tray • Barra para los brazos del niño y
bandeja para el niño
3 ASSEMBLY • ENSAMBLAJE
Pages • Páginas 9-18
4-A To Attach/Remove Toddler Seat • Sujetar/sacar el asiento para
niño pequeño
4-B To Fold/Unfold Stroller • Cómo plegar/desplegar el cochecito
4-C Canopy • Capota
4-D To Secure Child • Sujetar al niño
4-E To Recline • Para reclinar
4-F Brakes • Los frenos
4-G To Attach Century®Infant Car Seat to Stroller • Para instalar el asiento
de automóvil para bebé Century®al armazón del cochecito
4-H To Attach Century®Infant Car Seat • Para instalar el asiento de
automóvil para bebé Century®
4-I To Attach Century®Swap OnTM Bassinet to Stroller • Para sujetar el
moisés Century®Swap OnTM al cochecito
4 USE • USO
Pages • Páginas 19-33

5
www.centurybaby.com
www.centurybaby.com
Failure to follow these warnings and the assembly instructions could result in
serious injury or death. Only use product as instructed.
PLEASE SAVE OWNER’S MANUAL FOR
FUTURE USE.
ADULT ASSEMBLY REQUIRED.
NEVER LEAVE CHILD UNATTENDED.
Always keep child in view while in stroller.
AVOID SERIOUS INJURY from falling or
sliding out. Always use seat belt. After fastening
buckles, adjust belts to get a snug fit around
your child.
AVOID FINGER ENTRAPMENT: Use care
when folding and unfolding the stroller. Be
certain the stroller is fully erected and latched
before allowing your child near the stroller.
AVOID STRANGULATION: DO NOT
place items with a string around your child’s
neck, suspend strings from this product, or
attach strings to toys.
NEVER USE STROLLER ON STAIRS or
escalators. You may suddenly lose control of
the stroller or your child may fall out. Also, use
extra care when going up or down a
step or curb.
STROLLER TO BE USED only at walking
speed. Product not intended for use while
jogging, skating, etc.
USE OF THE STROLLER with a child
weighing more than 50 lb (22.5 kg) or taller
than 45 in. (114.3 cm) will cause excessive wear
and stress on the stroller. Use the stroller with
only one child at a time.
TO PREVENT TIPPING, do not place more
than 1 lb (0.45 kg) in the parent cup holder.
TO AVOID BURNS, never put hot liquids in
the cup holder.
TO PREVENT A HAZARDOUS,
UNSTABLE CONDITION, never place
purses, shopping bags, parcels or accessory
items on the handle or canopy.
TO PREVENT A HAZARDOUS,
UNSTABLE CONDITION, do not place
more than 10 lb (4.5 kg) in the storage basket.
DO NOT use storage basket as a child carrier.
DO NOT ALLOW your child to stand on the
basket. It may collapse and cause injury.
NEVER PLACE child in the stroller with head
toward footrest.
NEVER ALLOW YOUR STROLLER to be
used as a toy.
DISCONTINUE USING YOUR
STROLLER should it become damaged
or broken.
CAREGIVER MUST always help child get
into and out of the stroller.
CAREGIVER MUST always ensure the brakes
are engaged when placing child into stroller.
USING CENTURY® INFANT CAR SEAT
WITH STROLLER:
READ THE MANUAL provided with your
Century car seat before using it with
your stroller.
FALL HAZARD: Always check that infant car
seat is securely attached to stroller by pulling
up on the car seat.
ALWAYS SECURE your child with the car
seat harness when using the car seat in the
stroller. If your child is already in the car seat,
check that the child is secured with the
harness.
Improper use of this stroller with a car seat may
result in serious injury or death.
See Century infant car seat owners manual for
maximum size of child.
Do not adjust car seat handle after installing the
car seat in the stroller.
Do not adjust bassinet handle after installing
the bassinet in the stroller.
WARNING

www.centurybaby.com
6
www.centurybaby.com
1
POR FAVOR, GUARDE EL
MANUAL DEL PROPIETARIO
PARA USO FUTURO.
REQUIERE QUE LO ARME UN
ADULTO.
NUNCA DEJE A UN NIÑO SIN
ATENDER. Mantenga siempre al niño a
la vista mientras está en el cochecito.
EVITE SERIAS LESIONES de caídas
o resbalones. Use siempre el cinturón de
seguridad. Después de ajustar las
hebillas, ajuste las correas para obtener
un calce apretado alrededor de su niño.
EVITE EL ATRAPAMIENTO DE LOS
DEDOS: Tenga cuidado cuando pliega y
despliega el cochecito. Asegúrese de que
el cochecito esté completamente
armado y trabado antes de permitir que
el niño se acerque al mismo.
EVITE LA ESTRANGULACIÓN. NO
ponga artículos con un cordón alrededor
del cuello del niño, suspenda cordones
de este producto ni ponga cordones a los
juguetes.
NUNCA USE EL COCHECITO EN
ESCALERAS o escaleras mecánicas.
Podría perder repentinamente el control
del cochecito o el niño podría caerse.
Además, use mucho cuidado cuando
sube o baja un escalón o bordillo.
EL COCHECITO DEBE USARSE
solamente a la velocidad del caminar. El
producto no debe usarse para correr,
patinar, etc.
EL USO DE UN COCHECITO con un
niño que pesa más de 50libras (22.5 kg)
o es más alto que 45 pulgadas (114.3
cm) causará desgaste y tensión excesiva
en el cochecito. Use el cochecito
solamente con un niño por vez.
PARA PREVENIR QUE SE TUMBE,
no ponga más de 1 libra (0.45 kg) en el
apoyavasos para padres.
PARA EVITAR QUEMADURAS,
nunca ponga líquidos calientes en
apoyavasos.
PARA PREVENIR UNA
SITUACIÓN PELIGROSA E
INESTABLE, nunca ponga carteras,
bolsas de compras, paquetes o accesorios
en la manija o capota.
PARA PREVENIR UNA
SITUACIÓN PELIGROSA E
INESTABLE, no ponga más de
10 libras (4.5 kg) en la canasta de
almacenamiento.
NO use la canasta de almacenamiento
como transportador para niños.
NO DEJE que el niño se pare sobre la
canasta. Podría desarmarse y causar
lesiones.
NUNCA PONGA al niño en el asiento
para niño pequeño con la cabeza hacia el
apoyapiés.
NUNCA DEJE QUE EL
COCHECITO se use como un juguete.
DEJE DE USAR SU COCHECITO si
resulta dañado o roto.
LA PERSONA A CARGO DEL
CUIDADO debe ayudar siempre al niño
a subirse y bajarse del cochecito.
No observar estas advertencias y las instrucciones de ensamblaje podría resultar en
lesiones serias o la muerte. Use solamente el producto según las instrucciones.
ADVERTENCIA

7
www.centurybaby.com
www.centurybaby.com
1
LA PERSONA A CARGO DEL
CUIDADO debe tener la seguridad de
que los frenos estén activados cuando
pone al niño en el cochecito.
USO DEL ASIENTO DE AUTOMÓVIL
PARA BEBÉ CENTURY® CON EL
COCHECITO:
LEA EL MANUAL incluido con su
asiento de automóvil Century antes de
usarlo con su cochecito.
PELIGRO DE CAÍDA: Verifique
siempre que el asiento de automóvil para
bebé esté debidamente asegurado al
cochecito tirando del asiento de
automóvil hacia arriba.
ASEGURE SIEMPRE a su niño con el
arnés del asiento de automóvil cuando
usa el asiento de automóvil en el
cochecito. Si su niño ya está en el
asiento de automóvil, verifique que esté
asegurado con el arnés.
El uso inadecuado de este cochecito con
un asiento de automóvil podría resultar
en lesiones serias o la muerte.
Vea el manual del propietario del asiento
de automóvil para bebé Century para
determinar el tamaño máximo del niño.
No ajuste la manija del asiento de
automóvil después de instalar el asiento
de automóvil en el cochecito.
• No ajuste la manija del moisés de
transporte después de instalar el moisés
de transporte en el cochecito.
ADVERTENCIA

www.centurybaby.com
8
www.centurybaby.com
2-A
Parts List
Lista de piezas
All models • Todos modelos
Check that you have all the parts and
hardware (red bag) for this model BEFORE
assembling your product. If any parts are
missing, call Customer Service
1-844-385-0249.
No tools required.
Verifique que tenga todas las piezas y los
equipos (bolsa roja) de este modelo ANTES
de armar su producto. Si falta alguna pieza,
llame a Servicio al Cliente
1-844-385-0249.
No requiere herramientas.
* Red bag contains hardware for rear wheel assembly, do not discard
* La bolsa roja contiene los herrajes para el ensamblaje de las ruedas traseras; no la deseche.
Stroller
Cochecito
Rear Wheel Axle Rod
Varilla del eje de las ruedas traseras
Brake Assemblies
Ensamblajes del freno
Child’s Tray
Bandeja para el niño
2X
Cotter Pins
Clavijas
2X
Hub Caps
Cubos
2X
Washers
Arandelas
2X
Rear Wheels
Las Ruedas Traseras
Front Wheels
Ruedas delateras
2X
Parent Cup Holder
Portavasos para padres
Toddler Seat
Asiento para niño pequeño
Canopy
Capota
Child’s Arm Bar
Barra para los brazos del niño

9
www.centurybaby.com
www.centurybaby.com
3-A
To Open Stroller
Abrir el cochecito
Asegúrese de poner el cochecito sobre un pedazo de cartón o algún otro material
de protección para prevenir dañar el piso.
Be sure to place stroller on top of a piece of cardboard or some other
protective cover to prevent any damage to floor.
1. Abra la puerta del almacenamiento.
1. Open storage latch.
2. Levante la manija del cochecito
hacia arriba.
2. Lift handle of stroller up.
Carton • Caja
CLICK!
¡CLIC!
3. VERIFIQUE que el armazón del
cochecito esté completamente trabado
cada vez que lo abre y antes de continuar
con los pasos de ensamblaje restantes.
3. CHECK that the stroller frame is
completely locked every time you unfold
the stroller and before continuing with
the rest of the assembly steps

www.centurybaby.com
10
www.centurybaby.com
3-B
Rear Wheel Axle Rod • Varilla del eje de las ruedas traseras
Rear Wheels
Las ruedas traseras
1. Instale los ensamblajes del freno a la
varilla del eje como se indica.
1. Attach brake assemblies to axle rod as
shown.
Rear Wheels • Ruedas traseras
2X 2X2X 2X
1. Sujete las ruedas traseras al eje.
1. Attach wheels on axle.
2. Ponga la arandela en el eje.
2. Place washer on axle.
Outside • Hacia fuera Inside • Hacia dentro
Inside
Hacia dentro

11
www.centurybaby.com
www.centurybaby.com
3-B
5. Sujete el cubo como se indica. Repita el
procedimiento del otro lado.
VERIFIQUE que las ruedas estén
instaladas correctamente tirando de
las ruedas.
5. Attach hub cap as shown. Repeat on
other side.
CHECK that wheels are securely
attached by pulling on wheels.
3. Empuje el lado recto de la clavija a través
de el agujero del eje. La clavija se separará
alrededor del eje. El lado curvo de la clavija
DEBE mirar hacia arriba como se indica.
Repita el proceso en el otro costado.
3. Push straight side of cotter pin through
axle hole. The cotter pin will separate
around the axle. Curved end of the cotter
pin MUST face up as shown. Repeat steps
for other side.
4. Las palancas del freno apuntan hacia la
parte trasera del cochecito. Verifique
que el eje trasero est instalado
correctamente tirando del ensamblaje
del freno.
4. Brake levers point toward rear of stroller.
Check that rear axle is securely attached
by pulling on brake assembly.
CLICK!
¡CLIC!
CLICK!
¡CLIC!

www.centurybaby.com
12
www.centurybaby.com
www.centurybaby.com
Basket Assembly
Ensamblaje de la canasta
SNAP!
¡RUIDO!
3-C
Front Wheels
Las ruedas delateras
CLICK!
¡CLIC!
1. To remove, press button on wheels and
pull off.
1. Para retirarlas, empuje el botón de las
ruedas y tire para sacarlas.
1. Attach front wheels to stroller as shown.
CHECK that wheels are securely attached by
pulling on wheel assembly.
1. Sujete las ruedas delanteras al cochecito
como se indica.
VERIFIQUE que las ruedas estén
apretadamente sujetadas tirando del ensamblaje
de las ruedas.
Attaching Front Wheels • Para sujetar las ruedas delanteras
Removing Front Wheels • Para sacar las ruedas delanteras
1. Ajuste la parte inferior de la canasta
alrededor del eje con los 3 broches como
se muestra.
1. Fasten bottom of basket around the axle
with 3 snaps as shown.
2X
2X
3-D

13
www.centurybaby.com
www.centurybaby.com
3-E
Parent Cup Holder
Portavasos para padres
2. Para retirar, tire hacia arriba el
portavaso para padres.
2. To remove press up on parent cup
holder.
1. El portavaso para padres se puede
montar en el lateral del armazón del
cochecito.
1. Parent cup holder can be attached to
the mount on side of stroller frame.
CLICK!
¡CLIC!

www.centurybaby.com
14
www.centurybaby.com
Toddler Seat
Asiento para niño pequeño
3-F
1. Despliegue el asiento para niños
pequeños hasta la posición abierta
como se muestra. Gire el apoyapié y
extiéndalo hacia abajo hasta que
alcance su posición, como se muestra.
1. Unfold toddler seat to the open
position as shown. Flip the footrest
down into position as shown if
necessary.
2. Inserte el refuerzo de la barra para
los brazos en la barra para los brazos
superior, justo debajo de los
conectores de montaje del asiento.
2. Insert arm bar brace into the upper
arm bar just under the seat mount
connectors.

15
www.centurybaby.com
www.centurybaby.com
3-F
3. Sujete los tubos del armazón del
asiento como se indica.
3. Attach seat frame tubes as shown.
1. Sujete la cinta de nudo y gancho en
la parte trasera de la capota como se
indica.
ASEGÚRESE de que la capota esté
siempre sujetada con la cinta de
nudo y gancho cuando la usa con el
asiento de automóvil para bebé o
cuando usa el asiento para niño
pequeño.
1. Fasten hook and loop tape on the
rear of canopy as shown.
MAKE SURE canopy is always
fastened with the hook and loop
tape when used with infant car seat
or when toddler seat is in use.
To Attach Canopy • Para sujetar la capota
CLICK!
¡CLIC!

www.centurybaby.com
16
www.centurybaby.com
3-F
SNAP!
¡CRAC!
2. Inserte el alambre de la capota en
los montantes de la capota que se
encuentran en cada costado del
asiento, como se indica.
2. Insert canopy wire into the
canopy mounts on each side of the
seat as shown.

17
www.centurybaby.com
www.centurybaby.com
3-G
2. Tire de la barra para los brazos del niño
para asegurarse de que esté sujetada.
3. Para abrirla, oprima el botón bajo la
barra para los brazos del niño y gire la
barra hacia arriba.
2. Pull on child’s arm bar to make sure it
is attached.
3. To open, press button on bottom of
child’s arm bar, and rotate child’s arm
bar up.
CLICK!
¡CLIC!
Child’s Arm Bar and Child’s Tray
Barra para los brazos del niño y bandeja para el niño
WARNING
Always secure your child with the seat belt. The child’s arm bar is not a restraint
device. DO NOT lift the stroller by the child’s arm bar or child tray. Use care
when snapping the child’s arm bar on the stroller with a child in the stroller.
ADVERTENCIA
Asegure siempre a su niño con el cinturón de seguridad. La barra para los brazos no
es un dispositivo de seguridad. NO levante el cochecito agarrándolo por la barra para
los brazos o de la bandeja para el niño. Tenga precaución al trabar la barra para los
brazos del niño en el cochecito si hay un niño en el cochecito.
1. Sujete la barra para los brazos del niño
al cochecito como se indica.
1. Attach child’s arm bar to stroller as
shown.

www.centurybaby.com
18
www.centurybaby.com
3-G
1. Press the child’s arm bar latches, then
pull the child’s arm bar away from the
frame.
1. Oprima las trabas de la barra para los
brazos del niño, luego tire de la barra
hacia afuera del armazón.
Removing Child’s Arm Bar • Para sacar la barra para los brazos del niño
Attaching Child’s Tray • Para sujetar la bandeja para el niño
1. Sujete la bandeja para el niño a la barra
para los brazos del niño empujando
firmemente hacia abajo la bandeja
sobre la barra para los brazos del niño.
1. Attach child’s tray to the child’s arm
bar by firmly pushing down on child’s
tray onto the child’s arm bar.
1. Retire la bandeja para el niño
levantando la pestaña frontal y girando
la bandeja para sacarla de la barra para
los brazos del niño.
1. Remove child’s tray by lifting up on the
front tab and rotate the tray off the
child’s arm bar.
Removing Child’s Tray • Para sacar la bandeja para el niño

19
www.centurybaby.com
www.centurybaby.com
4-A
To Attach/Remove Toddler Seat
Sujetar/sacar el asiento para niño pequeño
WARNING
ONLY USE toddler seat on the stroller, and do not remove, reverse, or carry the
toddler seat while child is in it.
ADVERTENCIA
USE SOLAMENTE el asiento para niño pequeño en el cochecito, y no saque,
invierta ni transporte el asiento para niño pequeño con el niño en él.
1. Para sujetar el asiento, ponga el asiento
en los montantes como se indica hasta
que se traben en su lugar en ambos
costados del cochecito.
2. VERIFIQUE que el asiento para niño
pequeño esté apretadamente sujetado
al cochecito tirando hacia arriba del
asiento para niño pequeño
1. To attach seat, place seat on mounts as
shown until they lock into place on
both sides of the stroller.
2. CHECK that toddler seat is securely
attached to the stroller by pulling up
on toddler seat

www.centurybaby.com
20
www.centurybaby.com
4-A
To Remove Toddler Seat • Sacar el asiento para niño pequeño
1. Apriete los botones de ambos costados
del asiento y tire hacia arriba como se
indica.
1. Squeeze buttons on both sides of the
seat and pull up as shown.
NOTE: Seat may be placed on stroller in
either direction.
NOTA: Se puede colocar el asiento en el
cochecito en cualquiera de las dos
direcciones.
Other manuals for Swap On
1
Table of contents
Other Century Stroller manuals
Century
Century PM-1016AA User manual
Century
Century Stroll On 3-Wheel User manual
Century
Century 4-in-1 TravelSolutions User manual
Century
Century 6901 User manual
Century
Century Travel Solutions Travel SolutionsTM Plus User manual
Century
Century 4 in 1System Pro Sport Plus User manual
Century
Century 4-in-1 TravelSolutions User manual
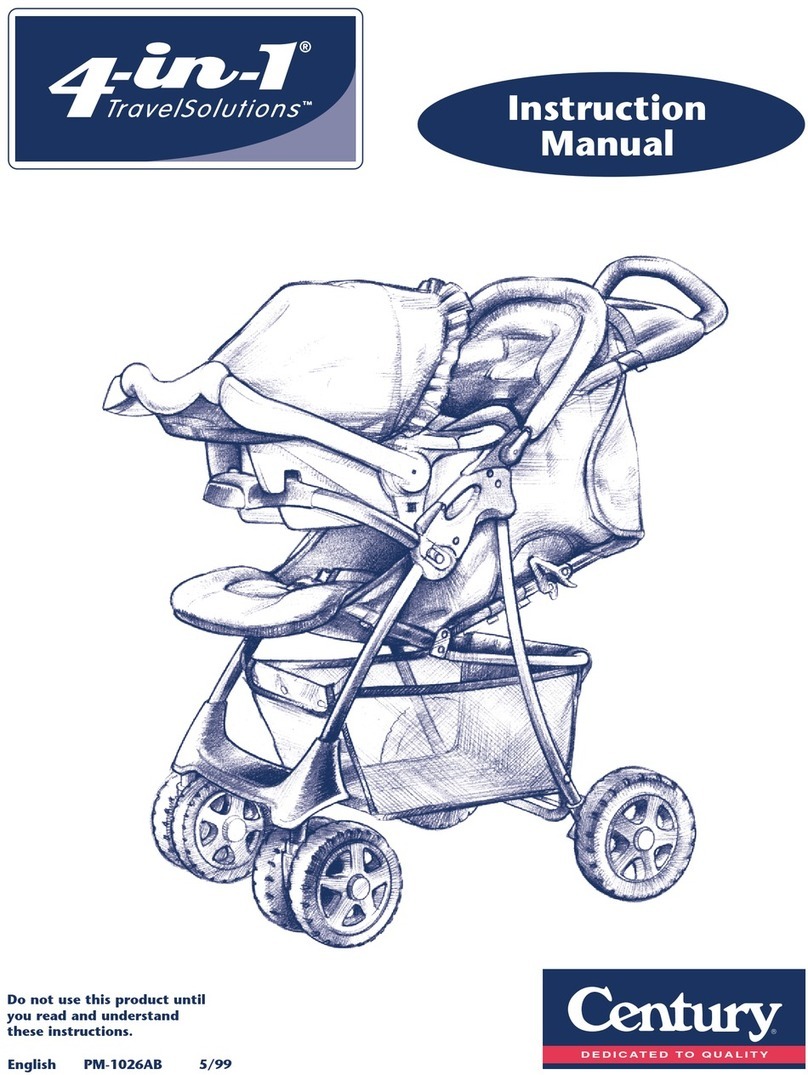
Century
Century PM-1026AB User manual
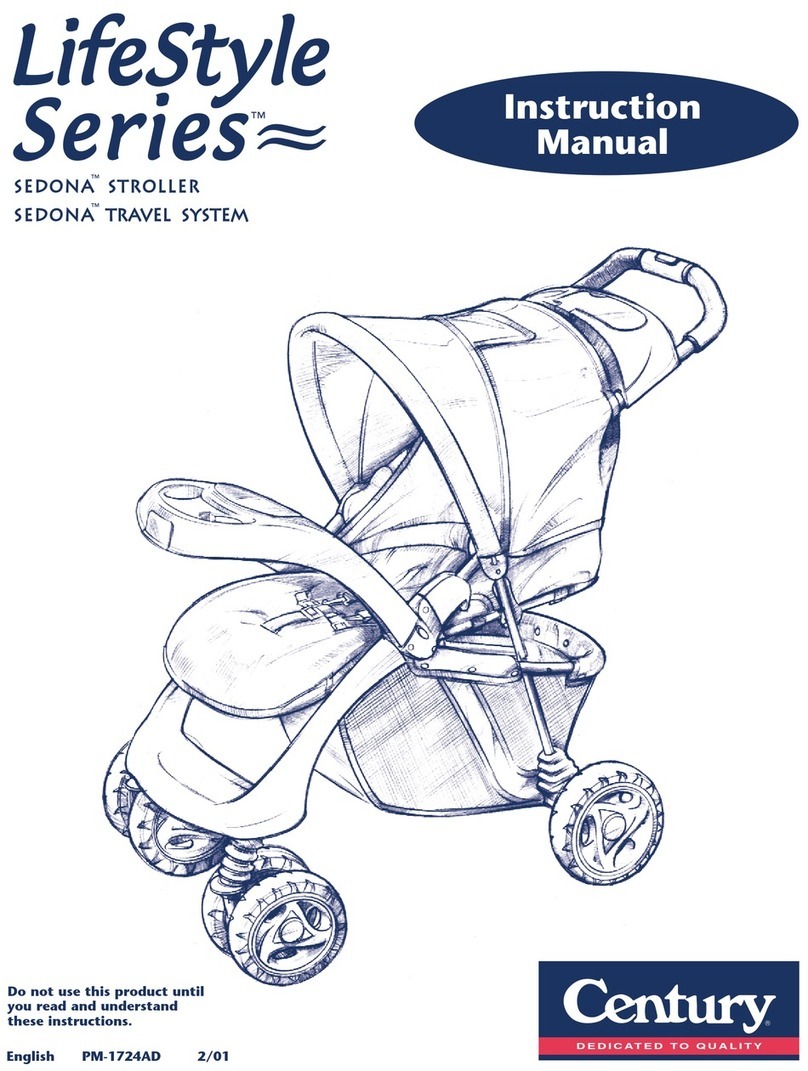
Century
Century Sedona LifeStyle 11-975 User manual
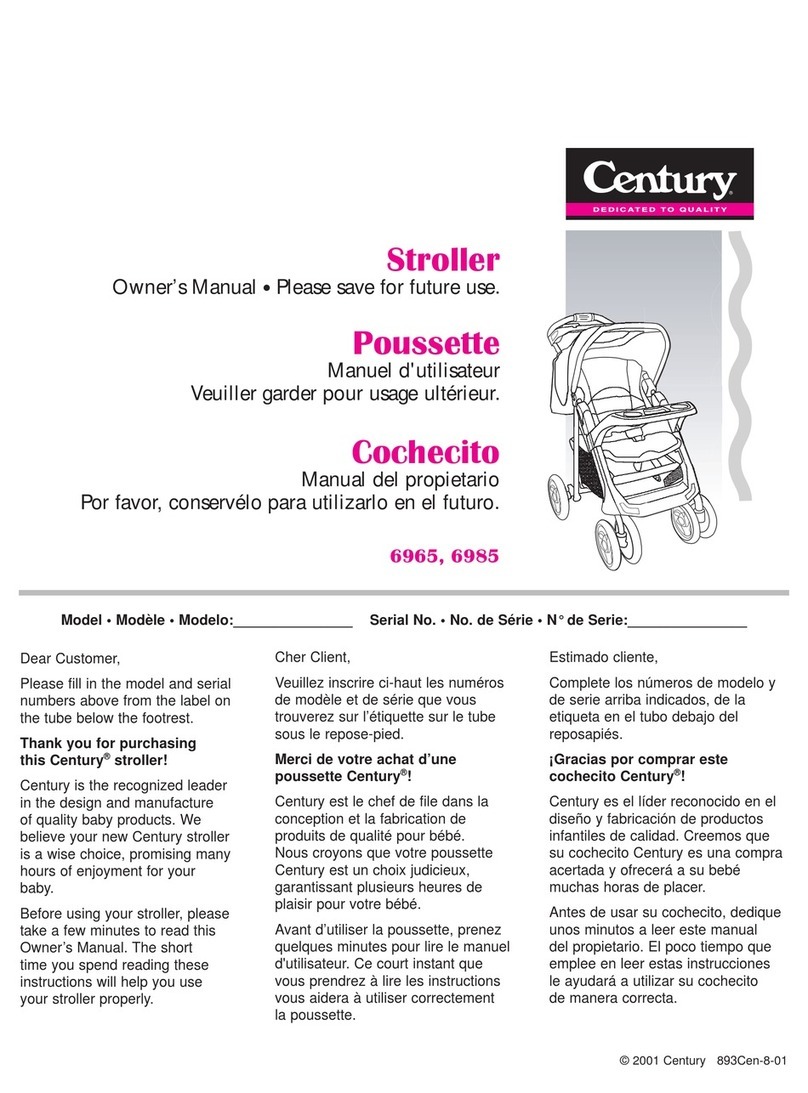
Century
Century 6965 User manual
