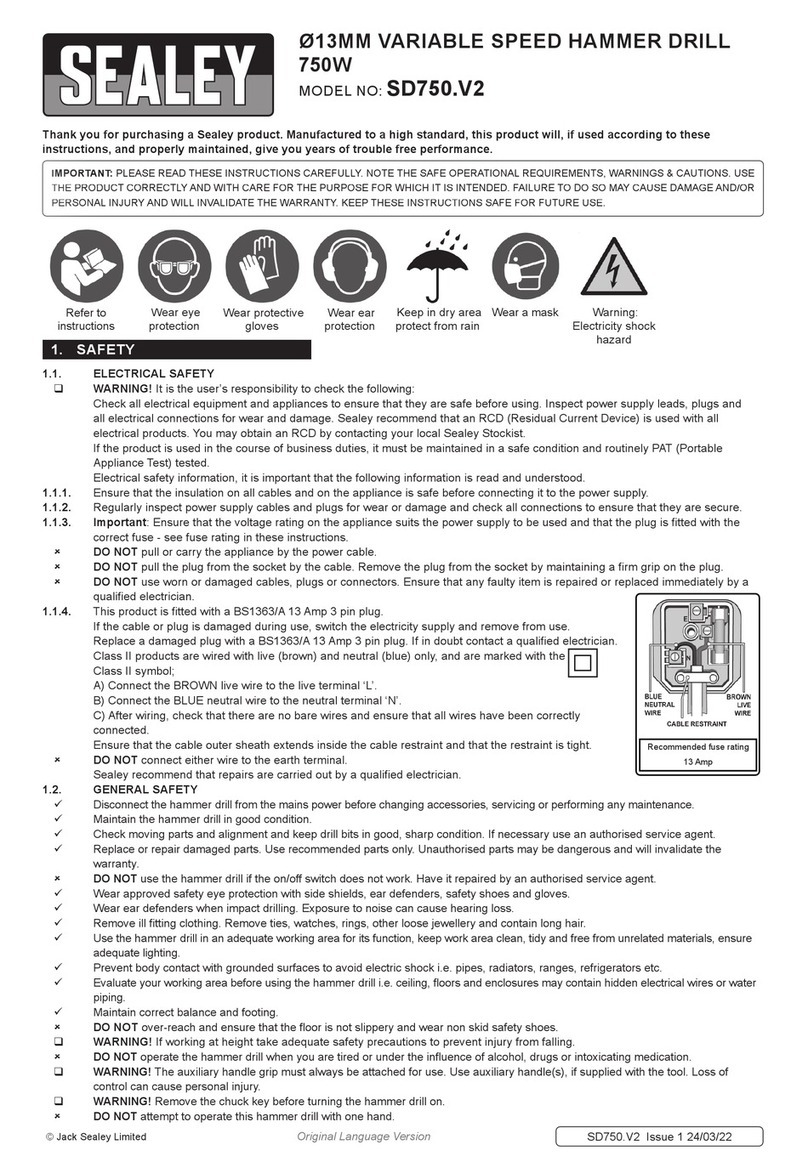
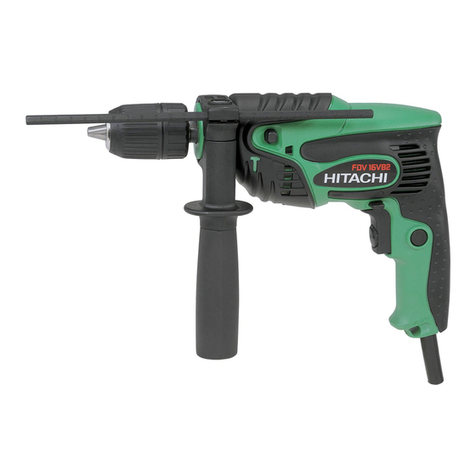
Certa CTJCKHMROTA User manual


Table of Contents
Safety Warnings.................................................................................................................................2
Work area safety...........................................................................................................................2
Electrical Safety.............................................................................................................................2
Personal Safety..............................................................................................................................2
Power tool use and care............................................................................................................3
Service...............................................................................................................................................3
Hammer safety warnings...........................................................................................................3
Product Layout...................................................................................................................................4
Product Descri tion.....................................................................................................................4
Accessories......................................................................................................................................4
Before Starting Work.......................................................................................................................5
Fitting and changing tools........................................................................................................5
Removing the SDS- lus tool....................................................................................................5
Starting Work .....................................................................................................................................5
Switching ON/OFF.......................................................................................................................5
Handle attachment.......................................................................................................................5
S eed control.................................................................................................................................5
Dust collection device.................................................................................................................5
Hammer sto ..................................................................................................................................6
Drill sto ............................................................................................................................................6
Maintenance.........................................................................................................................................6
1

Safety Warnings
WARNING: Read all safety warnings and all instructions. Failure to follow the warnings and
instructions may result in electric shock, fire and/or serious injury.
Save all warnings and instructions for future reference.
The term “ ower tool” in the warnings refers to your mains-o erated (corded) ower tool or
battery-o erated (cordless) ower tool.
Work area safety
•eep the work area clean and well lit. Cluttered or dark areas invite accidents.
•Do not operate power tools in explosive atmospheres, such as in the presence of
flammable liquids, gases or dust. Power tools create s arks and may ignite the dust or
fumes.
•eep children and bystanders away while operating a power tool. Distractions can
cause you to lose control.
Electrical Safety
•Power tools plugs must match the power outlet. Never modify the plug in any way. Do
not use any adapter plugs with earthed (grounded) power tools. Unmodified lugs and
matching outlets will reduce the risk of electric shock.
•Avoid body contact with earthed or grounded surfaces such as pipes, radiators, ranges
and refrigerators. There is an increased risk of electric shock if your body is earthed or
grounded.
•Do not expose the power tool to rain or wet conditions. Water entering a ower tool will
increase the risk of electric shock.
•Do not abuse the cord. Never use the cord for carrying, pulling or unplugging the
power tool. eep cord away from heat, oil, sharp edges or moving parts. Damaged or
entangled cords increase the risk of electric shock.
•When operating a power tool outdoors, use an extension cord suitable for outdoor use.
Use of a cord suitable for outdoor use reduces the risk of electric shock.
•If operating a power tool in a damp location is unavoidable, use a residual current
device (RCD) protected supply. Use of an RCD reduces the risk of electric shock.
Personal Safety
•Stay alert, watch what you are doing and use common sense when operating a power
tool. Do not use a power tool while you are tired or under the influence of drugs,
alcohol or medication. A moment of inattention while o erating ower tools may result
in serious ersonal injury.
•Use personal protective equipment. Always wear eye protection. Protective equi ment
such as dust mask, non-skid safety shoes, hard hat, or hearing rotection used for
a ro riate conditions will reduce ersonal injuries.
•Prevent unintentional starting. Ensure the switch is in the off-position before
connecting to power source and/or battery pack, picking up or carrying the tool.
Carrying ower tools with your finger on the switch or energising ower tools that have
the switch on invites accidents.
•Remove any adjusting key or wrench before turning the power tool on. A wrench or a
key left attached to a rotating art of the ower tool may result in ersonal injury.
•Do not overreach. eep proper footing and balance at all times. This enables better
control of the ower tool in unex ected situations.
•Dress properly. Do not wear loose clothing or jewellery. eep your hair, clothing and
gloves away from moving parts. Loose clothes, jewellery or long hair can be caught in
moving arts.
•If devices are provided for the connection of dust extraction and collection facilities,
ensure these are connected and properly used. Use of dust collection can reduce dust-
related hazards.
2

Power tool use and care
•Do not force the power tool. Use the correct power tool for your application. The
correct ower tool will do the job better and safer at the rate for which it was designed.
•Do not use the power tool if the switch does not turn it on and off. Any ower tool that
cannot be controlled with the switch is dangerous and must be re aired.
•Disconnect the plug from the power source before making any adjustments, changing
accessories, or storing power tools. Such reventive safety measures reduce the risk of
starting the ower tool accidentally.
•Store idle power tools out of the reach of children and do not allow persons unfamiliar
with the power tool or these instructions to operate the power tool. Power tools are
dangerous in the hands of untrained users.
•Maintain power tools. Check for misalignment or binding of moving parts, breakage of
parts and any other condition that may affect the power tool’s operation. If damaged,
have the power tool repaired before use. Many accidents are caused by oorly
maintained ower tools.
•eep cutting tools sharp and clean. Pro erly maintained cutting tools with shar cutting
edges are less likely to bind and are easier to control.
•Use the power tool, accessories and tool bits etc. in accordance with these instructions,
taking into account the working conditions and the work to be performed. Use of the
ower tool for o erations different from those intended could result in a hazardous
situation.
Service
•Have your ower tool serviced by a Kogan technician using only identical re lacement
arts. This will ensure that the safety of the ower tool is maintained.
Hammer safety warnings
•Wear ear protectors. Ex osure to noise can cause hearing loss.
•Use auxiliary handle(s), if supplied with the tool. Loss of control can cause ersonal
injury.
•Hold power tool by insulated gripping surfaces, when performing an operation where
the cutting accessory may contact hidden wiring or its own cord. Cutting accessory
contacting a "live" wire may make ex osed metal arts of the ower tool "live" and could
give the o erator an electric shock.
3

Product Layout
Product Description
1. Dust Guard 2. Fastening Sleeve 3. ON/OFF Switch
4. Handle Attachment 5. S eed Control 6. Hammer Sto
7. Drill Sto
Accessories
1. Case 2. Hammer Drill 3. Auxiliary Handle
4. Dust Ca
4

Before Starting Work
•It is recommended that the tool ower be su lied by a residual current
device with a rated residual current of 30mA or less.
•Examine the location where the device is to be used for hidden electrical
cables, or gas and water i es.
•Before connecting the unit to the mains, ensure that the mains su ly and
ower cables match the details on the rating late.
Fitting and changing tools
The unit is equi ed with an SDS- lus attachment system.
•Clean tools, then grease with a thin layer of machine grease before fitting.
•Pull the fastening sleeve (A Fig 2) back and hold.
•Push and rotate the dust-free tool into the tool holder as far as it will go.
The tool will lock automatically.
•Check that it is locked in osition by ulling on the tool.
Removing the SDS-plus tool
•Pull back the fastening sleeve (A), hold and remove the tool.
Starting Work
Switching ON/OFF
•Switching on: Press the o erating switch (3).
•Switching off: Press the o erating switch (3) briefly, then release.
Handle attachment
For safety and accuracy reasons, only use the hammer drill with the handle
attachment fixed.
You will be able to obtain a safe body osition when working by rotating the
handle attachment. Loosen and turn the handle attachment in an anti-clockwise
direction, then tighten the handle attachment.
Speed control
Adjust the rotate s eed and im act number through revolving the adjustment
dial. It marks the lowest s eed u to the max to s eed on the dial.
Dust collection device
Before carrying out hammer drilling work vertically overhead, ull the dust
collecting device over the drill bit.
5
(Fig 2)
(Fig 3)
(Fig 1)
(Fig 4)
(Fig 5)
(Fig 6)

Hammer stop
Your hammer drill is equi ed with a hammer sto facility for smooth drilling.
•To deactivate the hammer action, turn the lever switch (7) clockwise to
osition IT.
•To reactivate the hammer action, the lever switch (7) has to be reset to
the IT osition.
Drill stop
You can deactivate the drilling action of the hammer drill when using it for
chiselling work.
•To do so, turn the lever selector (6) to the T mark that coincides with the
arrow on the machine case.
•To reactivate the drilling action, the lever selector (6) has to be reset to
the IT mark coinciding with the arrow.
IMPORTANT: When hammer drilling, you only require to ut low ressure on the
unit. Too much ressure will lace unnecessary load on the motor. Check the
drill bits regularly. Reshar en or re lace blunt drill bits.
Maintenance
•Remove the mains lug from the socket before carrying out any work on
the unit.
•Kee the unit clean at all times.
•Never use caustic agents to clean the lastic arts.
•At the end of your work, to revent dust de osits you should use
com ressed air (max. 3 bar) to clean out the ventilation slots.
•Check the carbon brushes regularly (dirty or worn carbon brushes can
result in excessive s arking and s eed faults).
•If re lacement of the su ly cord is necessary, this must be done by a
Kogan technician to avoid a safety hazard.
If you have any further questions regarding the use of this product, please
contact the ogan customer support team either via our website or by phone.
https://www.kogan.com/au/help/
1300 304 292
6
(Fig 7)
(Fig 8)
Table of contents
Other Certa Drill manuals
