Electrical | Plumbed-In Option Instructions
- Page I -
Then pull the electrical wiring through the conduit
attached to the ue pipe up to the access door on
the anchor plate where the wire can be connected
to the junction box.
To complete the connection, lift the
replace body and slide the ue on top of the main
body so the threaded rod aligns with the upper
bracket. Secure the ue assembly to the body with
the ½" hex nut and washer (supplied) onto the
threaded rod. Install the access panel with four #10-
24 screws (supplied).
NOTE: This operation will require
multiple people. It is suggested that
two people lift the replace body while a
third completes the installation.
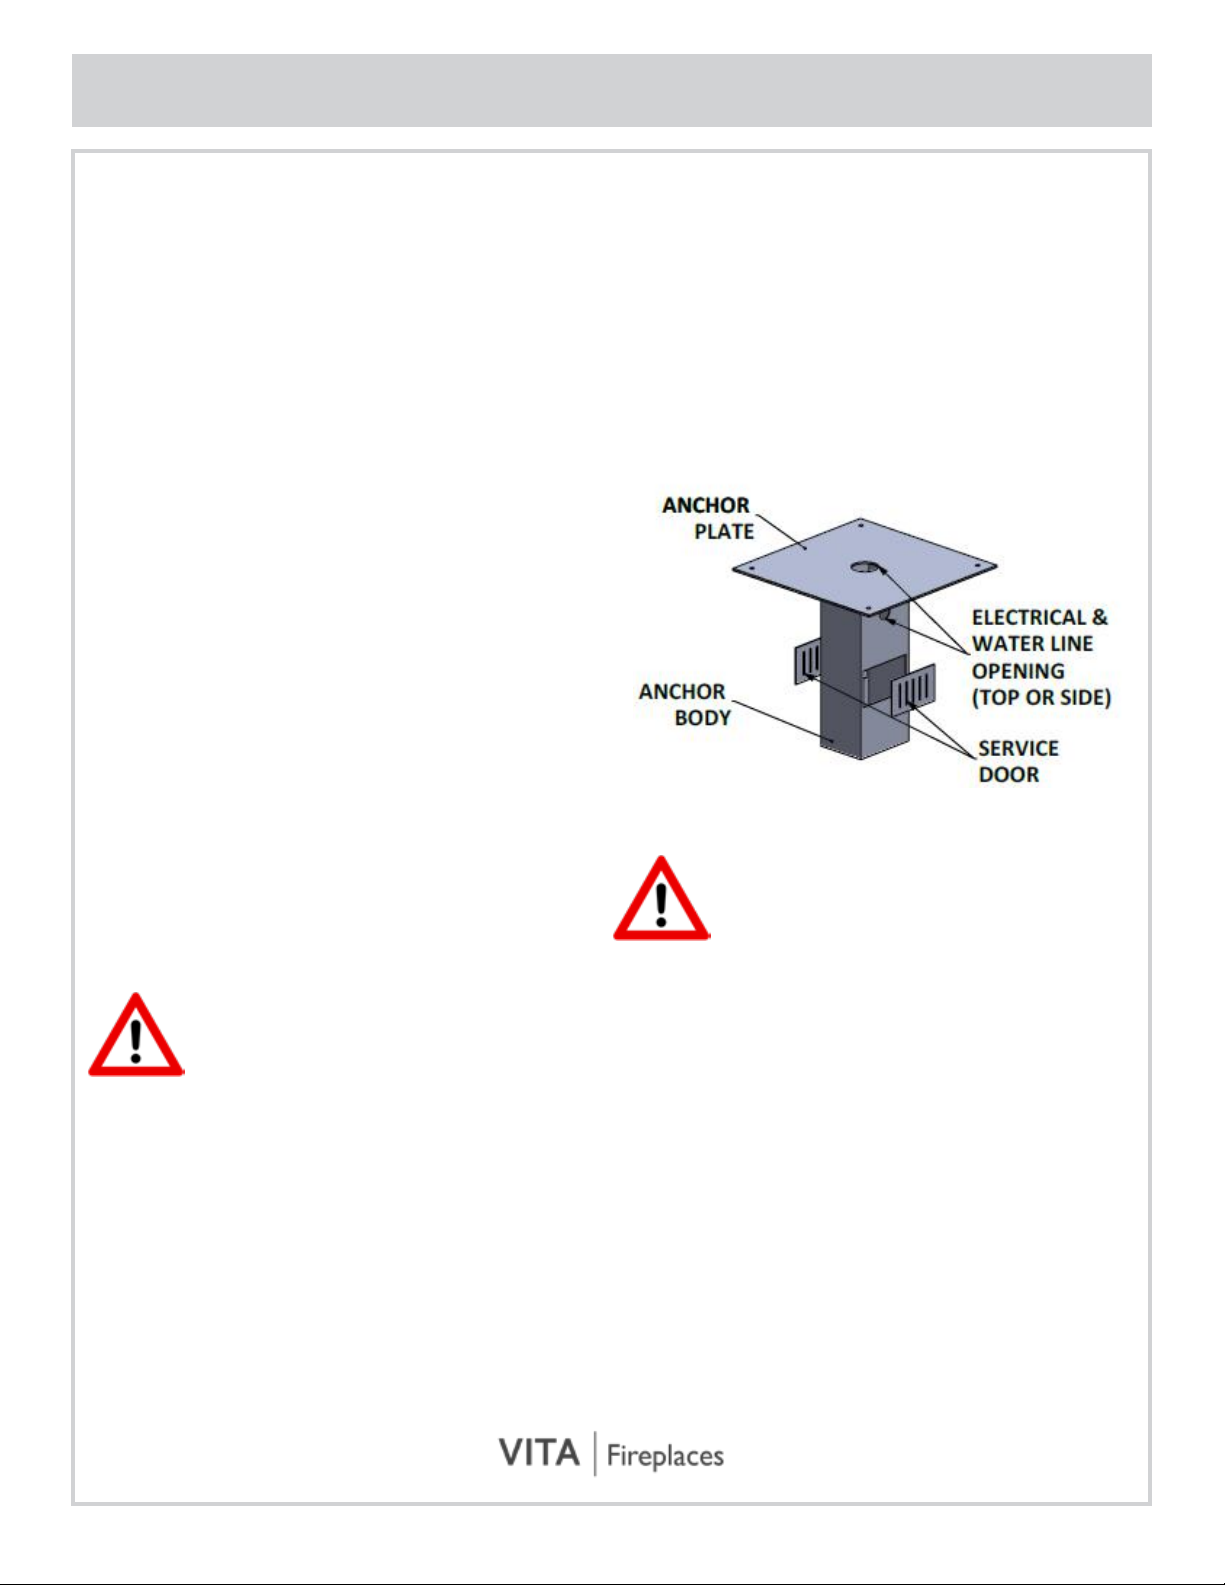
Electrical Installation
NOTE: All electrical to be completed
rst. Do not turn on electrical until
plumbing has been completed.
The electrical and ¼” water line is supplied
with the replace.The electrical connections for
suspended replaces are located at the ceiling or
roof where the replace will be hanging. There is an
access/service panel provided on the anchor body
(see Figure 1), once the ue pipe has been inserted
into the anchor body, the junction box can be
accessed through this panel.
A dedicated circuit is required for the
junction box. Connect eld power 120V GFCI
wire,15 AMP service to the wires located on the
left side of the unit. Be sure to include an on/off
switch (on the wall is recommended) into your power
supply to control the system.
NOTE: Make sure the Vapor-Fire
burner power is off before
connecting.
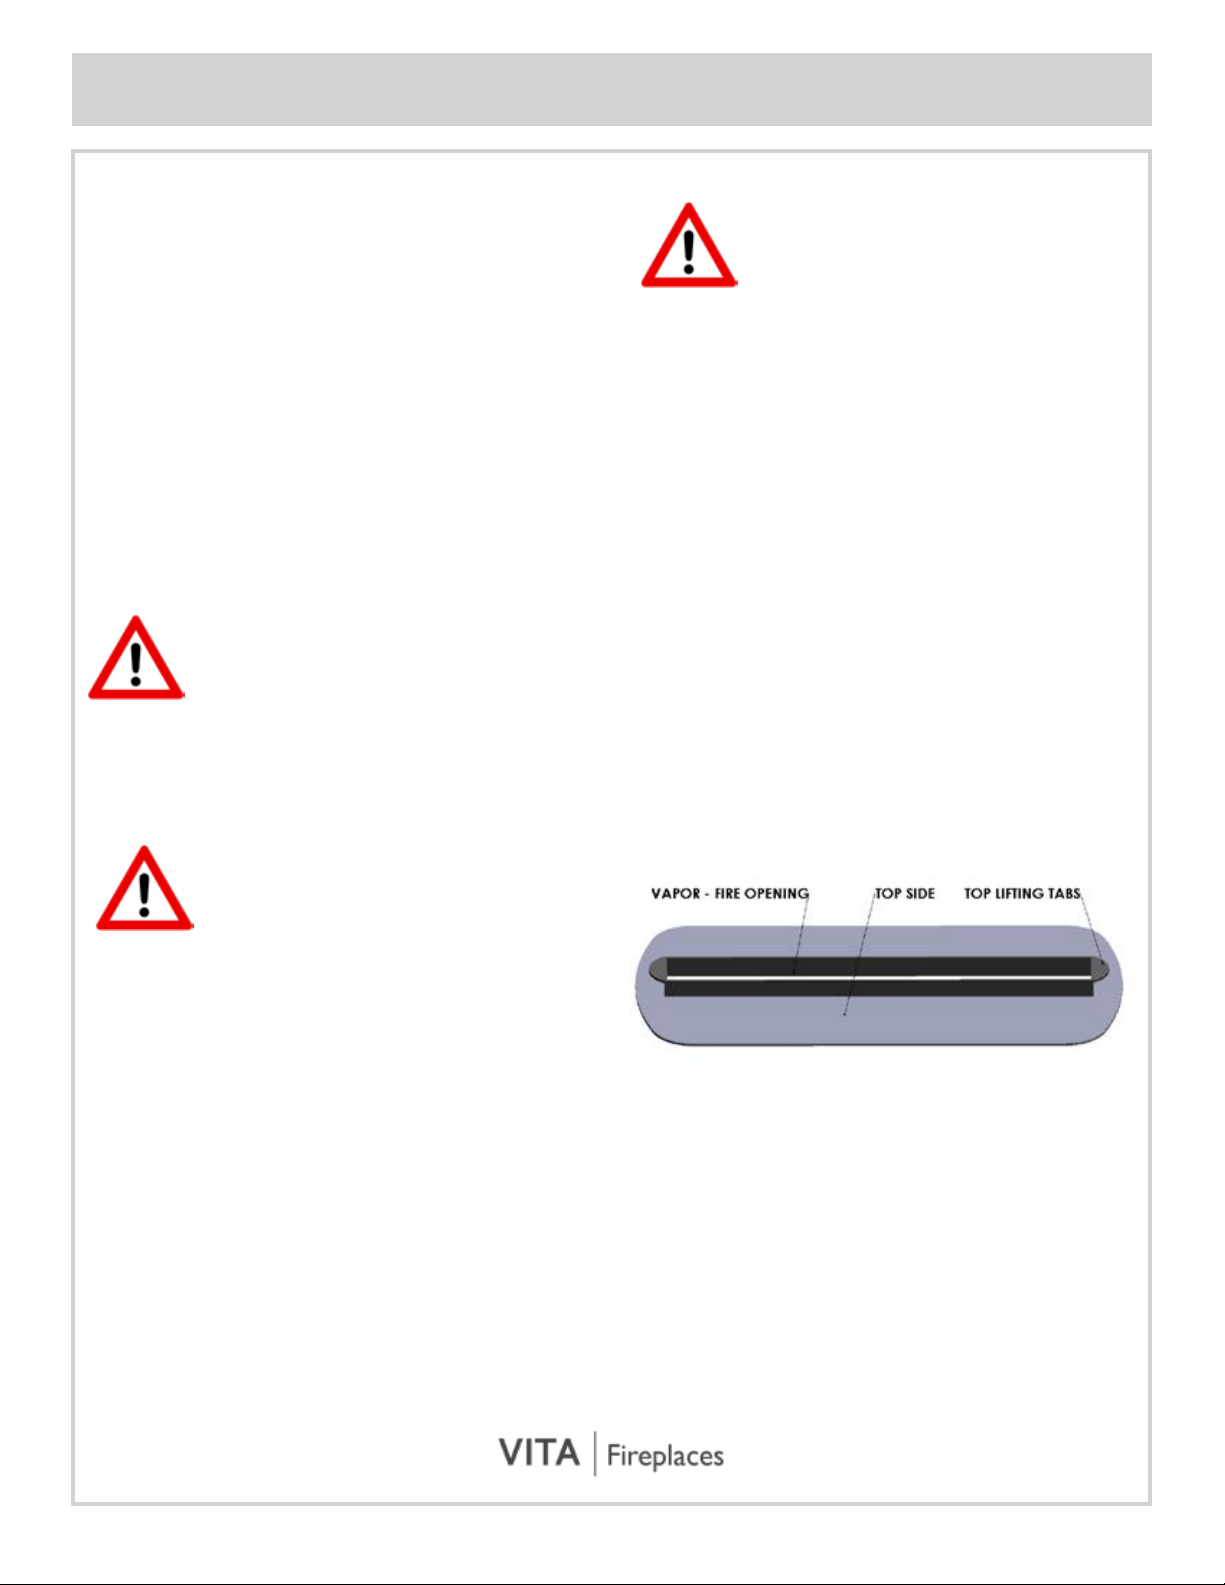
Media Plate Instructions
The media plate has three functions:
• The media plate will be lifted to access the
Vapor-Fire burner.
• To display the chosen media (rocks, glass, logs,
etc.).
• To direct the airow for optimum Vapor-Fire
effect.
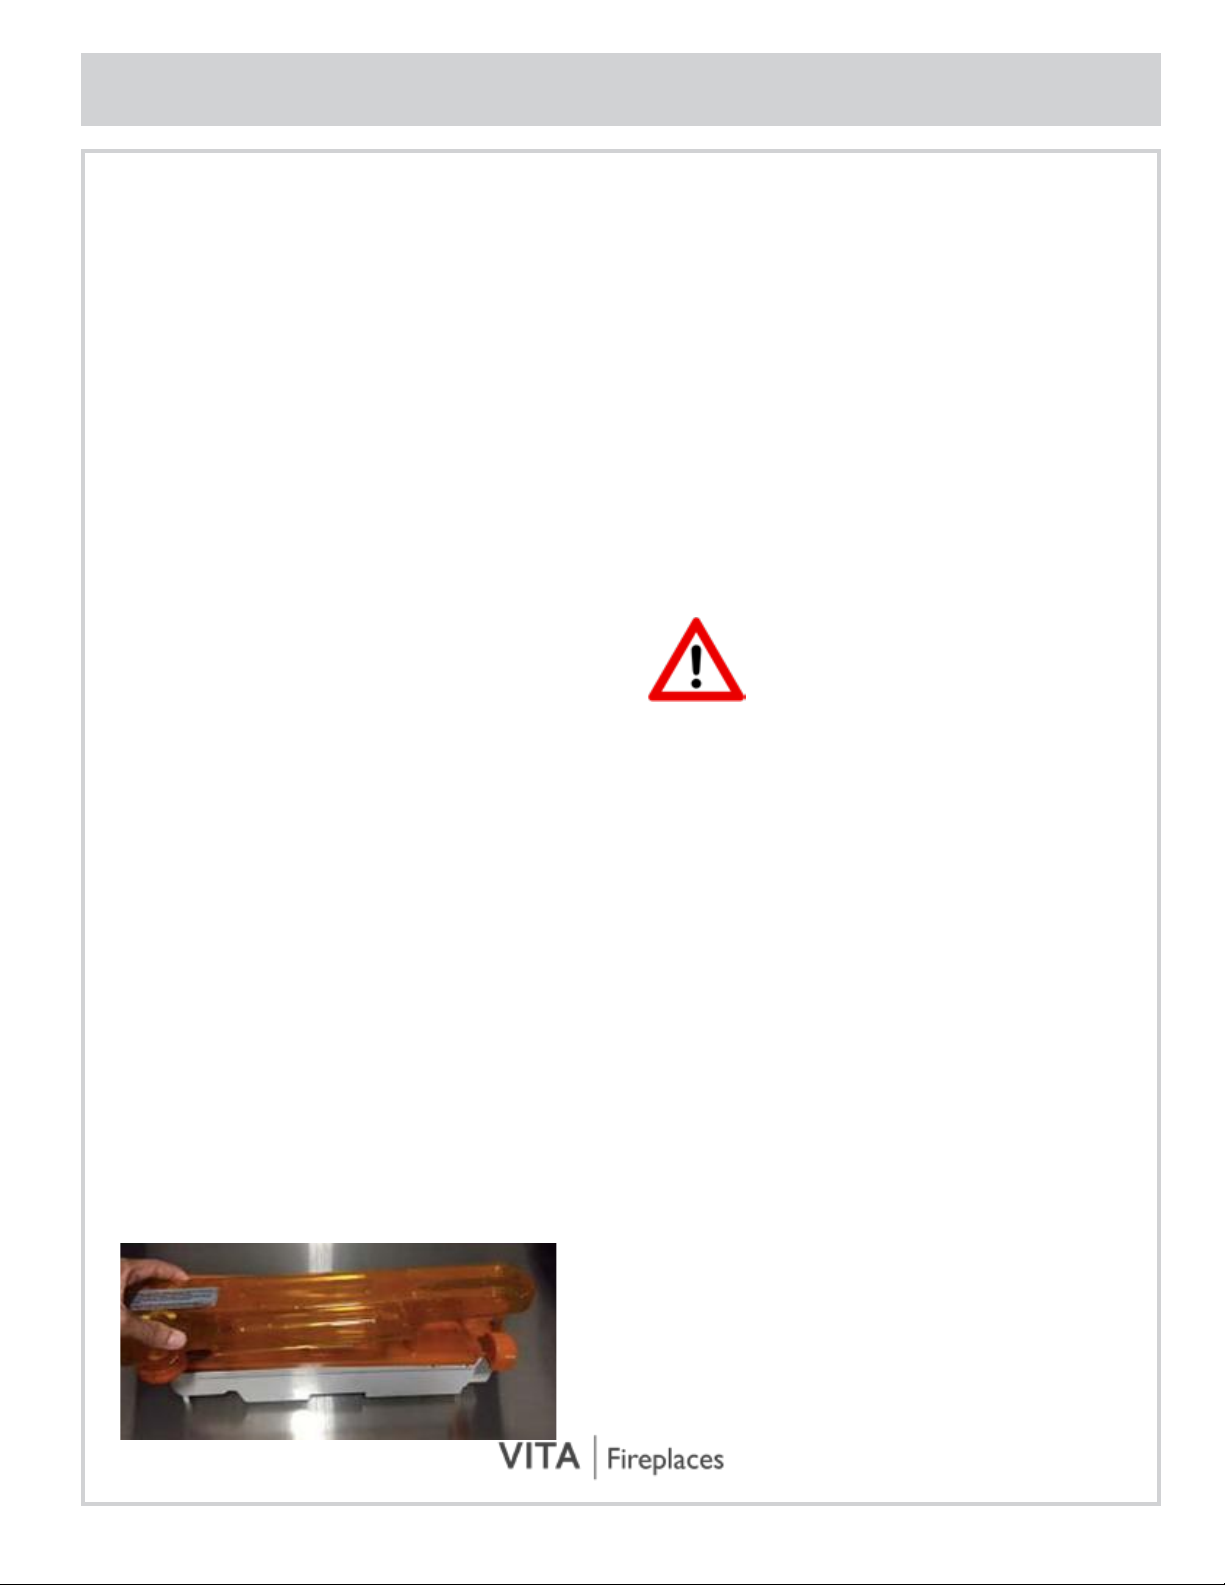
There are two lifting tabs for ease of use (see
diagram below). Replace the media plate by holding
the top lifting tabs with the Vapor-Fire opening
facing upwards. Place the media tray into the slot
inside of the replace body. Ensure that all edges are
ush and snug so that the media plate is at.
Instructions for Continuous
Plumbed-In Systems
• The plumbing accessory kit is designed for use
with copper piping.
• Ensure that all plumbing connections meet local
plumbing code requirements.
• Ensure that the location of the plumbing
connection allows for easy access for shut-off
during scheduled maintenance.
1/22/19


S36 Series Owners manual and installation manual")


