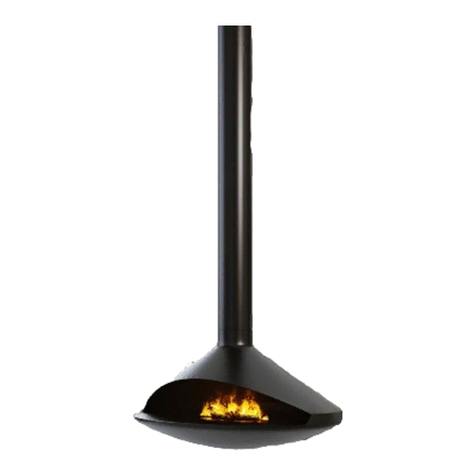
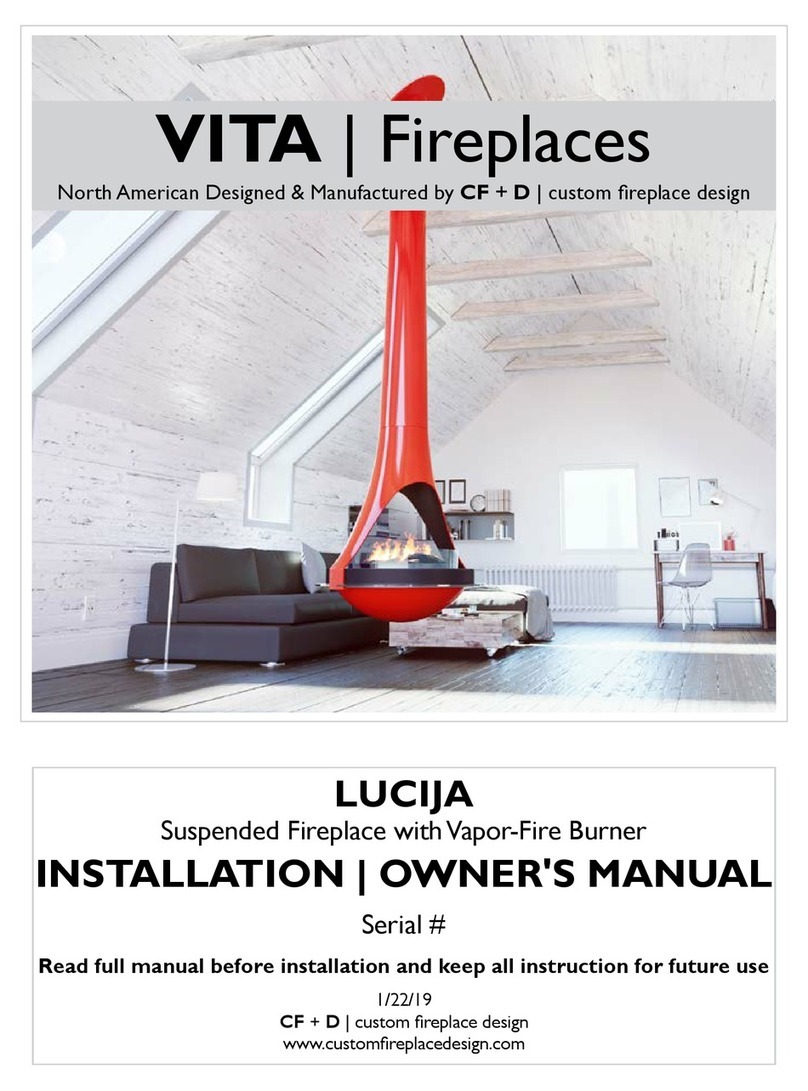
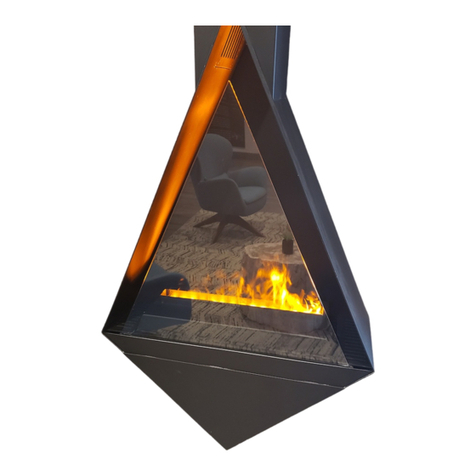
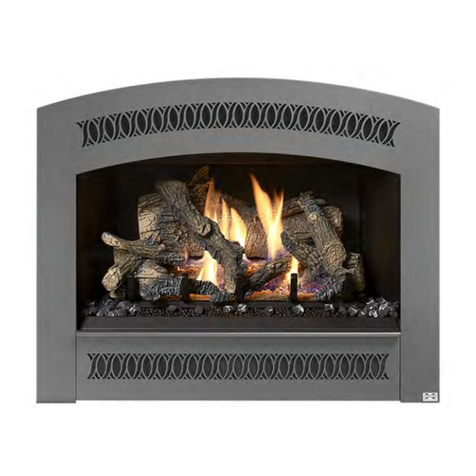
CF+D VITA MONROE Operating instructions


Table of contents
Other CF+D Indoor Fireplace manuals
Popular Indoor Fireplace manuals by other brands

Dimplex
Dimplex 6908760100 owner's manual

Regency Fireplace Products
Regency Fireplace Products Gi33LE Owners & installation manual

Regency
Regency City Series New York 40 manual
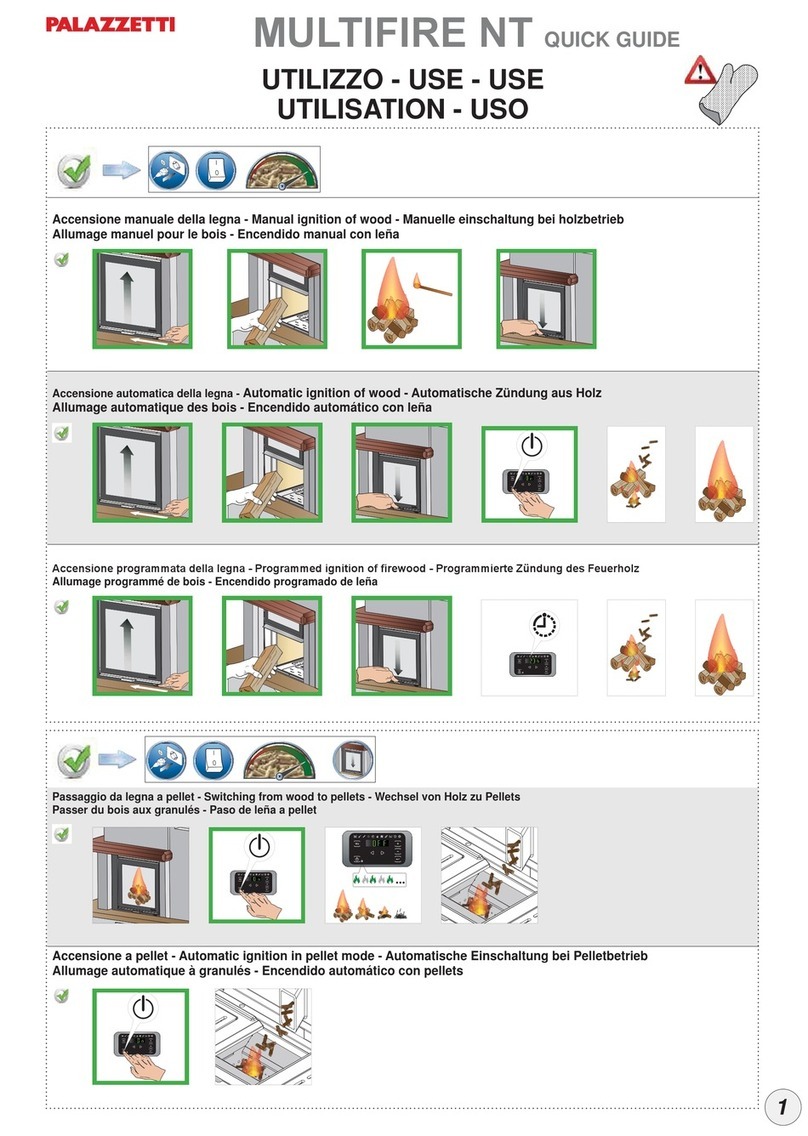
Palazzetti
Palazzetti MULTIFIRE NT quick guide
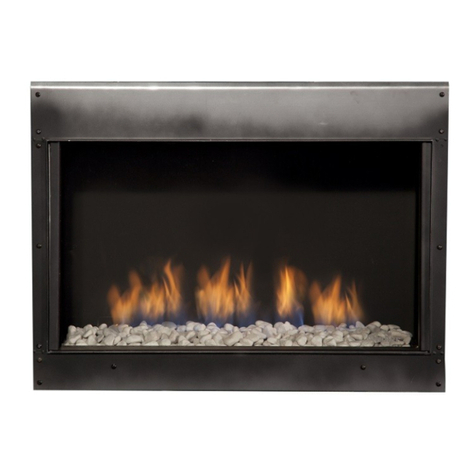
Faber
Faber Fyn 600 installation manual
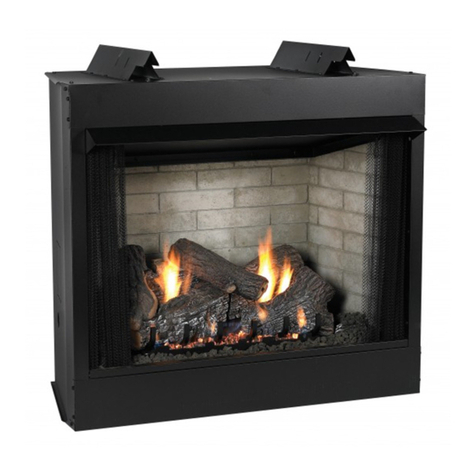
Superior Fireplaces
Superior Fireplaces VRT3536WS Installation and operation instructions
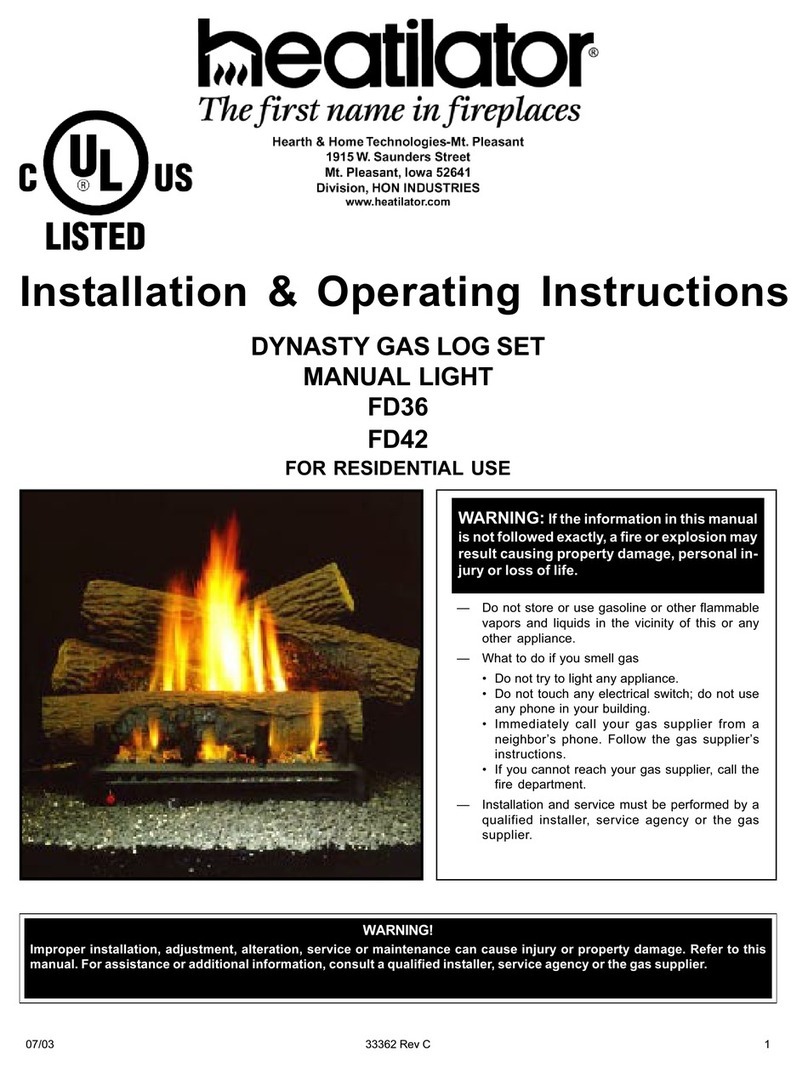
Hearth and Home Technologies
Hearth and Home Technologies Heatilator Dynasty FD36 Installation and operating instructions

Majestic
Majestic MARQ42STIN owner's manual

Sylvania
Sylvania SOM902CM-42FDC instruction manual

Duraflame
Duraflame 10IF9239BLK manual
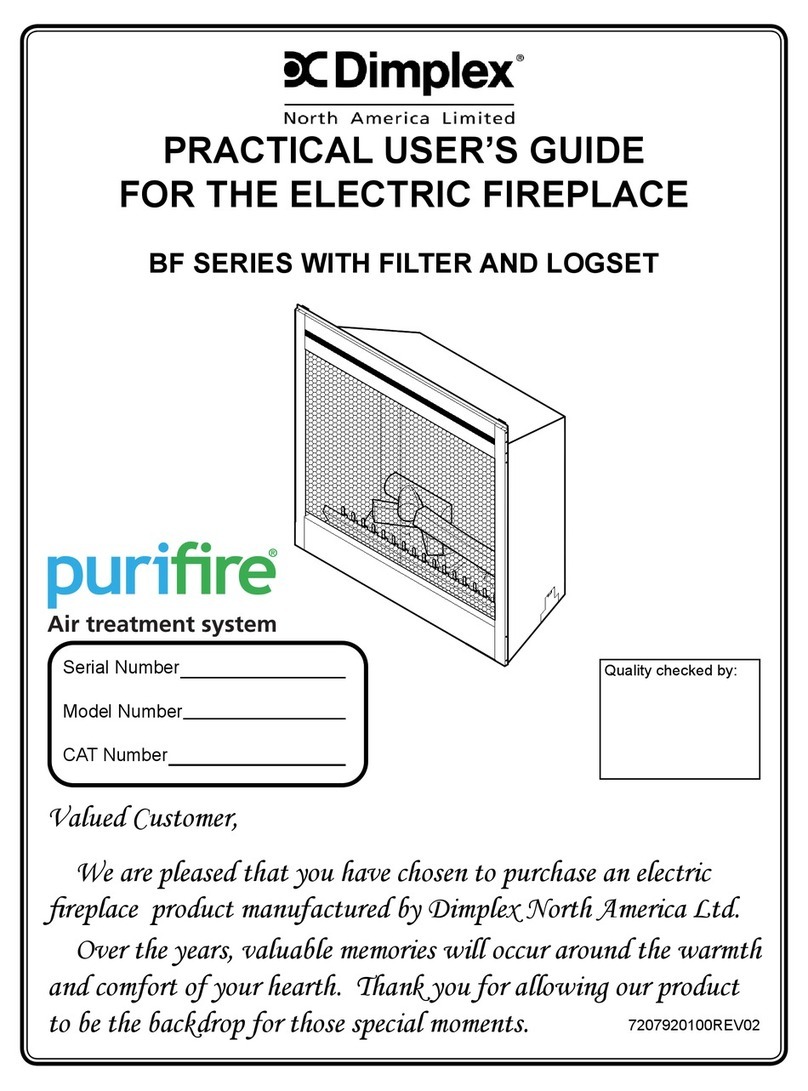
Dimplex
Dimplex BF SERIES user guide
Valor
Valor 639 Installer's guide

Belleze
Belleze 014-HG-BD4284-F owner's manual
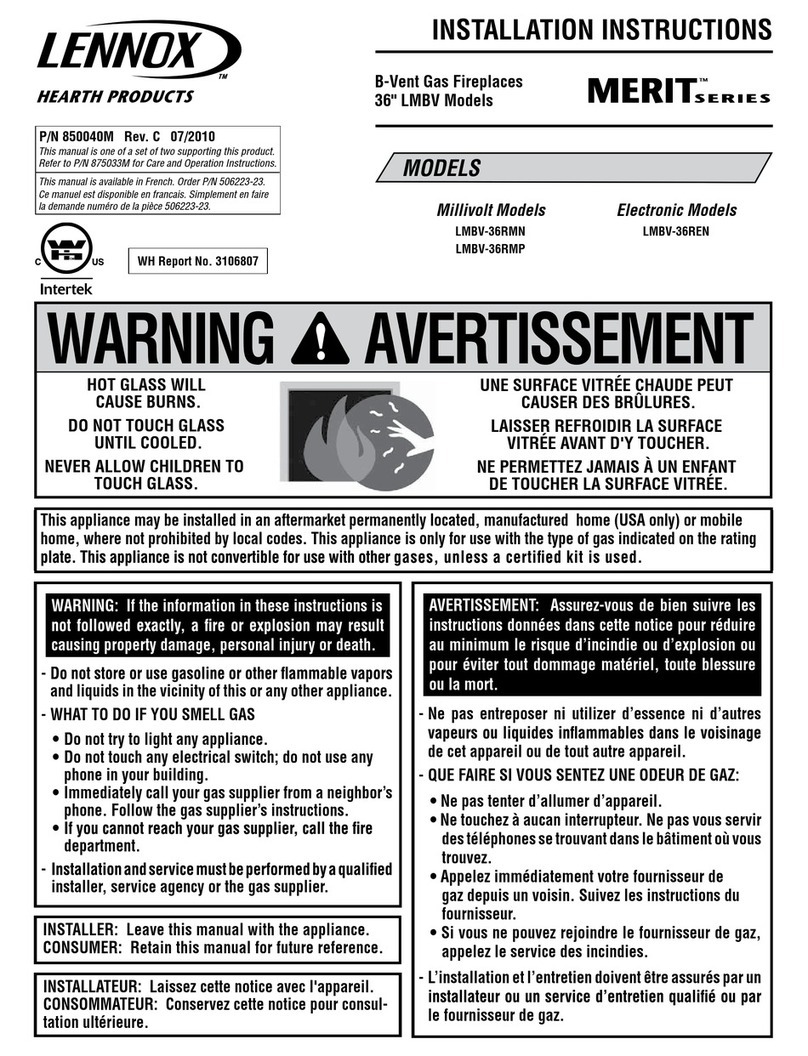
Lennox
Lennox Merit Series installation instructions
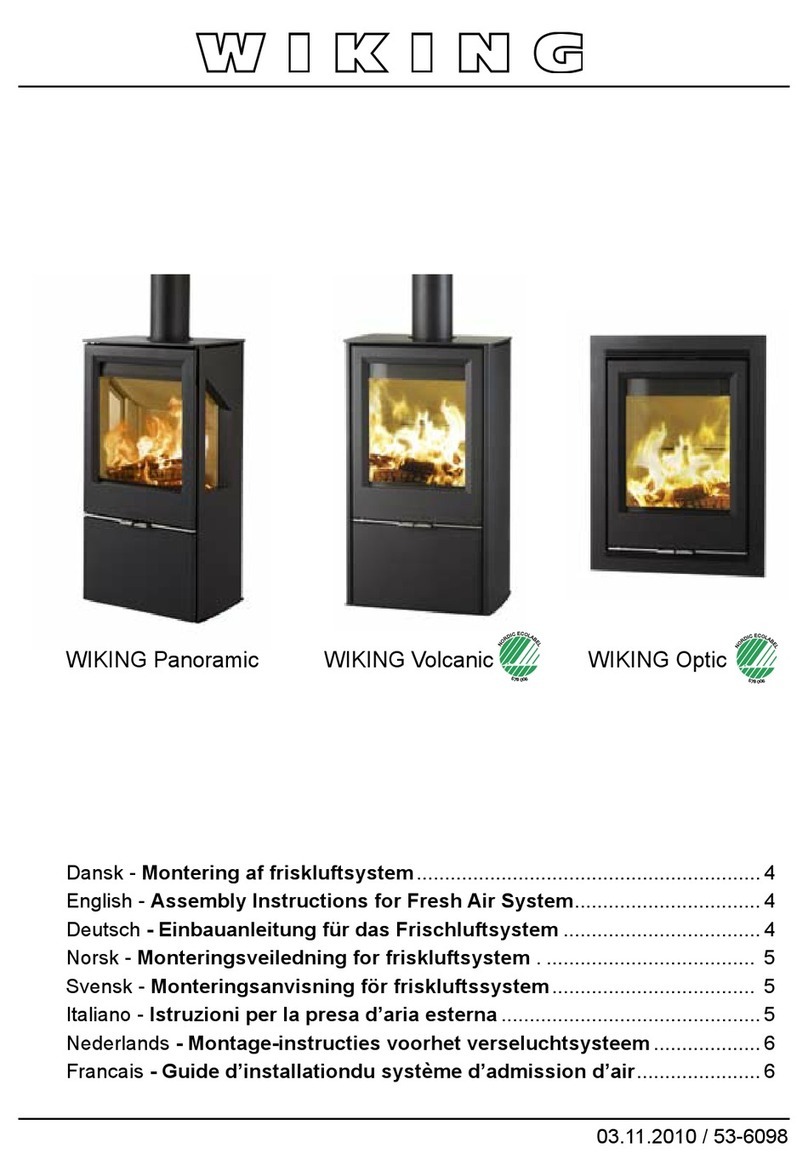
wiking
wiking Optic Assembly instructions for Fresh Air System
Travis Industries
Travis Industries 564 TRV 25K Framing Guide

Wave
Wave ATLANTIC installation instructions

Lennox Hearth Products
Lennox Hearth Products Winslow PI40 quick start guide
