Instructions for Manual Fill
Containers
• Remove the media tray (top tray for rocks, logs
etc.) to access the burners.
• Remove the plastic container.
• Manually ll the supplied container with 1 litre
of water.
• Secure the top without twisting too tightly.
• Place the container back into position, the
water in the container will drain into the
reservoir which will ll to the level required
for maximum operation (See Picture 3 Page J).
• After the plastic container is empty or stops
owing into the reservoir, it has now lled to
the level required.
• Rell the container with water and replace
into position. The maximum operating cycle
time will be between 8 to 10 hours.
• Replace the media tray by holding the top
lifting tabs with the opening facing upwards
(See Media Plate Instructions Page I). Place the
media tray into the slot inside of the replace
body. Ensure that all edges are ush and snug
so that the media plate is at.
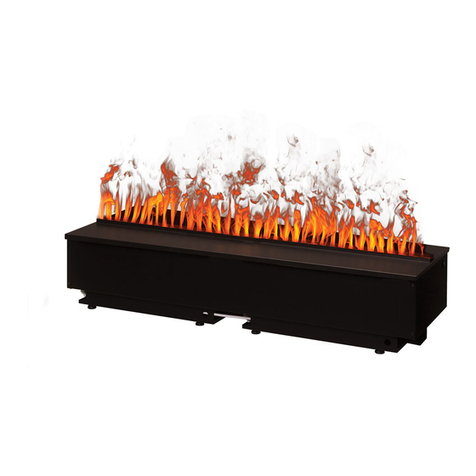
• Now arrange your chosen media as desired
on top of the media plate. Use caution not
to overlap the Vapor-Fire opening as this can
interrupt the ame affect. Proceed to turn on
the Vapor-Fire replace.
NOTE: If after the test re stage,
the unit will be turned off to complete
construction, it is recommended
to rst drain all water from the reservoirs
and/or rell containers and dry to protect
the transducers from sitting idle in water for
extended periods.
NOTE: The Vapor-Fire burner system has
been factory set for optimum ame effect. No
adjustments required.
Initial Fill (continued) | Manual Fill Instructions
- Page K -
Option 2: Fill the reservoir using the
Initial ll bottle
If you have chosen the plumbed-in
option, remove the plumbing ll cap assembly
(as outlined on Page J). If your VITA replace uses
the manual ll option, there is no plumbing ll
cap assembly.
Fill the orange initial ll container with
regular tap water and secure the cap without
twisting too tightly. Place the container into the
tray with the valve facing downwards as shown
below. The valve ts gently into the socket used
for the plumbing ll cap assembly (See Image B
Page J). No need to tighten.
Allow the water to drain into the
reservoir through the valve. You will hear a
gurgling sound. Once the water stops draining
into the reservoir below, the sound will stop.
This means that the Vapor-Fire reservoir has
lled to the optimal level.
NOTE: For plumbed-in option replace the
plumbing ll cap assembly and media plate.
For manual ll Vapor-Fire, re-ll the initial ll
bottle and keep for regular operation.
DO NOT attempt to test re the
system until all plumbing and
electrical is complete and
the correct starting water level has been
established. Failure to follow this instruction
could incorrectly cause overow during
operation.
4/2/19