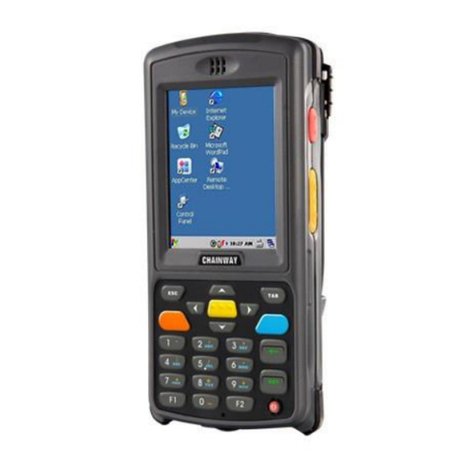
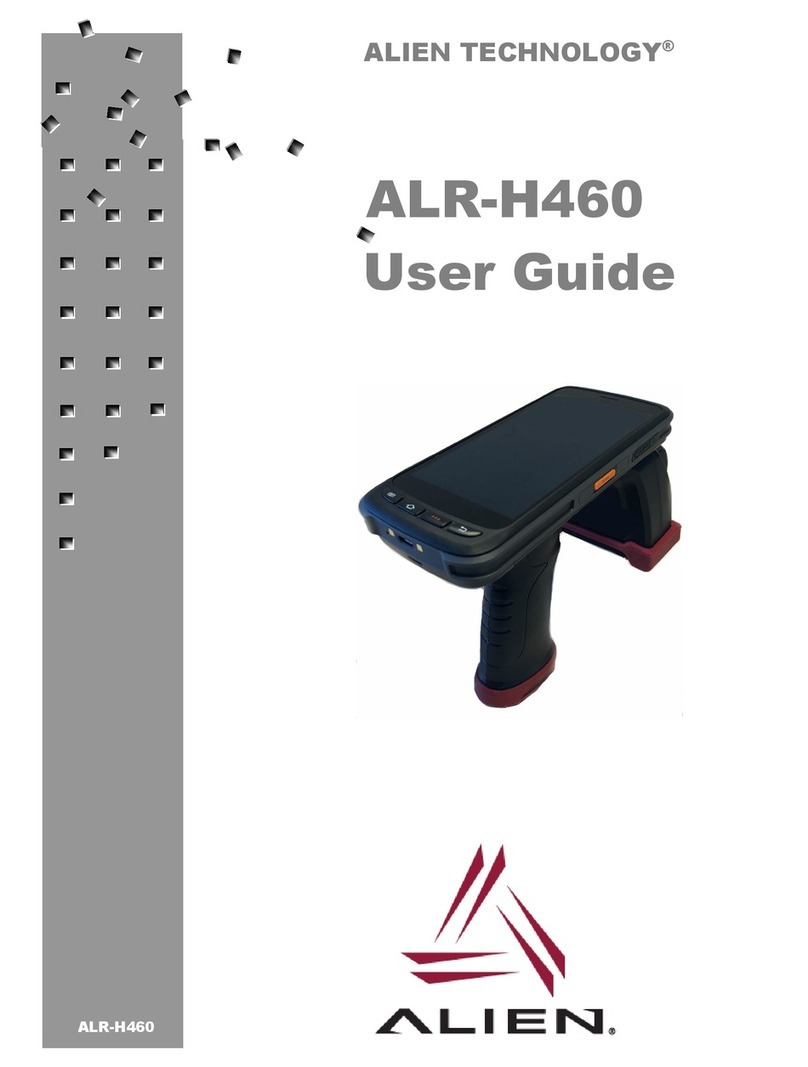
Chainway C2000W User manual

C2000W Mobile Data
Terminal User Manual

Dear customers:
Thank you for choosing our products, we will try our best to provide you with the
comprehensive and thoughtful service and technical support. The user manual has introduced
the detailed configurations and operations of the portable terminal. Before operating, please
read the specifications carefully.
Welcome to feedback us your concerns, perspectives and suggestions, we will be glad to
answer and reply to you.
Chainway Information Technology Co., Ltd
Address: 9/F, Building 2, Phase 2, Gaoxinqi Industrial Park, Liuxian 1st Rd, District 67, Bao’an,
Shenzhen
Zip Code:518057
Telephone:400-0755-23223300
Fax: 0755-23223310
Web Site:www.chainway.net
Email:[email protected]

CATALOGUE
Chapter 1 Product Introduction .............................................................................................. - 6 -
1.1 Technical Parameters............................................................................................................... - 6 -
1.2 Accessories.................................................................................................................................... - 8 -
Chapter 2 Getting Started........................................................................................................... - 8 -
2.1 Introduction................................................................................................................................ - 9 -
2.2 TF card.........................................................................................................................................- 12 -
2.3 Stand-by and Wake-up .........................................................................................................- 13 -
2.3.1 Suspend.....................................................................................................................................- 13 -
2.3.2 Wake-up....................................................................................................................................- 13 -
2.3.3 Power on...................................................................................................................................- 13 -
2.3.4 Power off ..................................................................................................................................- 13 -
2.4 Taskbar .......................................................................................................................................- 14 -
2.5 Desktop .......................................................................................................................................- 16 -
Chapter 3 System Settings........................................................................................................- 17 -
1.1. Internet Options......................................................................................................................- 20 -
1.2. PC Connection ..........................................................................................................................- 21 -
1.3. Storage Manager .....................................................................................................................- 22 -
1.4. Power...........................................................................................................................................- 22 -
1.5. Keyboard ....................................................................................................................................- 23 -
1.6. Password....................................................................................................................................- 24 -
1.7. Regional Settings.....................................................................................................................- 25 -
1.8. Date/Time..................................................................................................................................- 26 -
1.9. Remove Programs ..................................................................................................................- 26 -
1.10. Input Panel ......................................................................................................................- 27 -
1.11. Mouse ................................................................................................................................- 27 -
1.12. Owner (personal information of the owner) ....................................................- 28 -
1.13. Network and Dial-up Connections ........................................................................- 29 -

1.14. System...............................................................................................................................- 29 -
1.15. Display...............................................................................................................................- 31 -
1.16. Volume &Sounds...........................................................................................................- 32 -
1.17. Dialing ...............................................................................................................................- 33 -
1.18. Certificates.......................................................................................................................- 34 -
1.19. Stylus .................................................................................................................................- 34 -
1.20. USB Mode Switch..........................................................................................................- 35 -
Chapter 4 Keyboard and Input Methods............................................................................- 36 -
4.1. Soft keyboard: ..........................................................................................................................- 36 -
Chapter 5 Network Connection .............................................................................................- 37 -
5.1. WIFI..............................................................................................................................................- 37 -
5.2. GPRS Dial-up Connection ....................................................................................................- 39 -
5.2.1. GPRS Configuration ...........................................................................................................- 39 -
5.2.2 GPRS Dial-up Connection ................................................................................................- 43 -
Chapter 6 Synchronization with the PC and Updating OS ..........................................- 44 -
6.1. Introductions on the ActiveSync ......................................................................................- 44 -
6.3.1 Copy System Files to SD Card ..........................................................................................- 49 -
6.3.2 Update OS for Windows CE ..............................................................................................- 49 -
Chapter 7 Functional Utilization ...........................................................................................- 51 -
Chapter 8 Malfunction and Repair........................................................................................- 52 -
8.1. Equipment and System Problems....................................................................................- 52 -
8.2. Scanning Problems.................................................................................................................- 53 -
8.3. RFID Problems.........................................................................................................................- 53 -
8.4. Network and Communication Problems.......................................................................- 53 -
Chapter 9 Maintenance ..................................................................................................................55
Appendix 1 Code Types of 1D Barcode Scanner ..................................................................56
A1.1 Supported Code Types .............................................................................................................56
A1.2 Transmit Code Type Character.............................................................................................56

A1.3 Enable / Disable Barcodes......................................................................................................57

Chapter 1 Product Introduction
C2000W terminal handheld with its smart appearance, rugged structure, easy portability,
barcode and RFID tags reading, can satisfy different users with different application
environments.
C2000W handheld has ideal advantages of fast reading speed and high recognition rate by
using Symbol SE955/SE4500 high-performance scanning engine. It supports screen touch
operation by using Wince 6.0 OS, and increases the work and long standby time effectively by
using the 3200mAh high-capacity lithium battery.
1.1 Technical Parameters
Physical Parameters
Dimensions
148mm*67mm*31mm
Weight
<250g (including the battery)
Screen
2.8″QVGA TFT-LCD, 65K colors, backlight
Keyboard
21 silica gel numeric keys
Battery
3.7V, 3200mAh, rechargeable li-ion polymer battery
Expansion Slot
MicroSD/TF, maximum capacity of 8G
SIM Slot
one SIM card
Audio
0.5W wat
Camera
Samsung 3.2 mega pixels
Performance Parameters
CPU
Samsung ARM920T,533MHz
OS
Windows CE 6.0
Memory
128MB RAM + 512MB NAND FLASH

Interface
USB 2.0 Client
Storage Card Type
MicroSD card
Maximum Expansion
Storage
32GB
Environmental Parameters
Operating
Temperature
-20℃to 50℃
Storage Temperature
-20℃to 70℃
Humidity
5%RH-95%RH(non-condensing)
Dropping Survive
Withstands 1.2m dropping to concrete (six sides)
Sealing
IP54
Wireless Communication
WAN
GSM/GPRS/EDGE(850,900,1800,1900MHz), speed
85.61/42.8bps
WLAN
WiFi IEEE 802.11 b/g
WPAN
Bluetooth 2.0
Data Collection
Barcode
1D barcode(Symbol SE955, laser, hardware decoding):
UPC/EAN, Code128, Code39, Code93, Code11,
Interleaved 2 of 5, Discrete 2 of 5, Chinese 2 of 5,
Codabar, MSI, RSS, ect
2D barcode(Symbol SE4500,COMS, software
decoding):
Data Matrix, QR Code, Aztec Code, PDF417, US Planet,
UK Postal, ect.

RFID
HF 13.56MHz, ISO14443A/ISO15693(optional)
Developing Environment
SDK
Chainway SDK
Programming
Language
C++/C#/VB.Net
Developing Tool
Visual Studio 2005 / Visual Studio 2008
1.2 Accessories
Title
Piece
Note
Picture
Power Adapter
1
Charging the battery
USB cable
1
Synchronizing with the PC,
charging the battery
Stylus
1
Operating the screen touch
Battery
1
3200mAh high- capacity
lithium battery
Chapter 2 Getting Started

2.1 Introduction
Please refer to <C2000W User Manual> which introduces the functional characteristic, battery
installation, SD card installation, SIM card installation, charging, barcode reading, and RFID
tags reading, ect.
2.1.1 Functional characteristic:Pic 2.1-1
2.1.2 Installation:Pic 2.1-2

Pic 2.1-2
2.1.3 Charging: Pic 2.1-3
Table of contents
Other Chainway Handheld manuals

Chainway
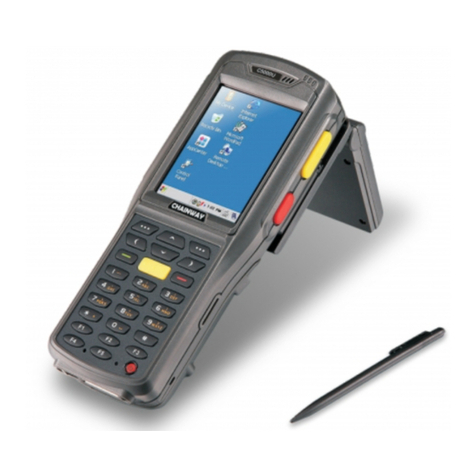
Chainway C5000 Series User manual
Chainway
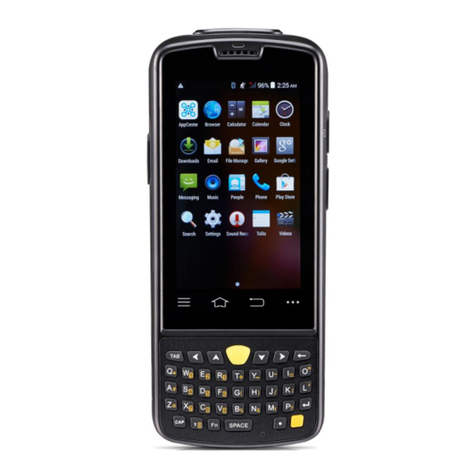
Chainway C5000U User manual
Chainway
Chainway C4050 Series User manual
Chainway
Chainway C60 User manual
Chainway
Chainway C6000 User manual
Chainway
Chainway C66 User manual

Chainway
Chainway C4000 User manual
Chainway
Chainway C75 User manual
Chainway
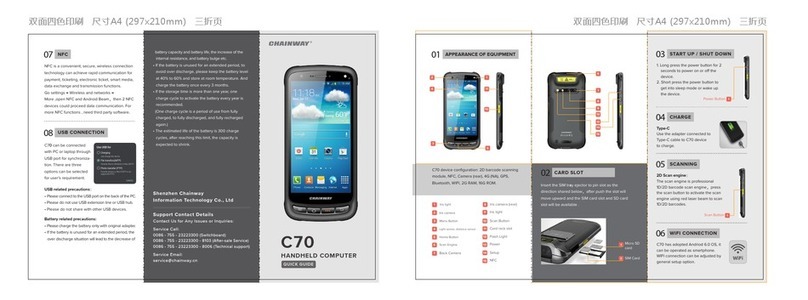
Chainway C70 User manual
