Challenger_SLSW1_Instructions_Rev01
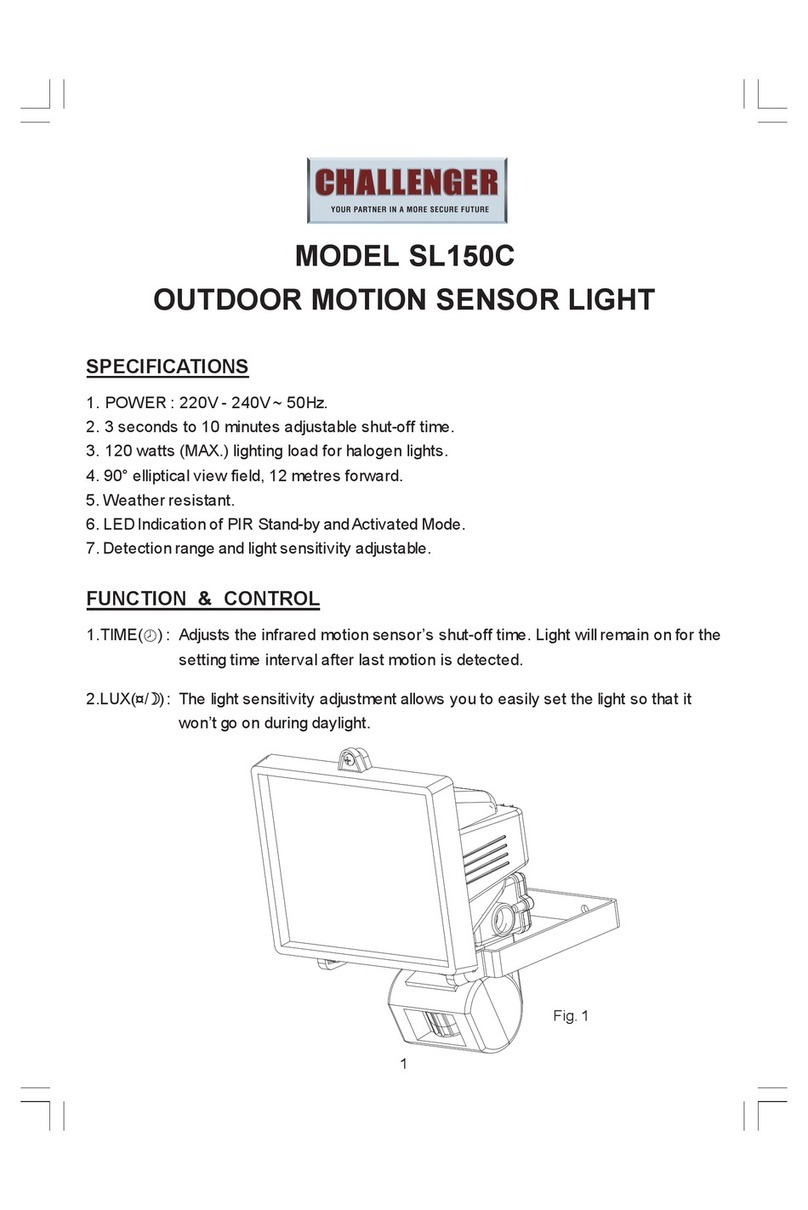
■ Solar Panel:
The solar panel is the power source for the SOLAR
PIR SENSOR LIGHT. It converts the sun’s energy into
electricity that charges the battery stored in the main
unit. This requires DIRECT SUNLIGHT onto the face
of solar panel for as long as possible over the course
of a day.
█ INSTALLATION STEPS
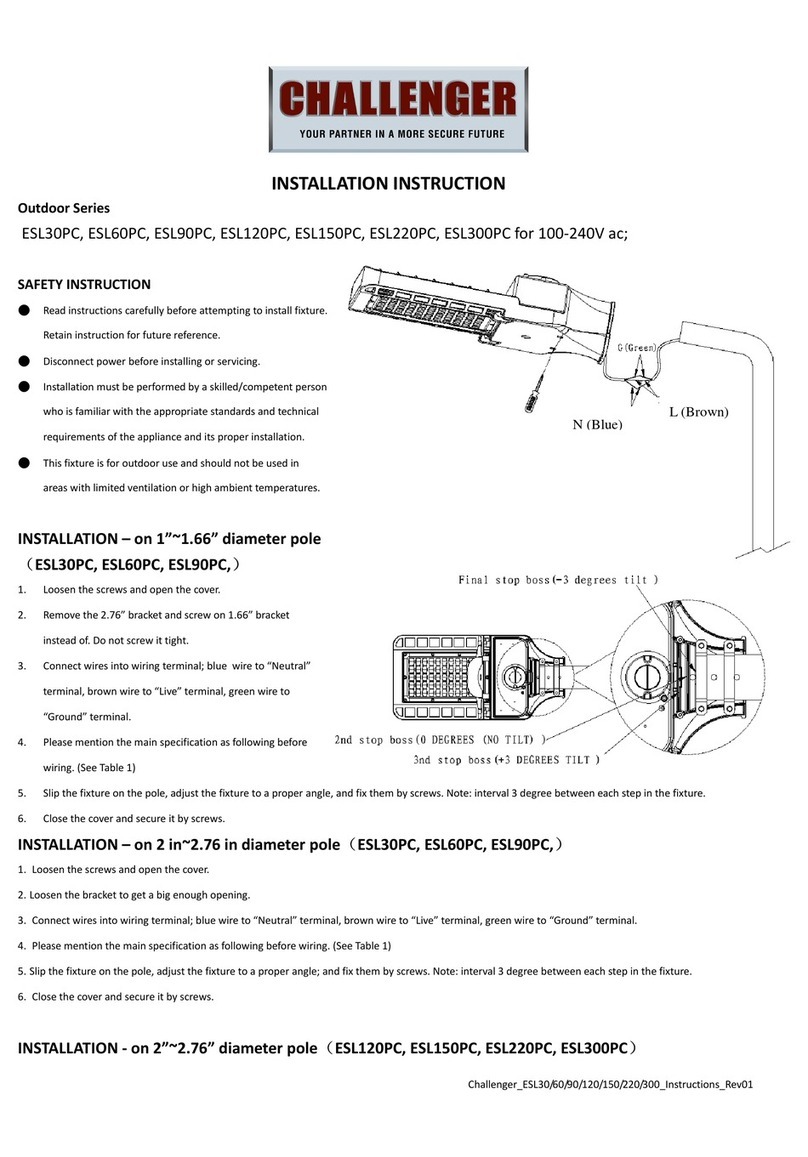
1. Press the tab on the backplate underneath the unit
and push the light upwards to release from the
backplate.
2. Use the backplate to mark the position of screw
holes onto the mounting surface.
4. Fix the backplate using appropriate fixings and
ensure the surface is free from vibration.
5. Turn the switch to “AUTO” position
6. Refit the Main unit onto the Wall mounting
backplate.
7. Screw the bracket locking screw under the main
unit.
█ FINAL ADJUSTMENT AND START-UP
After you have successfully installed your SOLAR PIR
SENSOR LIGHT, you are almost ready for operation
with a few final steps:
Initial 3-days Charge:
On the rear of the main unit there is a dial switch with
2 positions: ● OFF ● AUTO
AUTO —
Position for normal operation.
OFF ---
Position for shipping or extended periods where
the unit is not being used.
Position for initial 3-day charge before final
adjustment and first use.
For now, turn the dial switch to the OFF position. In
this position the solar panel will charge the battery
without activating the unit. Leave the switch in this
position for 3 sunny days to ensure that the battery
has a full charge prior to motion sensor and normal
operation.
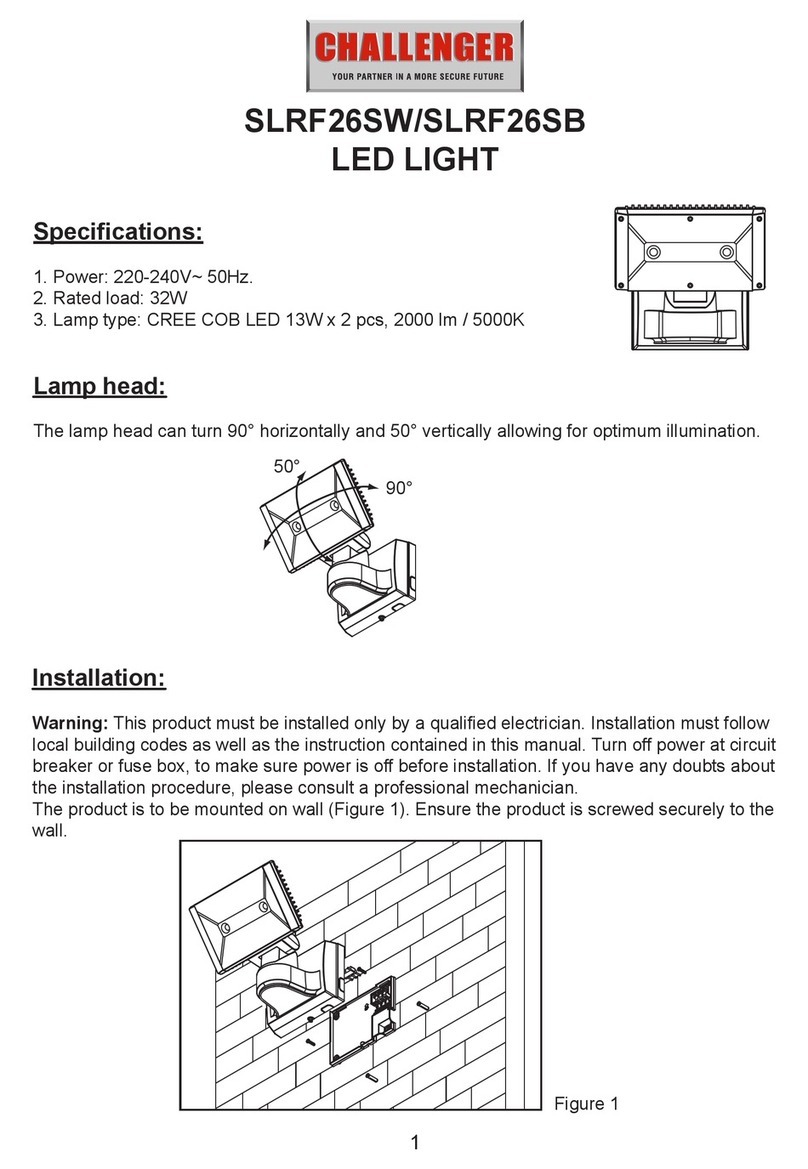
█ Walking-test:
At night, walking slowly in its detection area, the
sensor can detects moving invisible infra-red radiation
given off by a human body which will turn on the light.
Test the coverage of the area by walking slowly
around until not to switch on the light.
█ CLEANING
It is important that the solar panel is kept free of dirt
and debris. A dirty solar panel will not allow the
battery to fully charge and this will shorten the life of
battery and cause the light to malfunction
█ STORAGE
If you wish to store your light indoors for more than
two or three days, follow the below steps to prevent
damage to the battery:
1. Turn the switch to the OFF position
2. Store the unit where it can receive some sunlight
or room light each day. The battery needs light
to maintain a charge during storage.
█ TROUBLE SHOOTING:
Symptom: Light won’t activate in normal operation.
1) The main unit switch is in the OFF position.
2) The motion sensor is positioned to face
oncoming movement.
3) Change the battery
Symptom: Light turns on during the day.
1) Make sure that the unit is not located in
shadow area i.e. under eaves.
Symptom: Light is not as bright as normal.
1) Change the battery or ensure a full 3 day
charge has occurred.


