Changhong Electric CHiQ User manual
Changhong CHiQ
User Guide
CH1603-UC
CHiQ Hub

Contents
What’s Included ·················································· 1
Product Requirements ·········································· 1
Introduction ····················································· 2
Set Up CHiQ Hub ·················································· 3
Using CHiQ App with CHiQ Hub ······························· 8
Works with CHiQ IoT Devices································· 10
Maintaining the CHiQ Hub ···································· 11
Specifications ················································· 13
Troubleshooting ················································ 14
Customer Service and Warranty ······························ 15

1
What’s Included
Qty 1 - CHiQ Hub
Qty 1 - AC/DC Adapter
Qty 1 - Ethernet Cable
Qty 1 - USB Cable
Quick Start Guide
Product Requirements
A router which provides wired connection or Wi-Fi.
A smartphone or tablet running iOS 9 or higher; Android 4.4 or higher.
2
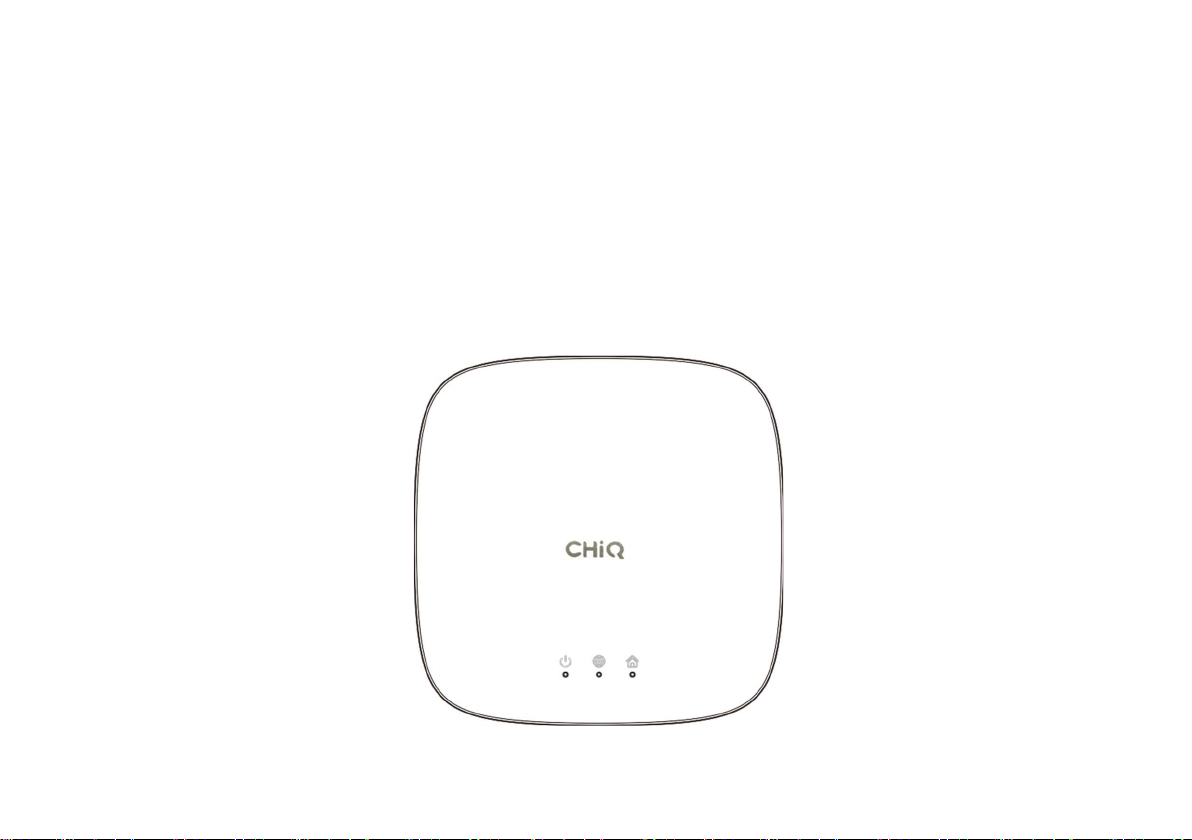
Introduction
CHiQ Hub is the core device in the CHiQ Smart Home System, which connect CHiQ
devices to Cloud and CHiQ App.
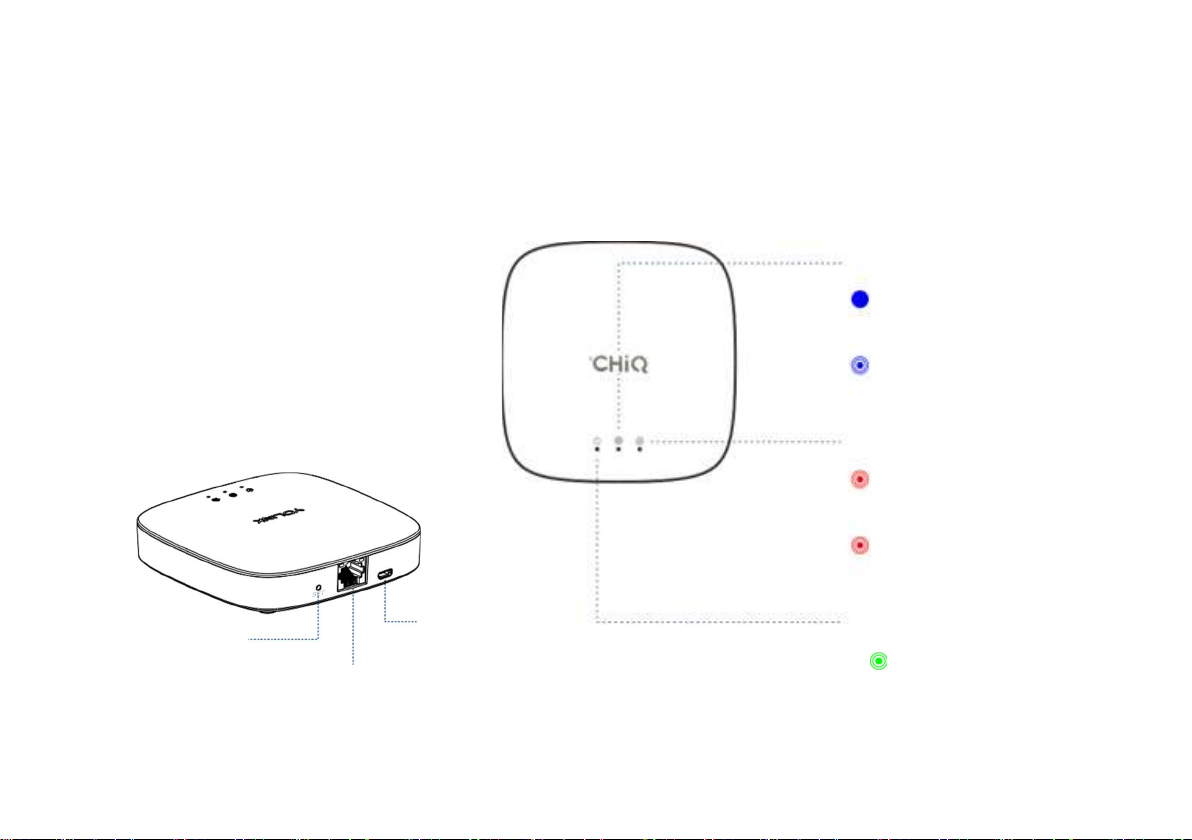
SET BUTTON POWER PORT
ETHERNET
FEATURE LIGHT
Blinking Red
Factory Resetting.
Slow Blinking Red
Updating.
INTERNET LIGHT
Blue
Internet is connected.
Blinking Blue
Wi-Fi Setting.
POWER LIGHT
Blinking Green
Power on.

3
Set Up CHiQ Hub
Follow the steps below to set up your CHiQ Hub via CHiQ App.
Step 1: Set up CHiQ App
Get the CHiQ App from the Apple App Store or Google Play.

4
Step 2: Log in or sign up with CHiQ account
Open the CHiQ App. Use your CHiQ account to log in.
If you don’t have CHiQ account, tap Sign up for an account and follow the register steps to
sign up an account.
5
a
b
c
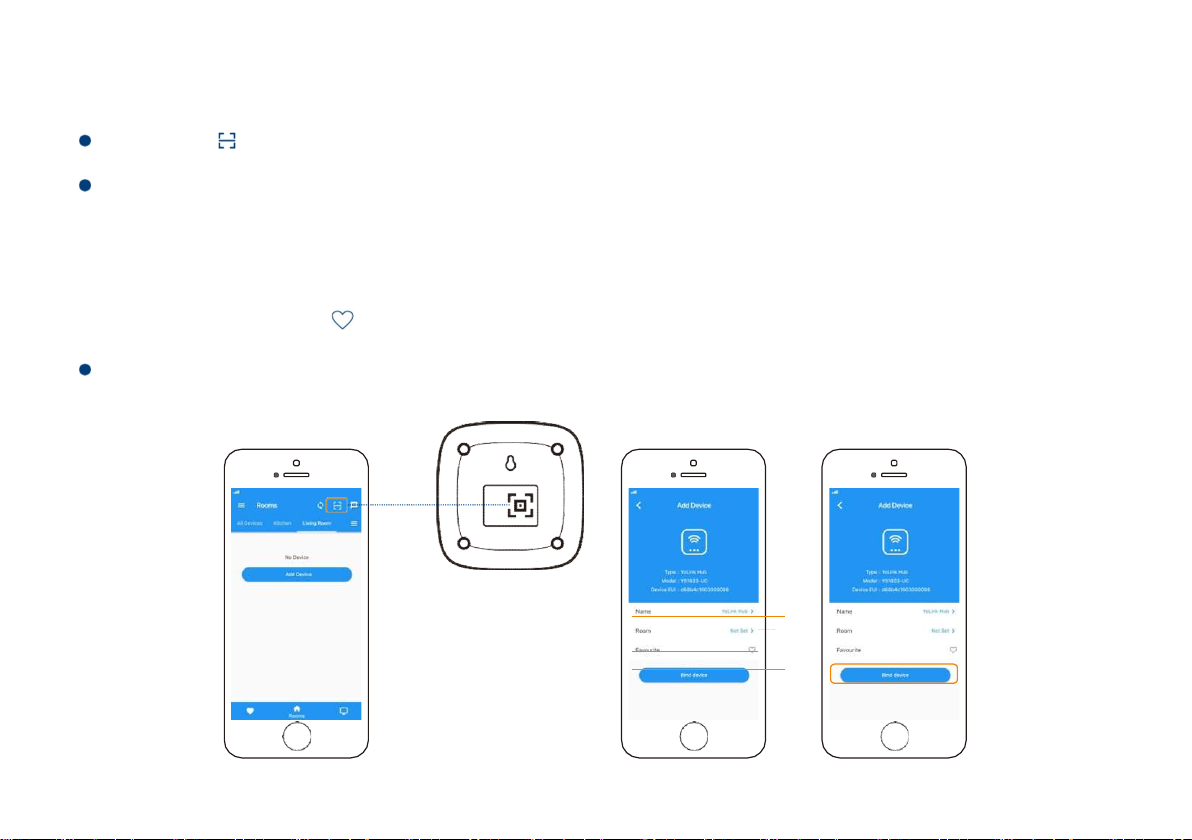
Step 3: Add device to CHiQ App
Tap the “ ” in CHiQ App. Scan the QR Code on the device.
You can customize the name, set the room, add to/remove from favourite.
a.
Name - Name CHiQ Hub.
b.
Room - Choose a room for CHiQ Hub.
c.
Favourite - Click “ ” icon to add/remove the device from Favourite.
Then, tap the “Bind Device” icon to add the device to your CHiQ account.

6
Step 4: Power on and set up network
Power on the hub using the supplied power adapter, set up network and your device is ready
to go.
Set up network with two ways: wired connection or Wi-Fi connection.
Wired Connection
Connect the hub to the Internet port on your
router with an Ethernet cable.
Power Adapter
Hub
Internet Router
Power Adapter
7
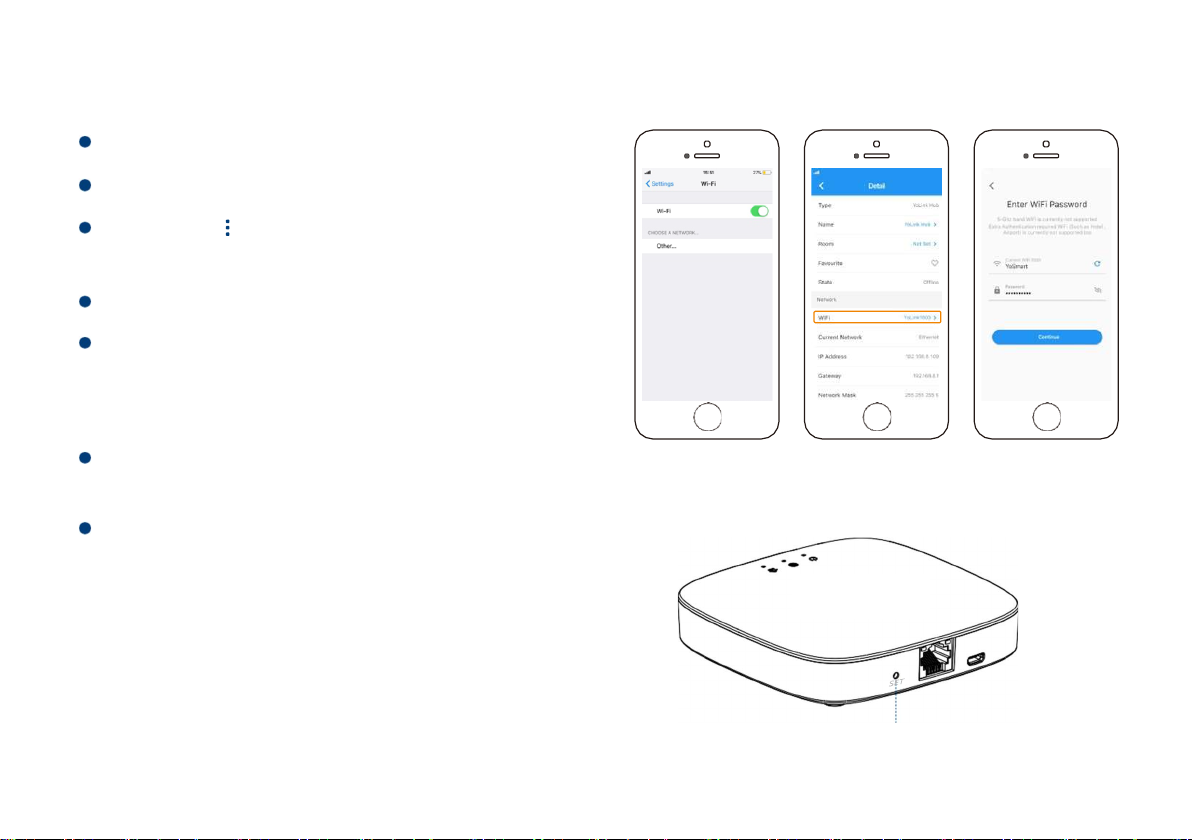
Wi-Fi Connection
Connect your smart phone to Wi-Fi.
Tap the “Hub” in App to go to its controls.
Tap the “ ” icon at the top-right corner to
go to details.
Tap the Wi-Fi in App to set Wi-Fi.
Follow the steps to finish setting.
Note
Press the SET button on the hub for 5-10
seconds if the hub is not connected to cloud.
Only support 2.4GHz Wi-Fi.
SET BUTTON

8
Using CHiQ App with CHiQ Hub
Share with families
You can share your CHiQ devices with your family members by setting home member in CHiQ
App.
Tap the “ ” icon at the top- left corner
to go to your CHiQ profile.
Tap the “Home” icon.
Tap “Invite User” to add your family members.
Note
Only the signed up account can be invited.
Other manuals for CHiQ
2
Table of contents


