Velux INTEGRA KLI 310 Manual

VELUX INTEGRA®KLI 310/311/312/313
ENGLISH
Congratulations on your new VELUX INTEGRA®product!
Thank you for buying this VELUX INTEGRA®product.
The wall switch has been produced and tested in accordance with the newest
methods and strictest requirements and will help you to get the most out of all your
VELUX INTEGRA®products.
DIRECTIONS FOR USE FOR VELUX INTEGRA®KLI 310/311/312/313. ©2018, 2019 VELUX GROUP
®VELUX, THE VELUX LOGO, VELUX INTEGRA, io-homecontrol AND THE io-homecontrol LOGO ARE REGISTERED TRADEMARKS USED UNDER LICENCE BY THE VELUX GROUP VAS 454360-2019-02

VELUX INTEGRA®KLI 310/311/312/313
ENGLISH
VAS 454360-2019-02
Contents
Wall switch types 3
Wall switch functionality 4
Rain sensor 5
Setup of wall switch KLI 311 to operate VELUX INTEGRA®roof windows GGL/GGU
or roof windows GGL/GGU with VELUX INTEGRA®window operators 6
Setup of wall switch KLI 311 to operate VELUX INTEGRA®flat roof window CVP 7
Setup of wall switch KLI 312 to operate VELUX INTEGRA®solar blinds DSL/RSL/FSL/FSC 8
Setup of wall switch KLI 313 to operate VELUX INTEGRA®solar awning blind MSL 9
Setup of wall switch KLI 313 to operate VELUX INTEGRA®solar roller shutter SSL or SST 10
Setup of wall switch KLI 313 to operate VELUX INTEGRA®solar awning blind MSG 11
Setup of wall switch KLI 311/312/313 to operate electrical products connected to
VELUX INTEGRA®power supply unit KUX 110 12
Setup of wall switch KLI 311/312/313 to operate electrical products connected to
VELUX INTEGRA®control unit KLC 500 13
Setup of wall switch KLI 311/312/313 to operate electrical products already registered in
VELUX INTEGRA®control pad KLR 200 14
Setup of a new wall switch KLI 311/312/313 in addition to an existing wall switch KLI 311/312/313 15
Setup of wall switch for group control of products 16
Manual operation of VELUX INTEGRA®roof windows GGL/GGU 17
Closing of VELUX INTEGRA®roof windows GGL/GGU in the case of power failure or discharged battery 18
Closing of VELUX INTEGRA®flat roof window CVP without using the wall switch 19

VELUX®3
ENGLISH
VAS 454360-2019-02
Wall switch types
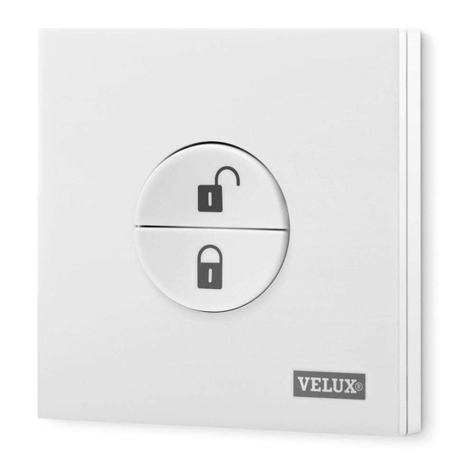
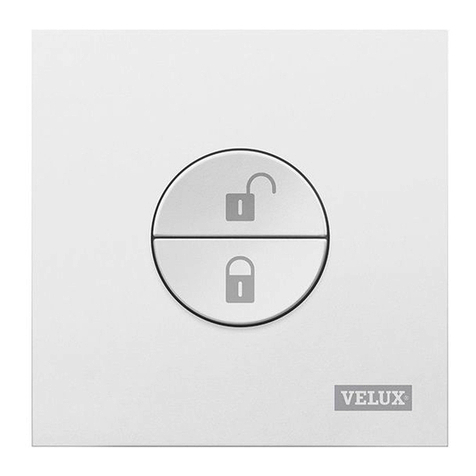
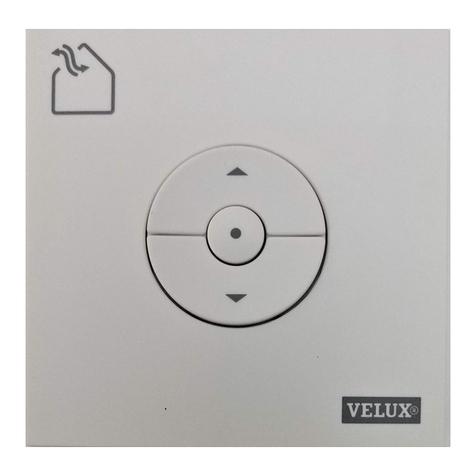
Wall switch KLI 310 is universal and can operate all io-homecontrol®compat-
ible VELUX INTEGRA®electrically or solar powered products such as roof win-
dows, window operators, interior and exterior sunscreening and roller shutters.
Furthermore, KLI 310 can operate other VELUX INTEGRA®accessories such as
adapter KRD 100 and frame lights KRA 100.
Wall switch KLI 310 has a neutral design that fits all homes.
You can use wall switch KLI 310 for any of the products mentioned above.
More products of the same type can be operated simultaneously with one
KLI 310. To pair the KLI 310, follow the instructions for the product you wish
to pair it with.
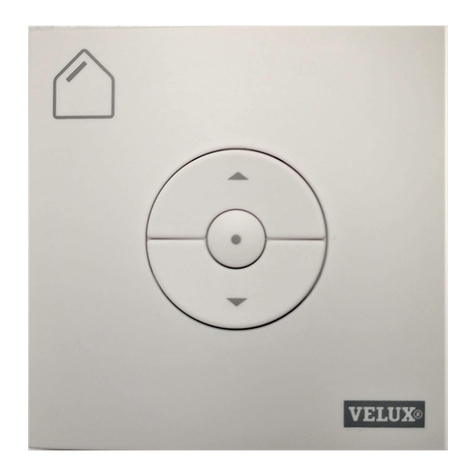
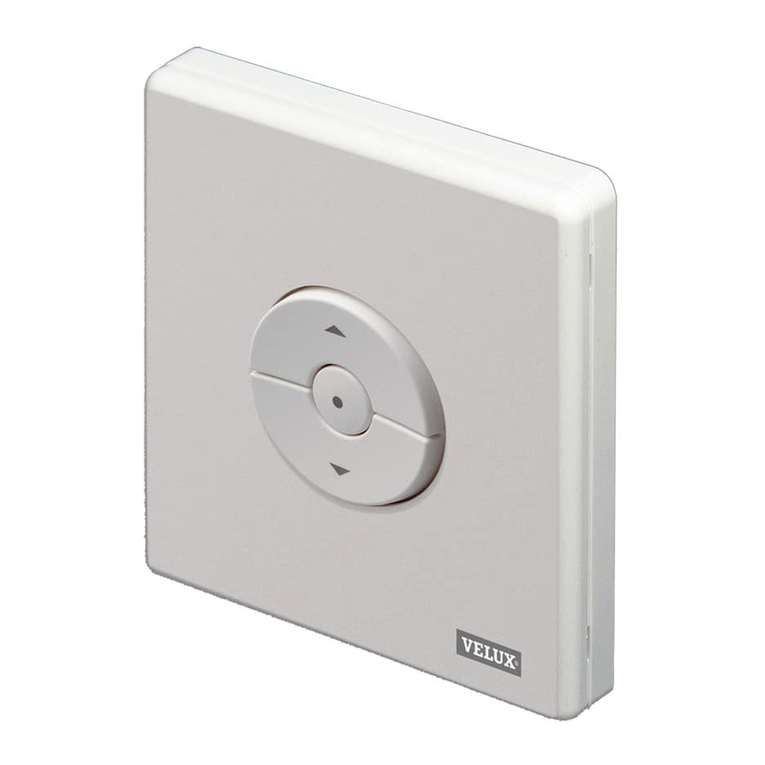
Wall switch KLI 311 is delivered with VELUX INTEGRA®roof windows and
VELUX INTEGRA®window operators.
This icon indicates that only VELUX INTEGRA®roof windows and
VELUX INTEGRA®window operators can be operated with the wall switch.
Note: Interior and exterior sunscreening cannot be operated/paired with this
type of wall switch.
Wall switch KLI 312 is delivered with VELUX INTEGRA®interior sunscreening.
This icon indicates that only VELUX INTEGRA®interior sunscreening can be
operated with the wall switch.
Note: Window operators and exterior sunscreening cannot be operated/paired
with this type of wall switch.
Wall switch KLI 313 is delivered with VELUX INTEGRA®exterior sunscreening.
This icon indicates that only VELUX INTEGRA®exterior sunscreening can be
operated with the wall switch.
Note: Window operators and interior sunscreening cannot be operated/paired
with this type of wall switch.
KLI 313
KLI 312
KLI 311
KLI 310

b
a
VELUX®4
ENGLISH
VAS 454360-2019-02
Wall switch functionality
Keys for operating the product a
OPEN/UP or CLOSE/DOWN
Short key pressure: Product will travel to maximum top
or bottom position.
Long key pressure: Product will travel until the key is
released.
Note: If several electrical products are connected to a
control unit KLC 500, only one of the products (at
random) can be operated in this way.
STOP key b
Product stops.
To push the buttons, use a pointed object.
The GEAR button "Open for registration".
The PAIR button "Register".
Wall switch KLI has two buttons used for setup:

VELUX®5
ENGLISH
VAS 454360-2019-02
Rain sensor
When the rain sensor is acti-
vated, the roof window will close
automatically within approx.
30 seconds.
The rain sensor prevents the
roof window from opening for as
long as it detects rain.
The window can be opened
again with the wall switch when
the rain sensor is dry.
Overruling rain sensor function
The following only applies to VELUX INTEGRA®roof windows with a "K" in the size code on the data plate and can only be
carried out with wall switch KLI 311.
Note: Does not apply to VELUX INTEGRA®roof windows without a "K" in the size code nor to VELUX INTEGRA®flat-roof
windows.
To prevent water damage inside the building, the window normally cannot be opened until the rain sensor is dry again.
However, it may, in some cases, take some time for the rain sensor to dry after the rain has stopped. In these cases, the rain
sensor function can be overruled at the owner’s own risk, see below.
The overruling of the rain sensor will enable the window to open 50% for a period of 15 min.
Warning! As the rain sensor function is suspended for 15 min, there is a risk of water damage to the building. Therefore, we
do not recommend overruling the rain sensor if the window is left unattended.
Press OPEN/UP and STOP key
simultaneously for 1 second.
The window can be closed again anytime with a press on the DOWN key.

1 sec
3
1
4 5
10 sec 10 sec
VELUX®6
ENGLISH
VAS 454360-2019-02
Setup of wall switch KLI 311 to operate VELUX INTEGRA®roof windows GGL/GGU or
roof windows GGL/GGU with VELUX INTEGRA®window operators
1Ensure the power is turned on.
Open window manually (if the
window is open, you must close it
by pressing the test button on the
window operator).
If a non-functional wall switch must be replaced or if the wall switch cannot find certain products, the products can be
prepared for registration by resetting them manually.
Note: Reset products cannot be operated until they have been registered in the wall switch again.
Important: This only applies to KLI 311.
2A 2B
2There are two ways of resetting
depending on window type. The
ventilation flap can look like 2A or
2B .
Press the test button on the
window operator for at least
10 seconds. The window operator
will run briefly back and forth.
Note: Registration ( 3and 4) must
now be completed within the next
10 minutes.
3Press PAIR button on the wall
switch for 1 second.
4Close the window manually.
5The window can now be operated
with the wall switch.

1 sec
4
min 10 sec
1
3
2
VELUX®7
ENGLISH
VAS 454360-2019-02
1Carefully remove the cover cap on
the kerb.
2Press the test button on the win-
dow operator behind the cover cap
for at least 10 seconds.
The window operator will run
briefly back and forth.
Note: Registration ( 3and 4) must
now be completed within the next
10 minutes.
Setup of wall switch KLI 311 to operate
VELUX INTEGRA®flat roof window CVP
If a non-functional wall switch must be replaced or if the wall switch cannot find certain products, the products can be
prepared for registration by resetting them manually.
Note: Reset products cannot be operated until they have been registered in the wall switch again.
Important: This only applies to KLI 311.
3Press PAIR button on the wall
switch for 1 second.
4Refit cover cap.
The window can now be operated with the wall switch.

max 3 sec
1 sec
2
RESET
3
4
VELUX®8
ENGLISH
VAS 454360-2019-02
1Depending on the blind type, the
RESET button will be located as
shown in illustration 1A or 1B .
Press the RESET button on the
blind for 10 seconds (motor makes
a brief buzzing noise, but the prod-
uct does not move).
Note: Registration ( 2and 3) must
now be completed within the next
10 minutes.
4The blind can now be operated with the wall switch.
Note: The motor must be adjusted to the size of the window before full opera-
tion of the blind begins. This is done by running the blind all the way up and
down without interruption using the wall switch.
If a non-functional wall switch must be replaced or if the wall switch cannot find certain products, the products can be
prepared for registration by resetting them manually.
Note: Reset products cannot be operated until they have been registered in the wall switch again.
Important: This only applies to KLI 312.
Setup of wall switch KLI 312 to operate
VELUX INTEGRA®solar blinds DSL/RSL/FSL/FSC
10 sec
10 sec
1A 1B
2Press PAIR button on the wall
switch for 1 second.
3Press the STOP key and then the
DOWN key within 3 seconds.

P
1 sec
1
2 3
4
6
max 3 sec
5
VELUX®9
ENGLISH
VAS 454360-2019-02
Setup of wall switch KLI 313 to operate
VELUX INTEGRA®solar awning blind MSL
If a non-functional wall switch must be replaced or if the wall switch cannot find certain products, the products can be
prepared for registration by resetting them manually.
Note: Reset products cannot be operated until they have been registered in the wall switch again.
Important: This only applies to KLI 313.
1Remove plastic cover.
6Replace plastic cover.
The awning blind can now be operated with the wall switch.
Note: The motor must be adjusted to the size of the window before full operation
of the awning blind begins. The adjustment will take place automatically the first
time the awning blind is operated. Before the awning blind runs to the preferred
position, it runs all the way up and down. Do not interrupt the adjustment!
2Set switch to position I.
3Press button Pbriefly.
Note: Registration ( 4and 5) must
now be completed within the next
10 minutes.
4Press PAIR button on the wall
switch for 1 second.
5Press the STOP key and then the
DOWN key within 3 seconds.

P
1 sec
1
2 3
4
6
max 3 sec
5
VELUX®10
ENGLISH
VAS 454360-2019-02
If a non-functional wall switch must be replaced or if the wall switch cannot find certain products, the products can be
prepared for registration by resetting them manually.
Note: Reset products cannot be operated until they have been registered in the wall switch again.
Important: This only applies to KLI 313.
1Remove plastic cover.
6Replace plastic cover.
The roller shutter can now be operated with the wall switch.
Note: The motor must be adjusted to the size of the window before full op-
eration of the roller shutter begins. The adjustment will take place automati-
cally the first time the roller shutter is operated. Before the roller shutter
runs to the preferred position, it runs all the way up and down.
Do not interrupt the adjustment!
Setup of wall switch KLI 313 to operate
VELUX INTEGRA®solar roller shutter SSL or SST
2Set switch to position I.
3Press button Pbriefly.
Note: Registration ( 4and 5) must
now be completed within the next
10 minutes.
4Press PAIR button on the wall
switch for 1 second.
5Press the STOP key and then the
DOWN key within 3 seconds.

1 sec
10 sec
max 3 sec
5
1
2 3
ab
4
a
b
6
VELUX®11
ENGLISH
VAS 454360-2019-02
1Remove dome/top unit.
Setup of wall switch KLI 313 to operate
VELUX INTEGRA®solar awning blind MSG
If a non-functional wall switch must be replaced or if the wall switch cannot find certain products, the products can be
prepared for registration by resetting them manually.
Note: Reset products cannot be operated until they have been registered in the wall switch again.
Important: This only applies to KLI 313.
6Replace dome/top unit.
The awning blind can now be operated with the wall switch.
Note: The motor must be adjusted to the size of the window
before full operation of the awning blind begins. The adjust-
ment will take place automatically the first time the awning
blind is operated. Before the awning blind runs to the preferred
position, it opens and closes. Do not interrupt the adjustment!
2Open compartment on the solar
awning blind.
3Press and hold button. The awning
blind runs back and forth 3 times.
Note: Registration ( 4and 5) must
now be completed within the next
10 minutes.
4Press PAIR button on the wall
switch for 1 second.
5Press the STOP key and then the
DOWN key within 3 seconds.

max 3 sec
1 sec
2
3
RESET24V
1
min 5 sec
KUX 110
VELUX®12
ENGLISH
VAS 454360-2019-02
1The products connected can be
reset by removing the cover of the
power supply unit and pressing the
RESET button for at least 5 seconds.
The connected products will run
briefly back and forth in random
order to indicate that they are ready
for pairing.
Note: Registration ( 2and 3) must
now be completed within the next
10 minutes.
If a non-functional wall switch must be replaced or if the wall switch cannot find certain products, the products can be
prepared for registration by resetting them manually.
Note: Reset products cannot be operated until they have been registered in the wall switch again.
Important: The wall switch type must match the relevant product(s).
Setup of wall switch KLI 311/312/313 to operate electrical products
connected to VELUX INTEGRA®power supply unit KUX 110
2Press PAIR button on the wall
switch for 1 second.
3Press the STOP key and then the
DOWN key within 3 seconds.
The products can now be operated
with the wall switch.

max 3 sec
1 sec
3
KLC 500
10 sec
1
VELUX®13
ENGLISH
VAS 454360-2019-02
1The products connected can be
reset by removing the cover of the
control unit and pressing the
RESET button for at least
10 seconds.
The connected products will run
briefly back and forth in random
order to indicate that they are
ready for pairing.
Note: Registration ( 2and 3) must
now be completed within the next
10 minutes.
Setup of wall switch KLI 311/312/313 to operate electrical products
connected to VELUX INTEGRA®control unit KLC 500
If a non-functional wall switch must be replaced or if the wall switch cannot find certain products, the products can be
prepared for registration by resetting them manually.
Note: Reset products cannot be operated until they have been registered in the wall switch again.
Important: The wall switch type must match the relevant product(s).
2
2Press PAIR button on the wall
switch for 1 second.
3Press the STOP key and then the
DOWN key within 3 seconds.
The products can now be operated
with the wall switch.

A B
A
A
A
2
1
1
3
5
A
A
2
4
B
6
1 sec
A
7
VELUX®14
ENGLISH
VAS 454360-2019-02
Setup of wall switch KLI 311/312/313 to operate electrical products
already registered in VELUX INTEGRA®control pad KLR 200
The instructions below show how to copy the contents of control pad KLR 200 to wall switch KLI 311/312/313.
See also the instructions for the control pad.
Important: The wall switch type must match the relevant product(s).
Control pad KLR 200 to send a copy is called control A.
Wall switch KLI 311/312/313 to receive a copy is called
control B.
First execute items 1-5 with A.
Tap . Tap "New product".
Tap "Choose products".
Press PAIR button on B
for 1 second to register the
product.
You can now operate the
chosen product with B.
Tap to finish.
Note: To add more products,
tap "Choose more" and
repeat items 5-7.
Tap "Prepare one-way
control".
Scroll down the display and
choose the product to be
added 1.
Note: individual products
can be identified by tapping
the icon.
Tap 2.
You now have 10 minutes to execute item 6 with B.

3
1 sec 1 sec
1 2
B
B
B
A
A
A
VELUX®15
ENGLISH
VAS 454360-2019-02
AExisting wall switch
BNew wall switch
Setup of a new wall switch KLI 311/312/313 in addition to
an existing wall switch KLI 311/312/313
Important: The new wall switch must be of the same type as the existing wall switch.
1Prepare the product for registra-
tion by pressing the GEAR button
on the existing wall switch Afor
1 second.
The product will start running
briefly back and forth.
2Press PAIR button on the new wall
switch Bfor 1 second.
The product can now be operated with
both wall switches.

3
1 2
B
B
B
A
A
A
1 sec 1 sec
VELUX®16
ENGLISH
VAS 454360-2019-02
Setup of wall switch for group control of products
Important: All wall switches must be of the same type.
Wall switches Aand Boperate sepa-
rate products.
The example shows how wall switch
Bis set up to operate both products.
1Press the GEAR button on wall
switch Afor 1 second.
2Press the PAIR button on wall
switch Bfor 1 second.
Wall switch Bcan now operate both
products.
Wall switch Acan still operate its
own product.

VELUX®17
ENGLISH
VAS 454360-2019-02
You can open and close your centre-pivot window manually.
If the window is already open, you must close it fully with
the wall switch first.
• Open the window by pulling downwards on the control
bar of the window.
• Close the window again by pushing the control bar back
again.
Note: If you have opened the window manually, you must
also close it manually to be able to operate it with the wall
switch again. This also applies to enabling operation of
programs and to ensure window closes automatically in
case of rain.
Manual operation of centre-pivot windows
Manual operation of VELUX INTEGRA®roof windows GGL/GGU

VELUX®18
ENGLISH
VAS 454360-2019-02
A
B
1 2
3
1
2
Manual closing without using the wall switch
Closing of VELUX INTEGRA®roof windows GGL/GGU
in the case of power failure or discharged battery
A B
In case of power failure or discharged battery, you can close
your centre-pivot window manually by disengaging the chain
on the ventilation flap of the window.
There are two ways of manual closing depending on window
type. The ventilation flap can look like Aor B. See how to
disengage the chain on the ventilation flap according to your
window type below.
The ventilation flap of the window looks like A:
1Disengage the chain by pressing the release clip on the
flap bracket.
2Remove the flap bracket.
3Fold the chain as shown, and close the ventilation flap of
the window to ventilation position.
The ventilation flap of the window looks like B:
1Disengage the chain by pressing the release clip on the
flap bracket.
2Fold the chain as shown, and close the window manually.
When the power has been reconnected or the battery has
been recharged, you must re-engage the chain.
• Open the window manually and unfold the chain.
• Replace the flap bracket if the ventilation flap looks like A.
• Run back the chain by pressing the test button on the
window operator briefly.
• Close the window manually.

1 2
VELUX®19
ENGLISH
VAS 454360-2019-02
Flat roof windows
1Carefully remove the cover cap on the kerb.
2Press the test button on the window operator behind the
cover cap briefly and refit the cover cap.
Closing of VELUX INTEGRA®flat roof window CVP
without using the wall switch
Other manuals for INTEGRA KLI 310
3
This manual suits for next models
3
Table of contents
Other Velux Switch manuals

Velux
Velux INTEGRA KLI 310 User manual
Velux
Velux ACTIVE with NETATMO User manual

Velux
Velux KLI 311 Quick start guide

Velux
Velux KLI 110 User manual

Velux
Velux KLN 300 User manual

Velux
Velux INTEGRA KLI311 Manual
Velux
Velux KLI 110 User manual

Velux
Velux INTEGRA KLI 310 User manual

Velux
Velux KLI 311 User manual

Velux
Velux KLI 311 Specification sheet