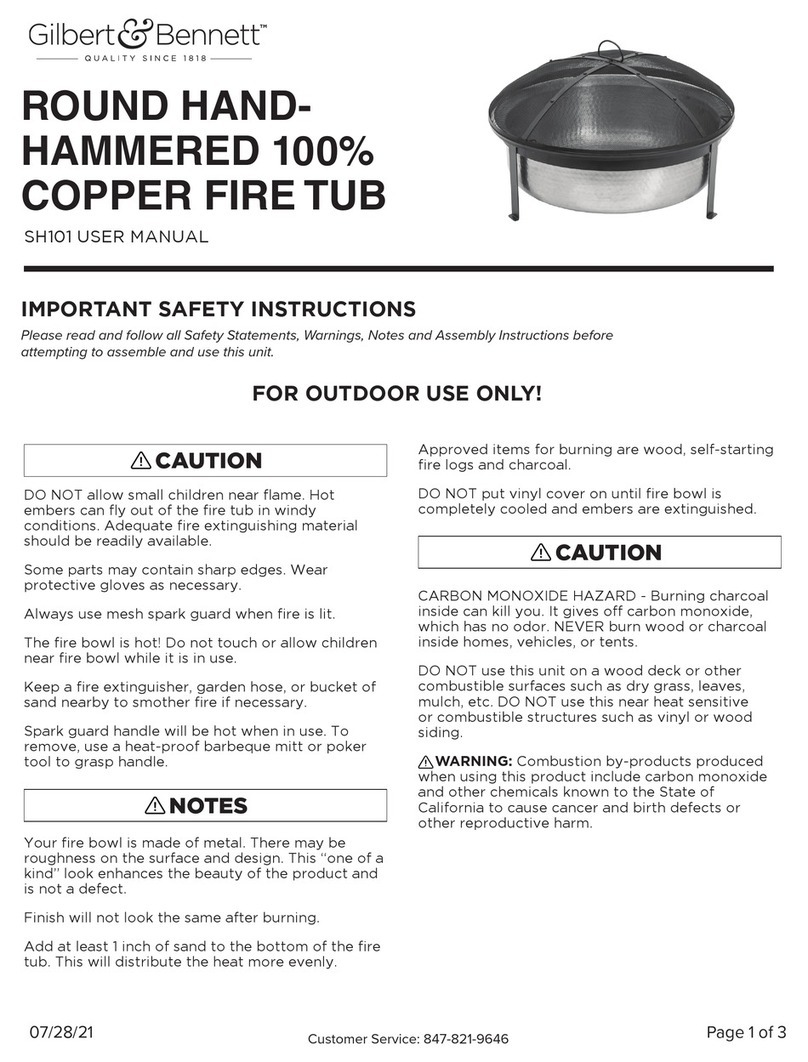
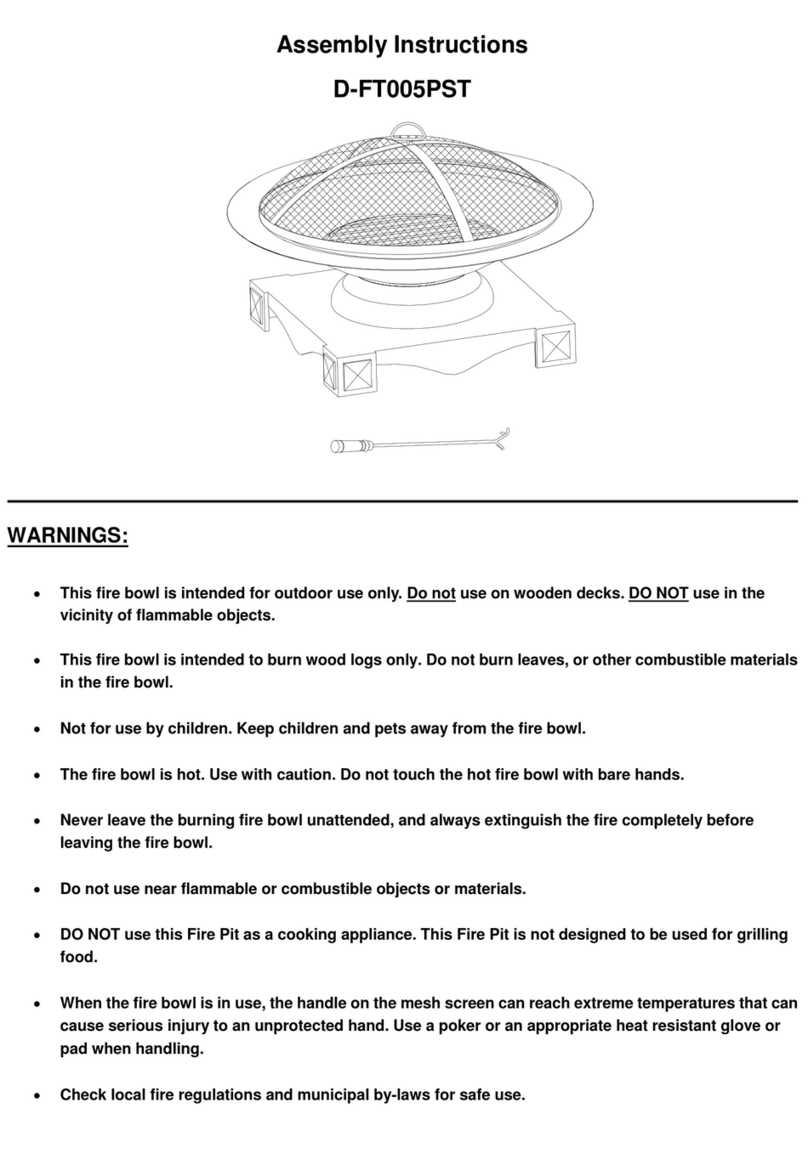
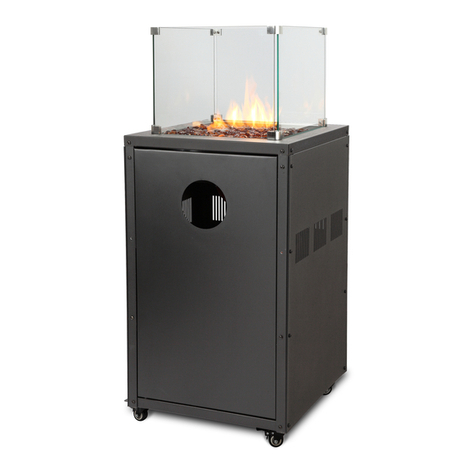
CHAPALA CHIMENEAS Firepit User manual

INSTRUCTIONS
SMALL, MEDIUM &
LARGE CHIMENEAS
AND FIRE PITS
• Traditionally handmade in Mexico
• Volcanic clay pottery with
integrated capillaries for
improved durability
• Add magical ambience to your
outdoor area
• Includes black steel stand
• Use with washed sand in base;
and optional re base tiles for
easy maintenance and better
performance
OPTIONAL ACCESSORIES
FOR OUTDOOR USE ONLY
02524 03/09

Safe Positioning
General Care & Maintenance
Setting Up Fire Chamber
Fire Management
Fire Management
Recommended Fuels
Initial Conditioning
Safety
Maintenance Requirements
3
3
4
5
6
7
8
9
10
“The Mountains of Mexico Come to Australasia”
Chapala Chimeneas are authentic ancient designs; which have been
handed down through countless generations of Aztec, Chilean, Inca,
Myan and Peruvian peoples dwelling in the South American Andes
Mountains. Thoroughly researched from archaeological records
dating back centuries; each design reflects the artistry,
craftsmanship and the culture of its roots.
Originally installed indoors as charcoal fired ovens and heaters for
family warmth, today’s Chimeneas are radiant heaters, extending
your season of comfortable outdoor entertaining and family living.
Chapala Chimeneas are 100% hand-made and finished by traditional
craftsmen; long established family businesses located around the
perimeter of Lake Chapala high in the mountains of West Central
Mexico. This district is rich in volcanic clay and sand from which
the world’s best Chimeneas are made. Exclusive use of only quality
materials has been proven internationally as the most critical factor
in achieving brilliant radiant heating performance and
long-term durability.
Enjoy the warmth of Chapala Chimeneas with a magical
and uniquely appealing open fire ambience!
CONTENTS
-2-

• TheChimeneaonitsstandrequires
1.5m clearance from the top of the
chimney to any combustible surface
above such as a pergola, sailcloth,
awning etc.
• EnsuretheChimeneaisatleast1.0m
from any combustible surface.
• Ifyouhaveasparkarrestor
accessory ensure it is in the
correct position following the
instructions supplied.
• Ifpossible,positiontheChimenea
where the fire can be seen from
inside the house as well as the out
door area.
• AChimeneaperformsbetterwithits
backtowardsanyprevailingbreeze.
• Followthecorrectlightingandre
management advice included in
these instructions to ensure that you
get the most out of your product.
• KeeptheChimenea/Firepitonits
stand when not in use to avoid
moisture build up underneath.
• PlacetheChimeneaonthestandso
that two of the legs are equally
positioned either side of the
fire chamber mouth, so they are not
anobstaclewhenstokingthere.
• ToensuretheChimeneaperforms
correctlycheckthatthechimneyis
vertical, by viewing both from directly
in front and from the side.
• OnlyusetheChimeneaonthestand
supplied to avoid damage to
surfaces underneath the Chimenea.
• Therepitshouldalwaysbeused
with the dome lid in position. Use
a heat proof glove to remove the lid
forstokingthere.Allow3.0m
clearance above the top of the firepit.
• Whennotinuse,ensureProtective
cover (Raincoat accessory sold
separately) is on correctly or that
the unit is stored undercover.
• Afterapproximatelyevery5to7
fires the ash should be removed so
the height of the fire is not
continually raised.
SAFE POSITIONING
GENERAL CARE & MAINTENANCE
-3-
• For best results include a
permanent firebase inside fire
chamber (see below).
• TheChimenea/Firepitmustbeused
with sand included in the base.
• Thesandraisestheretothe
required height for optimum
heating performance.
• Italsoallowstheretobeeasily
seen through the Chimenea mouth
enhancing the ambience, an
important part of the unique charm
and character of your Chimenea.
• Toomuchsandraisestherebase
too high, resulting in shoulder
burning of the fire chamber and loss
of radiant heating performance.
SETTING UP THE FIRE CHAMBER

PERMANENT FIREBASE INSTALLATION
Use a permanent firebase for better
performance and easier maintenance.
1. Place only the required amount of
washed sand into the fire chamber
as specified in the table opposite.
2.Withoutcompactingthesand,mould
it into a shallow “birds nest” shape
measuring about 70mm deep at the
centre, rising to 120mm at each side.
3.Usingthecorrectrebasetilepack
foryoursizeChimeneaas
designatedonthepackaging;place
the round tile centrally in the “bird’s
nest”. Add remaining ceramic tiles in
circlesaroundthecentretile;as
shownontherebasetilepack.
4. Use a couple of handfuls of sand
as“grout”;spreadaroundacross
the top of the tiles to fill in between
the gaps. Firmly pat the sand
around the top and remove any
excesssand.
Permanent
Firebase
Sand
ProductSize WashedSandAmount
Firepit 8-10 Litres
Small Chimenea 8-10 Litres
Medium Chimenea 12-15 Litres
Large Chimenea 14-17 Litres
ExtraLargeChimenea 17-22 Litres
-4-

‘SAND ONLY’ FIREBASE INSTALLATION
FIREBASE MAINTENANCE
1. Place only the required amount of washed sand into the fire chamber as
specified in the table opposite.
2.Withoutcompactingthesand,moulditintoashallow“birdsnest”shape
measuring about 80mm deep at the centre, rising to about 120mm at each side.
NOTE: Use only as much sand as required.
Afterapproximatelyevery5-7restheashshould be removed and the sand base
reconstructed to the “birds nest” shape.
• Achievesbestfuel economy using
low flame height fires over a base of
glowing coals.
• Simpliesashremoval.Thesand
only firebase “bird nest” will
flatten out over time and needs
to be reshaped every time the ash is
removed.
Advantages of the permanent firebase
are:
• It centralizes the re within the
chamber for best all round radiant
heating performance.
• Increases insulation between the
fire and the surfaces below the
Chimenea
ProductSize WashedSandAmount
Firepit 8-10 Litres
Small Chimenea 8-10 Litres
Medium Chimenea 12-15 Litres
Large Chimenea 14-17 Litres
ExtraLargeChimenea 17-22 Litres
-5-
The Chimenea is designed to efficiently use the minimum amount of fuel to get the
maximumamountofradiantheat.EachsizeChimeneahasbeenmadewitha
specific ratio between the area of the mouth opening and the diameter of the flue.
WiththerightsizeretheChimeneawilldraftcorrectlywithminimalsmokingand
optimumheatoutput;atthesametimeasconservingyourfuel.
• Thereshouldbekepttoasize
which fills the visible area of the fire
chamber mouth, and the flames are
below the internal base of the
Chimney.
• Oncethereisunderwaytheuseof
recommended dry fuels as described
in these instructions will result in
smokefreeoperationunderitems
likepergolasorverandas.
• Addingextrafueltofurnacethe
Chimenea will not necessarily give
better performance and can
damage your Chimenea.
• Besideswastingyourfuel,the
outside coating can become
discoloured and burnt, damaging
the weather proof layer. If the fire
isexcessiveforextendedperiodsof
timecrackingcouldalsooccur.
• Thereheatsthewallsofthe
Chimenea, which then radiate heat
to the surrounding area.
BE PATIENT AND ALLOW THE
WALLS TO HEAT.
FIRE MANAGEMENT
IMPORTANT

Use the following fuels for Medium to Large Chimeneas:
Charcoal Red river gum charcoal
Double split red gum, yellow
box, grey box pieces
Roughlycutto250mmlongand75mmthick.Largersize
pieces are too big for Chimeneas & may lead to overloading
/furnancing;whichmaydamagetheChimenea
Sunbrix Solid
Briquettes
Anexcellentslowburningsmokelessfuel,bestused
50/50withwood/charcoal
Hot Rox Processed Wood
‘Logs’
Hexagonallogswithacentrehole.Forsmallandmedium
Chimeneasbreakthepiecesinhalf
Small pieces of Mallee Root Nolargerthangrapefruitsizepieces
Kindling
DryHardwoodkindlingisbestasitisreliableandvirtually
smokeless.Softwoods,buildingsiteoffcuts,andold
fencingareokaskindling.Theseshouldnotbeusedas
generalfuelastheyheatupanddiedownveryquickly.
Whenfurnacingtheamescanreachtemperaturesof
1200degreesCelsius;whichishighertemperaturesthan
when the pottery was produced.
NOTE: Use of recommended fuels will result in minimal ash generation and lower
maintenance requirements.
Thesearemodernfuelsdesignedforslowcombustiondevices/kettlesthat
includeadraftcontrol.TheChimeneadrawsstronglyandwillgeneratefurnacelike
heat which could damage the Chimenea.
NOTE: Overall, as part of the natural ageing process, some hairline surface
crackinganddiscolorationmayeventuallyoccur;butthesewillnotaffectthe
performance. Under normal use the Chimenea will last for many years.
ShouldthenishofpotteryChimeneasbeextensively“burnt”theexteriorsurface
isnolongerweather/rainproof.Afterprolongedexposurethisallowsmoisture
tospreadthroughouttheChimeneaplacingitatriskifastrongreislitinawet
Chimenea. The Chimenea would require re-sealing.
FullyexposedChimeneaswillbenet,overthelongerterm,witha“Raincoat” vinyl
coverprotectiontokeepthesand/rebasedryatalltimes.
RECOMMENDED FUELS
WARNING: Heat Beads, Articial Fire logs, Brown Coal Products
must not be used in pottery Chimeneas.
-6-

-7-
ConditioningisrequiredtolinetheChimeneawithalayerofvelvetyblacksoot.
This helps with even distribution of heat through the Chimenea and better overall
heating performance.
Using the correct timbers, kindling or relighters, light a small fire in the centre
of the fire chamber progressively feeding in small pieces of wood one at a time as
a coal base becomes established. Maintain the fire at this level for a minimum of 2
hours.
For your second and third res, proceed to light as before, but progressively build
largerresbyaddingmorepiecesofapproximately75mmdiameterwoodabout
300mm in length. 2 pieces for the second fire and 3 pieces for the third fire, and
keepaconsistentsizeforaminimumof2hours.
Somefuelstakealittlelongerto“sootup”thanothers.Bepersistent.Itiswell
worth it in the long run.
INITIAL CONDITIONING
• NeverlightaChimenea(oranyother
non-flue device) indoors or in any
fully enclosed space. Proper
ventilation must always be provided.
• Becausetheoutsidesurfaceofa
Chimenea is rough and uneven,
seriousskinburnsareunlikely.
Surface temperatures of a Chimenea
arewellbelowthatofaBBQkettle
surface. However:
• Supervisionoftoddlers,young
children, and pets is required. Use
the fire screen accessory in front
oftheopenreboxmouthwhenever
the Chimenea is alight.
•
MovingChimeneascanbehazardous.
Never move when in use.
• Thebest&safestwaytomoveyour
Chimenea is using the Chimenea
Walker.Thisisanaccessorywith
castors that the Chimenea can sit on
during use and storage.
• Alternatively;movingyourChimenea
is a 2 person job. Pass 2 ropes under
each side of the Chimenea, inside of
the stand legs so that the lift is
shared equally by 1 person on each
side of the Chimenea. Remember to
keepyourbackstraightandbend
yourknees.
SAFETY
• Neverplaceacapontopofthe
Chimney when it is alight.
• Neverdousetherewithwater.
• Thereshoulddieoutbyrunningout
of fuel.
• NeverleavetheChimenea/Firepit
unattended.
EXTINGUISHING YOUR CHIMENEA FIRE

MAINTENANCE REQUIREMENTS
Progressive build up of charcoal and ash gradually raises the height of the fire with
progressivereductionofradiantheatingperformance.Whentheregetstoohigh
the flames will reach the shoulders of the fire chamber.
Periodicremovalofaccumulatedashisadvisable;byscoopingdowntothetopof
the firebase, using disposable gloves or a brush and dust pan being careful to avoid
disturbing the firebase.
During use the Chimenea should have no ill affects from rain, as the heat will not
allow the water to absorb into the pottery.
WHEN NOT IN USE:TheChimeneashouldbeprotectedfrommoisture.Water
drawnintotheChimeneaviathecapillaries,orsoakingintothesandrebase;will
turntosteamwhenheated,andcouldcracktheChimenea.Itshouldbekept
undercover or covered with a vinyl Rain Coat accessory.
WET CHIMENEA: If your Chimenea does get wet internally, as soon as possible
emptytherechambercompletely;dryouttheinsidewithafanforcedheateror
hair dryer. The Chimenea is dry when it has regained its metallic ring when tapped.
ACCESSORIES AVAILABLE FROM YOUR CHIMENEA RETAILER
• Firebase Tiles - Large set (17 tiles) & Small set (9 tiles)
• Chimenea Griller
• Raincoat
• ChimeneaWalker
ASHES BUILD UP
WEATHER PROTECTION
-8-
This manual suits for next models
4
Table of contents
Popular Outdoor Fireplace manuals by other brands
URBAN FIRES
URBAN FIRES UF950RCS Installation and user manual

Endless Summer
Endless Summer GLT1343SP owner's manual

Blumfeldt
Blumfeldt Augustus manual

Firegear
Firegear FPB-G25RBSTMS-N Installation and operating instructions
MODENO
MODENO OFG612LP owner's manual
AMD DIrect
AMD DIrect Pro Series Installation and operating instructions

