Chapter Qube Reference 500M User manual

Qube Reference 500M
Chapter
Qube Reference 500M
Quick Start Guide
Functions
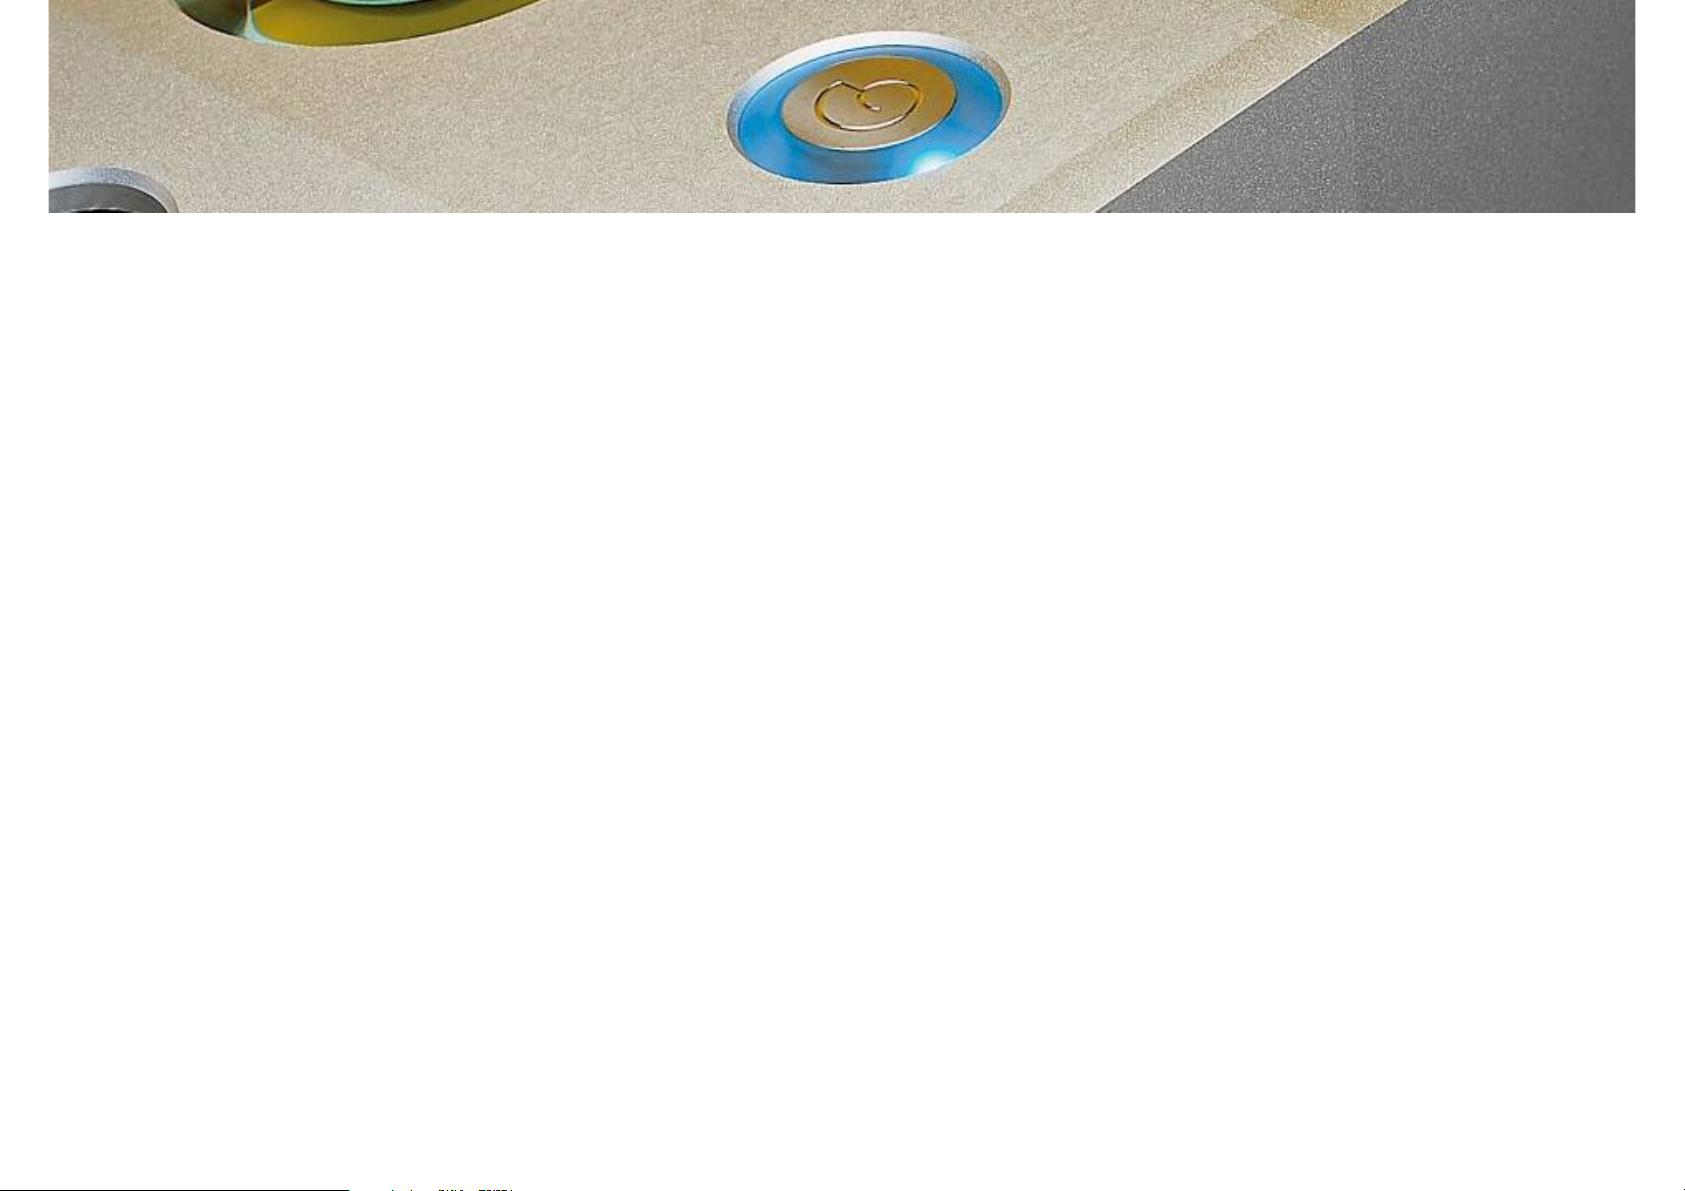
1. Left touch sensor options
a. Front LED brightness control
b. Internal LED brightness control
2. Right touch sensor options
a. Input display
b. Input toggle
c. Input Earth Select
c. Input Earth Select
3. Standby button options
a. Mute
b. Standby

1. Left touch sensor options
a. Front LED brightness control
To change the brightness of the front panel and standby panel
blue lights, press and hold the LEFT touch sensor strip on the
blue lights, press and hold the LEFT touch sensor strip on the
front panel for 4-5 seconds until the front panel lights start to
flash.
After the lights finish flashing, press and hold the left touch sensor
strip to lower the brightness level or press and hold the right touch
sensor strip to raise the brightness level to the desired level.
Once you are happy with the brightness level, simply wait for 5
seconds and the front panel lights will flash again for 5 seconds to
confirm the change.
b. Internal LED brightness control
To change the brightness of the internal blue lights, first put the
unit into “MUTE” mode by pressing the “STANDBY” button on the
top panel for less than 1 second.
The RED lights in both front panel touch sensor strips will
The RED lights in both front panel touch sensor strips will
illuminate to indicate that the unit is in “MUTE” mode.
Next press and hold the LEFT touch sensor strip on the front
panel for 4-5 seconds until the Internal lights start to flash.
After the lights finish flashing, press and hold the left touch sensor
strip to lower the brightness level or press and hold the right touch
sensor strip to raise the brightness level to the desired level.
Once you are happy with the brightness level, simply wait for 5
seconds and the Internal lights will flash again for 5 seconds to
confirm the change. Left Touch Sensor Strip

2. Right touch sensor options
a. Input Display
You can display the currently selected input setting and Earth selection
setting by using the Right touch sensor strip.
Input
Selected
Flashing
Speed
Description
RCA Input
(Option
Fast Gain stage input COLD connection
is connected to System 0v (AGND).
setting by using the Right touch sensor strip.
Please ensure that the unit is not in “MUTE” mode, and that none of the
front panel RED Lights are illuminated or are flashing before starting.
Press and release the Right touch sensor strip within 2 seconds, to put
the unit into “DISPLAY” mode.
Firstly, the unit will flash the RED lights associated with the selected input
for five seconds. These are LEFT touch sensor strip RED lights for RCA
Input, or the RIGHT touch sensor strip RED lights for the XLR Input.
The speed of the lights flashing indicates the status of the Earth select
configuration according to the table opposite.
After displaying the Earth selection the unit will hold the RED lights on for
a further 5 seconds. During this time you can alter the Earth Selection
setting using the procedure shown below.
(Option
Recommend
ed for use
with Chapter
Product)
is connected to System 0v (AGND).
RCA Input connected between
AGND & HOT connection (AGND is
floated from the chassis via a
100Ohm Wire-wound resistor)
RCA Input Slow Gain stage input COLD floated from
System 0v (AGND) via a 100K
Impedance. RCA Input connected
between COLD & HOT connection
(AGND is floated from the chassis via
a 100Ohm Wire-wound resistor)
XLR Input
(Option
Recommend
ed for use
with Chapter
Fast Gain stage input HOT & Cold are
directly connected to XLR Pins 3 & 2
respectively. System 0v (AGND) is
connected directly to the System
Right Touch Sensor Strip
with Chapter
Product)
connected directly to the System
Chassis GND. (AES recommended
Balanced Input Specification)
XLR Input Slow Gain stage input HOT & Cold are
directly connected to XLR Pins 3 & 2
respectively. System 0v (AGND) is
floated from the chassis via a
100Ohm Wire-wound resistor)

2. Right touch sensor options
b. Input Toggle
You can toggle between the XLR and RCA inputs by using the
Right touch sensor strip.
Right touch sensor strip.
Please ensure that the unit is not in “MUTE” mode, and that none
of the front panel RED Lights are illuminated or are flashing
before starting.
Press and hold the Right touch sensor strip for at least 2 seconds,
to toggle between the inputs. This will change the selected input
and put the unit into “DISPLAY” mode as described above to
show the new selected input and Earth selection mode.
c. Input Earth Select
You can toggle between the Earth select modes by using the
Right touch sensor strip. Please put the unit into “DISPLAY” mode
using the procedure described in section ‘a’ above.
When the RED lights have finished flashing to show the current
Earth selection setting, they will stay on continuously for a further
5 seconds. During this time press and hold the RIGHT touch
5 seconds. During this time press and hold the RIGHT touch
sensor for 5 seconds. This will toggle the Earth selection setting,
and the unit will enter “DISPLAY” mode from the start of the
process as described above.
The unit will not change the relay status until he end of display
mode and will briefly flash both front panel RED lights to confirm
the change, and will then return to “NORMAL” mode.
Right Touch Sensor Strip
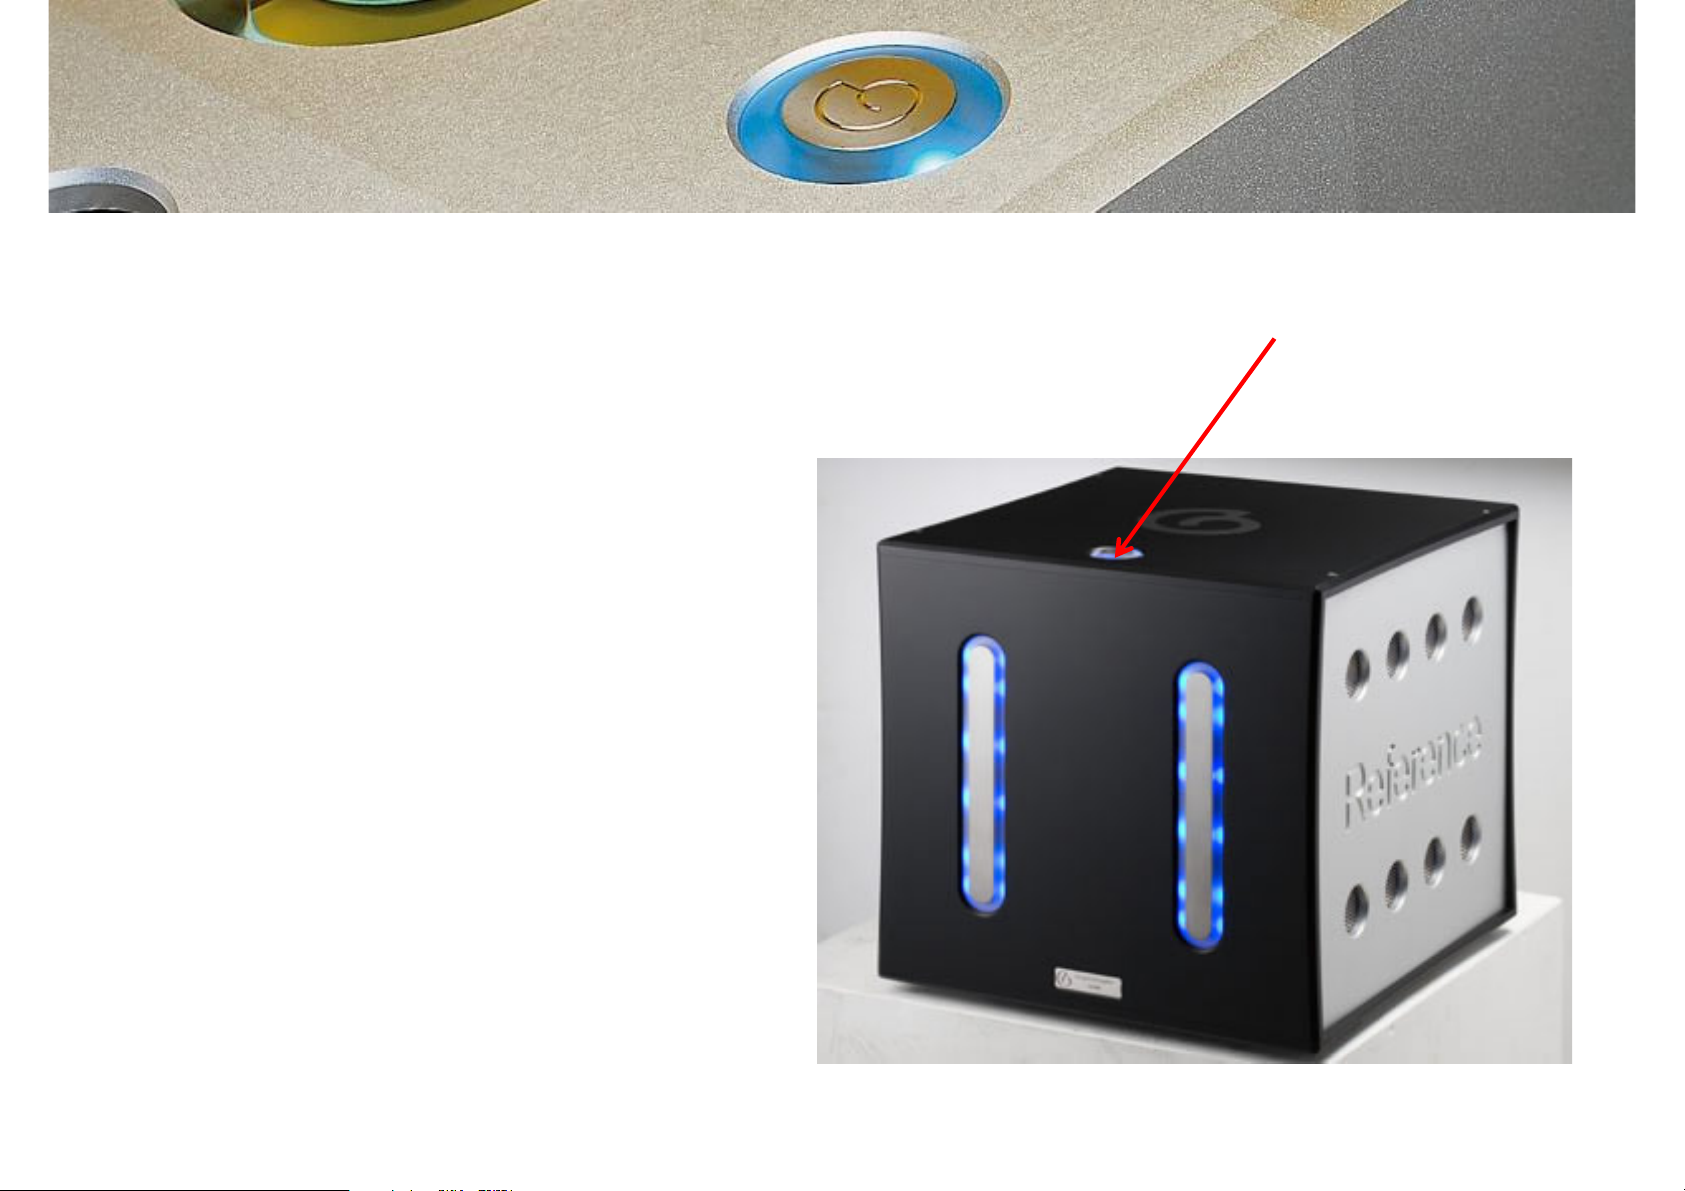
3. Standby button options Standby Touch Sensor
a. Mute
You can put the unit into “MUTE” mode by pressing the
STANDBY touch sensor button for less than 2 seconds.
The unit will indicate “MUTE” status by turning on both the
RIGHT and LEFT RED lights on the units’ front panel.
b. Standby
You can enter and exit “STANDBY” mode by pressing and
holding the STANDBY touch sensor for more than 2 seconds.
Touch Sensor Operation
The Qube Reference 500M uses state of the art QPROXTM
touch sensor technology first developed by QPROXTM for the
Apple iPod.
Apple iPod.
For the most reliable operation, during initial cold power on
(i.e. mains power on) and after release from “STANDBY”
mode, the unit will perform a calibration of the touch sensors
to compensate for any noise in the units’ external environment
(either electrical or radiated). This may cause the sensors to
become unresponsive during this time. Please allow the
calibration cycle to complete to ensure reliable operation.
If any button is pressed and held for more than 60 seconds
this will also automatically trigger the above calibration
process.
Popular Lighting Equipment manuals by other brands

STL
STL Prime 55 Operation manual and instructions

Sylvania
Sylvania DULUX LEDlescent TLED15.5PBG24DH8XXBF installation guide

Bestway
Bestway Flowclear 58216 owner's manual

Bestway
Bestway H2OGO! 52226 owner's manual

XanLite
XanLite TO1500L user manual

Blizzard Lighting
Blizzard Lighting Stiletto Z7 owner's manual


