manuals.online logo
Brands
  1. Home
  2. •
  3. Brands
  4. •
  5. Char-Broil
  6. •
  7. Grill
  8. •
  9. Char-Broil 463231603 Assembly User manual

Char-Broil 463231603 Assembly User manual

Other Char-Broil Grill manuals

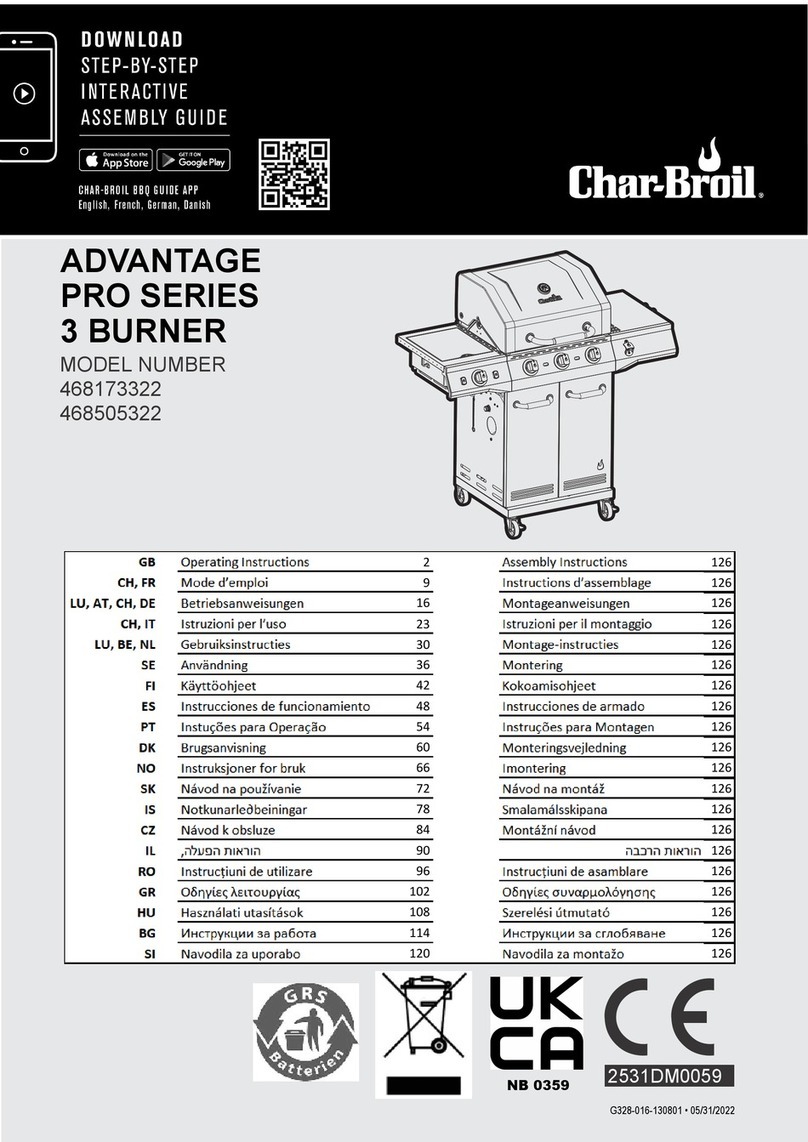
Char-Broil 4651330 User manual

Char-Broil

Char-Broil 4651330 User manual

Char-Broil 468963021 User manual

Char-Broil

Char-Broil 468963021 User manual

Char-Broil 4651330 User manual

Char-Broil

Char-Broil 4651330 User manual

Char-Broil EDGE Use and care manual

Char-Broil

Char-Broil EDGE Use and care manual

Char-Broil 11301696 User manual

Char-Broil

Char-Broil 11301696 User manual

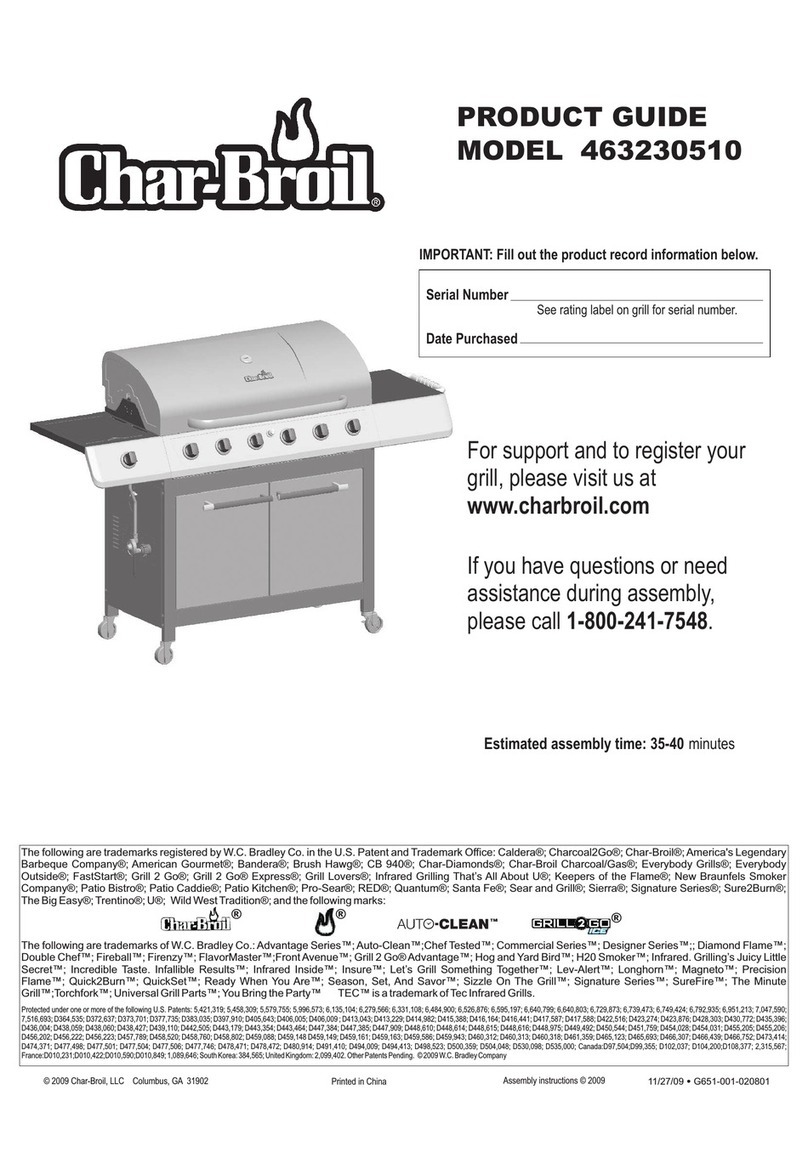
Char-Broil 463234312 User manual

Char-Broil

Char-Broil 463234312 User manual

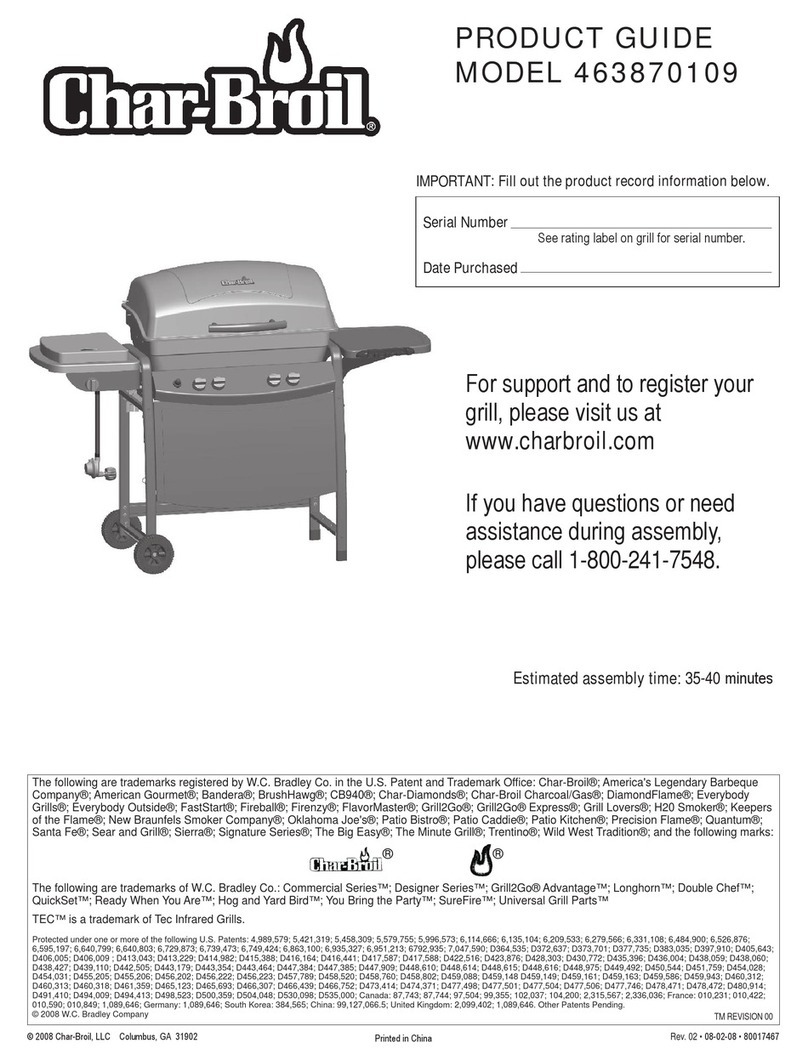
Char-Broil 463224611 User manual

Char-Broil

Char-Broil 463224611 User manual

Char-Broil 463270613 User manual

Char-Broil

Char-Broil 463270613 User manual

Char-Broil Patio Bistro User manual

Char-Broil

Char-Broil Patio Bistro User manual

Char-Broil C-21G0 463620414 User manual

Char-Broil

Char-Broil C-21G0 463620414 User manual

Char-Broil 463347017 User manual

Char-Broil

Char-Broil 463347017 User manual

Char-Broil 466247109 User manual

Char-Broil

Char-Broil 466247109 User manual

Char-Broil PERFORMANCE CORE 468502422 User manual

Char-Broil

Char-Broil PERFORMANCE CORE 468502422 User manual

Char-Broil 463622513 User manual

Char-Broil

Char-Broil 463622513 User manual

Char-Broil 463226515 User manual

Char-Broil

Char-Broil 463226515 User manual

Char-Broil 466741510 User manual

Char-Broil

Char-Broil 466741510 User manual

Char-Broil 615 14301569 User manual

Char-Broil

Char-Broil 615 14301569 User manual

Char-Broil V I B E G RI DDLE 535 User manual

Char-Broil

Char-Broil V I B E G RI DDLE 535 User manual

Char-Broil SMART-E 23651119 User manual

Char-Broil

Char-Broil SMART-E 23651119 User manual

Char-Broil LUCKENBACH 04301107 User manual

Char-Broil

Char-Broil LUCKENBACH 04301107 User manual

Char-Broil 463720111 User manual

Char-Broil

Char-Broil 463720111 User manual

Char-Broil 463231712 User manual

Char-Broil

Char-Broil 463231712 User manual

Char-Broil PROFESSIONAL SERIES User manual

Char-Broil

Char-Broil PROFESSIONAL SERIES User manual

Char-Broil The Big Easy 10101550 User manual

Char-Broil

Char-Broil The Big Easy 10101550 User manual

Popular Grill manuals by other brands

LMS BBQ08873P owner's manual

LMS

LMS BBQ08873P owner's manual

Cookworks LW-8010A Care & instruction manual

Cookworks

Cookworks LW-8010A Care & instruction manual

Campingaz CV Instructions for use

Campingaz

Campingaz CV Instructions for use

Metos XBL Series Installation and operation manual

Metos

Metos XBL Series Installation and operation manual

Fiesta ET34567 Use and care instructions

Fiesta

Fiesta ET34567 Use and care instructions

Mayer Barbecue BRENNA MKG-318A BASIC Assembly instructions

Mayer Barbecue

Mayer Barbecue BRENNA MKG-318A BASIC Assembly instructions

Landmann Avalon PTS Plus 5.1 Plus 12122 Assembly and operating manual

Landmann

Landmann Avalon PTS Plus 5.1 Plus 12122 Assembly and operating manual

Kenyon B70200 owner's manual

Kenyon

Kenyon B70200 owner's manual

Better Homes and Gardens GBC1486W owner's manual

Better Homes and Gardens

Better Homes and Gardens GBC1486W owner's manual

Orbegozo GR 2300 instruction manual

Orbegozo

Orbegozo GR 2300 instruction manual

bora PT11 Operating and installation instructions

bora

bora PT11 Operating and installation instructions

Klarstein 10031664 manual

Klarstein

Klarstein 10031664 manual

Garland MWE3W Installation and operation manual

Garland

Garland MWE3W Installation and operation manual

MPM MOP-03 user manual

MPM

MPM MOP-03 user manual

Kenmore 415.16123800 Use and care guide

Kenmore

Kenmore 415.16123800 Use and care guide

Tucker Barbecues GTR Series Assembly, installation and operating instructions

Tucker Barbecues

Tucker Barbecues GTR Series Assembly, installation and operating instructions

Monogram ZGG540NCP1SS owner's manual

Monogram

Monogram ZGG540NCP1SS owner's manual

Equipex Sodir Savoy Operation manual

Equipex

Equipex Sodir Savoy Operation manual

manuals.online logo
manuals.online logoBrands
  • About & Mission
  • Contact us
  • Privacy Policy
  • Terms and Conditions

Copyright 2025 Manuals.Online. All Rights Reserved.

ASSEMBLY, USE AND CARE MANUAL
463231603 THISGRILLISFOR
OUTDOORUSEONLY
@
KEEPERS OF THE FLAME
If you haveany questions
or need assistance
during assembly,
please call
1-800-241-7548 U.S
1-800-387-6057 CAN
Visit us ontheweb at:
www.charbroil.com
CAUTION:
Read and follow
all safety statements,
assembly instructions,
and use and care
directions before
attempting to
assemble and cook.
INSTALLER/
ASSEMBLER:
Leavetheseinstructions
with consumer.
CONSUMER:
Keep this manual for
future reference.
_WARNING
Failure to follow all
manufacturer's
instructions could
result in serious
personal injury and/or
property damage.
_\CAUTION
Some parts may contain
sharp edges - especially
as noted in the manual!
Wear protective gloves
if necessary.
[463231603/PO0112062A(04-14-03)J
463231603•1
AWARNING
FOR YOUR SAFETY
1. Do not store or use gasoline or other
flammable vapors and liquids in the
vicinity of this or any other appliance.
2. An LP Tank not connected for use
shall not be stored in the vicinity of
this or any other appliance.
FOR YOUR SAFETY
if you smell gas:
1. Shut off gas to the appliance.
2. Extinguish any open flame.
3. Open lid.
4. if odor continues, immediately call
your gas supplier or your fire
department.
Call Grill Service Center For Help And Parts
•If you need help or warranty parts call -_1-800-241-7548 U.S.
or 1-800-387-6057 CAN, or send a FAX to 1-706-576-6355.
Business hours: Open 24 hours- Seven days a week.
, To order non-warranty replacement parts or accessories (grill
cover, cleaners, paint) call 1-800-993-2677 or send a FAX to
1-706-565-2121.
Important: Fill out Warranty Information below
Warranty Information
ModelNumber
LotNumber (oncarton label)
Serial Number
DatePurchased
ACAgTION
•For residential use only. Do not use for commercial
cooking.
Installation Safety Precautions
•This grill is designed for natural gas use at 7 inch water
column supply pressure.Verify supply pressure with your
local gas company. Not for use with LP gas.
. Grill installation must conform with local codes, or in their
absence, with National Fuel Gas Code, NFPA 54 /ANSI
Z223.1. Handling and storage of LP cylinders must
conform to LP Gas Code NFPA/ANS! 58. Grill is not for
use in or on recreational vehicles and/or boats.
. All electrical accessories (such as rotisserie) must be
electrically grounded in accordance with local codes, or
National Electrical Code, ANSI /NFPA 70. Keep any
electrical cords and/or fuel supply hoses away from any
hot surfaces.
. This grill is safety certified for use in the United States only.
Do not modify for use in any other location. Modification
will result in a safety hazard.
Safety Symbols
. The symbols and boxes shown below explain what each
heading means. Read and follow all of the messages found
throughout the manual.
ADANGBR
• DANGER: Indicates an imminently hazardous
situation which, if not avoided, will result in death or
serious injury.
WARNING
• WARNING: Bealert to the possibility of serious
bodily injury if the instructions are not followed. Be
sure to read and carefully follow all of the messages.
CAUTION
• CAUTION: Indicatesa potentiallyhazardous
situationwhich, if not avoided, may result in minor
or moderate injury.
2 • 463231603
ForYour Safety .........................................................................2
Call Grill Service Center For Help And Parts...........................2
Installation Safety Precautions.................................................2
Safety Symbols .........................................................................2
Table of Contents.....................................................................3
Warranty....................................................................................3
Before Beginning Assembly .....................................................4
Parts List ...................................................................................4
Exploded View ..........................................................................5
Assembly ................................................................................6-9
Use and Care ........................................................................9-14
Storing Your Grill .....................................................................13
Indirect Cooking ......................................................................14
Food Safety..............................................................................14
Troubleshooting ......................................................................15
Char-Broilwarrantstotheoriginalconsumer-purchaserthat
this productshallbefreefromdefects inworkmanship and
materialsundernormaland reasonableuseandcorrect
assembly(ifassembledbyconsumer-purchaser),fromdateof
purchase.
Stainless steel and die cast parts - 99 years
Electronic ignition and burners -10 years
Remaining parts - 2 years
Char-Broil will, at its option, refinish or replace any
product or part found to be defective during the warranty
period. Char-Broilwill require you to return the part(s)
claimed to be defective, for its inspection, freight or postage
prepaid.
Ifyouwishtoobtainperformanceofanyobligationunderthis
limited warranty, you should write to:
CHAR-BROIL
Consumer Warranty /P.O. Box 1240
Columbus, GA 31902-1240
Char-Broilmayrequirereasonableproofofpurchaseand
wesuggestyoukeepyourreceipt. InthestateofCalifornia only,
ifrefinishingorreplacementoftheproductisnotcommercially
practicable,theretailersellingthis productor Char-Broilwill
refundthepurchasepricepaidfortheproduct,lesstheamount
directlyattributabletousebytheoriginalconsumer-purchaser
priortodiscoveryofthenonconformity.Inaddition,inthestateof
Californiaonly,youmaytakethe producttothe retail
establishmentfrom whichitwas purchasedortoanyretail
establishmentsellingthisproductinordertoobtainperformance
underthiswarranty.
Thiswarrantydoesnotincludethecostonany
inconvenienceor propertydamageduetofailureoftheproduct
anddoes notcoverdamageduetomisuse,abuse,accident,
damagearisingoutoftransportationoftheproduct,ordamage
incurredthroughcommercialuseoftheproduct.Thisexpress
warrantyisthesolewarrantygivenbythemanufacturerandisin
lieuofallotherwarranties,expressorimplied,includingimplied
warrantyofmerchantabilityorfitnessforaparticularpurpose.
NeitherChar-Broildealersnortheretailestablishmentsellingthis
product hasanyauthoritytomake anywarrantiesortopromise
remediesinadditiontoor inconsistentwiththosestatedabove.
Char-Broil'smaximumliability,inanyevent, shall notexceed the
purchasepriceofthe productpaidbytheoriginalconsumer-
purchaser.Somestatesdo notallowtheexclusionorlimitationof
incidentalorconsequentialdamages.Sothe abovelimitationsor
exclusionsmaynotapplytoyou.Thiswarrantygivesyouspecific
legal rightsandmayalsohaveotherrightswhich varyfrom state
tostate.
463231603• 3
• Necessary tools for assembly of your grill include:
Phillips@screwdriver, pliersand adjustablewrench,
Certified Gdll Parts And Accessories@, Char-Broil and Design@, Char-Broil (Gas Grill Briquettes)@,
Char-Diamonds@, Cooking Zone and Design@, Diamond Rame@, Executive Chef_, Faststart_,
Flare Fighter@, RavorMaster@, Gas Grill Silouette and Design@, H20 Smoker_, Lava Rame@,
MasterFlame@, MasterFlame Precision Cooking System@, PowerSpark@, Quantum@, VIP@,
PrecisionFlame and Design@, Sierra@, and TruRame@ are registered Trademarks ofthe WC Bradley
Company Thermos@ is a registered trademark of the Thermos Company and its affiliates
Artisan Collection by Char-Broil T_ C3 and Design TM, Char-Broil and Design TM, F]ame Design TM,
FlavorTents TM, Grill 2 Go TM, Glillin' Stick TM, Keeper of the F]ame TM, Keepers ofthe Flame TM,
Natural Grip w, Outdoor Cooking Collection and Design TM, Patio Bistro TM, PrecisionFlame TM, Pro-Check TM,
QuickSet Gdlls and Design TM, SmokerTents TM, The Big Easy TM, The Minute GdlIT_ The Edge TM,
The Tuscan Collection TM, and The Urban GdlP*'_are Trademarks of the WC Bradley Company Universal
Grill Parts and Design T_,_isa trademark ofthe Thermos Company and its affiliates
Protected under one or more of the following US Patents: 4,598,692; 4,624,240; 4,747,391; 4,747,391;
4,817,583; 4,924,846; 4,989,579; 5,003,960; 5,076,256; 5,076,257; 5,090,398; 5,109,834; 5,224,676;
5,277,106; 5,421,319; 5,441,226; 5,452,707; 5,458,309; 5,566,606; 5,566,606; 5,579,755; 5,582,094;
5,613,486; 5,649,475; 5,706,797; 5,711,663; 5,785,543; 5,931,149; 5,996,573; 6,095,132; 6,135,104;
6,279,566; D282,B19; D339,714; D341,292; D343,337; D358,059; D361,4BB; D364,535; D372,637;
D373,701; D377,735; D383,035; D397,910; D405,643; D405,643; D40B,O05; D406,009; D413,043; D413,229;
D413,229; D414,982; D415,388; D41B,164; D416,441; D416,441; D417,587; D422,516; D423,274; D423,876;
D428,303; D435,39B; D436,004; D438,059; D438,060; D438,427; D439,110; D442,505; D443,179; D443,354;
D447,384; D447,385; D447,909; D448,610; D448,614; D448,615; D448,616; D448,975; and D449,492
Other Patents Pending
4 • 463231603
Key Qty Description Part #
A 1 Lid Plate P00118036A
B 1 Lid Side Panel, Left P00105037K
C 1 Lid Side Panel, Right P00106037K
D 1 Heat Indicator P0060tl 8tA
E 1 Plastic Lid Handle P00202012A
F 1 Logo Plate P00403003H
G 1 Warming Rack P01505007E
H 2 Cooking Grid P0t6t 5003E
I 3 Flame Tamer P01705005E
J 1 Griddle P05702002E
K 3 Burner P02001032E
L 1 Burner Support Bracket P02203052B
M 3 Gas Collector Box with Electrode P02609002B
N 1 Electric Wire set P02615062A
O 1 Electric Ignitor (4 port) P02502024C
P 1 Bowl Side Panel, Left P0072001 tA
Q 1 Bowl Side Panel, Right P0072t01 tA
R 1 Bowl Front Panel P00724014A
S1 Bowl Rear Panel P00725014A
T 1 Rear Wind Shield P00728051A
U1 Grease Draining Tray P02705084A
V 1 Grease Receptacle P02701015B
W 1 Gas Manifold P05003062A
X3 Gas Valve for Main Burner P03222053B
Y 1 Heat Shield for Control Panel P03007032B
Z 1 Control Panel P02907381F
AA 3Control Knob P0341 t 11tG
BB 3Control Knob Seat P03415041J
CC 4 Spring P05504017E
DD 1 Sideburner Frame (Left) P01102013D
EE 1 Side Shelf, Right P01103012D
FF 1 Bracket for Side Shelf- Left Front P01204004C
GG 2 Bracket for Side Shelf - Left Rear, Right Front P01206003C
HH 1 Bracket for Side Shelf -Right Rear P0t 207002C
I I 2 Front Panel, Side Shelf, Left P07503001B
JJ 1 Cart Bottom Shelf P01003037D
KK 2 Cart Side Panel P07604002B
LL 1 Cart Rear Panel P07702002B
MM 1 Door Bracket P03301001D
NN 2 Door Front Plate P04301002A
OO 2 Door Handle P00214006A
PP 2 Bowl Support Bracket P01306002D
QQ 1 LeR Side Cart Leg, Front P009t0005C
RR 1 LeR Side Cart Leg, Rear P009t t 0050
$8 1 Right Side Cart Leg, Front P009t2005C
TT 1 Right Side Cart Leg, Rear P009t3005C
UU 4 Caster Seat P04507003A
W 4 3" Caster P05106003D
WW 1 Braes Fitting (Manifold and Regulator) P0390t004A
XX 1 Quick Diecouneet t2ft Hose Assembly P03703001A
YY 1 NG Regulator Bracket P03311029D
ZZ 1NG Regulator Rubber Hose P03705037A
AAA 1 Sideburner Lid P00tl 508AA
BBB 1 Lid Knob for Sideburner P00201008A
CCC 1 Pot Support P00814002D
DDD 1 Electrode P026t4007C
EEE 1 Sideburner P02020003D
FFF 1 Gas Valve for Sideburner P03218102G
GGG 1 Control Knob P0340103tF
HHH 1 Connection Tube P03702002A
Ill 1 "4" WC NG Regulator with Adaptors P03614002B
JJJ 1 AA Battery P05301001A
KKK 1 Front Panel, Side Shelf, Right P07502001B
LLL 1 Sideburner Control Knob Seat P03408051J
MMM 1 Match Lighting Stick with Chain P05507031E
NNN 1 Motor Assembly P07101010A
OOO 1 Motor Bracket P0710301tC
PPP 2 Fork P055081 t 2F
QQQ 1 Collar P05508113F
RRR 1 Bushing P05508114F
SSS 1 Handle P055081 t 5E
TTT 1 Spit P055081 t t F
UUU 1 Door Stop P05510009E
1 Caster Wrench P055t5002C
1 Grate Lifter P05515014E
1 Hardware Pack P06004042A
Owner's Manual PS0112062A
sss
TTT
QQQ I
RRR
CC
MM
LL
V
463231603• 5
•Unpack and remove all protective packaging.
1. Position bottom shelf with the 4-hole pattern to the left side.
See Fig. 1.
The labels on the cart legs
indicate their assembly position to the bottom shelf. LF=Left
Front, LR=Left Rear, RF=Right Front, and RR=Right
Rear. Labels should face inward toward each other when
correctly assembled. Remaining components cannot be
assembled if leg positions are incorrect.
2. Install the four cart legs to the indicated corners of the
bottom shelf using 8 of the 114x2-112"Phillips-head screws
provided. Do not fully tighten screws.
3. Install cross braces, facing inward, to cart legs on both
sides using 8 of the 1/4×1/2" Phillips-headscrews. Fully
tighten. See Fig. 1.
FIGURE 1
Cross
Brace
Bottom
Shelf
,
,
Screw the 4 casters into the caster seats in the bottom of
each cart leg. Turn the threaded caster stem by hand,
clockwise until it stops. Fully tighten with the wrench
provided. See Fig. 2.
Installthe two side panels and one rear panel to the cart by
using 4 of the 3/16×3/8" Phillips-head screws on each
panel. Leave rear panel screws loose. See Fig. 2.
ON
FIGURE 2
Side Rear
_anet panel
//
panel
,
,
Attach the door bracket to the lower holes in the front legs
with the end tabs pointing upward and the flange to the rear,
pointing downward. Use 2 of the 1/4×1/2" Phillips-head
screws. Do notfully tighten. See Fig. 4.
Placedoors into the hinge holes of the bottom shelf and
door bracket. Push door bracket down until doors are
secure and can open and close freely. Do not fully tighten
door bracket screws. See Fig. 4.
6 • 463231603
10. Remove protective film from doors. Install door handles to
doors using 4 of the 3/16x3/8" Phillips-head screws. See
Fig. 4.
11. Attach the 4 side shelf brackets to the tops of the cart legs
using 8 of the 1/4x1/2" Phillips-head screws.
IMPORTANT: Bracket with cut-out installs on front left
leg. Be sure the flat side of each bracket faces outward.
Fully tighten. See Fig. 4.
12. Place the sideburner shelf over the left brackets and cross
brace. Be sure ignitor wire is hanging loose. Be sure the
inside shelf holes align with cross brace holes. Secure
shelf firmly to the ends of the brackets using 2 of the
1/4x1/2" Phillips-head screws. Repeat this procedure for
the side shelf on the right side of the cart. See Fig. 4.
FIGURE 4
8ideburner
cut-out
Side
,; shelf
,, Align
Lower
fitm
Handle /
/
Hinge
Shelf bracket,
flat side facing
outward
Attach the door stop to the bottom shelf, with the flange facing
the front, using 2 of the 3/16x3/8" Phillips-head screws. Fully
tighten. See Fig. 4.
FIGURE 5
13. Attach match lighting stick
and chain to the right rear
leg, below shelf bracket,
using one M4xl0mm,
self-tapping, Phillips-head
screw. See Fig. 5. Match
lighting
stick
To reduce the weight of the grill head, open the grill lid and
remove the packed components. This step requires 2 people
to lift and position the grill head onto the cart.
14. HINT: Slide grill head into cart from the front. Use care to
avoid scratching tops of side shelves. Align the 2 holes
beneath the hang ledge on each side of the grill head with
the 2 holes in the side shelf and cross brace on the cart.
Raise the grill lid and insert 4 of the 1/4x3/4" Phillips-head
screws. Beneath the side shelves, add 1/4" nuts. Do not
fully tighten. See Fig. 6.
15. Attach heat indicator to grill lid using nut )rovided. Make
sure graphics on heat indicator are properly oriented before
tightening nut. See Fig. 6.......... ,,
FIGURE 6
Grill
head,
Heat indicator ledge
Gas Hang
ledges
rest on
shelves
\
463231603•7
16. Firmly attach ignitor wire from sideburner to the ignitor wire
from the grill head. See Fig. 7a. Beneath left shelf, insert
sideburner valve into sideburner tube. See Fig. 7 for
proper engagement. Attach sideburner valve to shelf using
2 of the M4xl0 Phillips-head screws and washers. Place
knob seat, spring, and sideburner knob over valve stem.
FIGURE 7
FIGURE 7a
wire
Wire from Grill head
17. Secure grill head to all cart legs using 4 of the 1/4x2-1/2"
Phillips-head screws and 1/4" nuts. See Fig. 8.
18. Fully tighten all leg screws, rear panel screws, door
bracket screws, and grill head screws.
19. From the back of the cart, slide the grease draining tray into
the grill head. Place the grease receptacle into the notches
on the bottom of the tray.See Fig. 8.
FIGURE 8 Grease
draining
Grease
receptacle
grill head
to all 4 legs
20. Unscrew the ignitor cap located on the control panel and
remove the contact and spring from the ignitor slot.
See Fig. 9.
21. Placethe suppliedAA battery into the ignitor slot with the
positive pole facing toward you.
22.
FIGURE 9
Placethe spring with contact over the battery. Screw the
ignitor cap back onto the control panel.
Contact
cap
SI ring
AA y
23. Attach panel to front of sideburner shelf by placing top lip of
panel ABOVE bottom lip of shelf. Secure using three
3/16"x3/8" Phillips-head screws and 3/16" nuts. Fully
Tighten. See Fig. 10.
FIGURE I0
lip
Griddle FIGURE II
Flame tamer
Lower
ledge
)oking
grid
Secondary
cooking
rack
8•463231603
24. Place the 3 flame tamers on the lower ledge above
burners. See Fig. 11. They should meet in the center.
25. Place the cooking grids or griddle on the ledge above the
flame tamers.
26. Place the secondary cooking rack into the slots on the
upper left and upper right of the grill bowl panels.
27. Attach rotisserie motor bracket to bowl side panel using
screws, washers, and nuts provided, then slide motor onto
bracket. See Fig. 12.
28. Twist handle onto threaded end of spit rod, then add
bushing, collar, and forks to spit. Insert spit into motor and
rest collar in groove of opposite side.
FIGURE 12
Handle
Bushing and collar
Forks
Spit rod
Bracket
FIGURE 13
Reg
with "L"
bracket
29. Assemble the regulator mounted on the "L" bracket onto
the Left rear leg with 3/16" X 1/2" Phillip's head screw.
See Fig. 13.
30. Thread the natural gas quick connect hose onto the
regulator fitting and wrench-tighten the connection.
See Fig. 14. Please read "Connecting Your Grill to the
Natural Gas Source" and "Leak Testing", in the Use
and Care section, before using your grill.
FIGURE 14
Natural gas
hose _.._
Regulator
fitting
AWARNING
•WARNING: Whenthe rotisserie motor is in use, the
warming rack and side burner should not be used.
Before Your First Cookout
, Perform the leak test as indicated in the use and care
section.
, Wash the cooking grids, griddle, cooking rack, and all
stainless steel surfaces with warm, soapy water. Rinse and
dry thoroughly.
, Light burners. Check to make sure they are lit, then close
the lid and warm the grill on HI for 15 minutes. Curing of
paint and parts will produce an odor only on first lighting.
463231603• 9
Connecting Your Grill to the
Natural Gas Source
iMPORTANT: Regulator supplied with grill MUST be
utilized for natural gas connection.
1. Coatpipenipplewithgasresistantdope.Screwsocketontogas
manifoldatgassource(A).
2. Connectunattachedendofnaturalgashosetosocket.Pushsleeve
backonsocket(B)andinsertpluguntilsleevesnapsforward,locking
plugintosocket.
Whensocketandplugareconnected,valveinsocketopensautomati-
callytopermitfullgasflow.Whencouplingisdisconnected,valvein
socketinstantlyandpositivelyshutsofftlowofgas.Becausevalvein
socketpositivelyshutsoffflowofgas,grillcanbedisconnectedfromgas
sourcebydisconnectinghosefromsocket.Socketcanbelefton
manifoldofgassourceifsodesired.
With proper assembly, plug cannot be removedwithout
pushingsleeve back.Todisconnect,pushsleevebackandpullplug
outofsleeve(thisautomaticallyshutsoffgas).
PleaseNote:Hoseandassembly areA.G.A.certified and C.G.A.
listedfor naturalgas,manufactured gas. mixed gas and for
liquefiedpetroleum and for LP Gas-Airmixtures on basis of 0.64
specific gravity for 10008TU'sper cubic foot of gas at 0.3in.
water column pressure drop. OnlyANSIZ21.54approvedhoses
shouldbe usedwith this grill.
Theapplianceand itsindividualshutoffvalve must be discon-
nected from the gassupplypipingsystem duringany pressure
testing ofthat systemattest pressures inexcessof
1/2psig (3.5kPa).
Theappliancemust be isolatedfrom the gas supply piping
systemby closing itsindividualmanualshutoffvalve during
any pressuretesting ofthe gassupplypipingsystemat test
pressuresequalto or lessthan 1/2psi(3,5kPa),
WARNING
•Connection to gas source must be done by a
certified plumber.
PipeNipple
Gas Manifold
Sleeve
WARNING
Do not use hard metal piping of any kind to
connect this type of grill to natural gas source. Use
ONLY hose specified by Char-Bro& Using hard
metal piping or convoluted metal tubing is an
unsafe practice. Movement of the grill can cause
breakage of metal pipe.
Plug
insertcover in socket
when hose isremoved
Pushsleevebackto attach /
_ \ Plug
10 •463231603