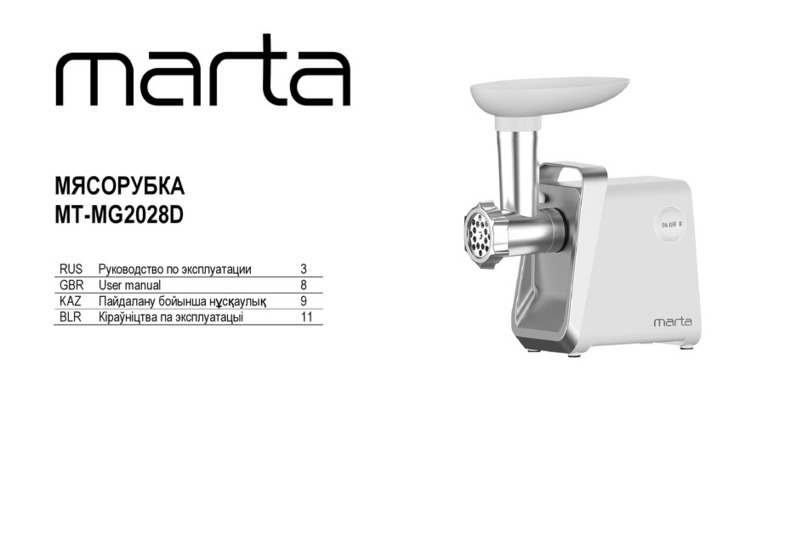
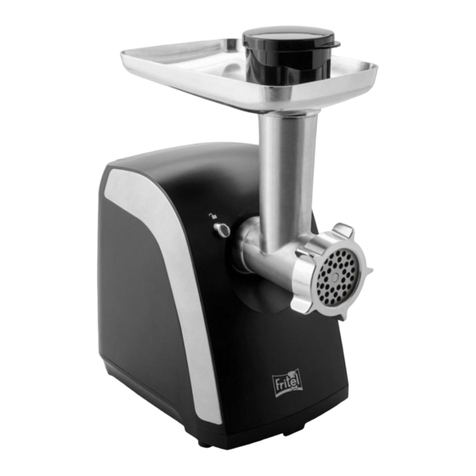
Chard FG-500 Guide

Features:
• 400 Watt Motor with Rocker Control and Reverse functions
• #5 Grinding Head with Cutting Blade & Medium Grinding Plate
• Large capacity Hopper and convenient Carrying Handle design
• Includes Food Pusher and Sausage Stufng Attachments
• Grinds up to 2 pounds per minute
#5

IMPORTANT SAFEGUARDS
When using any electrical appliance basic safety precautions
should always be observed including the following:
SAVE THESE INSTRUCTIONS
Read and understand all instructions before using the appliance.
• To protect against risk of electrical shock, do not put appliance in water or other liquid.
• Close supervision is necessary when any appliance is used by or near children. This appliance is
not recommended for use by children.
• Unplug from outlet when not in use, before putting on or taking off parts, and before cleaning.
• Avoid contact with moving parts.
• Never put the unit near a hot burner, in an oven, or in a dishwasher.
• Do not operate the appliance, or any other electrical equipment, with a damaged cord or plug or
after the appliance malfunctions, or is dropped or damaged in any manner. Return to the nearest
authorized service center for examination, repair, or adjustment.
• Never feed food by hand; always use the pusher. Keep hands, hair, clothing and utensils away
from moving discs during operation to reduce the risk of personal injury and/or damage to the
appliance.
• Do not use outdoors, or use for any purpose other than intended use.
• Warning: the cutting blade is sharp; handle with care both when using and when cleaning.
• Do not let cord hang over edge of table or counter, contact sharp edges, or touch hot surfaces.
• Do not pull on the power cord to disconnect.
• Never plug in the appliance where water may ood the area.
• Place the appliance on a rm and stable surface.
• NEVER PUT YOUR FINGERS NEAR THE FOOD CHUTE WHILE GRINDER IS IN OPERATION.
• Ensure that the appliance is not placed close to the edge of the table, worktop, etc. where it can
be pushed off or fall.
• The use of attachments not recommended or sold by the manufacturer may cause re, electric
shock or injury.
• Never use abrasive cleaning agents or abrasive cloths when cleaning the unit.
• Do not use ngers to scrape food away from cutting blade while appliance is in operation. Cut type
injury may result.
• Only use the unit when completely assembled.
• Do not leave the appliance unattended while it is running.
• Before using for the rst time, remove all packaging and thoroughly wash all parts with hot soapy
water.
• This appliance has a polarized plug (one blade is wider than the other). To reduce the risk of
electric shock, this plug will t in a polarized outlet only one way. If the plug does not t the outlet
perfectly, reverse the plug. If it should still not t, contact a qualied electrician. Do not modify the
plug in any way.
• Check that the control is OFF before plugging the cord into wall outlet. To disconnect, turn the
control to OFF, then remove plug from wall outlet.
• Do not place on or near hot gas or electric burner or in a heated oven.

OVERVIEW OF COMPONENTS
AGrinder Head Collar
BCutting Plate
C Cutting Blade
D Auger
E Auger Head
FFood Pusher
GDie-Cast Hopper
H Sausage Stufng Attachments
I Grinder Head Clamp Knob
JReverse Switch
KPower Switch
ABC D E
FG
H
I
J
K
1

HOW TO USE
Assembly:
1. Before each use wash all parts with warm soapy water before assembly.
2. Ensure that the grinder is unplugged before performing any assembly.
3. Loosen the grinder head clamp knob (I) and install auger head (E) into
grinder body until completely engaged with drive mechanism.
4. While holding the auger head with one hand, turn grinder head clamp knob
clockwise until tight.
5. Insert auger (D) into auger head and align spindle with internal gear drive.
6. Install the cutting blade (C) onto the square drive of the auger with the at
cutting surface facing away from the grinder body.
7. Position the cutting plate (B) onto spindle at end of auger so plate sits
ush against the at portion of cutting blade. Ensure that the notches
on the cutting plate line up with notches on auger head. Plate should sit
approximately ush with end of auger head.
8. Install the grinder head collar (A) over the cutting plate by turning clockwise
on the threads of the auger head.
9. Install the die-cast hopper (G) on top of the auger head.
10. Use the food pusher (F) to gently feed food, one piece at a time. Do not force
the food into the grinder/feeder head.
Please do not return product to the store you purchased it from.
For questions or concerns please contact customer service at
1-800-288-4545 or visit chardproducts.com.
2

HOW TO USE
How to Use:
Tip: Partially frozen food grinds much more efciently than fully thawed
food. We recommend that frozen food be partially thawed before grinding or
thawed food be partially frozen prior to grinding. Never attempt to grind fully
frozen food.
1. After unit is fully assembled per instructions above, conrm that power switch
is in the OFF position (rocker switch is in the middle position.)
2. Insert plug into wall outlet.
3. Conrm grinder is on stable work surface.
4. Place a wide shallow bowl or plate directly below the grinder head.
5. Turn power switch to ON position by pushing the top portions of the rocker
switch to the “-” position. The grinder must always be in the ON position
before adding food.
6. Place food to be ground into die-cast hopper and use pusher to push food
through opening.
Note: Reverse Switch
7. If food becomes jammed, turn rocker switch to the off position. To clear jam,
turn rocker switch to reverse (as pictured). Next press reverse switch (as
pictured) until food is cleared. Disassembly may be required to clear jam.
Note: Always unplug cord from outlet before disassembling.
Tip: Never attempt to grind bone or other solid objects as this will cause
permanent damage to the grinder.
3

HOW TO USE
Cutting Plates
• CUTTING PLATES ARE NOT DISHWASHER SAFE.
• PLEASE HAND-WASH ONLY!
Helpful Hints
• Grinding stale bread pieces may help remove food residue left in the
appliance after use.
• Cut food into strips or cubes slightly smaller than the opening on the large
die-cast hopper.
• Make sure food is free of bone, tough tendons, nutshells, etc. before
grinding.
• Raw meat and sh should be thoroughly chilled (not frozen) before
grinding to reduce the loss of juices.
• Freshly ground meat should be refrigerated and cooked within 24 hours.
• During extended grinding, fats from meats can build up inside the grinder
tube, slowing down grinding and straining the motor. If this happens, you
should stop the appliance, wash parts in hot water, and reassemble. When
possible, alternate bread with meat. This helps keep the auger clean.
• Trim a handful of fat from meat. Process the fat through the hopper to
lubricate grinding mechanism for better processing results.
• Meats can be seasoned before or after grinding.
4

CLEAN AND CARE
Clean and Care:
• Always unplug when not in use, before inserting or removing parts, and
before cleaning.
• Never immerse appliance in water or other liquid.
• Wash all parts except motor unit by hand in hot soapy water, using care
when handling the sharp blade.
• Rinse these parts with clear, hot water, then dry.
• REMOVABLE PARTS ARE NOT DISHWASHER SAFE!
• Wipe motor unit with a damp cloth. Do not use harsh or abrasive
cleaners.
• Cutting blade and cutting plate should be coated with cooking oil after
washing and then wrapped in grease-proof paper to keep them lubricated
and rust-free.
5

WARRANTY
FG-500 / CHARD # 5 Electric Grinder
C/O MW
PO Box 237
Two Rivers, WI 54241
chardproducts.com
©2017 Metal Ware Corp, P.O. Box 237, Two Rivers, Wi 54241 1-800-288-4545
Table of contents
Other Chard Meat Grinder manuals
