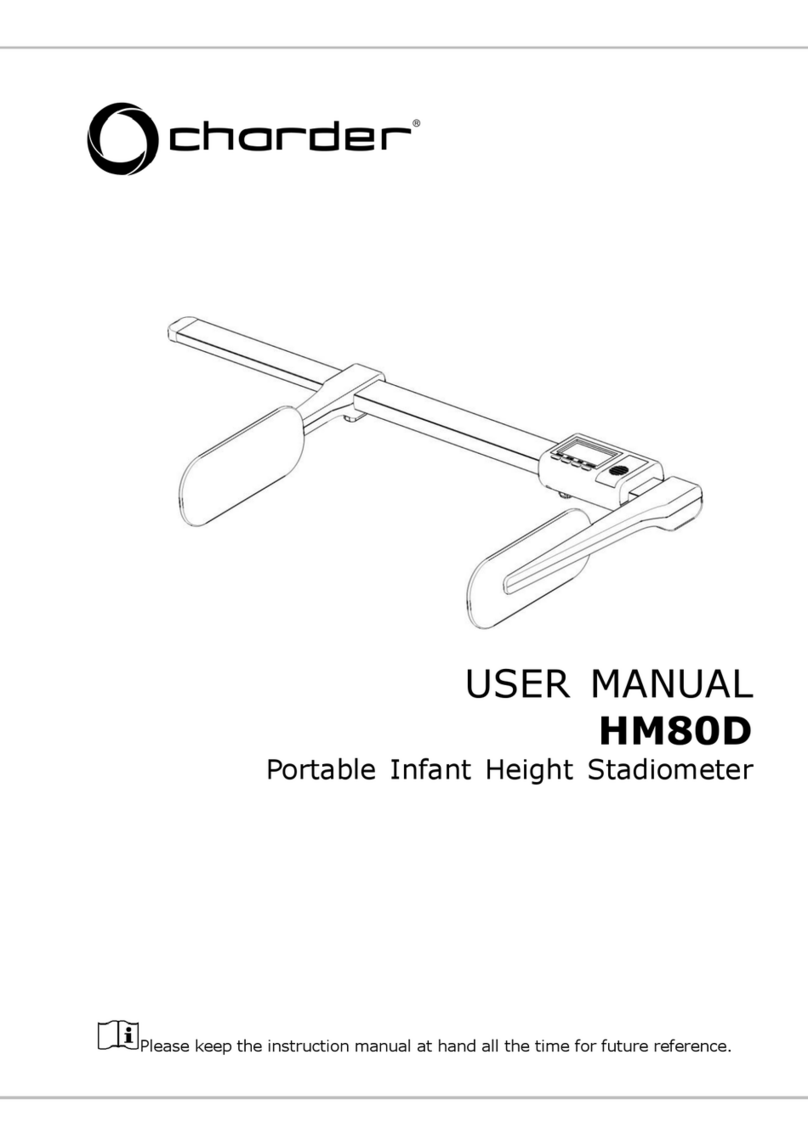
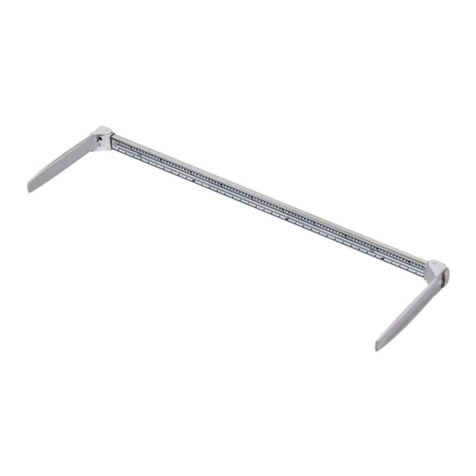
Charder HM200D User manual

HM200D HM210DHM201D
Please keep the instruction manual at hand all the time for future reference.
HM 200
/
201/210D
Height Measurement
USER MANUAL
27
Manufacturer’s Declaration of Conformity
This product has been manufactured in accordance with the
harmonized European standards, following the provisions of the
below stated directives:
93/42/EEC as amended by
2007/47/EC
Medical Device Directive
Please see separate document showing on sticker of device for
above CE marking.
Authorized EU Representative:
Manufactured by:
Charder Electronic Co., Ltd.
No.103, Guozhong Rd., Dali Dist.,
Taichung City 412, Taiwan (R.O.C.)
CD-IN-1047 [8040N]

261
TABLE OF CONTENTS
PREFACE.................................................................................................2
SAFETY INSTRUCTION ........................................................................2
CLEANING..............................................................................................3
INTENDED USE......................................................................................3
MAINTENANCE .....................................................................................3
SAFETY INSTRUCTIONS ......................................................................3
WARRANTY............................................................................................4
Explanation of Graphic Symbols...............................................................5
SPECIFICATION .....................................................................................6
KEY FUNCTIONS ...................................................................................7
PRODUCT INTRODUCTION .................................................................8
INSTALLATION INSTRUCTIONS .......................................................10
USING HM 200/201/210D .....................................................................17
CALIBRATING HEIGHT ROD .............................................................21
BATTERY INSTALLATION ..................................................................23

2
PREFACE
Thank you for choosing CHARDER MEDICAL product. All features
of this product were designed to state of the art and are optimized
for simple and straightforward use. If you have any queries or
experience any problems not addressed in the operating
instructions, please contact your CHARDER MEDICAL service
partner, or visit us on the Internet at www.chardermedical.com
SAFETY INSTRUCTION
Before putting the device into use, please read with care the
information given in the Operating Instructions. They contain
important instructions for installation, proper use and maintenance
of the device.
The manufacturer shall not be liable for damages arising out of
failure to heed the following instructions:
When using electrical components under increased safety
requirements, always comply with the appropriate regulations.
Improper installation will render the warranty null and void.
Ensure the voltage marked on the power supply unit matches
your mains power supply.
This device is designed for use indoors.
Observe the permissible ambient temperatures for use
The device meets the requirements for electromagnetic
compatibility. Do not exceed the maximum values specified in
the applicable standards.
After using the height rod in a certain period of time or using the
top rod sliding up and down about 5,000 times during measuring,
it might cause sliding off automatically. We suggest changing to
a new height rod based on frequencies of use
If you have any problem, please contact your local CHARDER
MEDICAL service partner.
25

243
CLEANING
We would recommend using alcohol based wipes or similar
when cleaning the devices.
Please do not use large amounts of water when cleaning the
devices as this will cause damage to the devices electronics,
you should also refrain from using corrosive liquids or high
pressure washers.
INTENDED USE
This scale is used to determine weight of patients who are supported by
professional personnel in rooms intended for carrying out health care. The
weighing value can be read off after a stable weighing value has been
obtained. Before any use, the scale must be checked for correct condition
by the authorized person.
MAINTENANCE
The devices do not require any routine maintenance. However, we
recommend checking the accuracy at regular intervals. The
regularity of these checks is dependent on the level of use. If any
inaccuracies occur, please contact your local dealer or CHARDER
MEDICAL service partner.
SAFETY INSTRUCTIONS
Before using the new measuring rod, please take time to read the
following safety instructions
:
Follow the operating instructions.
Attach the measuring rod only to Charder column scale.
Use the assembly material supplied.
When assembling, ensure that screws are tight and that the rod
has been assembled correctly
(See chapter “Assembly instructions”).
Fold the measuring head piece after height has been taken to
avoid risk of injury.

4
WARRANTY
A two-year warranty from date of delivery applies to defects
attributable to poor materials or workmanship. All moveable parts
batteries, cables, mains units, rechargeable batteries etc.- are
excluded. Defects, which come under warranty, will be made good
for the customer at no charge on production of the receipt. No
further claims can be entertained. The costs of transport in both
directions will be borne by the customer should the equipment be
located anywhere other than the customer’s premises. In the event
of transport damage, claims under warranty can be honored only if
the complete original packaging was used for any transport and the
scale secured and attached in that packaging just as it was when
originally packed. All the packaging should therefore be retained.
A claim under warranty will not be honored it the equipment is
opened by persons not expressly authorized by Charder to do so.
We would ask our customers abroad to contact their local sales
agent in the event of a warranty matter.
PLEASE VISIT WWW.CHARDERMEDICAL.COM FOR MORE INFORMATION.
23
BATTERY INSTALLATION
a. Remove the battery cover at the rear of indicator.
b. Install 2-AAA size batteries.
c. Put the batter cover back.
Warning: If the height rod is not in use for long time, take out the
batteries and store them separately, incase of any leakage from
battery would damage the measuring rod.
Note: When the new batteries have been installed, it is
recommended to reset the height rod using reset key.
Note: HM 201D don’t need batteries to operate; it starts working as
it is connected with DP3400 or DP37xx indicator. DP 2701 indicator
doesn’t support HM 201D.

22
Connect HM 201D with indicator (Picture-1)
Turn ON the scale by pressing ON/OFF key(Picture-2).
Press BMI key to check current height.
Sliding the measuring rod downward completely (Picture-3).
If the height display is not ‘120cm’, press Reset button to calibrate
the height. It will be ‘120cm’(Picture-3).
3. HM 210D
Sliding height indicator downward to the end of measuring rod
(Picture- 1).
Turn ON HM 210D by pressing ON/OFF key (Picture-2).
If the height display is not ‘100cm’, press Reset button to calibrate
the height. It will be ‘100cm’(Picture-3).
5
Explanation of Graphic Symbols
61
'HVLJQDWLRQRIWKHVHULDOQXPEHU
RIHYHU\GHYLFH
1XPEHUDVDQH[DPSOH
´3OHDVHQRWHWKHDFFRPSDQ\LQJ
GRFXPHQWVµRU´ EVHUYHRSHUDWLQJ
LQVWUXFWLRQVµ
&KDUGHU(OHFWURQLF&R/WG
1R*XR]KRQJ5G'DOL'LVW
7DLFKXQ
J
&LW
\
7DLZDQ52&
GHQWLILFDWLRQRIPDQXIDFWXUHURI
PHGLFDOSURGXFWLQFOXGLQJDGGUHVV
´7\SH%)DSSOLHGSDUWµ
'LVSRVHRIROGDSSOLDQFHV
VHSDUDWHO\IURP\RXUKRXVHKROG
ZDVWH
7KLVSURGXFWPXVWEHGLVSRVHGRI
DWDFRPPXQDOFROOHFWLRQSRLQW
&DUHIXOO\UHDGWKLVRSHUDWLRQ
PDQXDOEHIRUHVHWXSDQG
FRPPLVVLRQLQJHYHQLI\RXDUH
DOUHDG\IDPLOLDUZLWK0DUVGHQ
SURGXFWV

6
SPECIFICATION
Model
HM 200D HM 201D HM 210D
Type
Scale mounted digital
height rod
Wall mounted
digital height rod
Keys
Hold,
Reset, Unit Reset Button Hold, Reset, Unit
Measurement
range
120~200cm
120~200cm
(Digital
measuring
range) 100-210cm
60~120cm
(Mechanical
measuring
range)
Graduations
1mm
Accuracy
1.5mm
Dimensions
40x30x1780mm 70x80x2100mm
Weight
0.85kg 1.25kg
Power Supply
2 * AAA-size
batteries
From
Indicator
2 * AAA-size
batteries
Temperature
range
5кup to 35к
21
CALIBRATING HEIGHT ROD
1. HM 200D
Sliding the measuring rod downward completely (Picture-1)
Turn ON HM 200D using ON/OFF key (Picture-2).
If the height display is not on ‘120cm’, press Reset button to
calibrate the height. It will be ‘120cm’(Picture-3).
2. HM 201D

20
3. HM 210D
Sliding up the measuring rod upward.
Sliding down the head piece until slightly touches head.
When the head piece touches the head of the person,
display will show the exact height of the person.
To lock the height on the display by pressing HOLD key.
Press HOLD key again to disable the HOLD function.
7
KEY FUNCTIONS
HM-200D
120~200cm x 1mm
RESET
UNIT
HOLD
RESET ON
OFF
HOLD
UNIT
ຎืؑϾ
HM-210D
100~210cm x 1mm
RESE T ON
OFF
HOLD
UNIT
ຎืؑϾ
KEYS DESCRIPTION
ON/OFF Press to switch on and off.
UNIT To select the measurement unit between cm,
ft/inch and inch.
HOLD
To enable value store function during
measuring. Current height value of user will be
stored and displayed.
Press again to disable the function.
RESET To calibrate the measurement.

8
PRODUCT INTRODUCTION
HM 200D
HM 200D is a digital height rod to be mounted
on the Charder Scale with measuring range
from (120~200cm). HM 200D have LCD
display for convenient, accurate and quick
height measurement. It can be connected with
the scale indicator to transfer the height
measurements directly, therefore while
calculating BMI the users don’t need to enter
the height. Simply step on the weighing
platform and as the weight stabilizes adjust the
head piece to measure the height, the scale
will display the height and BMI results.
HM 201D
HM 201D is a digital height rod to be mounted
on the Charder Scale with measuring range of
(120~200cm), HM 201D don’t have LCD display,
instead it automatically transfers the height
measurement to weighing scale, therefore while
calculating BMI the user don’t need to enter the
height. Simply step on the weighing platform
and as the weight stabilizes adjust the head
piece to measure the height, the scale will
display the height and BMI results.
It can also be used as mechanical height
measurement rod. For mechanical
measurement range starts from (60~200cm)
making it an ideal measurement rod for
measuring height of children and adults as well.
19
2. HM 201D
Sliding the measuring rod upward.
Sliding down the head piece until slightly touches head.
When the head piece touches the head of the person,
display will transfer height data to the scale.
You can use BMI functions of scale to recall and calculate
BMI , weight and height.
***Connecting USB wire to the scale will enable height transfer
function. You can calculate BMI with height and weight taken by
height rod and scale.

18
1. HM 200D
Sliding up the measuring rod upward.
Sliding down the head piece until slightly touches head.
When the head piece touches the head of the person,
display will show the exact height of the person.
To lock the height on the display, press HOLD key.
Press HOLD key again to disable the Hold function.
***Connecting USB wire to the scale will enable height transfer
function. You can calculate BMI with height and weight taken by
height rod and scale.
9
HM 210D
HM 210D is a digital height rod to be
mounted on the wall with measuring range
from 100~210cm. HM 210D have LCD
display for convenient, accurate and quick
height measurement. Its hold function makes
it possible for female nursing staff to measure
a taller person. Simply adjust the head piece
and make it touch the head of the person and
then press the hold key. After this ask the
person to move away from the measurement
rod and pull the head piece down. The height
result will remain on the display.
For Detailed BMI procedure, please refer
to any of ‘Charder’s’ weighing scale user manual.

10
INSTALLATION INSTRUCTIONS
HM200D / HM201D standard accessories
No. Accessories Item Spec. Qty.
1 Supported black
Block WH-8026 2
2 Flat head screw M5*0.8*10 2
3 Cross head
screw M5*30 4
HM200D / HM201D/ HM201M standard accessories for scale
with castors
No. Accessories Item Spec. Qty.
1 Bracket for
height rod SS-5721 2
2 Fixing block for
height rod ST-3331 2
3 Screw M5*11 8
4 Relief Bushing M5*30 2
5 Flat head screw M5*10 2
17
USING HM 200/201/210D
Read The Height Here!!!
For people who wants to use
it as mechanical height rod.
HM210D
WALL MOUNTED
HM200D
SCALE MOUNTED

16
ASSEMBLY OF HM 210D
11
HM210D standard accessories (wall mount parts)
No. Accessories Item Spec. Qty.
1 Supported
Block WH-8026 3
2 Washer head
screw M5*0.8*11 3
3 Self tapping
screw M4*30 6
4 Plastic anchor 1”(white) 6
HM210D standard accessories (Heel plate parts)
No. Accessories Item Spec. Qty.
1 Plastic plug SW-8069 3
2 Rubber tub SS-8152 2
3 Heel plate SS-8149 2
4 Self tapping
screw 4*12 4

12
ASSEMBLY OF HM 200D & HM201D
Fixing the bracket on the column of the scale using the
screws provided with the height rod.
4
4
3
2
1
1
15
HM201M is mechanical height rod which has same assembly
procedure with HM200D/201D.
Item Name Quantity
1
HM200D/ 201D/ 201M
1
2 M5x10L Flat head screw 2
3 Fixing block for height rod 2
4 M5x11L screw 4
Step 2.
Fix HM200D/ 201D/ 201M on
the bracket and tight the screw
HM200D/201D

14
Assemble HM200D/201D/201M on the scale with wheel castors.
Item Name Quantity
1 M5x11L screw 4
2 Relief Bushing 2
3 Bracket for height rod 2
*Photo of display for reference only. Please refer to the actual product.
Step 1. Fix two brackets on the
column.
13
For measure height lower than 120 cm
Please use HM 201D as a mechanical scale and press buckle as
shown in the picture below and slide the head piece down.
Under 120cm
This manual suits for next models
2
Table of contents
Other Charder Measuring Instrument manuals
Charder
Charder HM 101M User manual
Charder
Charder HM80P User manual
Charder
Charder HM250U User manual
Charder
Charder MG 4800 User manual
Charder
Charder HM200P User manual
Charder
Charder U310 User manual
Charder
Charder HM230M User manual
Charder
Charder HM200PW User manual
Charder
Charder HM201M User manual

Charder
Charder MA801 User manual
Popular Measuring Instrument manuals by other brands
Bin Master
Bin Master DPM-400 manual
HIK VISION
HIK VISION DS-2TD95C8-300ZK2FL/W quick start guide
B+K precision
B+K precision 5332 Analyst 2050 instruction manual

PerfectVision
PerfectVision DIGIAIR quick start guide
Power Fist
Power Fist 8714941 user manual
Challenger Optics
Challenger Optics CO-OLS-MPO12 Interactive operating manual

