Français
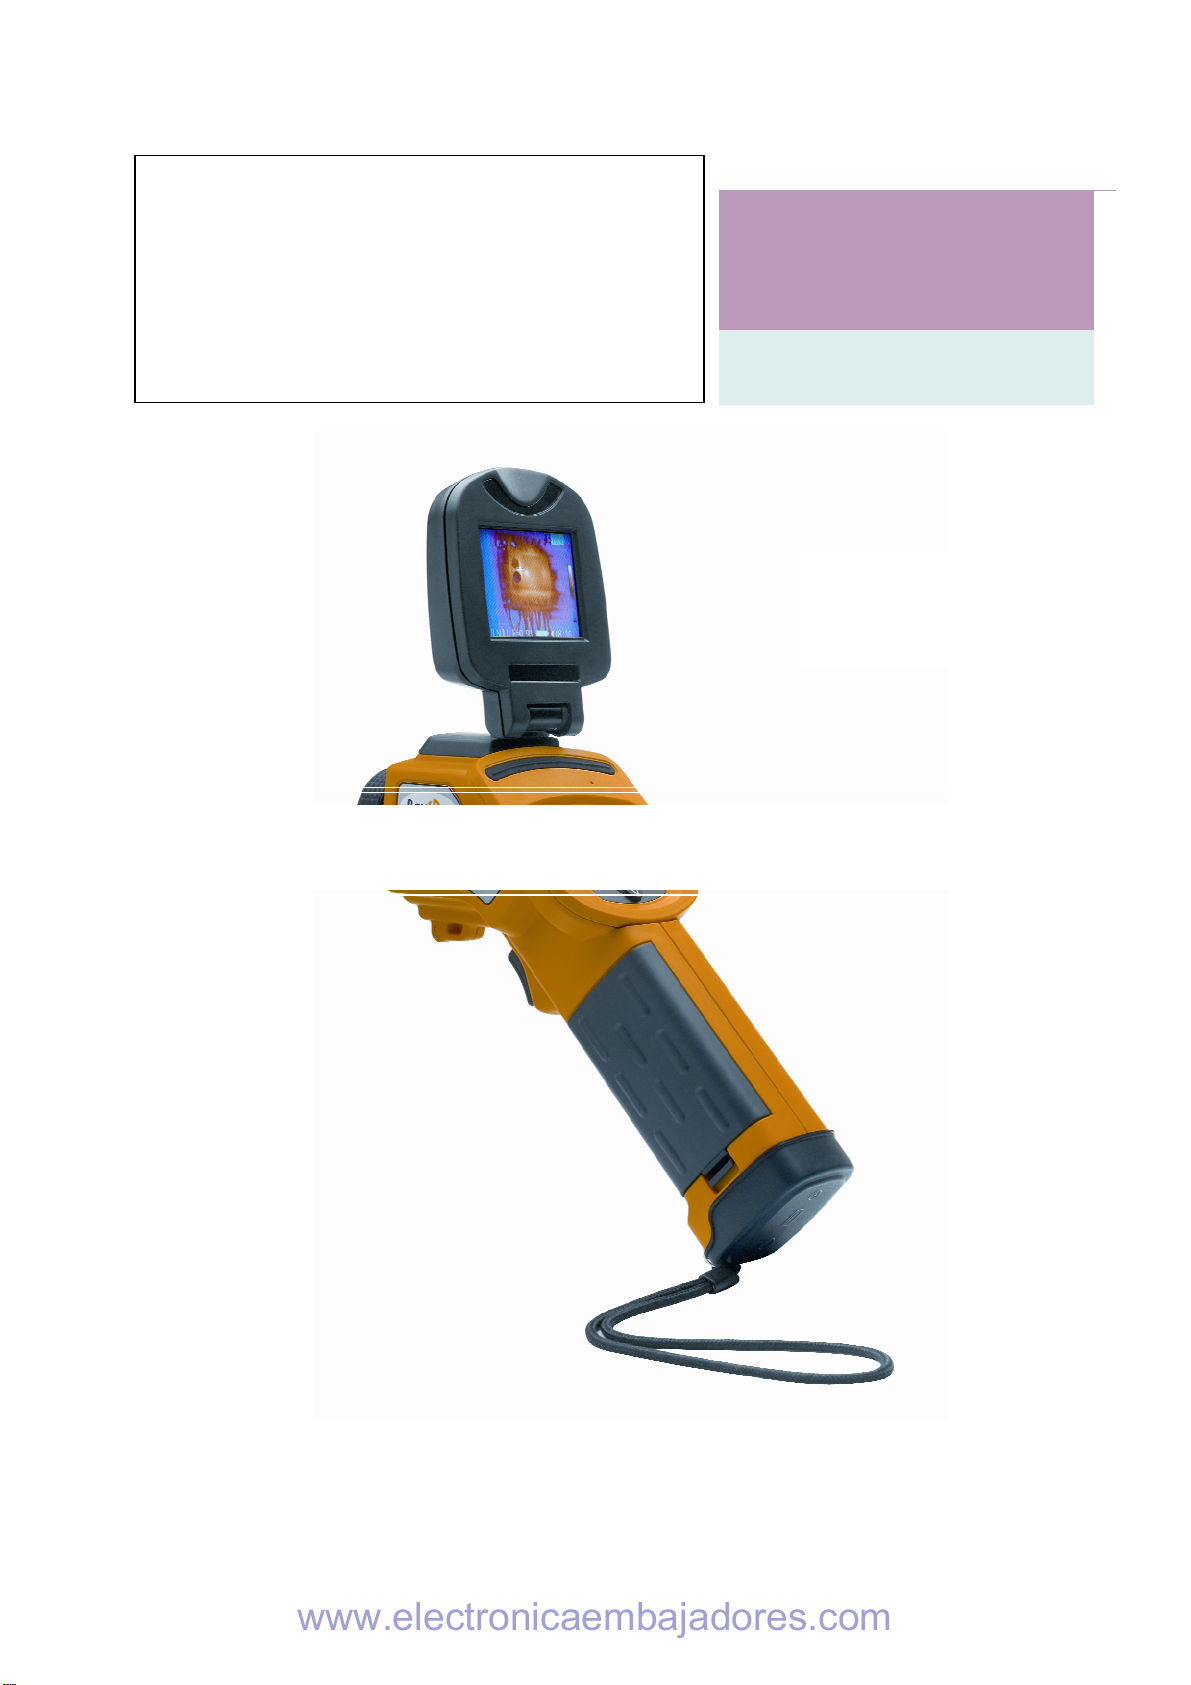
Prise en main
Observation et réglage de l’image IR
1. Appuyez sur le bouton Marche / arrêt pendant quelques secondes pour
allumer la caméra ;
2. Attendez jusqu'à ce que l’initialisation et les données soient complètement
chargées ;
3. Enlevez le cache lentille et pointez la camera sur la cible ;
4. Tournez l’objectif manuellement pour régler le focus ;
5. Appuyez sur la touche “A” afin d’ajuster la luminosité, le contraste et l’échelle
automatiquement
Note : Le bruit provenant de la caméra que vous entendez est normal.
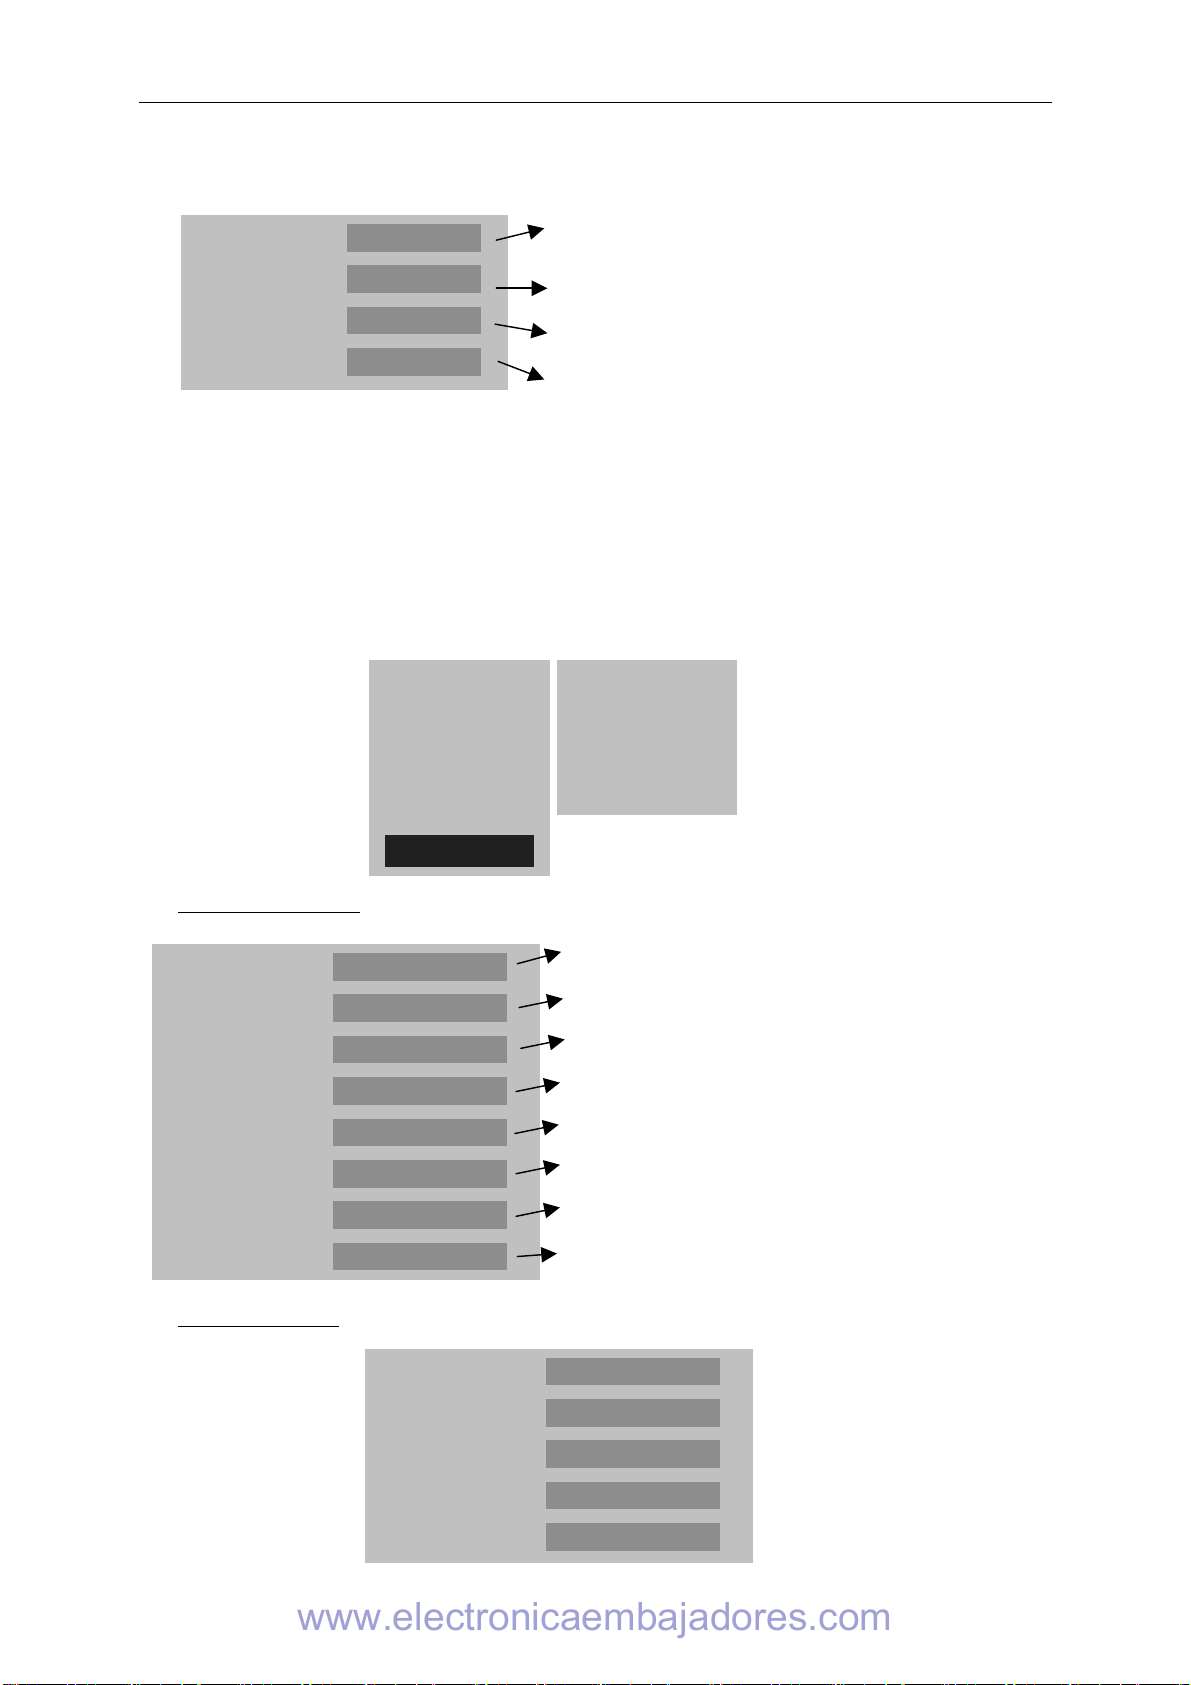
Analyse de la température mesurée
1. Après avoir allumé la caméra, appuyez sur la touche « ENTRER » pour
afficher le menu;
2. Sélectionnez le sous-menu « analyse »
3. Appuyez sur les touches de direction pour sélectionner « Curseur1 » ;
4. Appuyez sur la touche « ENTRER » pour valider;
5. Bougez la caméra ou le curseur à l’aide des touches de direction sur la cible;
6. La valeur affichée dans le coin en haut à droite est la température de la cible;
7. On peut obtenir la mesure Multi-curseur en sélectionnant « curseur2 » et
« curseur3 »
Note : Vous ne pourrez déplacer le curseur 1 manuellement uniquement si « SP1 »
est affichée dans la barre d’état
( Il en est de même pour les curseurs 2 et 3)
Enregistrer une image IR
Solution 1 :
Maintenez appuyer la touche « S » pendant 3 secondes
Solution 2 :
1. Après avoir gelé l’image, appuyez sur « ENTREE » pour afficher le menu.
2. A l’aide des touches et sélectionnez le sous-menu « FICHIER » puis
appuyez sur « ENTRER »
3. Sélectionnez « SAUVEGARDER » et validez à l’aide de la touche
« ENTRER »
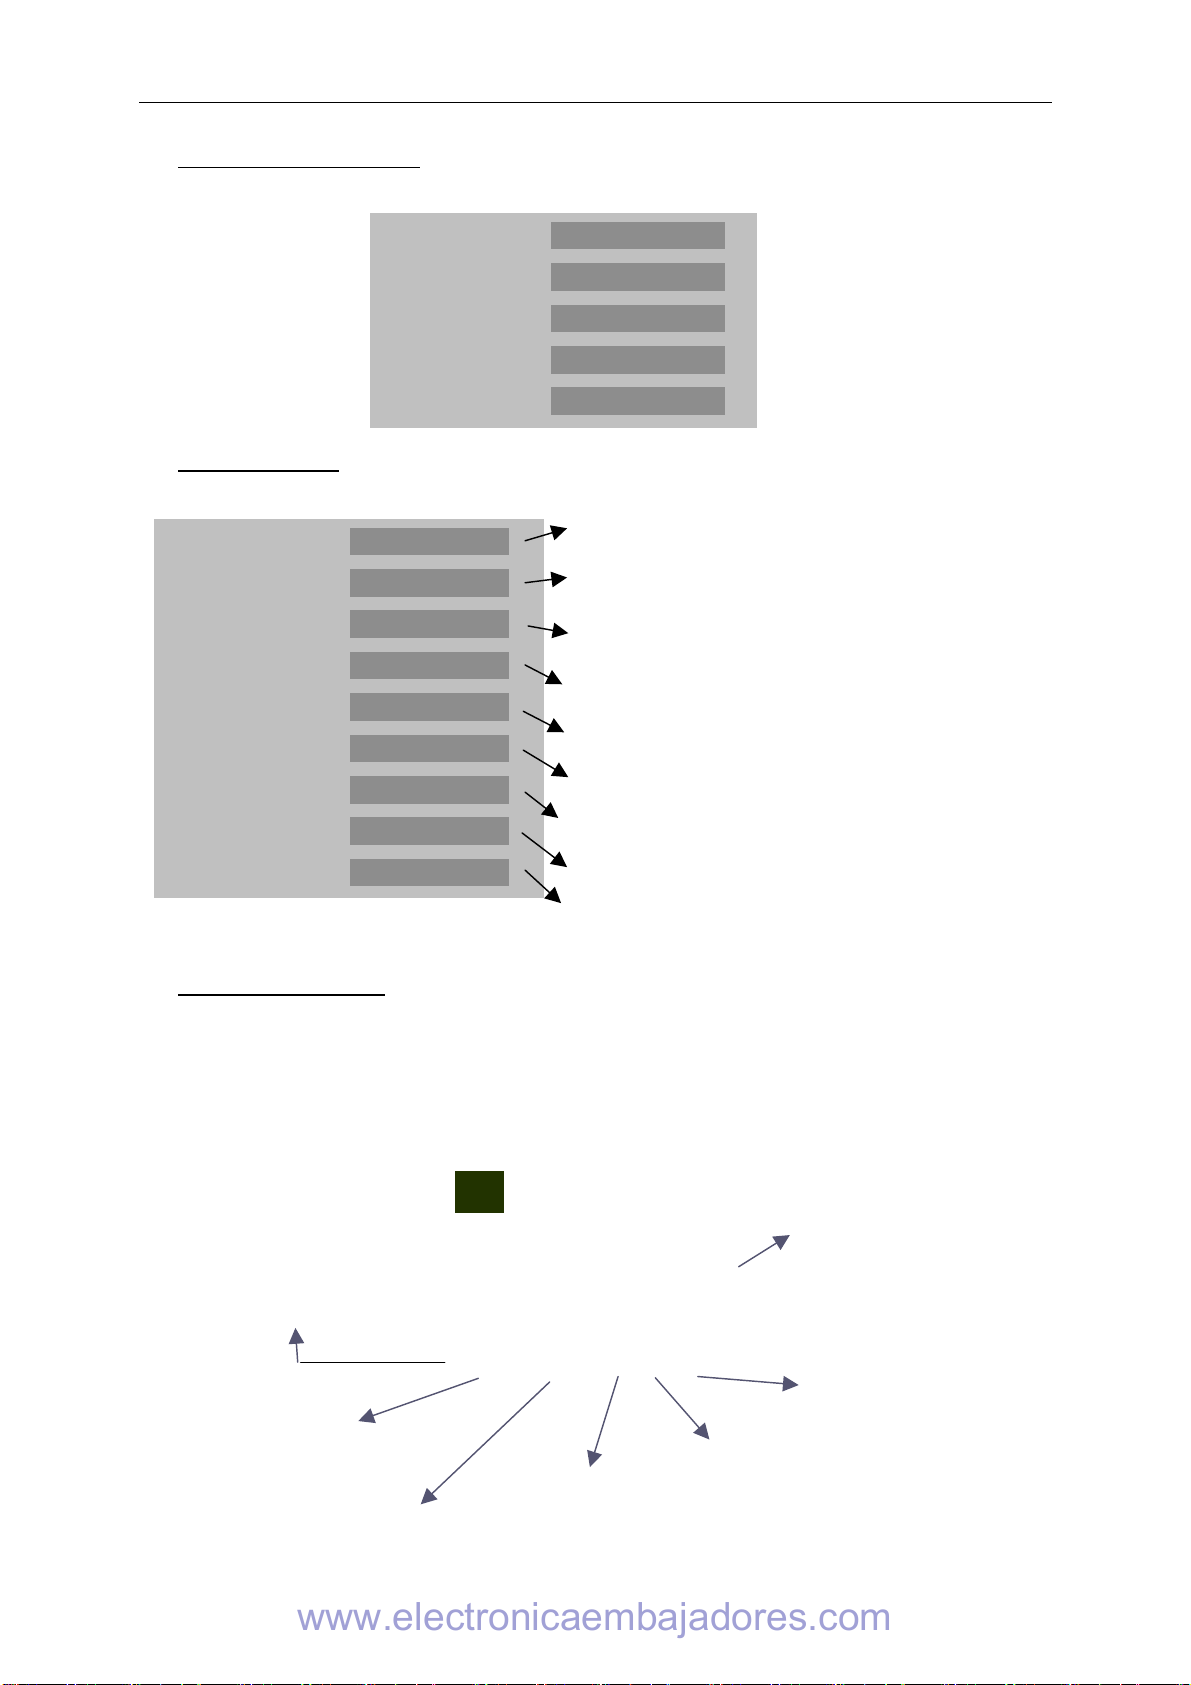
Ouvrir une image IR
1. Appuyez sur « ENTRER » pour afficher le menu;
2. A l’aide des touches et sélectionnez le sous-menu « FICHIER » puis
appuyez sur « ENTRER »
3. Sélectionnez « OUVRIR », validez à l’aide de la touche « ENTREE »
4. Faites défiler les images à l’aide des touches ◄►
Pour atteindre directement une image sans faire défiler l’ensemble des
thermogrammes enregistrés, appuyer sur les touches et .
www.electronicaembajadores.com