7
6. Open the latch, lift the lid slightly and inspect the waffle color. If necessary close the lid and
continue heating a little longer until desired color is obtained. On the next baking cycle adjust
the color control dial as necessary to obtain a better setting. Movement to a higher number will
darken the waffle. Commonly the necessary adjustment is less than one whole number.
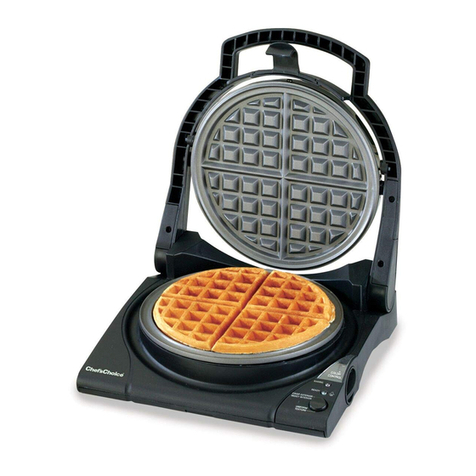
7. When the waffle is done, remove it by lifting one edge with a heat-resistant plastic fork or
spatula. (If you use a metal fork, use care not to contact grid surfaces as that might scratch the
non-stick surface and decrease its effectiveness.)
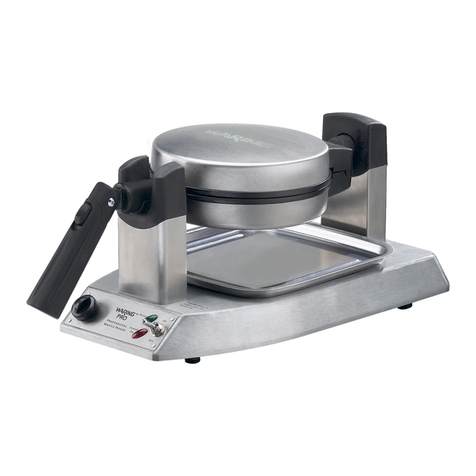
8. After removal of waffle, the WafflePro®Express®can be immediately refilled with batter or it
can be closed until you are ready to bake again. If you do not start another waffle immediately
the green light will stay on until the grids cool slightly, then the red light will come on briefly
indicating the grids are being reheated to maintain readiness for the next use. When the green
light comes on again the next waffle can be poured and baked.
9. When finished baking, be certain to unplug the WafflePro®Express®. Only then is the power to
the waffle maker switched off.
MAKING WAFFLES WITH UNIFORM TEXTURE
Waffles made with the “Uniform Texture” baking cycle will be evenly baked throughout their
thickness. They will have a crunchy and drier texture. The amount of moisture retention will
depend on the color control setting. Generally the color control setting will be lower and the
baking time will be about twice that expected with the “Crisp Exterior/Moist Interior” setting.
1. Depress the lower portion of the black circular rocker switch marked “Uniform Texture”.
Set the color control dial between 3 and 3 for the first waffle.
2. Pour or ladle about 1/3level cup of batter from a ladle or pitcher in the middle of the lower waffle
grid. A thicker batter, that pours slowly works best. Do not overfill the grid.
3. Close the lid immediately after adding the batter so that the lid will level out the batter.
4. The red light will come on within 30 seconds indicating the waffle is baking.
5. When the waffle is ready the red light goes off, the green light comes on, and the beeper
sounds briefly.
6. Lift the lid and inspect the waffle. If you want a slightly browner waffle, close the lid and cook for
another 20 seconds or so.
7. When color is right, remove waffle with a plastic spatula or fork. As needed, increase or
decrease the color control for the next cycle. Once you establish the optimum color setting,
it will not require any change in the future unless you alter the waffle recipe or switch to
“Crisp Exterior/ Moist Interior.”
8. Add batter for the next waffle or close lid until you are again ready to bake. The green light will
remain on until the waffle plates cool slightly. Then the red light will alternately come on to keep
the grids hot until you are ready for the next waffle.
9. When finished baking, be certain to unplug the WafflePro®Express®. Only then is the power to
the waffle maker switched off.
Always unplug the WafflePro®Express®immediately after use. Never leave it unattended when
plugged in. Children should not be allowed to use a waffle maker except in the presence of an
attentive adult.
The waffle maker cools faster when its lid is left fully open. Store only when cold. Save shelf
space by storing the WafflePro®Express®upright resting on its hinged flat end.


