English — 6
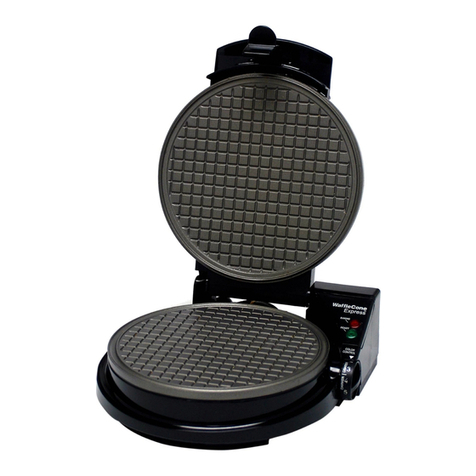
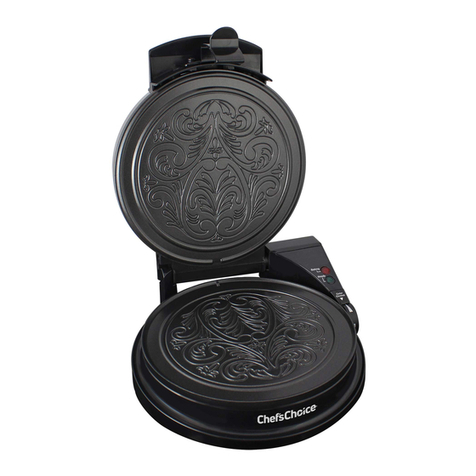
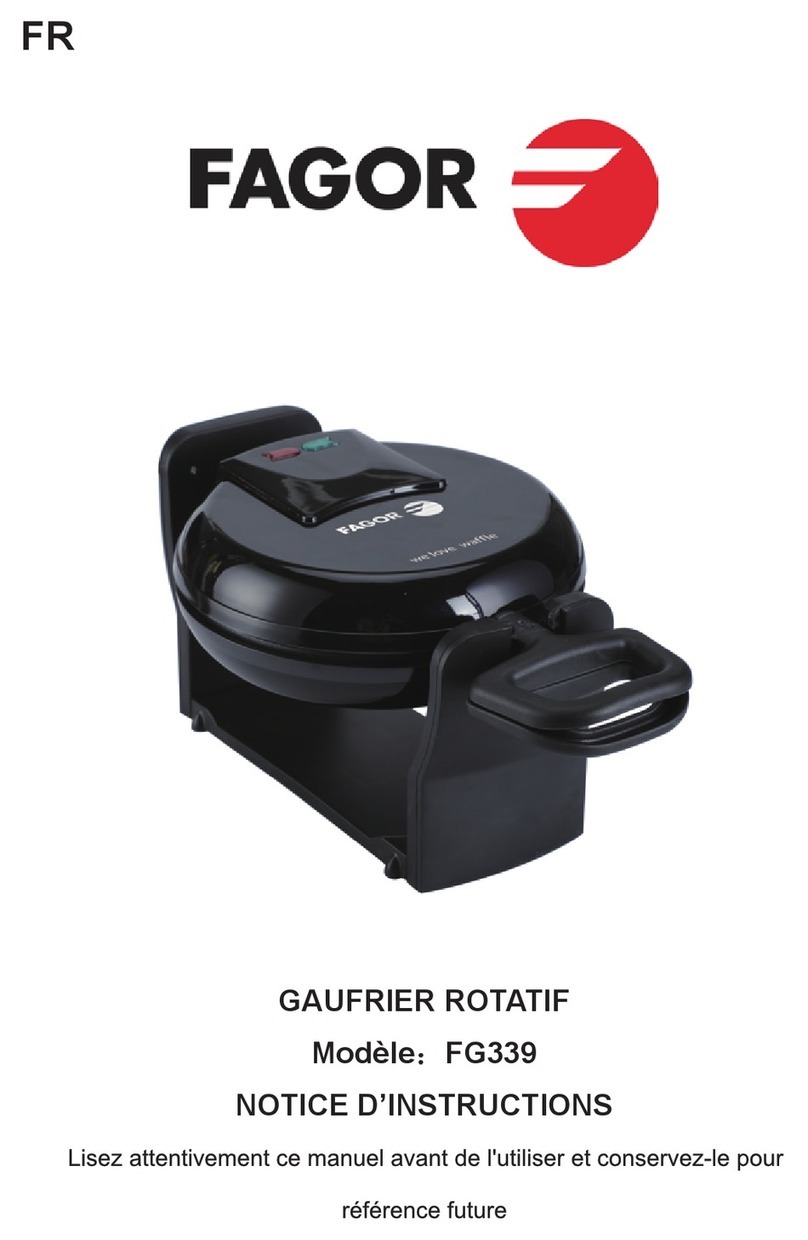
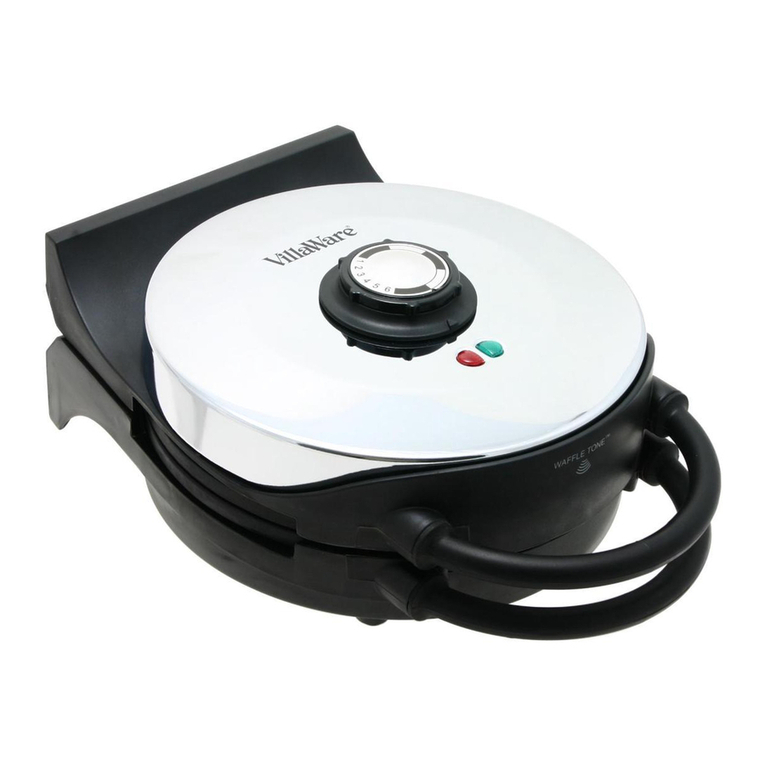
Here is how the red and green timer lights work. Ladle the batter onto the plate when
the green light is ON; in 20-30 seconds it will go o and the red light will come ON.
This indicates that the plates are heating. In another 30 to 40 seconds, the red light
goes o and the green light will turn ON. Bake another 20 seconds and then the wae
should be ready to remove and form. If you find it easier, use a timer and bake your
cones for 80 to 100 seconds.
Note: Always unplug the wae cone maker immediately after use. Never leave it
unattended when plugged in. Children should not be allowed to use the wae cone
maker except in the presence of an attentive adult.
ROLLING THE CONE
The cone form provided with your wae maker helps you make uniformly shaped
cones with ease. After a few cones, you will develop the knack of holding the warm
cone and shaping it into a neat form perfect for a scoop of your favorite frozen treat.
Follow the illustrated steps the first few times you make cones to perfect your skills. As
soon as the wae is baked, remove it from the wae cone maker. Immediately place
it on a dry soft cloth as shown below in Figure 4. Position the point of the cone-form,
about ½ inch from the edge of the wae with the cone-form resting across the
diameter of the wae. Use the edge of the cloth to lift one edge of the wae up onto
the cone form. Then using the cloth initially to help support the hot wae, press the
wae snugly against and partially around the cone form. Then let the cloth fall back as
you roll the cone forward until the wae completely enwraps the cone form (Figure 5).
Hold the wae on the cone form. With the overlapped wae seam down, press firmly
down against the wae and cone form to “freeze” the cone into shape (Figure 6).
While the cone is still warm, pinch the bottom to seal it and prevent drips of ice cream
from leaking out when the cone is filled. Hold the wae cone around the form in this
way until it is suciently cool and sti enough to hold its shape.
The cloth helps to protect your fingers from the hot wae. If your fingers are
comfortable with the heat, you may find the cloth unnecessary. But don’t forget to
pinch the bottom of the cone together to prevent leaks!
Set the warm cone aside in a cone holder or a tall iced tea glass until it cools or until
you are ready to serve. If you plan to use the cones later, allow them to cool and dry
completely before storing in a sealed plastic bag or tightly covered container. Most
cones will keep several weeks when packaged this way and stored in a cool dry place.
SERVING SUGGESTIONS
Once you feel comfortable making cones, try filling the cone with ice cream and
serving the cone while still hot. The softening ice cream enhances the flavor of the
cone, like a yummy warm cookie a la mode.
Try forming the warm waes into bowl shapes to be filled with ice cream, frozen
yogurt, or fresh berries and whipped cream. While still hot, press the wae into a 3 or
4-inch mun tin. Crimp the edges to make the wae fit into the mold. Or press the
hot wae over the bottom of a small bowl or custard cup. A pair of fluted mun tins,
about 3-4 inch diameter are ideal – simply press the wae between them. For
the holidays, fill these edible bowls with candies, shelled nuts or fruit salad and a
scoop of sorbet.
How about Ice Cream Sunday Turnovers! For a festive end to a relaxed meal with
family and friends, fill hot waes with ice cream then fold while still warm and serve
immediately. Here’s how; a few minutes before dessert, set out your favorite ice cream,
sherbet, toppings, chocolate chips and nuts. Make a wae. While it is still hot, place
the wae on a plate. Scoop some ice cream and topping on one side of the wae the
fold it in half and seal. Eat this ice cream Sunday turnover while the wae is still
warm. The warm wae melts some of the ice cream and is chewy and crunchy at the
same time.


