For additional technical assistance, call 800/TEC-TRUE (800-832-8783) or visit our website at chicagofaucets.com.
4
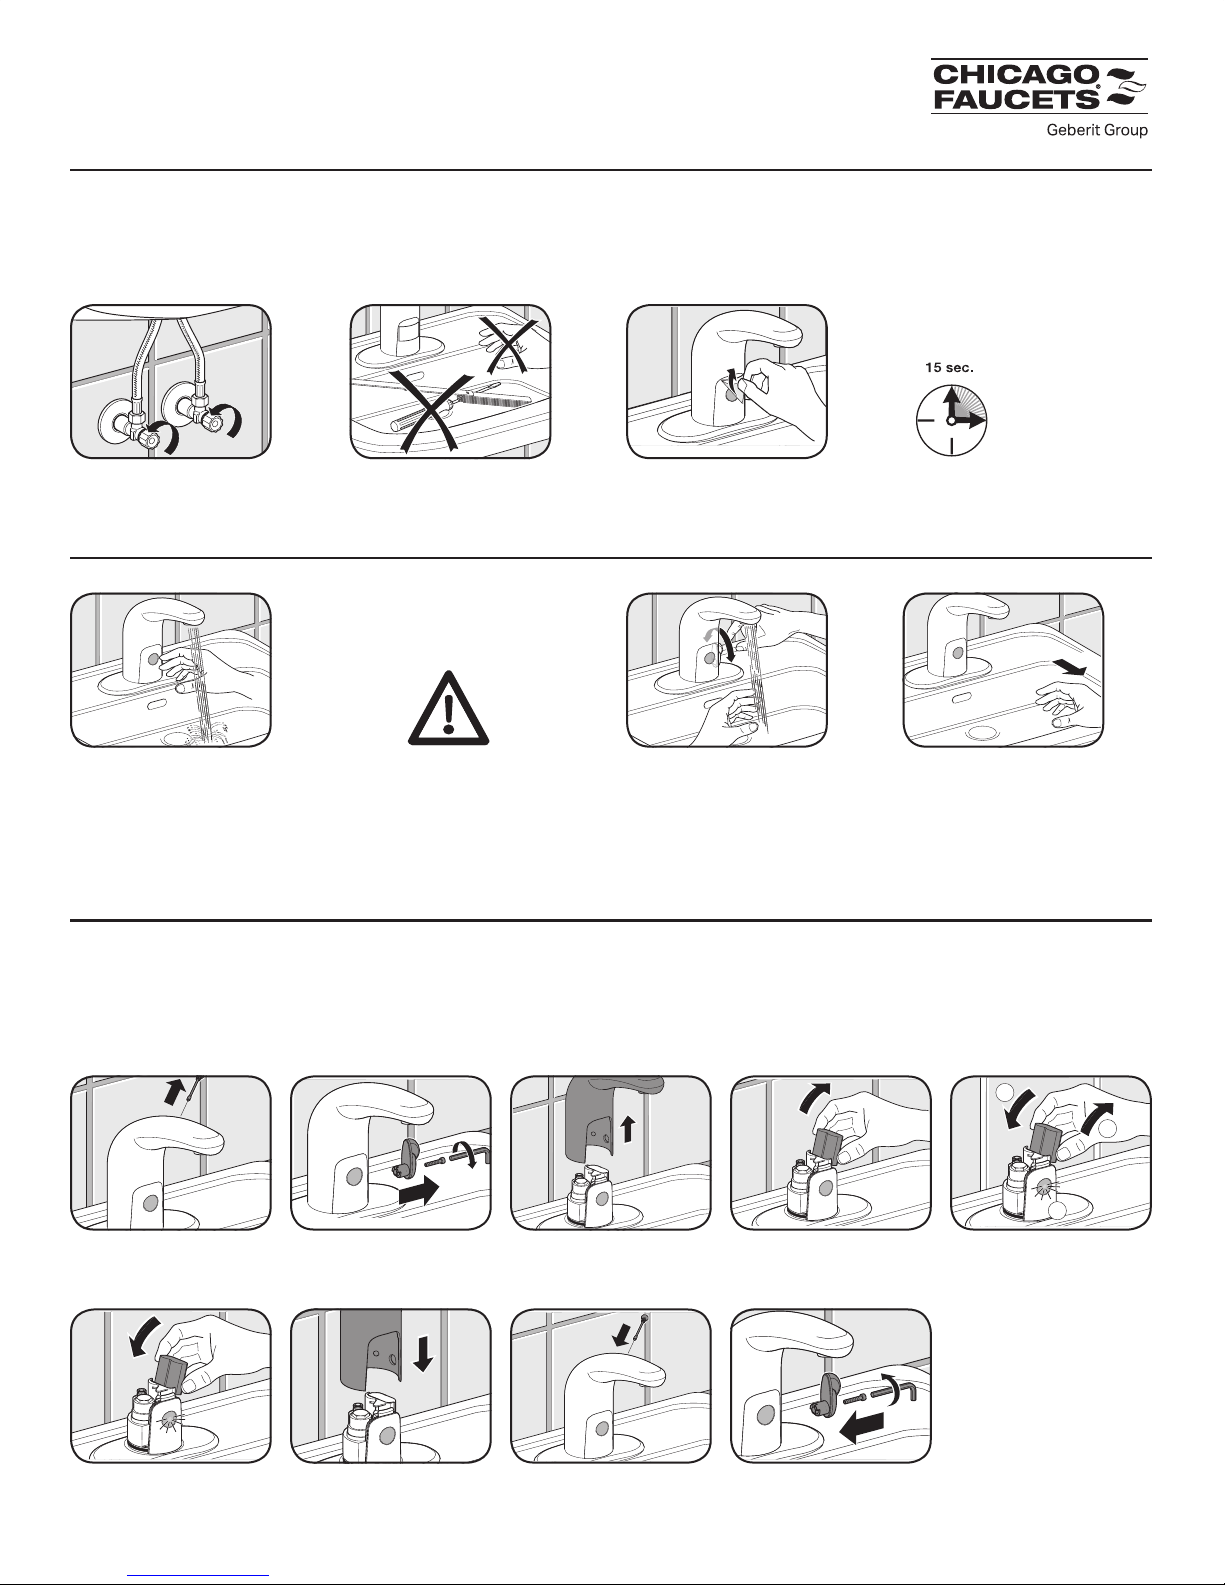
Start-up Operation
A traditional lavatory faucet is shown as an example. The start-up operation applies to all models.
Prerequisites
• Faucet is mounted
• Water supply is on
• Water supply lines are flushed properly
• For AC faucets and faucets with EBPS, power outlet is installed
Test Function
NOTE: If the faucet does not work as described below, see “Troubleshooting” section.
Enabling “Manual Setting” Mode
A battery model is shown in the following example. These instructions apply to all models. After 30 minutes, the “Manual Setting” mode will be
disabled automatically and all settings will be saved.
Prerequisites
• Water supply valve is open
• Battery is full (LED does not blink) for DC faucets
• For EBPS faucets, disconnect AC power
• AC power is on for AC faucets
1. Fully open supply valves 2. Remove all items from sink 3. Remove protective covering
from sensor
4. Wait for 15 seconds for faucet
to calibrate to its environment
The faucet is now activated.
1. Hold hand in front of sensor
until water begins to flow.
2. For faucets with external mixer,
turn mixer handle from cold to
warm. You should feel the water
temperature increase.
3. Move hand away from sensor
until water flow stops.
1. Remove shut-off screw 2. Remove mixer handle
(only for faucets with
external mixer)
3. Remove housing
vertically
4. Remove battery from
battery holder
5. The following procedure
(a, b, c) must be done
three (3) times in a row.
a - Reinsert battery
b - LED lights up
c - Remove battery
immediately after
LED switches off
6. Insert battery 7. Mount housing vertically 8. Mount shut-off screw 9. Mount mixer handle
(only for faucets with
external mixer)
The “Manual Setting” Mode
is now enabled.
Enabling "Manual Setting" Mode
A battery model is shown in the following example. These
instructions apply to all models. After 30 minutes, the
"Manual Setting" mode will be disabled automatically and
all settings will be saved.
Prerequisites
• Water supply valve is open
• Battery is full (LED does not blink) for DC faucets
• AC power is on for AC faucets
1Remove shut-off screw
2Remove mixer handle (only for faucets with
external mixer)
3Remove housing vertically
4Remove battery from battery holder
5
The following procedure (a, b, c) must be done three (3)
times in a row.
a - Re-insert battery
b - LED lights up
c - Remove battery immediately after LED switches off
6Insert battery
7Mount housing vertically
8Mount shut-off screw
a
c
b
9Mount mixer handle (only for faucets with
external mixer)
Result
The "Manual Setting" Mode is now enabled.
A - Setting Cleaning Mode
Setting the cleaning mode will make the faucet inactive for
90 seconds.
1
2Fully cover sensor with hand, until water flow stops.
(This takes 5 seconds)
Result
B - Setting Normal Mode
Setting the normal mode will allow the faucet to activate only
when it senses a hand presence.
1Enable "Manual Setting" Mode
2
2
Enable "Manual Setting" Mode
> see "Enabling Manual Setting Mode" section
3Remove hand
The Cleaning Mode is now active. For the next 90 seconds,
the faucet will be inactive.
3Remove hand
Result
Metering Mode is now activated for 10 seconds.
1Enable "Manual Setting" Mode
> see "Enabling Manual Setting Mode" section
Fully cover sensor with hand. Water flow stops
after 5 seconds - Continue to hold on for
another two (2) additional water pulse
C - Setting MeteringMode (10 seconds)
Setting the metering mode will allow the faucet to activate for
a full 10 seconds after it senses a hand presence.
3Remove hand
Result
Normal Mode is now activated.
> see "Enabling Manual Setting Mode" section
Fully cover sensor with hand. Water flow stops after
5 seconds - Continue to hold on for one (1) additional
water pulse
Enabling "Manual Setting" Mode
A battery model is shown in the following example. These
instructions apply to all models. After 30 minutes, the
"Manual Setting" mode will be disabled automatically and
all settings will be saved.
Prerequisites
• Water supply valve is open
• Battery is full (LED does not blink) for DC faucets
• AC power is on for AC faucets
1Remove shut-off screw
2Remove mixer handle (only for faucets with
external mixer)
3Remove housing vertically
4Remove battery from battery holder
5
The following procedure (a, b, c) must be done three (3)
times in a row.
a - Re-insert battery
b - LED lights up
c - Remove battery immediately after LED switches off
6Insert battery
7Mount housing vertically
8Mount shut-off screw
a
c
b
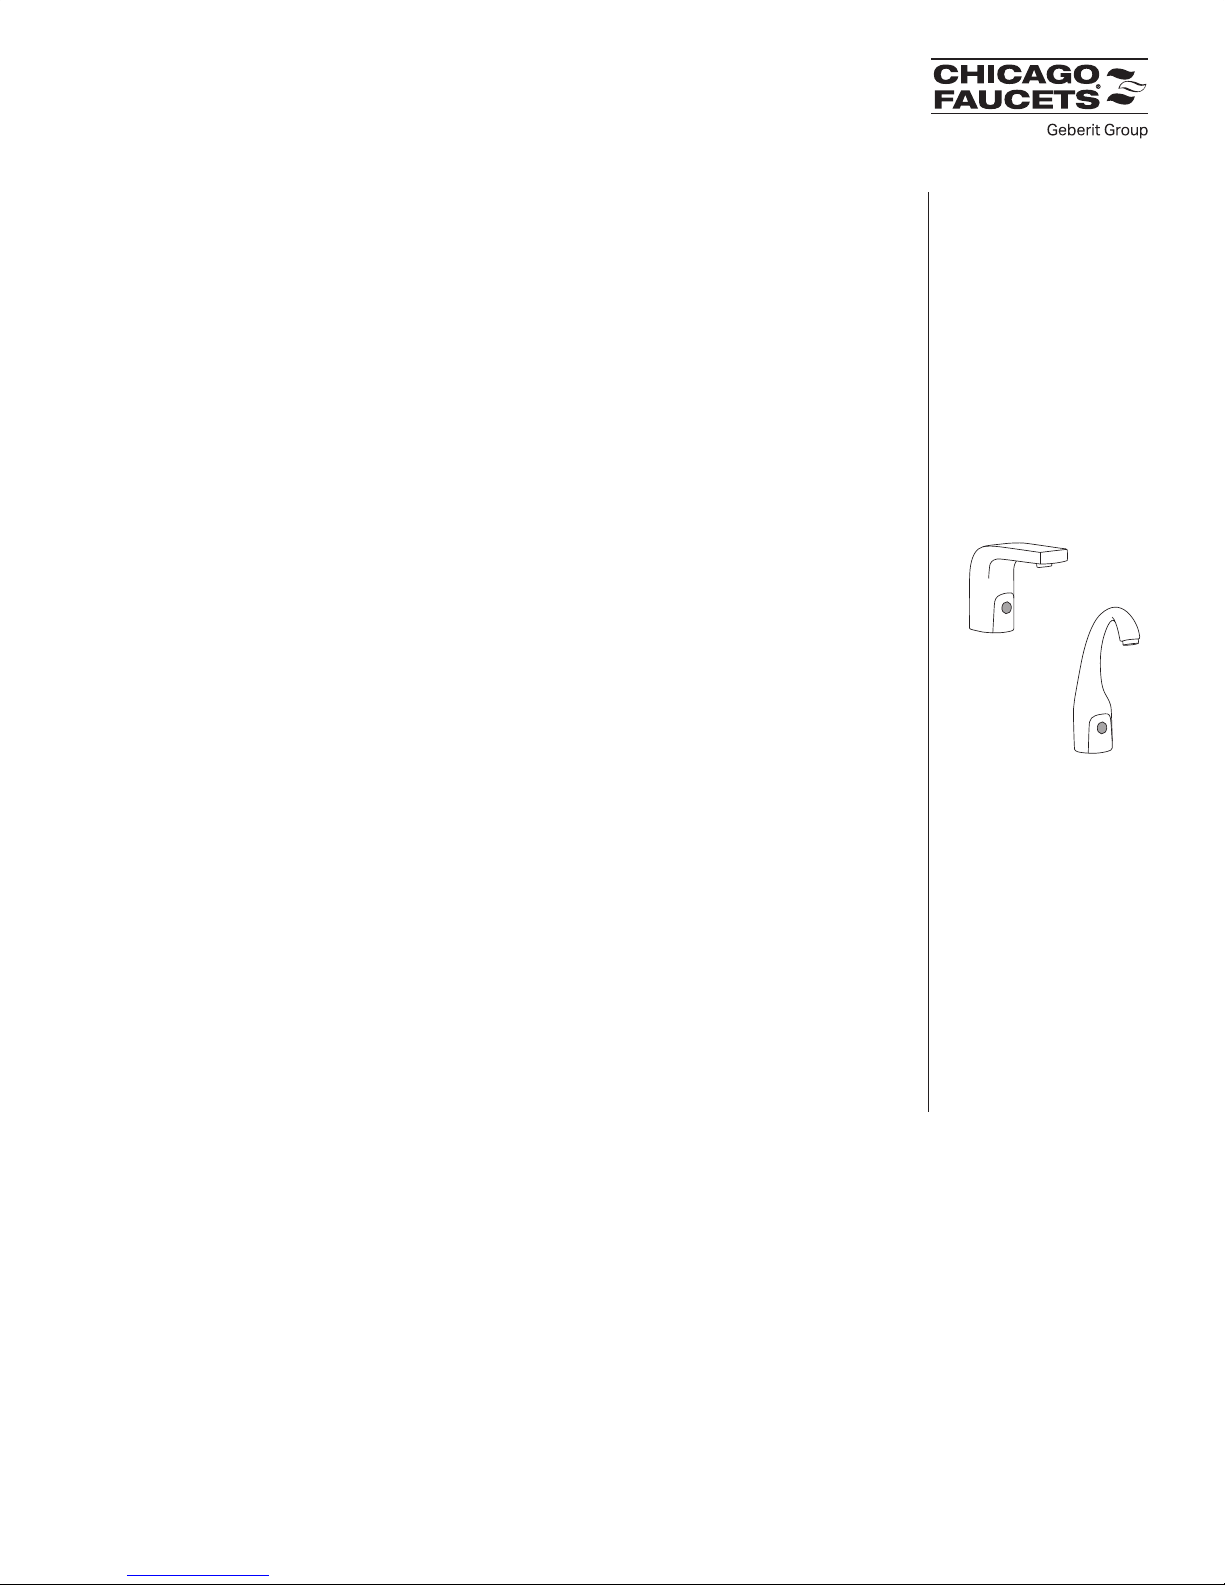
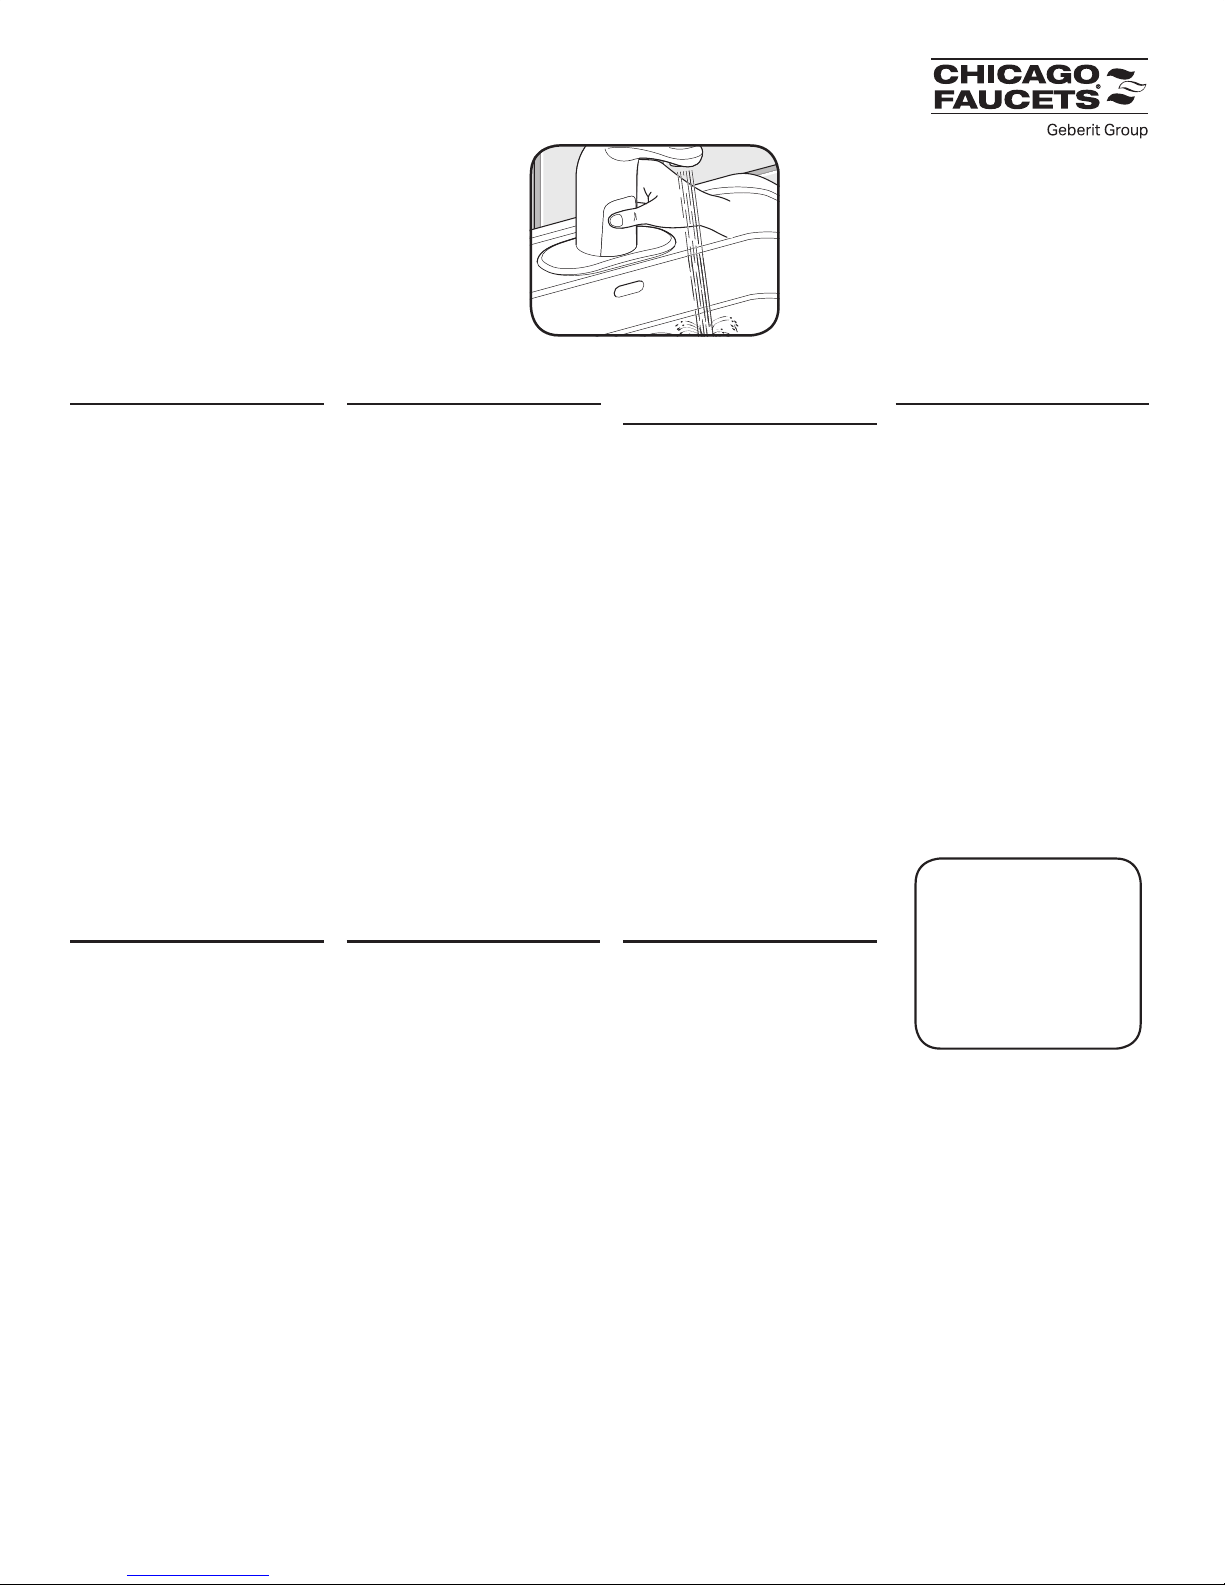
HyTronic®User Guide Installation Instructions
(continued)
WARNING: Hot water may burn your
skin. Avoid contact with the water
stream until the water temperature
has been properly adjusted. See page
5 for instructions on adjusting water
temperature.