manuals.online logo
Brands
  1. Home
  2. •
  3. Brands
  4. •
  5. Chieftec
  6. •
  7. Enclosure
  8. •
  9. Chieftec UNC-209SR-B User manual

Chieftec UNC-209SR-B User manual

Front Panel Controls and Indicators
Major Components
IN THIS YOU CAN TRUST
- 01 -
A. Power Switch
B. LAN1, LAN2 Activity LED
C. Power on LED
D. HDD Activity LED
E. System Reset LED
F. USB 2.0 port x 2 ABCDEF
UNC-209SR-B QUICK INSTALLATION GUIDE
Without front door
With front door
Rear Fan: 1x 80mm t 32mm(Option)
Front Controls and Indicators
Single PS/2 PSU
Internal 3.5” HDD x 2
Internal 2.5” SSD x 2
7x Low Profile PCI slots
(or 3x Full Height PCI slots
with optional bracket)
Rear Fan:
2x 40mm t 28mm
(Option)
Intrusion Switch (Option)
1x5.25” ODD+1x3.5” HDD
(or 3.5” FDD) Drive Bay
ATX M/B
(12”x 9.6”)
Rear Window Configuration
Top Cover Opening
Maintaining Front Door Filter
Installing Internal 3.5” HDD
Release three screws on left,
right and rear sides of the
top cover, and pull back
to open it
- 02 -
1
2
1
2
3
2
1. Unlock the front door and take out the filters to clean
2. Insert two filters on both left and right sides of the
front door with four anchoring points
7x Low Profile PCI slots
3x Full Height PCI slots
with optional braceket Rear Fan
Standard I/O Opening
(depend on M/B specification)
This unit must be operated
with the chassis TOP COVER
installed to ensure proper cooling
1. Slide two internal 3.5” HDDs into the bay
2. Use eight quakeproof screws to fix 3.5”
HDDs on both left and right sides of the bay
3. Slide the internal 3.5” HDD assembly
on the chassis and use a screw to
fix it with the chassis
Installing Internal 2.5” SSD
Installing 5.25”/3.5” Drive Bay(with 3.5” HDD or FDD)
Installing PS/2 power supply
1
1
2
2
3
3
4
5
5
Installing 5.25” ODD
Installing 3.5” HDD
Installing 5.25”/3.5” Drive Bay
Installing FDD
1. Release two screws on top of the drive bay to take it out from the chassis
2. Release one screw at the right side of the drive bay
3. Take out the upper front cover
4. Slide the 5.25” ODD into the drive bay assembly
5. Use eight screws to fix on both left and right sides of the drive bay
Slide 3.5” HDD into drive bay ,
and use four quakeproof
screws to fix it at the
bottom of the drive bay
1. Remove the lower front cover of the drive bay
2. Slide FDD into drive bay
3. Use four screws to fix it on both left and
right sides of the drive bay
1. Slide the 5.25”/3.5” drive bay into the chassis
2. Use two screws to fix it on the chassis
- 03 -
1
1
2
2
2
3
1. Use two screws to fix bracket on the PSU
2. Slide the PSU assembly into the chassis,
and use two screws to fix it on the
left side of the chassis
1. Slide two internal 2.5” SSD into the bay
2. Use eight quakeproof screws to fix two
SSD on both left and right sides of
the bay
3. Slide the internal 2.5” SSD
assembly into the
chassis and use
one screw to
fix it on the
chassis
Installing Rear Fan (2 x 40mm t 28mm)(Option)
Installing Intrusion Switch
Arena Electronic GmbH
Germany
IN THIS YOU CAN TRUST
- 04 -
Use two screws to fix the fan assembly
(fan+ finger guard) on rear window
Use two screws to fix the intrusion switch
with a bracket on the chassis
Other Chieftec Enclosure manuals

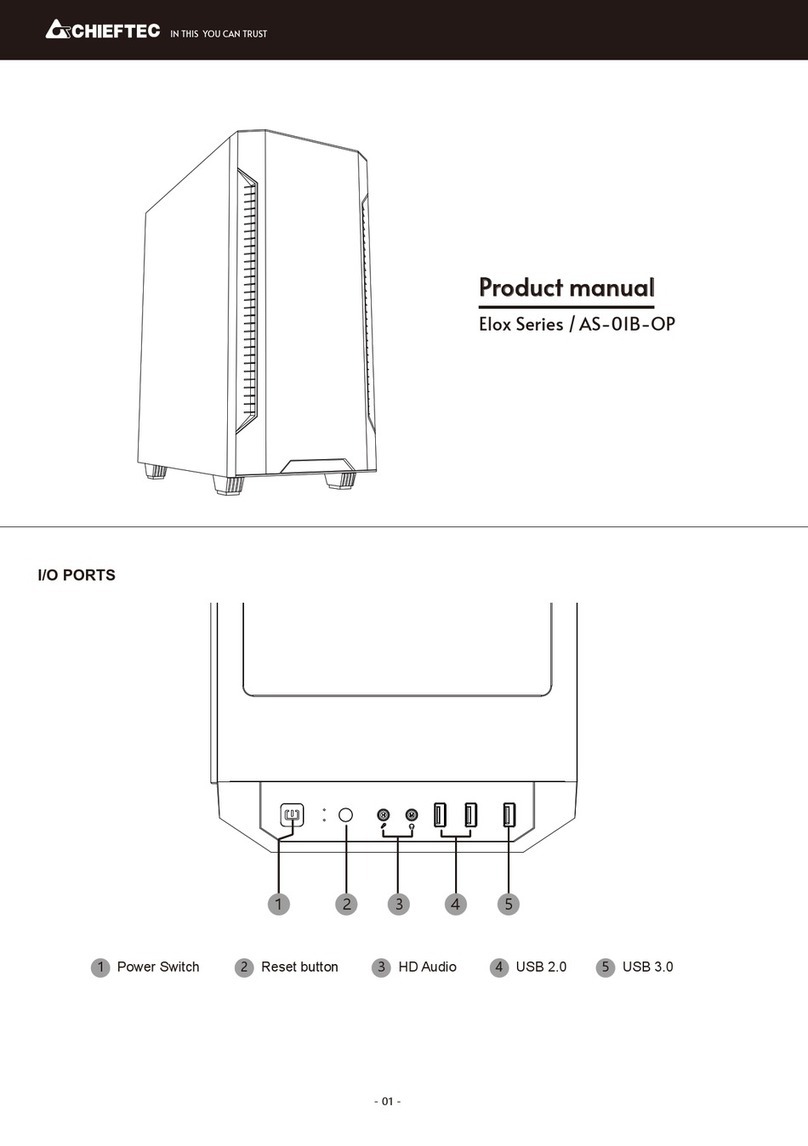
Chieftec Elox Series User manual

Chieftec

Chieftec Elox Series User manual

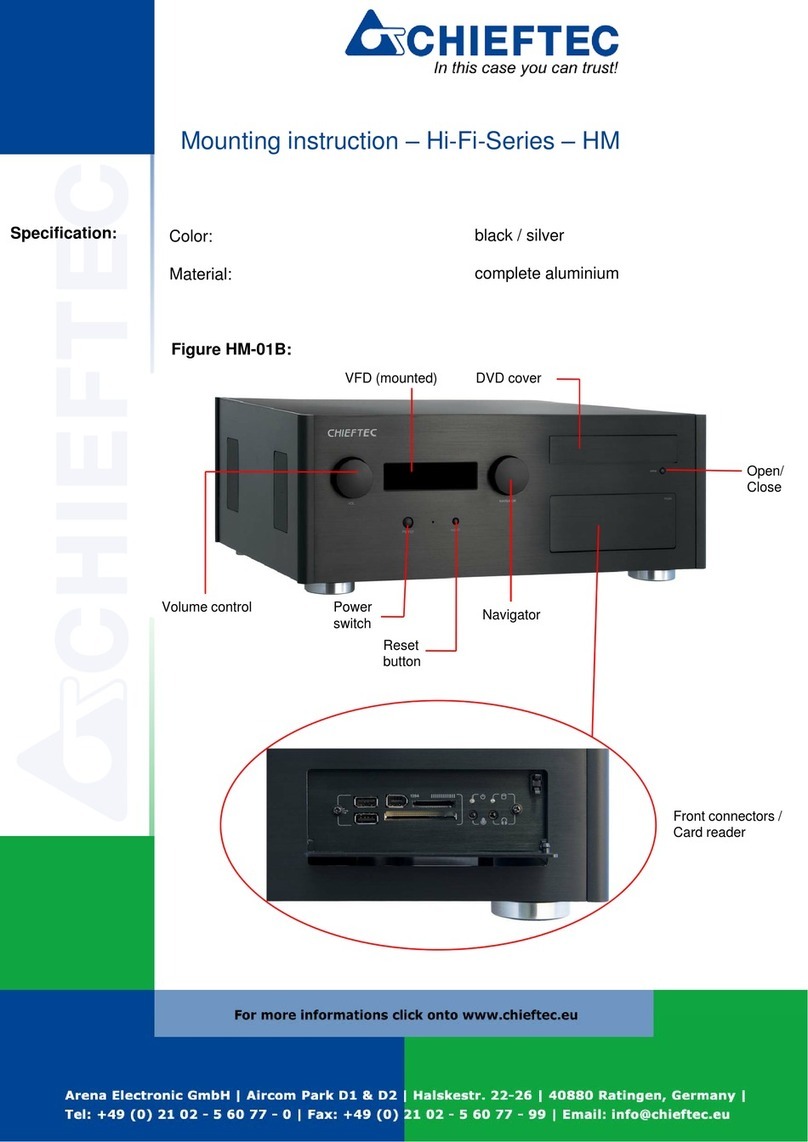
Chieftec Hi-Fi-Series User guide

Chieftec

Chieftec Hi-Fi-Series User guide

Popular Enclosure manuals by other brands

Laney LV412A instructions

Laney

Laney LV412A instructions

ENERMAX HOPELITE ECA3220 user manual

ENERMAX

ENERMAX HOPELITE ECA3220 user manual

Thermaltake V3 BlacX Edition VL800M Series user manual

Thermaltake

Thermaltake V3 BlacX Edition VL800M Series user manual

Origen ae S16T user guide

Origen ae

Origen ae S16T user guide

enphase IQ Combiner 5 Quick install guide

enphase

enphase IQ Combiner 5 Quick install guide

SilverStone PS07 manual

SilverStone

SilverStone PS07 manual

StorCase Technology Data Silo DS560 user guide

StorCase Technology

StorCase Technology Data Silo DS560 user guide

STI 7560AC Mounting instructions

STI

STI 7560AC Mounting instructions

Morso 5660 Standard Insert Instalation guide

Morso

Morso 5660 Standard Insert Instalation guide

GAMDIAS ARGUS E1 Quick installation guide

GAMDIAS

GAMDIAS ARGUS E1 Quick installation guide

StarTech.com RK830WALVS instruction manual

StarTech.com

StarTech.com RK830WALVS instruction manual

Kaval LINKnet OFR1000 Installation, operation and maintenance guide

Kaval

Kaval LINKnet OFR1000 Installation, operation and maintenance guide

Taurus Taurus user manual

Taurus

Taurus Taurus user manual

Conrad DataTale RSM2QO operating instructions

Conrad

Conrad DataTale RSM2QO operating instructions

Verbatim DIY Enclosure Kit installation manual

Verbatim

Verbatim DIY Enclosure Kit installation manual

INDA B748X S manual

INDA

INDA B748X S manual

Sharkoon REBEL C50 manual

Sharkoon

Sharkoon REBEL C50 manual

Icy Box IB-185M2 manual

Icy Box

Icy Box IB-185M2 manual

manuals.online logo
manuals.online logoBrands
  • About & Mission
  • Contact us
  • Privacy Policy
  • Terms and Conditions

Copyright 2025 Manuals.Online. All Rights Reserved.