ChocoVision Revolation X3210 User manual

OWNER’S MANUAL
Revolation Delta
CHOCOLATE TEMPERING SYSTEM
14 CATHARINE STREET POUGHKEEPSIE, NY 12601
TEL: (845) 473.4970 (845) 479.5453 FAX: (845) 473.8004

INTRODUCTION
1
ChocoVision Corp. REVOLATION DELTA
Microprocessor Controlled Chocolate Tempering Machine
FOR PROFESSIONAL/LABORATORY/COMMERCIAL USE
Thank you for purchasing the Revolation Delta Chocolate Tempering
Machine by ChocoVision Corp. This unit is a fully-automatic,
microprocessor-controlled system designed for professional chocolatiers,
pastry chefs, caterers, restaurateurs and candy shops.
The Revolation Delta represents ChocoVision’s latest and most sophistcated
breakthrough with regard to the tempering of chocolate. It has all the
existing capabilities of our best-selling Revolation X 3210 machine, with
the addition of an advanced software system and display. Created to the
specifications of some of the world’s most demanding pastry chefs and
confectioners, the Revolation Delta can be fully programmed to
accommodate the most precise temperature cycles. Its revolutionary
PROGRAM MODE allows for up-to 26 specific temper cycles to be saved to
memory and utilized by the chocolatier at any time. Additional features new
to the Delta include EXTENDED TEMPER MODE, which keeps chocolate
in perfect temper for over ten hours, MANUAL MODE, which allows for the
processing of non-cocoa-based chocolates, and has a dynamic new tempera-
ture display (C or F). As with all ChocoVision’s temperers, it can be oper-
ated in a simple, three-keystroke manner.
Built for heavy commercial use, the Revolation Delta can melt and temper
10 Lbs. of chocolate within about an hour and is built to last with its
stainless steel casing.
The Revolation X 3210 and Revolation Delta machines are available
directly from ChocoVision or designated dealers.
For information about product availability contact:

TABLE OF CONTENTS
2
INTRODUCTION.................................................................................1
TABLE OF CONTENTS.......................................................................2
SAFETY TIPS.......................................................................................3
YOUR MACHINE (EXPLODED VIEW)..............................................4
ASSEMBLY...........................................................................................5
CONTROLS..........................................................................................6
USING YOUR MACHINE (STANDARD FUNCTIONS).....................7
TIPS.......................................................................................................9
FREQUENTLYASKED QUESTIONS..............................................10
CLEANING.........................................................................................12
ADVANCED FUNCTIONS
ETM (EXTENDED TEMPER MODE)......................................................7
FARANHEIT / CELSIUS......................................................................8
OVERNIGHT MODE...........................................................................8
HEAT CONTROLS...............................................................................7
PROGRAMMABLE MODE.................................................................8
BOWL PAUSE.......................................................................................8
MANUAL MODE.................................................................................8

IMPORTANT SAFETY TIPS
PLEASE READ AND UNDERSTAND THE
FOLLOWING SAFETY MEASURES
BEFORE USING YOUR MACHINE
-For personal safety,Appliance must always be plugged into a
properly grounded electrical circuit.
-Do not cut or remove the third (ground) prong from the power
plug or attempt to use a grounding adaptor.
-Never immerse the machine in water (see cleaning instructions
page 11).
-Always locate the machine away from any water source. Avoid
water splashing on top of or into the machine or near the fan
areas.
-Never use extension cords to power the machine.
-To avoid suffocation, keep all packing material (Plastic bags
and small parts) away from children.
-Position machine so that the intake and exhaust fans are not
obstructed (minimum of 6” clearance). Please also be mindful
of loose objects that may block air flow.
-Unplug machine from power source when not in use.
-Aways unplug your machine before cleaning. Do not use
spray solvents or cleaning fluids near the machine.
-To avoid electrical shock, never open the case.
3

21
20
19
18
14
13
12 11
9
3
12
4
658
10
16
15
7
1. MAIN CASE
2. BOWL COUPLER
3. HEAT OUTLET
4. EXHAUST FAN
5. INTAKE FAN
6. PROBE CONTACTS
(CASE)
7. BAFFLE MOUNTS (2)
8. POWER SWITCH
9. KEYPAD
10. DISPLAY WINDOW
11. BOWL LOCATORS
12. BOWL RING
13. BOWL
14. SCRAPER
15. BAFFLE
16. BAFFLE CLIP
17. PROBE
18. PROBE CONTACTS
(BAFFLE)
19. BAFFLE KNOBS (2)
20. DUST COVER
21. DUST COVER LID
22. HOPPER (OPTIONAL)
17
22
Y O U R M A C H I N E
NOTE : When using HOPPER,
DUST COVER LID cannot be used.
Delta
Rev
4
OPTIONAL

- Lower the BOWL into your machine and rotate it
until it fits into place (Fig. 1).
- Place the SCRAPER into corresponding slot on
the BAFFLE (Fig. 2). Scraper will not stay in
place until entire baffle is screwed-down into
position. When properly installed, the scraper
should curve towards the front of the machine.
- Fit the BAFFLE into the BOWL making certain
that the contact “strips” on the BAFFLE and
the machine’s BAFFLE MOUNTS are aligned.
Thread the BAFFLE KNOBS onto both BAFFLE
MOUNTS (Fig. 3). If the BAFFLE is not
installed properly, an error message (EEE)
will appear in the display window, and the
machine will not start.
ASSEMBLY
5
Fig. 2
Fig. 1
Fig. 3
BEFORE USING YOUR MACHINE, WASH ALL COMPONENTS
THAT MAY COME INTO CONTACT WITH CHOCOLATE USING
A SOFT SPONGE OR CLOTH AND MILD SOAP.
Fig. 4
-
Slide the HOPPER assembly into the DUST COVER
opening and load with up to 10 lbs of chocolate.
Solid block chocolate is recommended for ease
of use.
*
Hopper Assembly is not included with purchase
Dust Cover, Lid & Hopper Assembly
(Fig. 4)

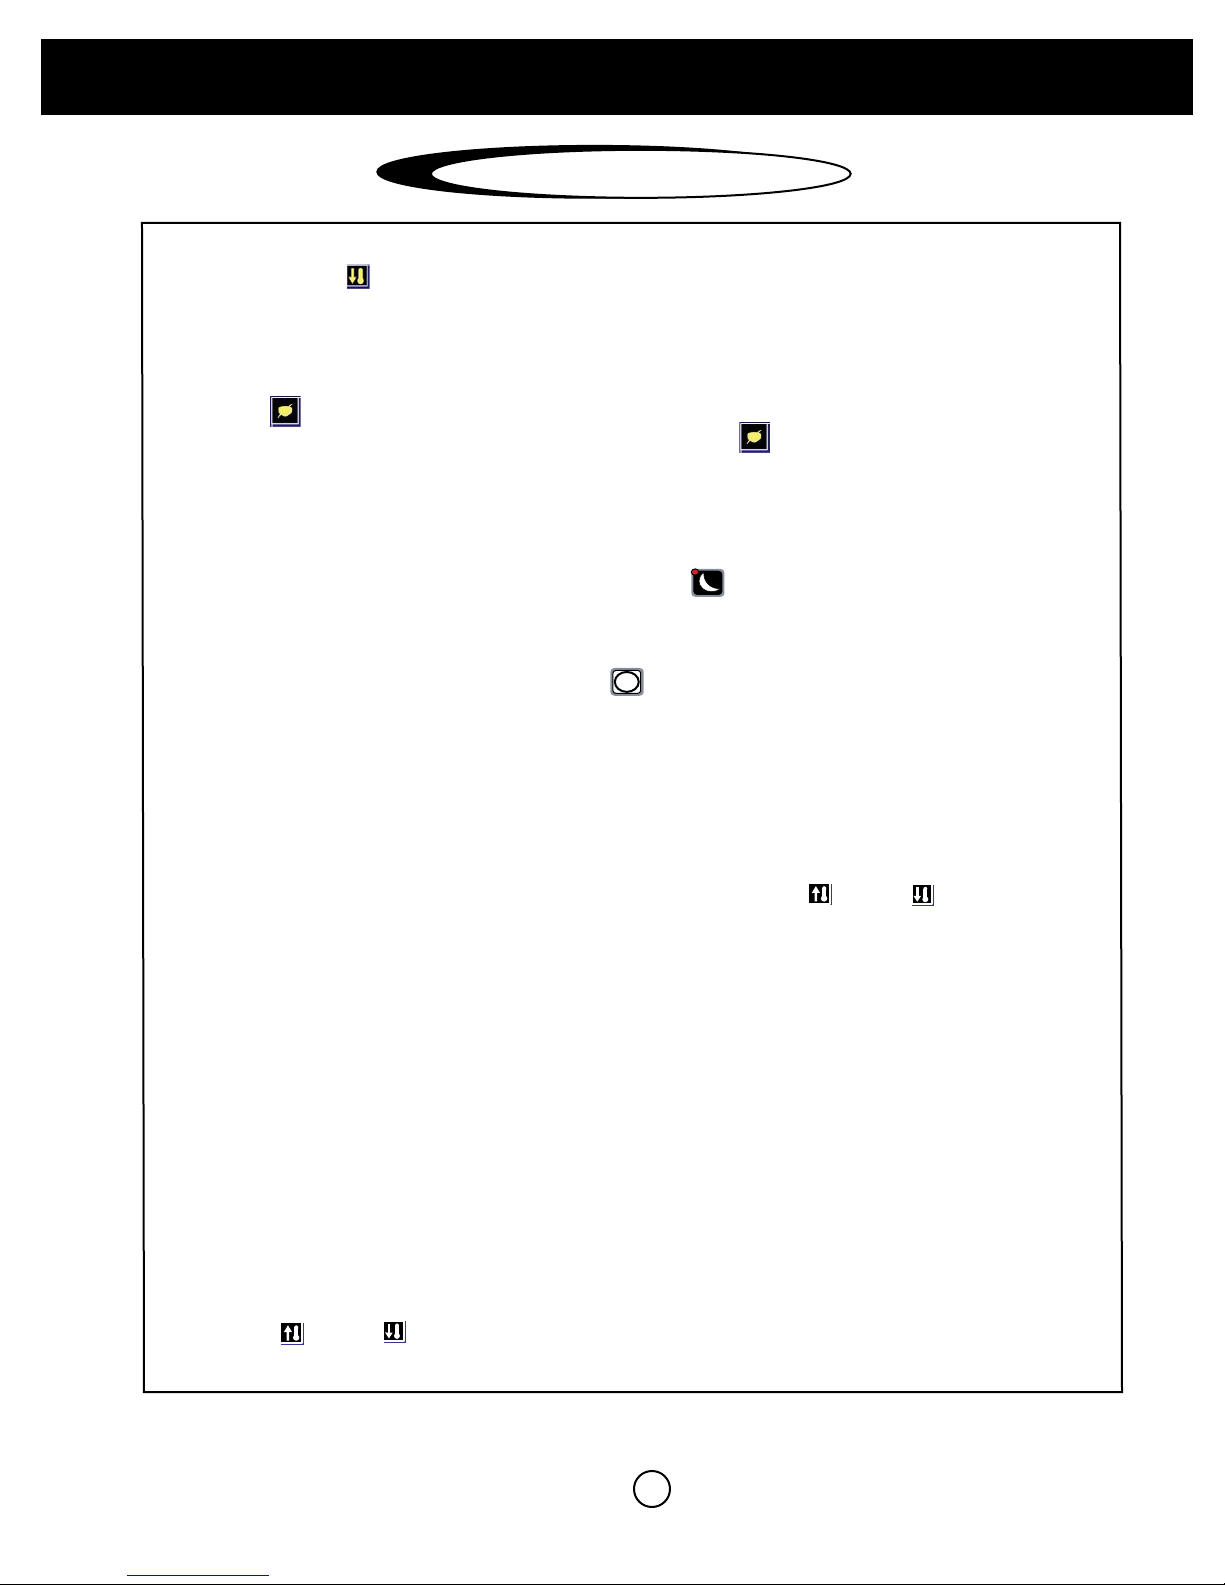
THE CONTROLS
6
UP / DOWN ARROW KEYS:
Increase / decrease the desired temperature in Melt,
Temper, Manual, and Programming Mode.
(see page 8).
The Down Arrow Key also allows you to toggle between
Fahrenheit and Centigrade upon machine start-up.
BOWL PAUSE:
Press this button to pause the bowl
for 90 seconds.
MANUAL MODE:
When the machine is in start mode, you can
press “M” to manually enter the desired
temperature. This feature is ideal for melting
compound-coating or icing.
OVERNIGHT MODE:
This button can be pressed at any time to
activate Overnight Mode, which allows
your chocolate to remain in a melted state
for as long as 24 hours.
PROGRAMMING MODE:
Press this button upon machine start-up
to enter programming mode. You can select
between recipes “A” through “Z,” and
specify your own dark, milk, and white chocolate
settings. Continue pressing “P” to switch from
“Recipe,” “Temper Point,” “Temper Delta,” and
“Melt Point.” Use the up and down arrow keys to
select recipe and desired temperature settings.
RESET
Press this button any time to cancel
all activities and return to the start-up
state. Pressing this will not erase your
stored programs.
SELECT CHOCOLATE TYPE:
Upon machine start-up, press the “S” button
to select dark, milk or white chocolate. This
Button may be held down to increase the
length of heated bowl pause as well.
TEMPER MODE:
After chocolate has reached its melt-point, add
seed and press the "T" button to select either
Quick, Normal, or Extended Temper Mode.
When prompted to “remove seed,” you will
press this “T” button again to continue.
(see page 7)
MM
T
R
P
S

2) Press "S" to select chocolate type among
DARK, MILK, or WHITE chocolate. The
machine will heat the bowl for a few minutes
and begin to rotate when the microprocessor
determines that the chocolate has reached
roughly 85°F.
3) After the bowl begins rotating, the chocolate
will heat-up until the desired melting point
(defaulted at 108°F). As the chocolate begins
to melt, it will collect in a pool in front of the
SCRAPER and cover the PROBE. Depending
upon the room conditions, it will take
approximately 45 minutes to melt 10 lbs. of
chocolate.
USING YOUR MACHINE
5) When you select your temper mode,
place at least 224 grams (8 oz) of solid,
tempered chocolate ('Seed') behind the
baffle, per 10 lb. batch. The machine will
start cooling down, which will take around
10-15 minutes, depending on the room
conditions.
6) Once the machine cools down and nears
the temper set point, the REMOVE SEED
auto alert signal will sound. Remove any
remaining solid seed chocolate from behind
the baffle and press the "T" button to acknow-
ledge.
Getting Started
1) Plug Machine into appropriate, grounded
circuit and turn on POWER SWITCH (located
in the back of the machine). Load chocolate
behind the baffle. (Solid block pieces work
best). You can load up to 10 lbs. of chocolate
at a time if you are using the HOPPER
assembly.
NOTE: If the chocolate you are using requires
higher melt or temper points, the Custom Heat
Setting can circumvent the factory defaults.
While in the desired mode (MELT or TEMPER),
press the UPARROW or the DOWN
ARROW button. Incremental numeric
selections can be made with each keystroke
or a rapid scroll with the button pressed.
Desired temperature change is displayed
below the temperature bar.
4) When machine indicates (three beeps) that your
chocolate has reached its desired melt-point,
and is ready to be tempered, press the "T" button
to select between Quick, Normal and Extended
Tempering Modes (see below).
QUICK TEMPER: Similar to "Temper 1" on
the Revolation 1, 2 and X3210 models.
Chocolate will cool down directly to the
desired temper point.
NORMAL TEMPER: Also called "traditional
tempering,” and similar to "Temper 2" on the
Revolation 1, 2 and X3210 models.
Chocolate temperature will fall slightly below
the temper point, then come back up to the
temper point (this margin is known as the
“Delta").
EXTENDED TEMPER MODE (ETM): This
function allows chocolate to remain in perfect
temper in the bowl for extended periods of
time (up to 12 hours).
7) When the final stages of tempering are
complete, the machine will sound three long
beeps and the display will show "READY",
meaning your chocolate is in temper.
Preset Temper Points:
Milk Chocolate: 86°F
Dark Chocolate: 88.7°
White Chocolate: 87.6°F
Preset Melt Point: 108F
7
OVERNIGHT MODE
USING YOUR MACHINE
Advanced Functions
This feature was developed for users that would like to leave melted chocolate in
the machine overnight , saving on additional melting and cleanup time.
1) This function can be activated at any time by pressing the OVERNIGHT button. The machine goes
through a series of bowl pauses and temperature swings. Note: The chocolate is NOT kept in temper in
Overnight Mode! You must go through the tempering process detailed on page 7 after machine has been
in Overnight mode.
R
RESET button.
2) To deactivate the OVERNIGHT MODE press the
PROGRAMMING MODE
8
This allows the user to save custom temper temperatures for each chocolate type for "special
blend" recipes or to simply choose your own melting, delta, or temper set point. Once the
desired temperature is set it can be recalled at a later time over and over.
1) To enter Programming Mode, press the "P" button while machine is in its start-up state.
2) Select a recipe "A" through "Z" (or DARK, MILK, or WHITE) using the UP and DOWNARROW
buttons.
3) Advance to the other menu items (TEMPER POINT, TEMPER DELTA and MELT POINT) by pressing
the "P" button.
4) Use the UP and DOWNARROW buttons to adjust the desired temperature settings for TEMPER POINT,
TEMPER DELTA and MELT POINT.
5) To run a recipe, remain in Programming Mode and select the desired recipe using the UP and DOWN
ARROW buttons. Press the "S" button to execute that recipe and follow tempering instructions on page 7.
5) Hit the RESET button at any time to save changes and exit Programming Mode.
Note: There are also recipes for "DARK", "MILK", and "WHITE" chocolates. Changing the temperature
settings in programming mode for these recipes WILL change the machine defaults.
MANUAL MODE
MANUAL MODE allows a user to set a desired temperature, and the machine will simply
heat up or cool down until that temperature is reached.
1) To enter Manual Mode, press the "M" button while machine is in its start-up state.
2) Use the UP and DOWNARROW buttons to select desired temperature. Hold the buttons down
for fast scrolling.
Faranheit / Celsius
Each stroke of the ARROW DOWN button toggles digital display between Fahrenheit and Celsius.
Bowl Pause
This function allows the user to quickly pause the bowl rotattion for a period of 90 seconds while in the
TEMPER MODE.
Press the PAUSE button. The bowl rotation stops and countdown begins. Bowl resumes spinning
when either the 90 second countdown is complete, or when the PAUSE button is pressed agian.

HINTS & TIPS
- Place your machine away from any water source where splashing can
occur, getting water on or into unit. NEVER ALLOW WATER TO MIX
WITH CHOCOLATE. Contact with water can cause chocolate to seize,
rendering it unable to be re-tempered.
- Contact strips on baffle as well as corresponding contact “riser” strips on
your machine should at all times be free of chocolate or any other debris,
if not, your machine may have difficulty starting or working properly.
- Baffle scraper will not be in place for use until the baffle knobs are
screwed-down into position with the baffle in place. When properly
installed, the scraper blade will bend forward toward the front of your
machine (the side with the temperature probe). See Figure 3 on page 5.
- Do not allow the level of chocolate in the machine to drop below the
thermister/probe (silver “bump”) on the baffle. This probe measures the
the temperature of the chocolate and reports it to the microprocessor. If the
chocolate falls below this point during use, chocolate may be usuable for
a few minutes. You should then replenish bowl with more chocolate, press
Reset, and begin the melting process again.
- Avoid placing machine directly under or next to an air conditioning
vent which can create uneven heat distribution and lead to bloom.
- It is recommended to utilize the lid and cover assembly at all times
other than when in temper mode (cooling) or using the chocolate.
Lid and cover assembly are helpful in expediting the melting process,
keeping debris out of the chocolate and maintaining consistant temper.
9

FAQ’s
1. What is “pure” chocolate? What is “compound” chocolate?
“Pure,” unsweetened chocolate is produced from the seed of the tropical cacao tree,
and contains primarily cocoa solids and cocoa butter in varying proportions. Most
consumed chocolate is sweetened with suagr. Milk chocolate contains sugar and some
form of either condensed or powdered milk. “White chocolate” contains cocoa butter,
sugar and milk but no cocoa solids (thus is not truly chocolate).
Compound chocolate is a chocolate replacement made from a combination of cocoa,
vegetable fats, coconut or palm kernel oils and sweeteners. Compound chocolate is
designed to simulate enrobed chocolate on a product.
2. Why do I have to temper my chocolate?
Cocoa butter is the fat in cacao that gives chocolate its stable properties. To be considered
“real” chocolate, a chocolate bar or chunk can contain only cocoa butter, not any other fat.
Cocoa butter is the reason that chocolate must be tempered.
Cocoa butter is comprised of three to four fatty acids, each of which solidifies at a different
temperature. When chocolate is melted, the crystals of fatty acids separate. The objective
of tempering is to entice those separated fat crystals of cocoa butter back into a stable form.
Proper tempering gives chocolate a smooth and glossy finish, has a crisp snap, and won’t
melt as easily as untempered chocolate to the touch.
3. What is seed chocolate?
The “seed” is tempered chocolate (chunks or wafers) that should be set aside and placed
behind the baffle at the beginning of the temper cycle (your machine will beep three times
to indicate that your chocolate had hit its melt-point and is ready for tempering/seeding).
These pieces of seed chocolate act like magnets, attracting other loose crystals of fatty
acids together, beginning the crystalization process that results in a proper temper.
Tempered chocolate melts at a much higher temperature than untempered. The fat crystals
are locked together tightly and are resistant to developoing chocolate bloom.
4. What is bloom?
Chocolate bloom is visible by white-ish-gray streaks or spots on the surface of the
chocolate, typically caused by two things; moisture (sugar bloom) or warmth (fat bloom).
Sugar bloom is caused by moisture which makes the sugar in chocolate dissolve. Once
the moisture evaporates, sugar crystals remain on the surface. Your chocolate will become
sticky and discolored. Although sugar bloom is most often the result of humid storage,
it can occur when stored in a cool climate and moved too quickly to a warmer one.
Fat bloom is similar to sugar bloom, except that it is fat or cocoa butter separating from
the chocolate and depositing itself outside of it. As with sugar bloom, the most common
causes of fat bloom are quick temperature changes and overly warm storage.
Bloomed chocolate is edible. It just does not appear as appetizing.
10

FAQ’s (cont.)
5. How does climate affect chocolate tempering?
If your work area is overly hot or cold, there is a good chance that it will have a
negative effect on your finished chocolate products. As stated, relative room humidity
can cause or make your chocolate succeptable to sugar bloom. A room that is either
too hot, cold or humid will interfere with your chocolate setting-up properly.
Ideal working conditions are:
- 66-70° Fahrenheit OR 18.5-21° Celsius
-Humidity below 50%
6. How does the storage of my raw chocolate affect tempering?
Your chocolate can come out of temper if not stored properly. Ideally, chocolate should
be wrapped thouroughly to avoid moisture and stored at a constant temperature of 55° to
60°F with a relative humidity at or below 50% (neither temperature or humidity
varying much). Chocolate has a propensity to obsorb odor very quickly, so do not store
your chocolate within the vacinity of any items that exude a pungent odor.
Stored under perfect conditions, unsweetened and dark chocolate will last for up to 18
months, milk and white chocolate for 8 to 12 months.
7. Why may my chocolate have thickened?
Due to constant bowl rotation and agitation of the chocolate, the viscosity will
increase. A typical 10 Lb. batch of (dark) chocolate, depending on room conditions,
will stay in perfect temper for between 45 to 90 minutes. Thickening is a
sign of overseeding, overtempering, or overcrystalization.
As stated, the nature of the machine dictates roughly an hour of optimum dipping time
before overtempering begins. That said, there are measures to prolong your window of
dipping by heading the following:
-Remove all seed chocolate when instructed.
-Only dip items that are at room temperature.
-Use your chocolate within 1 to 1.5 hours.
-Raise the temperature incrimentally as you notice chocolate thickening (Do not
exceed 92° F)
-Add cocoa butter as you notice chocolate thickening (consult with a professional).
11

CLEANING YOUR MACHINE
- Always unplug your machine before cleaning. Never
use spray solvents or cleaining fluids near the machine.
- When machine is done for the day, the outside, metal
case should be wiped-down with a wet rag or sponge
with a mild soap. NEVER use steel wool or any other
type of abbrasive to clean your machine or any of its
components.
- Use the special baffle cleaning brush for areas where
chocolate collects and may be difficult to clean, such
as the inside of the bowl ring and crevices on the baffle.
12
Other manuals for Revolation X3210
2
Table of contents
Other ChocoVision Kitchen Appliance manuals

ChocoVision
ChocoVision Revolation X3210 User manual

ChocoVision
ChocoVision Revolation V User manual

ChocoVision
ChocoVision REVOLATION 1 User manual

ChocoVision
ChocoVision REVOLATION DELTA User manual

ChocoVision
ChocoVision Revolating Delta User manual

ChocoVision
ChocoVision Revolation 3Z User manual

ChocoVision
ChocoVision REVOLATION 1 User manual

ChocoVision
ChocoVision revolation 2 User manual

ChocoVision
ChocoVision Revolation X3210 User manual

ChocoVision
ChocoVision revolation 2 User manual


