manuals.online logo
Brands
  1. Home
  2. •
  3. Brands
  4. •
  5. Circo Kids
  6. •
  7. Indoor Furnishing
  8. •
  9. Circo Kids 249-20-0203 User manual

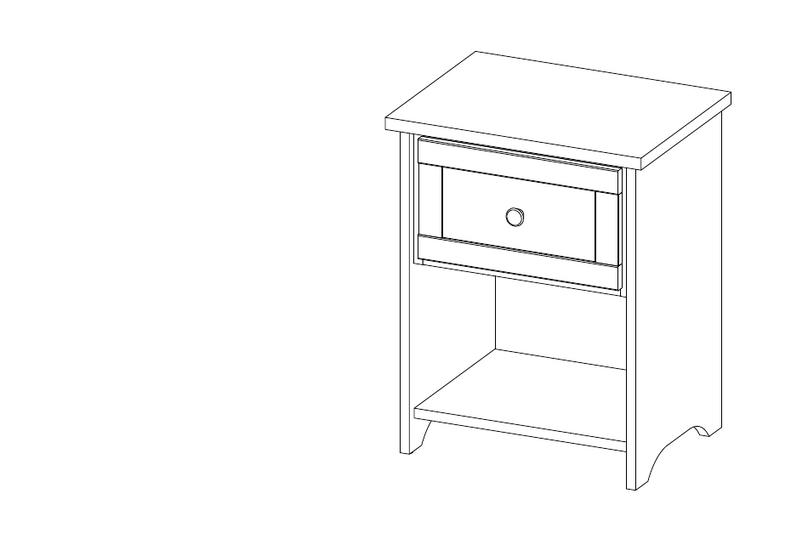
Circo Kids 249-20-0203 User manual

F
>> assembly instructions
DPCI # 249 - 20 - 0213 (Chocolate)
Circo Kids
Desk
DPCI # 249 - 20 - 0203 (White)
92443
1
FREE!
WEWILLHELPYOU!
Do not go back to your store!
Missing or Damage Parts? Have Questions about Assembly?
The store where you made this purchase does not stock parts for this item.
If you needs parts (damage or missing) or have questions about assembly. Please
call our toll fre support line or email us. All orders normally ship within 24 hours.
All Parts and Shipping are FREE!
Toll Free Customer Support
Monday – Friday from 8 am to 5 pm EST.
E-mail:helpline-us@tvilum.com
Order parts anytime or download assembly
instructions through our website at www.tvilum.com
GRATUIT!
NOUSVOUSAIDERONS!
Ne retournez pas au magasin!
Pièces endommagées ou manquantes? Des questions sur l’assemblage?
Le magasin où vous avez acheté cet article ne tient pas en stock les pièces
séparées de ce produit. Si vous avez besoin de pièces (endommagés ou
manquantes) ou pour toute question sur l’assemblage, veuillez utiliser notre
numéro sans frais ou nous faire parvenir un courriel. Toutes les commandes
sont habituellement expédiées dans les 24 heures. Les pièces et l’expédition
sont GRATUITE!
Service à la clientèle gratuit
Du lundi au vendredi de 8h à 17h HNE.
Courriel : support@d-scan.com
Commandez des pièces en tout temps ou téléchargez
les instructions d’assemblage à partir du site web au www.d-scan.com
2
before you begin
tools needed
Congratulations on your latest Target purchase
All you need to do is follow our simple instructions and you'll be on your way to transforming your
Don't start sweating over this box of parts. This will be easy. We did the hard work for you.
room in no time. Good luck - though we're confident you won't need it.
Check for damaged or missing parts. Please call 1-855-MYTGTHOME (855-698-4846) for parts and service. Please reference DPCI#1.
249 - 20 - 0203 (White)
249 - 20 - 0213 (Chocolate)
Use the carton as a worksurface to prevent product damage during assembly.2. Sort hardware.3. Gather all tools prior to assembly.4.
3
2
table of contents
QUESTIONS? Just call 1-855-MYTGTHOME (855-698-4846) for parts and service. For faster service, have the style number and DCPI number ready when calling.
3
5
6 - 7
8
9 - 28
29
30
31
32
customer service information
introduction
parts list
hardware
how to use the cam lock system
assembly
specification sheet
questionnaire
information sheet
products available
4
HE
LC
GC
FF
FE S
HD
PA PA
KB
KC
09402
Right drawer side
ITEM DESCRIPTION QUANTITY
Left drawer side
Drawer back
Drawer bottom
Small back panel
Drawer front
Left side panel
Left spacer
Divider
Right side panel
Right spacer
Back bottom rail
Front bottom rail
Top panel
Top rail
Back panel 1
2
1
1
1
1
1
1
1
1
2
1
2
2
2
2
00158
00159
02610
06275
09402
09325
FE
FF
GC
HD
HE
KB
KC
LC
PA
S
00159
06275
00158
02610
09325
5
x8
20212
x10
31567
x12
20203
x4
31631
x8
26034
x2
25610
x4
31513
x14
31683
x8
20228
x2
25483
x8
25502
x4
25233
x4
31568
x4
26085
x6
10401
Small cam
Member screw
Short system screw
Connector bolt
Cam bolt Large cam
Top rail screw
Cam bolt with flange
hardware
Drawer glide screw
Panel clip Large dowelSmall dowel
Press-in bolt
Drawer knob screw
Drawer fastener
6
x2
41641
x1
97642
x1
22604
x2
81039
x4
63001
Right
Drawer Glides
Outer
Member
Member
Outer
Left
Member
Inner
Left
Right
Inner
Member
Allen wrench
Glue
hardware
Drawer knob
Floor glide
7
Press can into pre-drilled hole with
the arrow pointing toward the side hole. Push the bolt all the way into
the side hole.
CORRECT
NOT
CORRECT
(MAKE SURE PANELS HAVE NO GAPS)
TIGHTEN
Insert the tip of a screw driver into the cam.
Turn cam clockwise to tighten.
align and push the panels together.
With all cam & bolts installed,
- NO GAPS
NO GAP
LOCKED
12:00 2:00
panels together. (The cam bolt will fit loosely
Secure connection by turning arrow on
the cam to 2 O´clock to smoothly lock
until the cam is tightened).
how to use the cam lock system
5
2
13
64
8
x4
31513
step 1 drawer assembly - insert cam bolts
Insert the cam bolts into the holes on the back of the drawer front, 09325.1. Repeat this step for both the drawers.2.
09325 x 2
Cam bolt
9
step 2 drawer assembly - attach drawer bottom to drawer back
Press the drawer bottom 06275 (with the finished side up) into the grooves on the drawer back 02610.1. Paper overlays the slot, but it has a slit so drawer bottom inserts well.2. Repeat this step for both the drawers.3.
finished side up
02610
06275
x2
paper
10
x8
20228
step 3 drawer assembly - attach drawer sides
Align holes at back of the drawer sides, 00158 and 00159 with the holes on the1. drawer back 02610. Make sure the groove on the drawer back is facing the inside of
the drawer. Tap drawer fasteners into place with a hammer.
Repeat this step for both the drawers.2.
Drawer fastener
06275 finished side up
02610
00159
00158
x2
11
LOCKED
2:00 12:00
panels together. (The cam bolt will fit loosely
Secure connection by turning arrow on
the cam to 2 O´clock to smoothly lock
until the cam is tightened).
x1
22604
x4
31631
x2
25483
x2
81039
09325
06275
00158
02610
00159
x2
Glue
Small cam
Drawer knob screw Drawer knob
step 4 drawer assembly - attach drawer front and drawer knob
Add glue to the holes on the back side of the drawer front 09325, and assemble the drawer1. front 09325 with the drawer sides 00158 and 00159 using small cam.
Use the drawer pull screw to attach the drawer knob to the drawer front 09325.2. Repeat these steps for both the drawers.3.
12
x2
41641
x2
41641
x8
25502
Drawer glide screw
Right
Inner
Member
00158
06275
09325
02610
00159
x2
Member
Left
Inner
Drawer glides
step 5 drawer assembly - attach drawer glides to drawer sides
Position the left and right drawer glides on the left and right drawer side panels1.
00158 and 00159 respectively.
Use drawer glide screws to fix the drawer glide inner members to the drawer side panels.2. Repeat these steps for both the drawers.3.
13
x4
31567
x8
20212
x4
31683
KC
KB
Large dowel
step 6 desk assembly - insert large dowel pins and cams
Insert large dowel pins into small holes on the ends of the bottom rail KB and1. front bottom rail KC.
Insert cams into the large holes near the ends of the bottom rail KB and front2. bottom rail KC, so that the arrow is facing the end of the rail.Do not turn the
cams at this time.
cam
cam bolt
14
x8
20203
x6
31567
x6
31683
GC
FF
HE
cam bolt
Small dowel
step 7 desk assembly - insert small dowel pins and cams
Insert small dowel pins into small holes on the ends of the left spacer FF, divider GC and right spacer HE.1. Insert cams into the large holes near the ends of the left spacer FF, divider GC and right spacer HE, so that the2. arrow is facing the end of the rail.Do not turn the cams at this time.
cam
15
x2
41641
x2
41641
x4
25233
x8
26034
Left spacer
Divider
GC
Right spacer
FF
HE
Short system
screw
Left Outer
Member
Short system
screw
GC
Top
HE
FF
front
(finished edge)
(finished edge)
front
Top
front
(finished edge)
Top
Member screw
Member
screw
step 8 desk assembly - attach outer drawer glides to left and right spacers and divider
Lay the left and right spacers and the divider on a flat surface exactly as shown below.1. Next lay the outer members of the left and right drawer glides on the spacers and divider exactly as shown.2.
Line up the holes in the drawer glides with the holes on the panels. The front edge of the glide should be
near the front edge of the panels.
3. Use small system screws to attach drawer glides to the panels.
4. Flip over the divider panel and attach the drawer glide to the other side. This glide will be a mirror image of
the glide on the other side of the divider.
Member
Right Outer
Drawer glides
Short system
screw
16
x4
20203
Small dowel
step 9 desk assembly - insert small dowels
Insert small dowels into the small holes on the ends of back panel, S.1.
S
17
LOCKED
12:00 2:00
Secure connection by turning arrow on
the cam to 2 O´clock to smoothly lock
panels together. (The cam bolt will fit loosely
until the cam is tightened).
step 10 desk assembly - attach front bottom rail and back bottom rail
Place the dowels and cam bolts on the end o the front bottom rail KC and back bottom1. rail KB into the holes of the left spacer FF and left side panel FE.
Make sure the finished edge on KC is facing toward the front.2.
Tighten the cams to the 2 o´clock position.
FF
KB
KC
FE
front
(finished edge)
front
(finished edge)
18
HE
FE
KB
KC
FF
step 11 desk assembly - attach right spacer
Place the right spacer HE on top of the front bottom rail KC and back bottom rail KB,1. by aligning the large dowel corresponding to the holes in right spacer HE.
19
LOCKED
12:00 2:00
Secure connection by turning arrow on
the cam to 2 O´clock to smoothly lock
panels together. (The cam bolt will fit loosely
until the cam is tightened).
FE
KB
KC
HD
FF
HE
S
step 12 desk assembly - attach back panel and right side panel
Place the back panel, S in between the left side panel FE and right side panel1. HD, by aligning the small dowel on the back panel to the corresponding holes
on the left side panel FE and right side panel HD.
Assemble the right side panel HD with the front bottom rail KC and back2. bottom rail KB. Tighten the cams to the 2 o´clock position.
20

This manual suits for next models

1

Other Circo Kids Indoor Furnishing manuals

Circo Kids 249-20-0201 User manual

Circo Kids

Circo Kids 249-20-0201 User manual

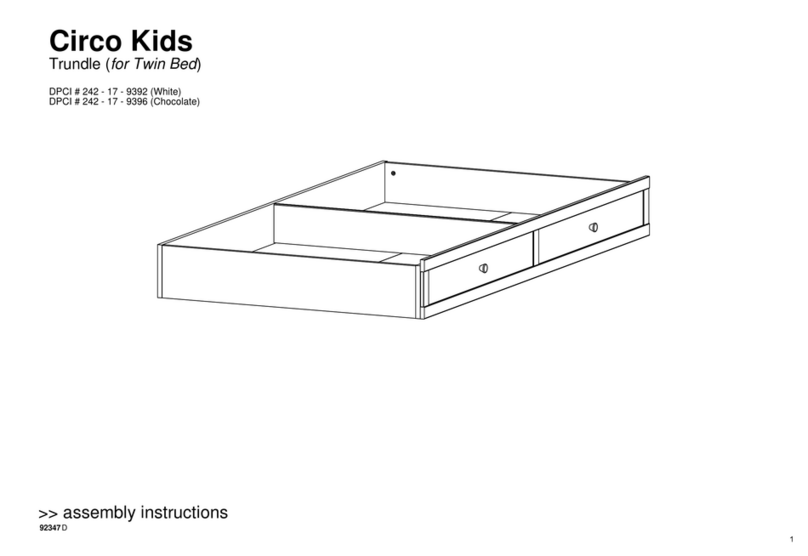
Circo Kids 242 - 17 - 9392 User manual

Circo Kids

Circo Kids 242 - 17 - 9392 User manual

Circo Kids Night Table DPCI 249-20-0200 User manual

Circo Kids

Circo Kids Night Table DPCI 249-20-0200 User manual

Popular Indoor Furnishing manuals by other brands

Restoration Hardware RH Teen Laguna instructions

Restoration Hardware

Restoration Hardware RH Teen Laguna instructions

Ameriwood HOME 7390015COM Assembly instructions

Ameriwood HOME

Ameriwood HOME 7390015COM Assembly instructions

Combelle ALICE user manual

Combelle

Combelle ALICE user manual

Rauch M2574 Assembly instructions

Rauch

Rauch M2574 Assembly instructions

Allen + Roth SUCO installation instructions

Allen + Roth

Allen + Roth SUCO installation instructions

Backyard Creations 272-8012 instruction manual

Backyard Creations

Backyard Creations 272-8012 instruction manual

Living Spaces LUCY 3002A Assembly instructions

Living Spaces

Living Spaces LUCY 3002A Assembly instructions

World Market Mariposa Armless 619681 Assembly instructions

World Market

World Market Mariposa Armless 619681 Assembly instructions

Royalcraft Palma Assembly instructions

Royalcraft

Royalcraft Palma Assembly instructions

fantastic furniture Tiffany manual

fantastic furniture

fantastic furniture Tiffany manual

Essential Garden SC-K-522SFSETBNW Use and care guide

Essential Garden

Essential Garden SC-K-522SFSETBNW Use and care guide

RiverRidge Ellsworth Tall Corner Cabinet 06-027 Assembly instructions

RiverRidge

RiverRidge Ellsworth Tall Corner Cabinet 06-027 Assembly instructions

Safavieh Furniture Malyn ACC9712 manual

Safavieh Furniture

Safavieh Furniture Malyn ACC9712 manual

namesake Nantucket manual

namesake

namesake Nantucket manual

Studio Tools Trolley Assembly instructions

Studio Tools

Studio Tools Trolley Assembly instructions

Safavieh PAT6749 Assembly instructions

Safavieh

Safavieh PAT6749 Assembly instructions

Gami MAMBO K32/S32 manual

Gami

Gami MAMBO K32/S32 manual

IKEA KULLABERG Assembly instructions

IKEA

IKEA KULLABERG Assembly instructions

manuals.online logo
manuals.online logoBrands
  • About & Mission
  • Contact us
  • Privacy Policy
  • Terms and Conditions

Copyright 2025 Manuals.Online. All Rights Reserved.