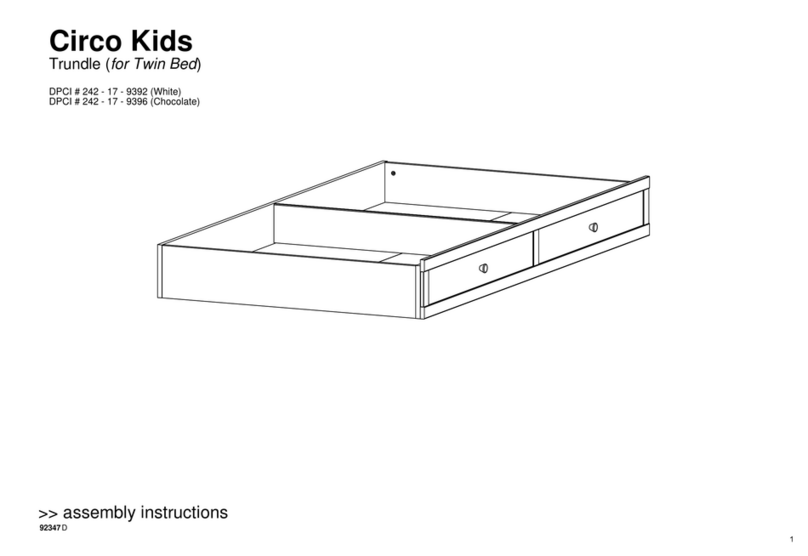
Circo Kids 249-20-0201 User manual

D
>> assembly instructions
DPCI # 249 - 20 - 0211 (Chocolate)
Circo Kids
3 Drawer Dresser
DPCI # 249 - 20 - 0201 (White)
92368
1

FREE!
WEWILLHELPYOU!
Do not go back to your store!
Missing or Damage Parts? Have Questions about Assembly?
The store where you made this purchase does not stock parts for this item.
If you needs parts (damaged or missing) or have questions about assembly,
please call our toll free support line. All orders normally ship within 24 hours.
Just call 1-855-MYTGTHOME (855-698-4846) for parts and service.
For faster service, have the style number and DPCI number ready
when calling.
2

before you begin
tools needed
Congratulations on your latest Target purchase
All you need to do is follow our simple instructions and you'll be on your way to transforming your
Don't start sweating over this box of parts. This will be easy. We did the hard work for you.
room in no time. Good luck - though we're confident you won't need it.
Check for damaged or missing parts. Please call 1-855-MYTGTHOME (855-698-4846) for parts and service. Please reference DPCI#1.
249 - 20 - 0201 (White)
249 - 20 - 0211 (Chocolate)
Use the carton as a worksurface to prevent product damage during assembly.2. Sort hardware.3. Gather all tools prior to assembly.4.
3

2
table of contents
QUESTIONS? Just call 1-855-MYTGTHOME (855-698-4846) for parts and service. For faster service, have the style number and DPCI number ready when calling.
3
5
6 - 7
8
9 - 30
31
32
33
customer service information
introduction
parts list
hardware
how to use the cam lock system
assembly
specification sheet
information sheet
products available
4

EC
06020
00595 03604 02848
FH
LD
HG
09406
00594
PB
KE KE
FI
KD
PB
HH
EB
right drawer side
ITEM DESCRIPTION QUANTITY
left drawer side
drawer back
drawer divider
drawer bottom
back panel
top drawer front
middle and bottom drawer front
left side
right side
back rail
left spacer
right spacer
center rails
top panel
top / bottom rail 2
1
2
1
1
1
1
1
2
1
1
3
1
3
3
3
00594
00595
02848
03604
06020
09406
EB
EC
FH
HG
KD
FI
HH
KE
LD
PB
5

x30
10401
x6
26214
x16
20203
x8
20212
x24
20228
x6
21839
x6
25483
x6
26020
x15
26085
x22
31570
x12
31685
x4
63001
x6
81039
x10
31686
small cam
small dowel pin drawer fastener drawer glide spacer
drawer knob screw long system screw cam boltdrawer glide screw
floor glide drawer knob
short system screw
large dowel pin
hardware
panel clip
large cam
6

x6
41407
x2
94009
x1
88060
x2
11403
drawer glide
drawer insert wire
Warning Label
hardware
wall attachment strap
7

6
180-210°
LOCKED
Cam lock system
Video instruction for
For your safety please read the below information carefully
Installation of the CAM LOCK SYSTEM as shown is CRITICAL!
stable and you may experience issues with this unit falling apart right away.
how to use the cam lock system
1
If not properly "locked" in place, your ready to assemble furniture will not be
and see the Cam lock
video here
for more information
visit us at www.tvilum.com/
support/instruction videos
scan the QR code
and see the video
3
2
45
8

x12
31685
x12
31570
cam bolt
step 1 drawer assembly - insert cams
Screw cam bolts into the drawer front EB + EC, cam bolts must be screwed down flush.1. Place the small cams into the large holes on the drawer sides 00594 + 00595, so that the arrow is2. facing the edge of the drawer side.
EC
x2
00594
x3
00595
EB
CORRECT NOT
CORRECT
small cam
9

step 2 drawer assembly - attach drawer bottom to back
Press the drawer bottom 06020 (with the finished side up) into the grooves on the drawer back 02848.1. Paper overlays the slot, but it has a slit so drawer bottom inserts well.2. Repeat these steps for all three drawers.3.
finished side up
06020
02848
x3
paper
10

x24
20228
drawer fastener
step 3 drawer assembly - attach drawer sides
Align holes at back of the drawer sides, 00594 and 00595 with the holes on the1. drawer back 02848. Make sure the groove on the drawer back is facing the inside of
the drawer. Tap drawer fasteners into place with a hammer.
Repeat these steps for all three drawers.2.
00594
finished side up
06020
02848
00595
x3
11

02848
06020
00594
00595
EB
step 4 drawer assembly - attach top drawer front
Place the cam bolts that are attached to the drawer front EB into the holes on the drawer sides.1. Make sure the drawer bottom is completely inserted into the grooves in the drawer front and2. back, then tighten cams.
12

step 5 drawer assembly - attach middle and bottom drawer front
Place the cam bolts that are attached to the drawer front EC into the holes on the drawer sides.1. Make sure the drawer bottom is completely inserted into the grooves in the drawer front and2. back, then tighten cams.
02848
x2
06020
00594
00595
EC
13

x18
10401
step 6 drawer assembly - install panel clips
Place the thin edge of the panel clips into the groove between the drawer bottom 060201. and the drawer back, top drawer front EB and middle and bottom drawer front EC.
Tighten the screws on the support clips but do not over tighten.2.
IMPORTANT.
The panel clips
stabilize the drawer.
panel clip
90°
4"
x3
02848
06020
00595
EB+EC
00594
14

x1
88060
x2
11403
x6
81039
x6
25483
step 7 drawer assembly - install divider, warning label and drawer knob
Press drawer insert wires into the holes at the center of the drawer front and back.1. Slide the drawer divider over the wires until it touches the drawer bottom.2. Attach warning label to the inside of the drawer side.3. Use the drawer knob screws to attach the drawer knob to the topdrawer front EB and EC.4.
x2
02848
00595
00594
EC
03604 00594
02848
00595
EB
warning label
drawer
insert wire
drawer knob
drawer knob screw
15

NOT
CORRECT CORRECT
x8
20212
x4
31686
step 8 case assembly - insert large dowel pins and cams
Insert large dowel pins into holes on the ends of the top/bottom rail PB.1. Insert large cams into the large holes near the ends of the top/bottom rail PB,2. so that the arrow is facing the end of the rail.
large dowel pin
PB x2
large cam
16

NOT
CORRECT CORRECT
step 9 case assembly - insert cams and small dowel pins
Screw cam bolts into the side panels HG + FH, cam bolts must be screwed down flush.1. Place the large cams into the large holes on HG, FH and KD, so that the arrow is facing2. the edge of the panel.
Insert small dowel pins into small holes on the ends of the HG, FH, KD and KE.3. small dowel pin
x16
large cam
x6
HG
FH
KD
KE x 2
cam bolt
x6
17

x6
26085
FH
HH
HG
FI
(finished edge)
finished side up
front
front
(finished edge)
finished side up
6"
61/4"6"
61/4"
step 10 case assembly - attach side spacers to side panels
Place left and right spacers on HG and FH. Make sure that the finished edge is toward the1. front and the finished side is facing up.
Use 3 of the long system screws to attach each of the side spacers to the side panels.2.
long system screw
18

x6
41407
x6
21839
x6
26085
screw
drawer glide
spacer long system
drawer glide
step 11 case assembly - drawer glide detail
Slide the drawer glide to the open position, then place a long system screw into the back hole as shown on the drawing.1. Note: Oil is on slide for lubrication. Use care in handling, so that lubricant is not transferred to the product.
Place a drawer glide spacer over the long system screw that was just inserted into the drawer glide. The drawer glide is ready to be2. installed to the side panel (step 12 on the next page)
Repeat this step for each ot the remaining glides.3.
x6
front of glide
back screw location
19

x6
26020
front screw location
(finished edge)
front
FH
HG
HH
FI
front
(finished edge)
front of glide
short system
screw
step 12 case assembly - attach drawer glides
Place drawer glide with back screw and spacer (from step 11) so that the1. screw is over the back hole of the side panel, then tighten screw.
Move the front of the glide until you can see a drilled hole through the slot on2. the glide, then use a short system screw to attach the front of the glide.
Repeat for the remaining drawer glides.3.
20
This manual suits for next models
1
Table of contents
Other Circo Kids Indoor Furnishing manuals
Popular Indoor Furnishing manuals by other brands

Forte
Forte JCKK225L Assembling Instruction

kingsley-bate
kingsley-bate Chelsea Ottoman CO10 Assembly instructions
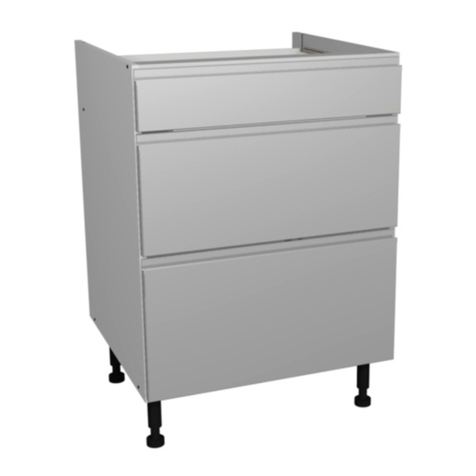
Gower
Gower Camden Midnight 3 Drawer Unit Assembly
Bandago
Bandago Elite 102690657 installation guide
Songmics
Songmics VASAGLE LBS73 quick start guide
System Build
System Build 7920414COM Assembly instructions

J D Williams
J D Williams New England Assembly instructions
Simpli Home
Simpli Home WyndenHall brooklyn + max 3AXCART-01 quick start guide
3-form
3-form SimpleSpec 400.44-Clario installation manual
Wood Crafters
Wood Crafters BC36-HZ Assembly instructions
HAMPTON BAY
HAMPTON BAY TOBAGO 151-115-7D-V2-NF Use and care guide
mlmeble
mlmeble IQ 1201 manual

