
12/9/2019 Cisco Aironet Power Injector AIR-PWRINJ6= Installation Guide - Cisco
https://www.cisco.com/c/en/us/td/docs/wireless/access_point/power/guide/air_pwrinj6.html 4/7
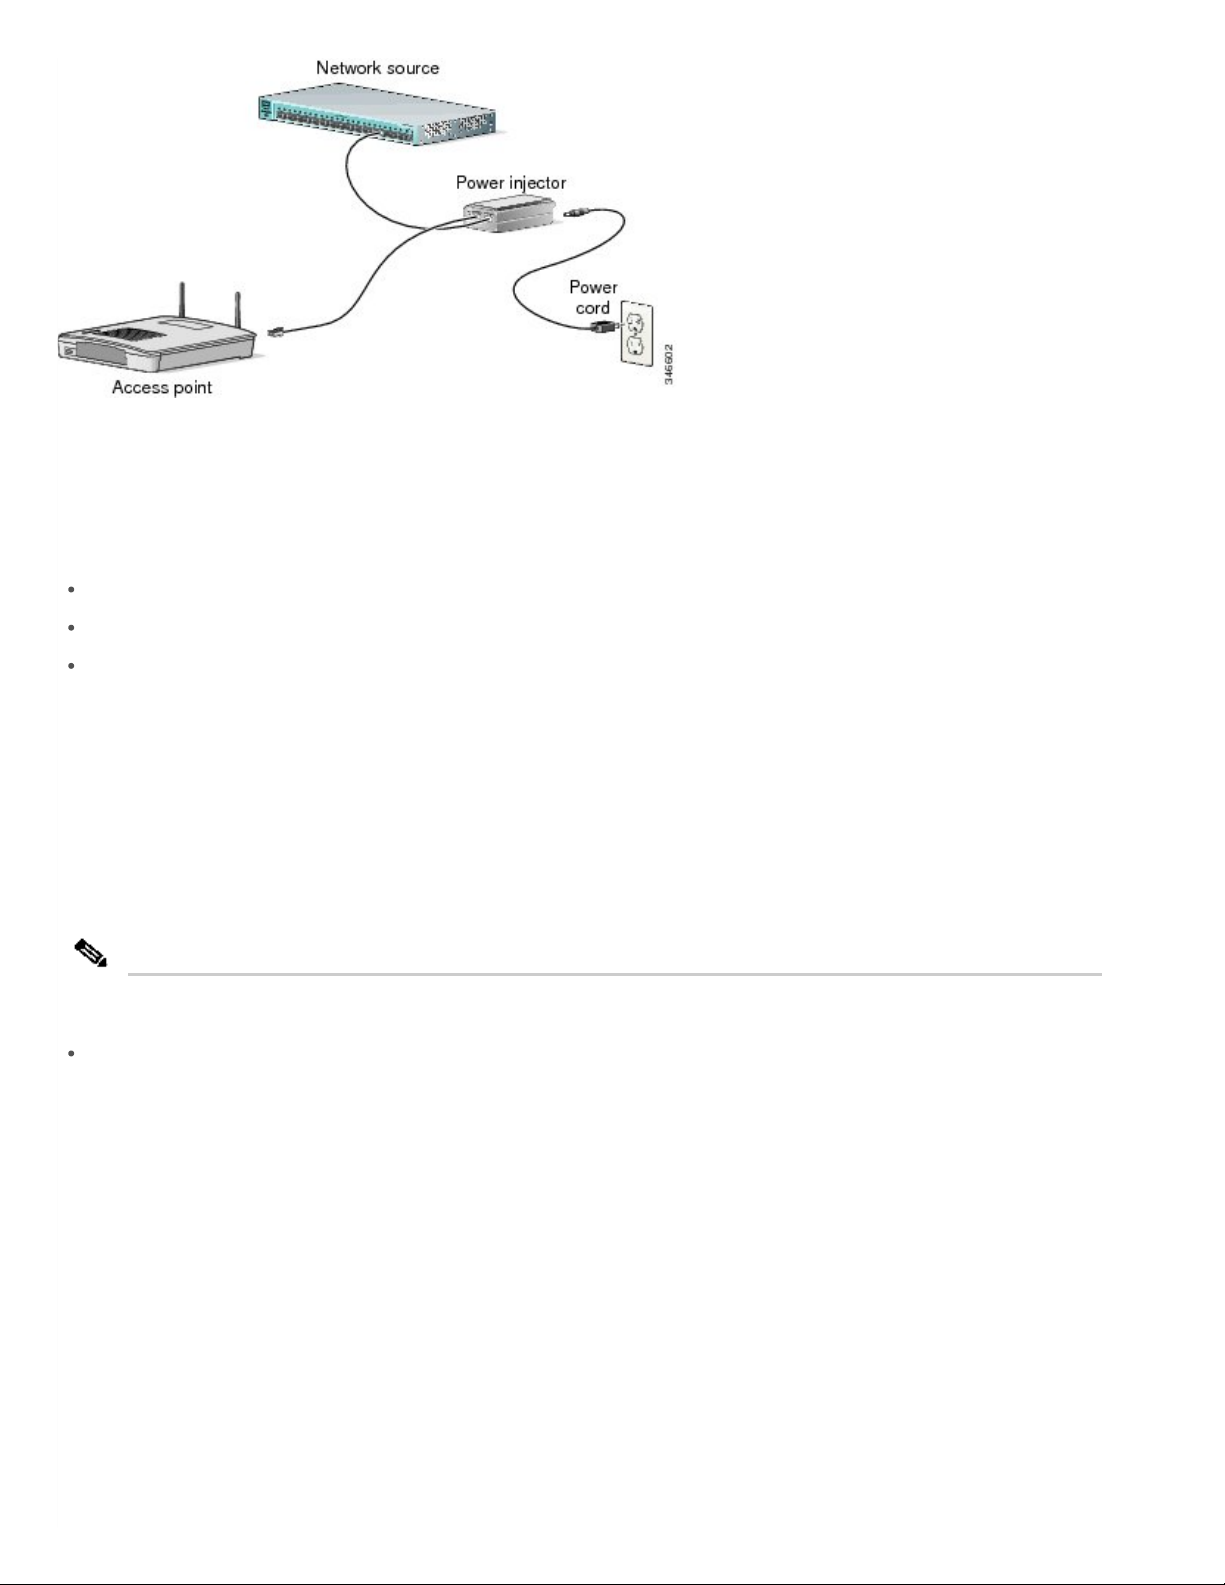
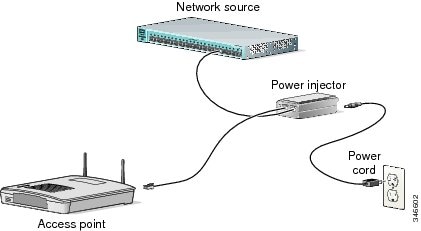
Installing the Power Injector
Follow these steps to install the power injector:
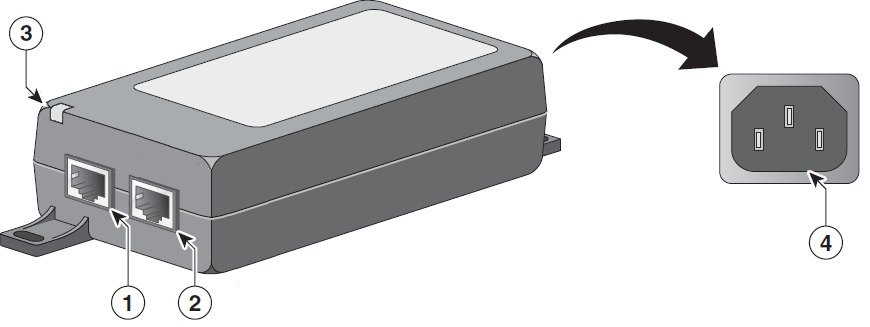
1. Plug a Category-5 Ethernet cable into the port on the power injector labeled AP.
2. Plug the other end of the Ethernet cable into the WAN uplink Ethernet port of the access point.
3. Plug a Category-5 Ethernet cable into the port on the power injector labeled Switch.
Note Ensure that PoE is disabled on this switchport before it is connected to the AIR-PWRINJ6= injector.AIR-PWRINJ6=
For more information, go to Disable PoE on the Connected Switchport
4. Plug the other end of the Ethernet cable into your 10/100/1000 Ethernet switch, hub, or network.
5. When power is applied, the Status LED is amber. When the AP is detected, the Status LED glows solid
green.
6. Secure the power injector by mounting it to a vertical or horizontal surface using the mounting keyholes
on the bottom of the unit.
You can mount the power injector to most vertical or horizontal surfaces using the mounting tabs on the top
right and bottom left of the unit.
To mount the power injector to a vertical or horizontal surface using the mounting tabs, you will need the
following parts and tools:
Two #6 plastic wall anchors if mounting to a drywall surface
Two #6 x 1-in. (2.5 cm) sheet-metal screws
A drill and a 3/16-in (0.48-cm) drill bit
A Phillips head screw driver
A small hammer
Follow these steps to mount the power injector:
1. Using the holes in the power injector mounting tabs as a template, mark the locations on the surface
where you will drill the holes for the wall anchors or screws.
2. Drill a 3/16-in. (4.7-mm) hole at each marked location.
3. If you are using #6 wall anchors, use a hammer to install them in the holes.
4. Hold the power injector to the wall and align the mounting tabs on the power injector with the screw
holes.
5. Insert the #6 screws through the mounting tabs and into the holes in the wall or surface.
6. Use a Phillips head screwdriver to drive the screws into the surface.


