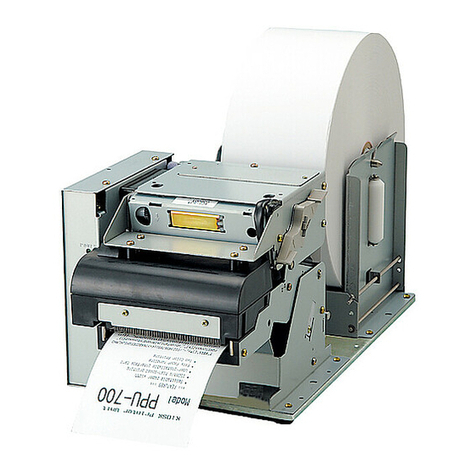
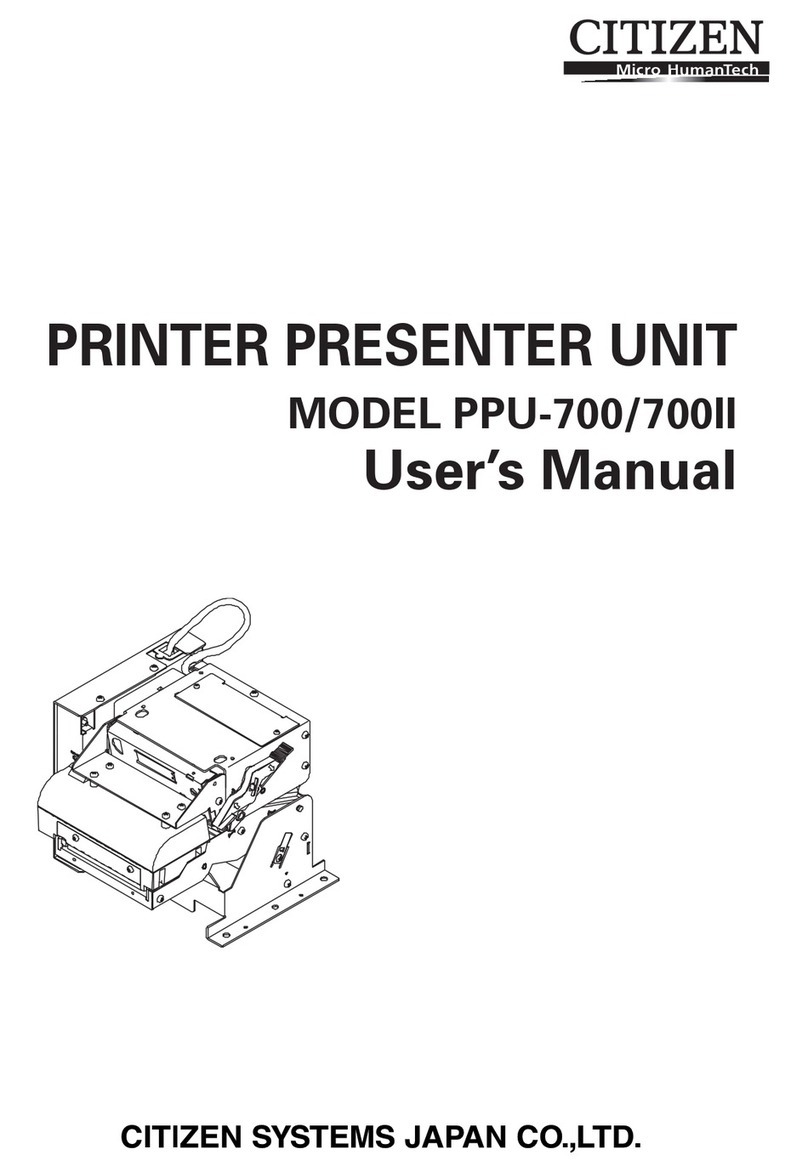
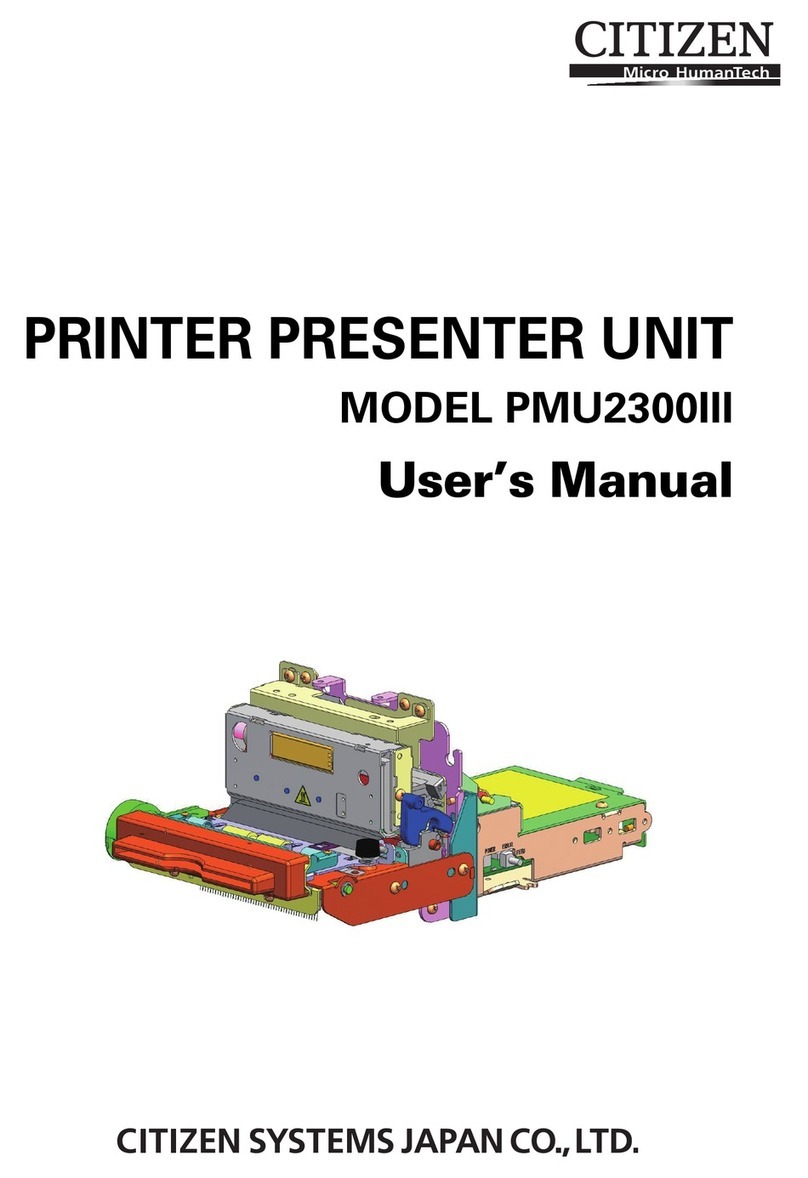
Citizen PPU-700 User manual

Service Manual
PRINTER PRESENTER UNIT
MODEL PPU-700
Rev. 1.02 issued on July 13, 2006

PPU-700 Service Manual
i
REVISION
Rev. Date Comment
1.00 2004/06/09 Newly issued
1.01 2005/03/29 New company name / Parts list revised
1.02 2006/07/13 Circuit Daigram(Main Board) revised

PPU-700 Service Manual
ii
CONTENTS
INTRODUCTION .......................................................................................................................................1
1. FEATURES ............................................................................................................................................1
2. SPECIFICATIONS................................................................................................................................2
3. DISASSEMBLY AND REASSEMBLY...............................................................................................3
3.1 Tools Used..........................................................................................................................................3
3.2 Disassembly Procedure ......................................................................................................................4
3.2.1 Disassembly of Unit ....................................................................................................................4
3.2.2 Disassembly of Feeder Unit.........................................................................................................7
3.2.3 Disassembly of Moving Unit.......................................................................................................9
3.2.4 Disassembly of Mechanism.......................................................................................................11
3.3 Reassembly Procedure .....................................................................................................................13
3.4 Lubrication .......................................................................................................................................13
4. TROUBLESHOOTING ......................................................................................................................14
4.1 Troubleshooting Procedure ..............................................................................................................14
4.2 Troubleshooting Guide.....................................................................................................................14
5. SERVICE PARTS LIST......................................................................................................................19
5.1 Parts List for Mechanism .................................................................................................................19
5.2 Exploded View of Mechanism .........................................................................................................25
5.3 Main Board.......................................................................................................................................30
6. CIRCUIT DIAGRAM .........................................................................................................................31
6.1 Main Board.......................................................................................................................................31
6.2 Interconnecting Board ......................................................................................................................32
6.3 Serial Interface .................................................................................................................................33
6.4 Parallel Interface...............................................................................................................................34
7. EXTERNAL VIEW .............................................................................................................................35

PPU-700 Service Manual
1
INTRODUCTION
This manual describes the disassembly, reassembly, and maintenance procedures of the line thermal printer
PPU-700.
1. FEATURES
• Paper side-insert mechanism facilitating paper insertion and maintenance.
• Paper width can be chosen among 58, 67, 80, and 82.5 mm.
• Line thermal printing allows high-speed, low-noise printing.
• Allows collection of paper not received. (Paper collection mechanism)
• Small size and light weight requiring minimum installation space.
• High reliability with long-life head and simple mechanism.
• Built-in buffer
• Barcode printing is available with special command.
• Page mode allows free layout of printing.
• User-defined characters and logos can be registered in the flash memory.
• User-defined characters can be registered. (94 Kanji characters, 95 ANK characters)
• Detection of black mark is available. (Option)
• Free layout of units.
• Large-sized roll paper can be used. (Option)
• Built-in buzzer
• Various kinds of customization are available.
• 2-color printing

PPU-700 Service Manual
2
2. SPECIFICATIONS
Model
Item
PPU-700-RK
PPU-700-PK
PPU-700-UK
PPU-700-RU
PPU-700-PU
PPU-700-UU
Printing method Line thermal dot print method
Print width 80 mm/640 dots
Dot density 8 × 8 dots/mm (203 dpi)
Print speed 150 mm/s (Fastest, print density level 2), (1200 dot lines/sec)
Font A: 48 columns, 12 × 24 dots
Font B: 64 columns, 9 × 17 dots
Font C: 72 columns, 8 × 16 dots
Number of print
columns
Kanji Font A: 24 columns, 24 × 24 dots
Kanji Font B: 36 columns, 16 × 16 dots
Font A: 1.50 × 3.00 mm
Font B: 1.13 × 2.13 mm
Font C: 1.00 × 2.00 mm
Character size
Kanji Font A: 3.00 × 3.00 mm
Kanji Font C: 2.00 × 2.00 mm
Alphanumeric characters, International characters, PC850, 852, 857, 858, 860, 863, 865, 866,
WPC1252, Katakana
Character type
Kanji (JIS Level 1, Level 2)
User memory 256 KB (Capable of registering user-defined characters and logos)
Barcode type UPC-A/E, JAN (EAN) 13 columns/8 columns, ITF, CODE 39, CODE 128, CODABAR, CODE 93
Line spacing 4.23 mm (1/6 in.), selectable by use of command
Paper
(See paper spec.)
Thermal paper roll Width: 58 to 82.5 mm
External diameter: φ203 mm max. (when using PHU)
Internal diameter: φ25.4 mm
Paper thickness: 65 to 150 µm
Presenter Minimum length: 90 mm
Interface Serial (RS-232C compliant), Parallel (IEEE1284 compliant), USB
Input buffer 4K bytes/72 bytes
Supply voltage DC 24V ±7%
Power consumption 100 W
AC adapter
specification
Rated input: AC 100V to 240V, 50/60 Hz, 150 VA
Rated output: DC 24V, 2A
Type 32AD-J 32AD-U 32AD-E
Weight 2.1 kg
Outside dimensions 163.2 (W) × 176 (D) × 144 (H) mm (See external view)
Operating temperature
and humidity
5 to 40°C, 35 to 85% RH (No dew condensation)
Storage temperature
and humidity
–20 to 60°C, 10 to 90% RH (No dew condensation)
Reliability Print head life: 150 km, 100 million pulses (At normal temperature, humidity with recommended
paper used)
Auto cutter life: 1 million cuts (At normal temperature, humidity, with paper thickness of 0.065 mm)
Safety Standard *1 VCCI Class A UL, C-UL, FCC Class A TUV, GS, CE marking
Note:
*1: Represents the safety standards acquired when CBM-made AC adapter (32AD series) is used.

PPU-700 Service Manual
3
3. DISASSEMBLY AND REASSEMBLY
Notes the following items when maintaining the printer.
• Do not disassemble, reassemble, or adjust the printer unnecessarily when the printer operation is satisfactory.
• Do not loosen the screws fixing each component carelessly.
• After finishing inspection, perform checking for normality before turning on the printer.
• Pay attention not to leave the part or screws used for maintenance inside the printer.
• When handling the print head and electronic components, pay attention to static electricity.
• When disassembling or reassembling the printer, check the wiring and cord for damage. Pay attention not to
lay the wiring and cord by force.
• Lubricate the components as necessary when reassembling them.
3.1 Tools Used
• Phillips screwdriver #0, #1, and #2
• Tweezers
• Long-nose pliers
• Oil brush
• Nipper
3.2 Disassembly Procedure
Disassembly procedure is explained in four categories: “Disassembly of Unit”, “Disassembly of Feeder Unit”,
“Disassembly of Moving Unit”, and “Disassembly of Mechanism”.
3.3 Reassembly Procedure
Reverse the procedure in “3.2 Disassembly Procedure”.

PPU-700 Service Manual
4
3.2 Disassembly Procedure
3.2.1 Disassembly of Unit
(1) Removing Control Box
• Remove the three M3×6 (ST) screws and remove
the Control Box Cover.
• Remove the two M3×6 (ST) screws and remove
the I/F Board.
• Remove the three M3×10 [BT] screws and
remove the Control Box.
• Remove the three M3×6 (ST) screws and remove
the Control Board.
M3×6 [ST]
Control Box Cove
r
M3×6 [ST]
Control Board
M3×6 [ST]
I/F Board
Interconnection
Cable
M3×10 [BT]
Control Box

PPU-700 Service Manual
5
(2) Removing Interconnection Board
• Remove the two M2×3 [ST] screws, pull the
Interconnection Board up, and then disconnect
the connector.
(3) Removing Feeder Unit
• Remove the two M3×6 [ST] screws and remove
the Feeder Unit.
M2×3 [ST]
Interconnection Board
M3×6 [ST]
Feeder Unit

PPU-700 Service Manual
6
(4) Removing Auto Cutter
• Remove the Auto Cutter fixed at the convexed
portion at both sides.
(5) Removing Moving Unit
• Remove the E ring [E-2.5].
• Pull the Shaft out and remove the Moving Unit.
Auto Cutte
r
E-2.5
Shaft
Moving Unit

PPU-700 Service Manual
7
3.2.2 Disassembly of Feeder Unit
(1) Removing the P-Bracket
• Remove the M3×6 [BT] screw.
• Remove the P-Bracket.
(2) Removing the Upper Cover
• Remove the four M2.6×8 [BT] screws.
(3) Removing the Anti-static Brush
• Remove the four M2.6×8 [BT] screws.
(4) Removing the Drive Unit
• Remove the Drive Unit from the Lower Case.
M3×6 [BT]
M2.6×8 [BT]
Upper Case
M2.6×8 [BT]
A
nti-static Brush
Lower Case
Drive Unit

PPU-700 Service Manual
8
(5) Disassembling the Drive Unit
• Remove the Hook of the Feed Roller and remove
the Feed Roller Gear and Bushing.
(6) Removing Clutch Assy. and DC Motor
• Remove the E ring (E-2.5) and then remove the
Clutch Assy.
• Remove the two M2×3 screws and then remove
the DC Motor.
• Remove the Motor Gear from the DC Motor.
(7) Disassembling Clutch Assy
• Remove the Drive Gear, Slip Gear, and Clutch
Spring.
Hook
Feed Roller
Bushing
Feed Roller Gear
E ring (E-2.5)
DC Motor
M2×3
Motor Gear
Clutch Assy
Drive Gea
r
Slip Gear
Clutch Spring

PPU-700 Service Manual
9
3.2.3 Disassembly of Moving Unit
(1) Removing the Platen Roller
• Remove E-ring (E-4).
• Remove the Platen Gear.
• Remove the two M3×6 [BT] and two M3×6 [ST]
screws and then remove the Side Chassis.
(2) Removing Guide_Assy and Platen BK_Assy
• Remove the four M3×6 [BT] screws.
Guide_Assy
Platen BK_Assy
M3×6 [BT]
Center Chassis
E-ring (E-4)
Platen Gea
r
M3×6 [BT]
M3×6 [ST]
Side Chassis

PPU-700 Service Manual
10
(3) Disassembling Center Guide
• Remove the Slider and Roller-SP and then
remove the Feed Roller.
(4) Disassembling Platen BK
• Remove the M2×6 [BT] screw.
Feed Rolle
r
Slide
r
Roller-SP
Center Guide
M2×6 [BT]
Platen BK
Paper Guide
F. Blade-31

PPU-700 Service Manual
11
3.2.4 Disassembly of Mechanism
(1) Removing Knob and Hook-R
• Release the hook of the Knob using a flat-head
screwdriver.
• Remove Knob, Hook-R, and EXT-SPRING-02.
(2) Remove the Upper Guide.
(3) Removing SW_Cable_Assy
• Remove the M2.6×8 [BT] and M1.7×6 [BT]
screws.
Upper Guide
M2.6×8 [BT]
M1.7×6 [BT]
SW_Cable_Assy
Knob
Hook-R
EXT-SPRING-02

PPU-700 Service Manual
12
(4) Removing Thermal Head Assy, Head SP, and SP-Holder
(5) Disassembling Thermal Head Assy
• Remove the M3×4 screw.
• Remove the FFC.
(6) Disassembling Stepping Motor
• Remove the M3×4 screw.
(7) Removing Gear Holder
• Remove the M3×6 [ST] screw.
Thermal Head Ass
y
Head SP
SP-Holder
FFC
Thermal Head
Head Holde
r
M3×4
Gear Holde
r
M3×6 [ST]
M3×4
Idler Gear
Stepping Motor
Reduction
Gear

PPU-700 Service Manual
13
3.3 Reassembly Procedure
Reverse the procedure in “3.2 Disassembly Procedure”.
3.4 Lubrication
(1) Oil (Grease)
Furoyll G-943 (Kanto Kasei Co., Ltd.)
(2) Lubrication points
cGear holder shaft
dPlaten roller shaft
eFeeder shaft and clutch
fMoving unit roller shaft
cd
f
f
e
e

PPU-700 Service Manual
14
4. TROUBLESHOOTING
4.1 Troubleshooting Procedure
When a trouble occurs, confirm its phenomenon, locate a defective part in accordance with “4.2 Troubleshooting
Guide”, and troubleshoot as described below.
Phenomenon Find a trouble phenomenon in this column. If there are multiple phenomena, take all the
corresponding items into consideration. This allows you to specify a hidden defective part.
Cause Lists as many possible causes as possible. Guess a trouble cause out of them and take its
check method to specify the trouble cause.
Check Method Describes a check method to specify a trouble cause.
Remedy Troubleshoot by taking a remedy described in this column.
By troubleshooting in accordance with the above-mentioned procedure, you can troubleshoot efficiently with fewer
misjudgments.
4.2 Troubleshooting Guide
• Power Supply Failure
Phenomenon Cause Check Method Remedy
The AC adapter is not
connected.
— Connect the specified AC
adapter.
Check whether any
unspecified power has
been used so far.
Use the specified AC
adapter.
No power
(POWER lamp not
illuminated) The fuse is gone.
Check whether the
specified fuse is used.
Use the specified fuse.
Faulty control PCB assy — Replace the control PCB
assy.
The fuse immediately goes
again after replacing with
a new one. The circuit drive power is
abnormal.
Check the circuit drive
voltage with a DC
voltmeter.
Replace the control PCB
assy.
* If the fuse is gone with the specified AC adapter used, it is likely that the thermal head unit or control PCB assy
is defective. Replace either defective one.
Incidentally, check the wiring of the interface cable.

PPU-700 Service Manual
15
• Printing failure
Phenomenon Cause Check Method Remedy
Faulty power supply Check whether the
specified AC adapter is
used.
Use the specified AC
adapter.
Faulty control PCB assy — Replace the control PCB
assy.
Faulty connection of the
thermal head connector
Check connection of the
thermal head connector.
Connect the thermal head
connector properly or
replace the head cable
assembly.
No printing
Faulty thermal head — Replace the thermal head.
Faulty connection of the
thermal head connector
Check connection of the
thermal head connector.
Connect the thermal head
connector properly or
replace the head cable
assembly.
Partly not printed
Faulty thermal head — Replace the thermal head.
Faulty power supply Check whether the
specified AC adapter is
used.
Use the specified AC
adapter.
Low DC output voltage
from AC adapter
Check the DC voltage
with a DC voltmeter.
Supply the specified AC
voltage to the AC adapter.
Faulty thermal head — Replace the thermal head.
Foreign substance is
adhered to the thermal
head.
Check whether any
foreign substances are
adhered to the thermal
head.
Dip a cotton swab or soft
cloth in ethyl alcohol and
wipe the foreign
substances with them.
Non-recommended paper
is used.
Check whether the paper
being used meets the
specification.
Replace it with the
specified paper.
Faint printout or uneven
printout
Faulty mounting of the
platen roller
Check mounting condition
of the platen roller.
Mount the platen roller
properly.

PPU-700 Service Manual
16
• Paper feed failure
Phenomenon Cause Check Method Remedy
Faulty connection of the
motor connector
Check the connecting
condition of the motor
connector.
Connect the connector
correctly.
Defective motor Check the DC voltage
with a DC voltmeter.
If the supply voltage is
normal, replace the motor.
Faulty power supply Check whether the
specified AC adapter is
used.
Use the specified AC
adapter.
Low DC output voltage
from AC adapter
Check the DC voltage
with a DC voltmeter.
Supply the specified AC
voltage to the AC adapter.
Faulty control PCB assy — Replace the control PCB
assy.
Faulty mounting of the
platen roller
Check mounting condition
of the platen roller.
Mount the platen roller
properly.
Paper feed failure Check whether or not the
paper is jamming or torn
and caught in the paper
path.
Eliminate unnecessary
paper in the paper path
and set paper properly.
Paper is not fed or
irregularly fed.
Foreign substance in the
gear or broken gear
Remove the gear holder
and check for any foreign
substance caught in the
gears or any breakage of
the gears.
Eliminate the foreign
substance. If the gear is
broken, replace it with
new one.

PPU-700 Service Manual
17
• Faulty ejection of paper
Phenomenon Cause Check Method Remedy
Faulty paper path Check whether paper
remainder is present in the
paper path.
Eliminate unnecessary
paper.
Scratch in paper path Check the paper path for
any scratch.
Replace the paper guide.
Sipping of feed roller Check whether any
foreign substances are
adhered to the feed roller.
Dip a cotton swab or soft
cloth in ethyl alcohol and
wipe the foreign
substances with them.
Poor cutting of auto cutter Check whether paper is
cut correctly.
Check the paper path for
any paper remainder.
Eliminate unnecessary
paper.
Non-recommended paper
is used.
Check whether the paper
being used meets the
specification.
Replace it with the
specified paper.
Faulty control PCB assy — Replace the control PCB
assy.
Paper is not ejected.
Faulty power supply Check whether the
specified power supply is
used.
Use the specified power
supply.
Faulty connection of
motor connector
Check the connecting
condition of the motor
connector.
Connect the connector
correctly.
Defective motor Check the DC voltage
with a DC voltmeter.
If the supply voltage is
normal, replace the motor.
Faulty power supply Check whether the
specified power supply is
used.
Use the specified power
supply.
Paper feed roller does not
rotate.
Foreign substance in the
gear or broken gear
Check for any foreign
substance caught in the
motor gear and feed roller
or any breakage of the
gears.
Eliminate the foreign
substance. If the gear is
broken, replace it with
new one.
Other manuals for PPU-700
4
This manual suits for next models
6
Table of contents
Other Citizen Printer Accessories manuals

Citizen
Citizen BD2-2220 User manual

Citizen
Citizen PMU2300III User manual

Citizen
Citizen CBM-202PC Series User manual

Citizen
Citizen CBM-202LA s User manual

Citizen
Citizen PMU3300 User manual

Citizen
Citizen PPU PPU-700 User manual

Citizen
Citizen CBM-202PC-04 User manual

Citizen
Citizen AW-3 User manual

Citizen
Citizen PPU-700 User manual

Citizen
Citizen DP-505 User manual