2/2
677* Abbreviated instruction
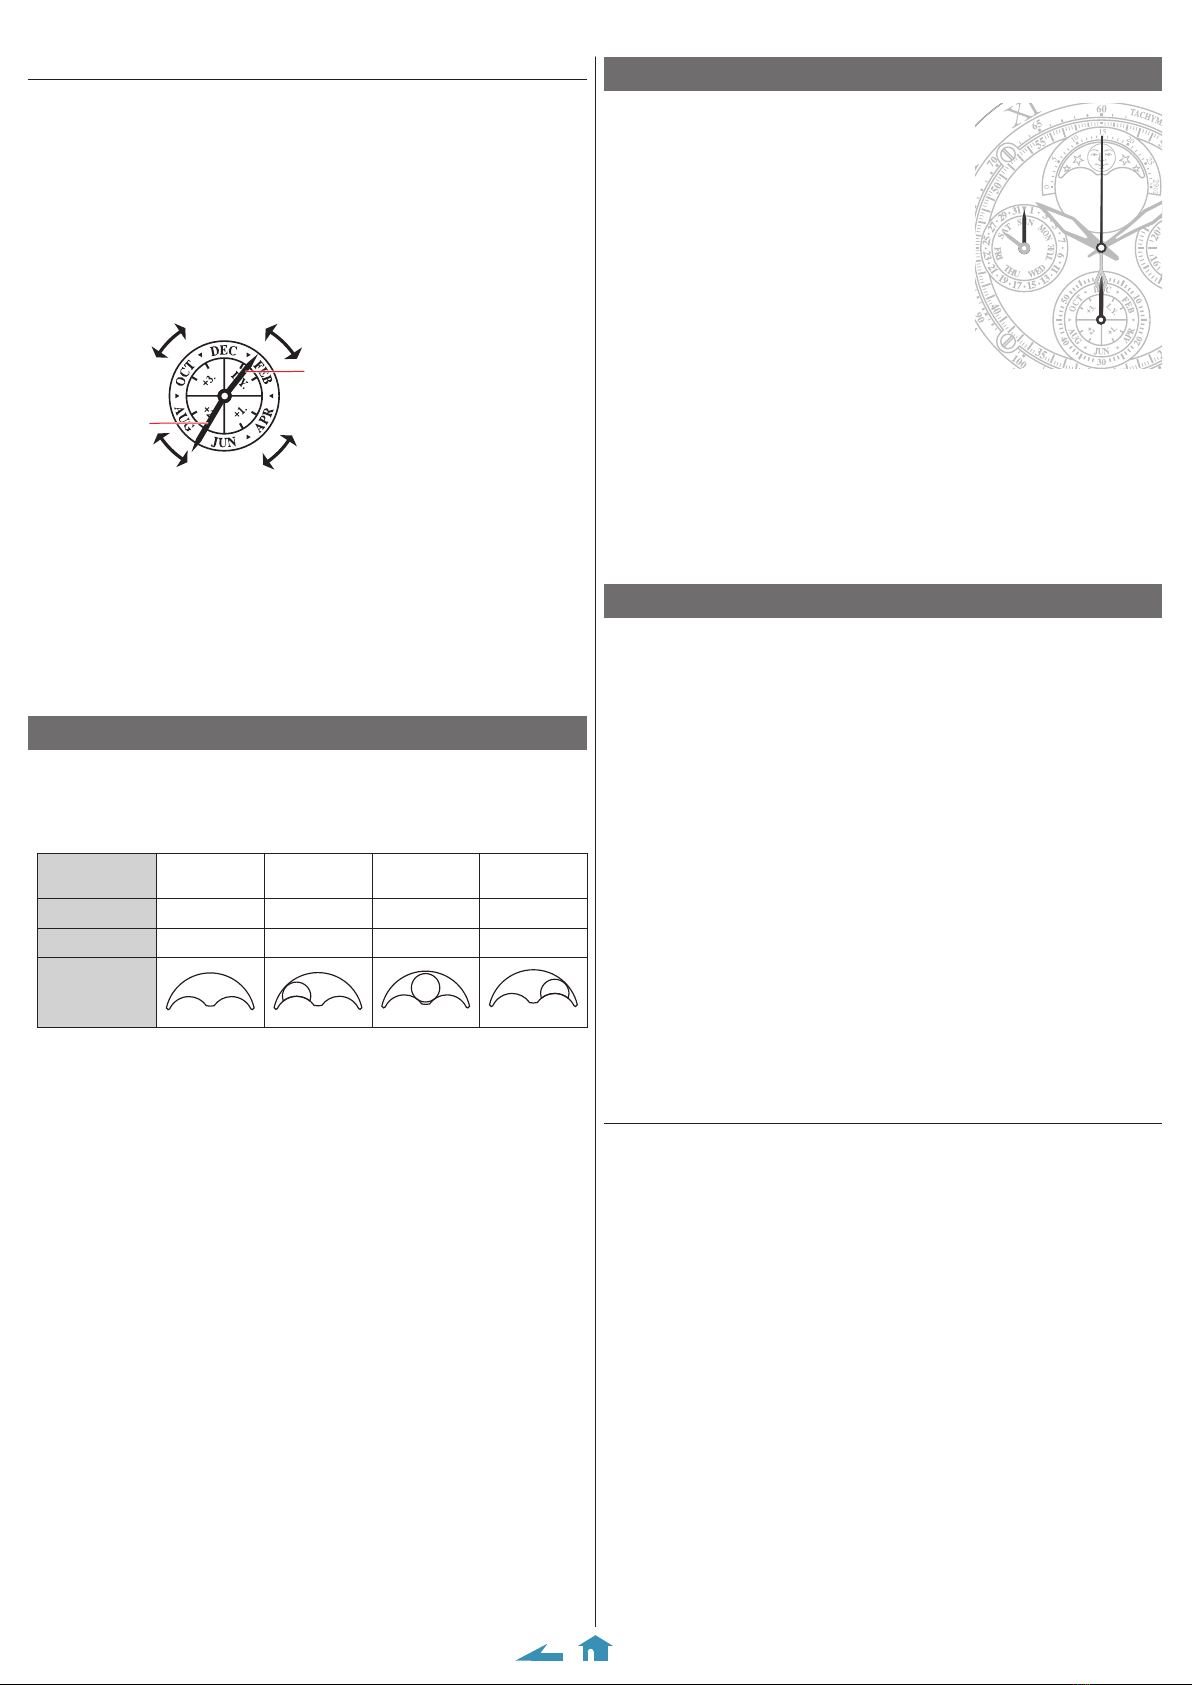
Setting the year, month and date
• Day of week is set in the course of setting of the time.
1.
Pull the crown out to position 1.
2.
Press and release button Aor Bto adjust the month and year
hands.
• Each time you press button
A
, the month hand moves forward by 1 month;
each time you press the button
B
, it moves back by 1 month.
• It moves continuously while you are pressing and holding the button.
• The year and month hands move synchronously.
• The year corresponds to the years since leap year.
Ex.: When setting it July of a leap year
Years since leap year:
0
(Leap year)
Years since leap year:
1
Years since leap
year:
2
Years since leap
year:
3
Year hand
Month hand
3.
Press and release the lower left button Cto adjust the date
hand.
• Each time you press the button, the hand moves by 1 day.
• It moves continuously while you are pressing and holding the button.
4.
Push the crown in to position 0to finish the procedure.
Setting the moon phase indication
1.
Press and release the recessed button to adjust the moon phase
indication.
• Refer to a newspaper or other source to see actual moon phase.
Moon phase New moon First quarter
moon Full moon Last quarter
moon
Lunar age 0 About 7 About 15 About 22
Tide Spring tide Neap tide Spring tide Neap tide
Indication
• Use the indicated moon phase only as a reference.
• Appearance of the indication may differ in some models.
• The moon phase can be set more accurately when it is new or full moon.
Checking the reference position
1.
Push the crown in to position 0.
2.
Press and hold the lower left button C
for 2 seconds or more.
The year hand, month hand and chronograph
second hand move to their current reference
position.
• Correct reference positions:
Year hand: 12 o'clock position
Month hand: 12 o'clock position
Chronograph second hand: 12 o'clock position
3.
Press and hold the lower right button Afor 2 seconds or more.
The date hand moves to its current reference position.
• Correct reference positions:
Date hand:
▼
(between 31 and 1)
When the current reference position is different from the correct one, adjust
the position following the steps of “Correcting the reference position”.
4.
Press and hold the lower left button Cfor 2 seconds or more.
The hands return to indicate the calendar.
Correcting the reference position
1.
Pull the crown out to position 2.
The second hand stops.
2.
Press and hold buttons A, Band Cat the same time and
release them.
The chronograph second hand, date hand, year hand and month hand move
one by one and the alarm sounds.
3.
Press and release the lower right button Ato set the year and
month hands to 12 o'clock position.
• Each time you press the button, the hands move by 1 month.
• They move continuously while you are pressing and holding the button.
4.
Press and release the upper right button Bto set the
chronograph second hand to 12 o'clock position.
• It moves continuously while you are pressing and holding the button.
5.
Press and release the lower left button Cto set the date hand
to “▼”.
• It moves continuously while you are pressing and holding the button.
6.
Push the crown in to position 0to finish the procedure.
The second hand starts moving.
• Set the time and calendar after adjustment.
When the date hand is rotating counterclockwise
The date hand rotates counterclockwise when the crown is pushed into position
0
or
1
after step 2 without adjusting the reference position.
Try to correct the reference position again from step 1.


