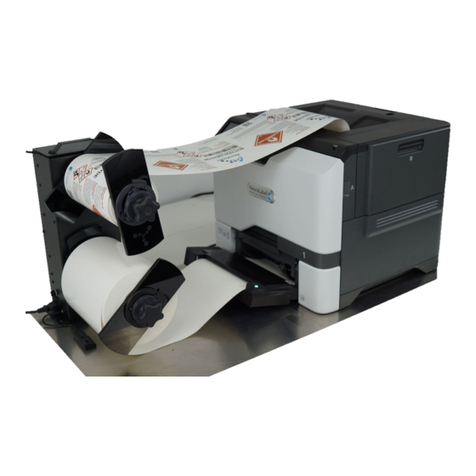
Clabel CT220B User manual

Please read this user manual guide carefully
before operating the product.
CT220B Label Printer
User Manual
封面

English Version
Packing List ........................................ 1
Appearance Component ..................... 2
Function Description ........................... 2
Descrition Of Indicator Lights ............. 3
Paper Roll Loading .............................. 4
Mobile Phone Printing Instruction ..... 6
Computer Printing Instruction .......... 11
Trouble Shooting ............................... 15
Specification ...................................... 18
Contents

Deutsche Version
Packliste
Aussehen
Funktionsbeschreibung
Beschreibung der Anzeigeleuchten
Etiketten-Installation
Anleitung zum Drucken mit dem Mobiltelefon
Anleitung zum Drucken auf dem Computer
Problemdiagnose
Spezifikation
Katalog

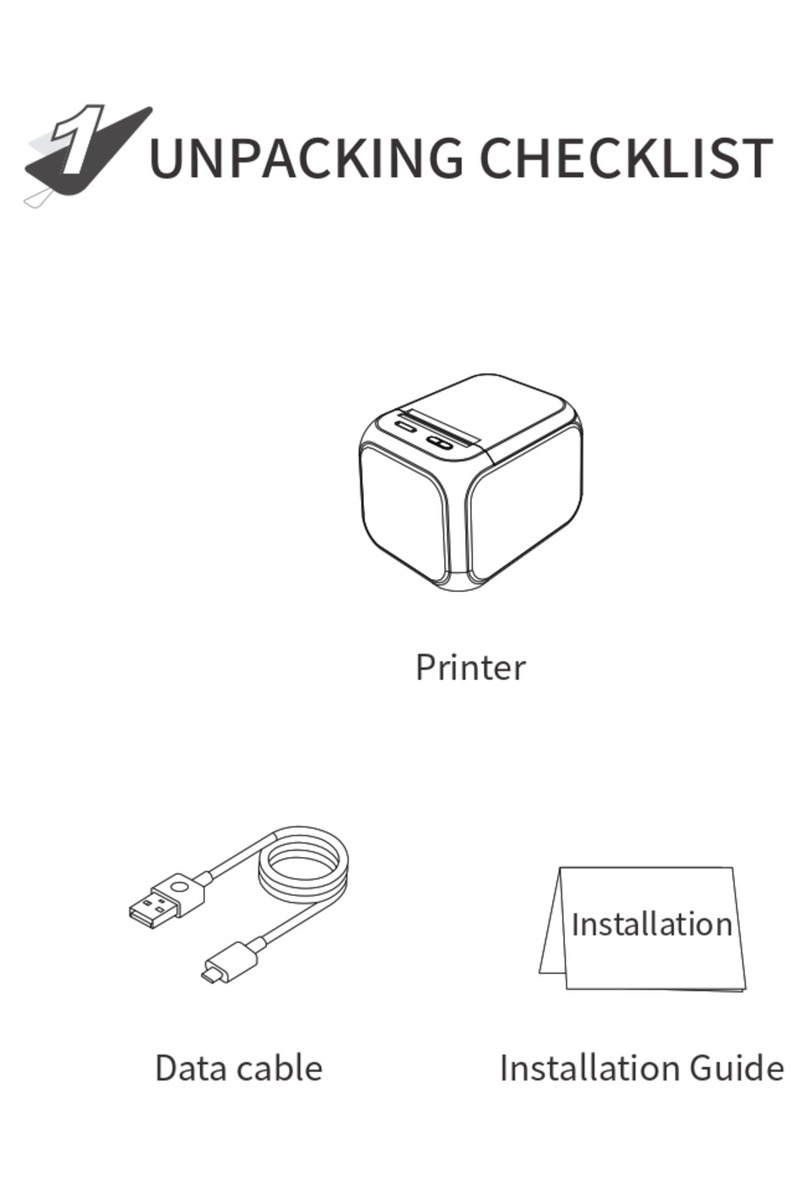
Packing List
1* Printer 1* USB Cable
Installation Guide
1* 40x30mm
white Labels
Installation
1

Appearance Component
Open the cover
Label mode
Function Description
Power ON/Off
Print self-test page
Advance a piece of paper
Pause/continue printing
Test (printing self-test pages for
positioning accuracy)
Switch to Label mode/
Receipt mode
Click
Click
Paper
feed
button
Press and hold
Press both buttons
together
Double-click
Press and hold
for 2 seconds
Power
switch
ButtonDiagram Operating Features
Green
Red
Blue
Print head
Paper feeding
Power supply
Top cover
open button
USB
Reset button
Paper cutter
Rubber roller
2

Bill mode
Power ON/Off
Print self-test page
Switch to Label mode/
Receipt mode
Click
Paper
feed
button
Press both buttons
together
Double-click
Press and hold
for 2 seconds
Power
switch
ButtonDiagram Operating Features
Double-Click
Advance paper by 10 mm
Advance paper until release
Slow flash
Normally ON
Flashing
Blue
Red
Green
Normally ON
Normally ON Fully charged
Charging
Bluetooth unconnected
Bluetooth connected
Overheat/Low battery
Indication status
Description Of Indicator Lights
Status description
Indicator
light color
3

Paper Roll Loading
① The paper should load to the left.The thermal side for
printing should face down.(fig.1)
② There is a blue spool holder bracket that should be
snug against the paper. Push forward to lock the paper
before printing,and push back to unlock.(fig.2)
③ Pull out part of the paper roll and close the top cover,
make sure both sides of the cover are closed.(Note:
Face the serrations and tear the label paper down)(fig.3)
④ Press and hold the power button for 2s to turn on the
printer.(fig.4)
Thermal surface
fig.1
4

CLOSE
OPEN
CLOSE
OPEN
fig.2
fig.3
fig.4
5

Mobile phone printing ONLY for Bluetooth version.
Clabel trade
Scan the QR code below with a mobile phone to
download "Clabel trade".
Please follow the software instructions below to
operate the software.
Download label editing app
"Clabel trade"from Google
Play Store or Apple APP Store
and install it.
Clabel trade
Mobile Phone Printing Instruction
6

① Enter the mobile phone
system settings and set
Bluetooth to on.
② Enter the clabel trade
editing software and
click the "Connect"
button.
7

③ Click the Bluetooth
name at the beginning
of CT220B to connect.
④ Click the new tab.
stop
8

⑥ Editing funtion:
Text, Barcode, QR code, Line, Graph,
Date time, Image, Logo, Scan, Excel, Table.
Set:
Label name, Label size(width/height),
Label rows.
Attr:
Date type, Barcode types, Zoom way,
Font size.
⑤ Enter label name,
width, height click
New after.
9

⑧ Add the print content,
and then click [icon] in
the upper right corner.
⑦ The area with size is the
label content editing area.
10

Clabel trade
Download the driver from the above url and read the instructions
on driver installation/software installation on the website.
Visit website:https://ga.ctaiot.com
to download "Clabel trade" and driver.
Computer Printing Instruction
11

Windows Installation
Step 1
Click to open the downloaded "Clabel trade" installation package.(fig.1)
Step 2
Click"install immediately".(fig.2)
Step 3
Click to open the downloaded print driver package.(fig.3)
Step 4
Click the printer to the computer via USB. Click on the USB printer
and follow the prompts to proceed to the next steps.(fig.4)
fig.1
fig.3
Notice before installation
This driver is applicable to the CLABEL brand label printer.
Make sure the printer is turned on before installation and
connected to the computer with a data cable.Setup will
automatically detect printer status,Help you install printer
drivers easily.
If you confirm that the above steps are ready,please select
the installation method.
Net Printer USB Printer
Simple and smart with CLABEL
Clabel trade
Install lmmediately
Agree Clabel trade
User agreement
Custom installation
fig.2
fig.4
① Install the software and driver.
12

② Open the downloaded clabel trade editing
software.
③ Click new, enter the label width and label
height, and then click OK.
13

④ Add the printed content to the editing area
and click Print.
⑤ Select the driver, enter the print quantity,
and click Print to finish printing.
14

Trouble Shooting
Symptom
Bluetooth failed
to connect
Cause Correction
- Low version of mobile
phone.
- The Bluetooth
permission is not
enabled.
- Machine only suitable for
Android 6.0 or above.
- Please turn on the
permission for the Bluetooth
and location in your
smartphone.
Print is not
centered, offset
- The label size is not
selected correctly.
- Software operation is
improper.
- Clearance mismatch.
- Paper holder is not
locked to the left.
- Please select the
corresponding label size
before printing.
- It can be adjusted through
the adjustment button on the
APP.
- Click the paper feed button
on the printer, and locate the
paper gap.
- Go to our product page to
watch the video.
Machine does
not work on
computer
- The model is not
chosen correctly.
- Check the printer preview
page for the correct model of
printer selected, the correct
model will be shown with the
machine model "CT220B".
15

Symptom Cause Correction
Printed content
is all garbled
- The print mode is not
adjusted properly.
- Check whether the printer
mode is print mode,if not,
switch to print mode (press
and hold the power button
and paper feeding button at
the same time for three
seconds, the printer will print
a self-test page to confirm the
mode.)
The print is not
clear and
pixelated
- Printing apprears
broken needle.
- Font is not clear.
- Print the self-check page
and check if the black line on
the self-check page is normal.
- Select other font in the app,
and adjust the font size and
bolded font.
- Please adjust the print
density to make the print
more clearly. Choose the
print content >Print>Print
settings>Print density.
16

FCC Warning Statement
Changes or modifications not expressly approved by the party responsible for
compliance could void the user's authority tooperate the equipment.
NOTE: This equipment has been tested and found to comply with the limits for
a Class B digital device, pursuant to Part 15 of the FCC Rules. These limits are
designed to provide reasonable
protection against harmful interference in a residential installation.This
equipment generates uses and can radiate radio frequency energy and, if not
installed and used in accordance with the
instructions, may cause harmful interference to radio
communications. However, there is no guarantee that interference will not
occur in a particular installation. If this equipment does
cause harmful interference to radio or television reception, which can be
determined by turning the equipment off and on, the user is encouraged to try
to correct the interference by one or more of thefollowing measures:
--Reorient or relocate the receiving antenna.
--Increase the separation between the equipment and receiver.
--Connect the equipment into an outlet on a circuit different. from that to which
the receiver is connected.
--Consult the dealer or an experienced radio/TV technician for help.NOTE: This
device and its antenna(s) must not be co-located oroperation in conjunction
with any other antenna or transmitter
RF Exposure Statement
To maintain compliance with FCC's RF Exposure guidelines, This equipment
should be installed and operated with minimum distance of 20cm the radiator
your body. This device and its antenna(s)
must not be co-located or operation in conjunction with any other antenna or
transmitter
17
Table of contents
Other Clabel Label Maker manuals
