clare ClareVision User manual

ClareVision Video
Surveillance
ClareVision Smart Video Doorbell
Quick Start Guide

11
WHAT’S IN THE BOX
Screwdriver X1Power Kit X1
Power Kit Wires X1 U-shaped Wires X2
Doorbell X1
Faceplate X3
Pick the faceplate
that matches best
for your installation.
Mounting Plate X3
Use a wall stando or
angled plate for
adjusting the viewing
angle.
Plate Foam X1
Use the foam plate to
stabilize the Video
Doorbell when installed
on an uneven surface.

TOOLS YOU MAY NEED
Drill Pencil
Wire Connectors (x4) Mounting Screws (x3) Anchors (x3)
Security Screw (x1) Wire Terminal Screws (x2)
12
• Install the Power Kit if using a mechanical or digital chime.
• If no chime is installed, skip the Power Kit installation.
• The Video Doorbell requires 12VAC to 30VAC power.
NOTE
Not included in the package.

POWER KIT INSTALLATION
Shut o the electricity at the
breaker that controls the
doorbell’s circuit.
1
Remove the cover from your
mechanical chime.
3
Insert one end of the wire
harness into the power kit.
2
Remove the existing chime wires
from the terminals
named TRANS and FRONT.
4
REAR
TRANS
FRONT
REAR
TRANS
FRONT
3

Connect the wire harness to the
chime’s terminals
named TRANS and FRONT.
5
Mount the power kit to the side
of the chime.
7Replace the chime cover.
8
Insert the existing chime wire and
the other end of the wire harness
into the wire connector, and twist it
tightly. Repeat this step with the
other chime wire.
6
REAR
TRANS
FRONT
Wire
Connectors
Chime Wire Wire Harness
4

(Optional) If the wall is uneven,
attach the plate foam to the
mounting plate.
2
Shut o the electricity at the
breaker that controls the
doorbell’s circuit.
1
Wiring Overview
Doorbell Installation
REAR
TRANS
FRONT
REAR
TRANS
FRONT
• Recommended Installation Height: 4ft (1.2m) above the ground.
NOTE
5

reset
NOTE
• Recommended Hole Depth: 1-1.5in (25-30mm).
Mark the drill points with a
pencil.
3
Ax the mounting plate to the
wall.
5Remove the faceplate cover.
6
Drill holes according to the drill
points, and insert anchors.
4
Anchor
Mounting Screw
6

7
U-Shaped Wire
Wire Terminal
Screws
Power Supply: 12 to 30 VAC
Using wire nuts connect U-shaped wires to existing doorbell wires, then
connect U-connectors to doorbell using Wire Terminal Screws.
8
Insert the mounting pegs on the back of the Video Doorbell into the
mounting plate and slide down.
9

• The Video Doorbell is powered on when the LED indicator ring around the
call button is illuminated. If not, make sure your electricity is o and check
the wiring. Once you have a solid LED indicator around the ring button,
proceed to doorbell setup.
NOTE
Insert and fasten Security Screw to lock doorbell to mounting plate.
10
Restore the electricity at the breaker.
11
8

Doorbell Setup
9
ClareVision App
Google Play Store
ClareVision App
Apple App Store
Press and hold the reset button until you hear the second voice prompt,
“Doorbell has been reset and will reboot”, approximately 10 seconds.
1
Reset Button
Wait until the LED light ashes blue, indicating the reset is complete. You
will hear the voice prompt say, “The doorbell is ready to connect to WiFi.”
2
Download and install the ClareVision app from the google Play or Apple
App store to your device.
3

Launch the ClareVision app. On the Home screen, tap the menu
dropdown and select the plus icon to Add Device.
4
10
Select “Doorbell“ and tap “Device is NOT on a network”.
5

11
WiFi/Device password
located on the back of
the video doorbell
and Quick Start Guide.
Open WiFi settings on your mobile device. Locate Video Doorbell's WiFi
broadcast listed as "VDB_XXXXXXXX", where "XXXXXXXX" are the last
eight characters of the Video Doorbell's UDID. The password for this
network is located on the product label.
6
Return to the ClareVision app. “Connected to device successfully” will
display, tap Next.
7
Verify Video Doorbell’s UDID, password, and edit the Device Name if
desired. Tap Next.
8
Select the local WiFi network to which the Video Doorbell will be
connected, then enter WiFi password when prompted and tap Connect.
9

12
Verify the desired network is selected and tap Add Device. The Video
Doorbell will provide two audio prompts,“WiFi is connecting please
wait” followed by, “WiFi is connected, doorbell is active.”
10
Select your Chime type from the available options:
No Chime: There is no doorbell chime connected to the video doorbell.
Mechanical Chime: Traditional doorbell chimes that commonly make a
ding-dong sound.
Digital Chime: Doorbell chime that plays a unique digital tune.
11
After completing setup using the ClareVision App, place the doorbell
faceplate on the device.
12
If WiFi does not connect to the network, the audio prompts,“Connection has
timed out, please reset doorbell to congure.” is heard and a “Connection
Failed” message will display in the app.
Tap OK on the message, then press and hold the reset button until the voice
prompts,“Doorbell is ready to connect to WiFi”is heard. Then repeat steps
5-10.
NOTE

Appendix
Basics
Reset Button
MicroSD Card Slot Terminals
LED Indicator
Solid red Doorbell is powering on
Solid blue Doorbell is working
Flashing red Memory card exception
Flashing blue Doorbell is ready for Wi-Fi conguration
Flashing red & blue Network exception
• Reset WiFi: Press and hold the Reset Button for ~7 seconds.
• Factory Reset: Press and hold the Reset Button for ~15 seconds.
NOTE
13

14
SD Card Management
In the Clare Vision app, tap the SD Card Information in the Device
Settings interface to check the SD card status.
1
If the card status displays as Uninitialized, tap to initialize it.
The status will then change to Normal, and it can store videos and/or
pictures.
2
Other manuals for ClareVision
1
This manual suits for next models
1
Table of contents
Popular Intercom System manuals by other brands
Mircom
Mircom TX3 Series Configuration manual
Tynetec
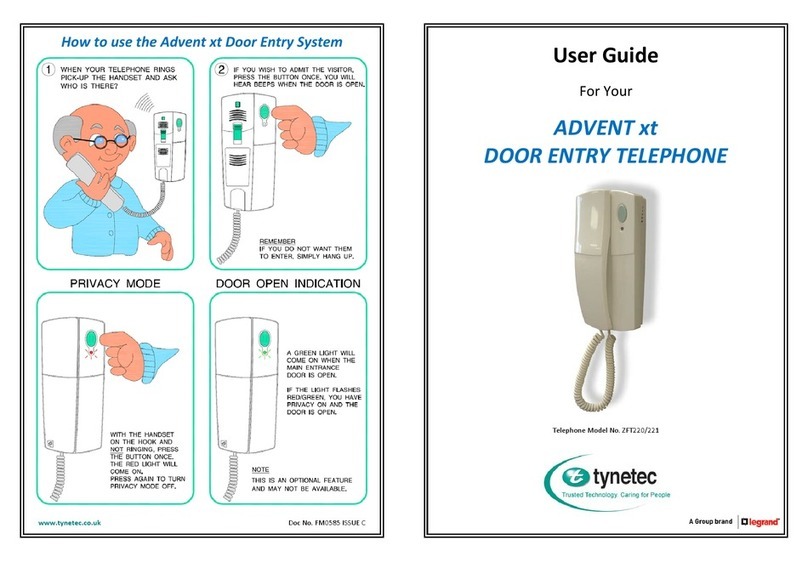
Tynetec Advent xt user guide
SCS Sentinel
SCS Sentinel SOFIA M7E8 TOP B Installation and user manual

Extron electronics
Extron electronics MediaLink IPI 200 Series user manual
RTS
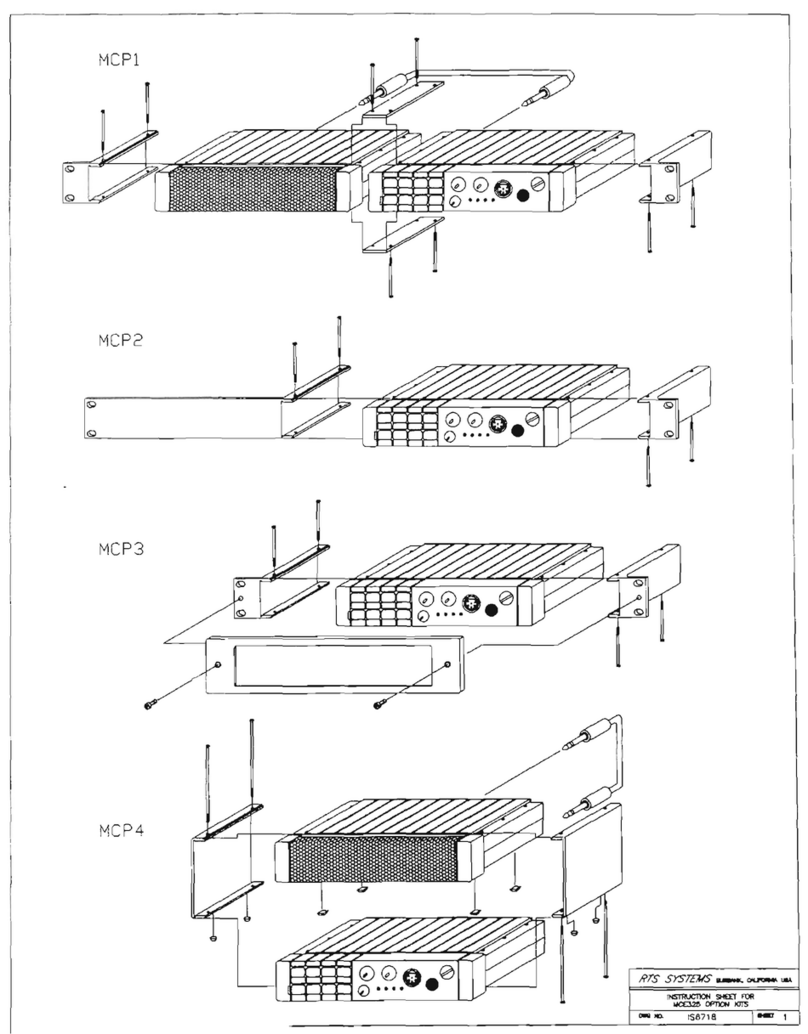
RTS User Station MCE-325 Frequently asked questions
LEGRAND
LEGRAND EASYKIT Plus installation manual
