6
Parts & Service: 020 8988 7400 / E-mail: Parts@clarkeinternational.com or Service@clarkeinternational.com
PROCEDURE FOR NORMAL CHARGING
NOTE: All references in brackets refer to Fig. 1
1. Before charging or boosting, ensure that the cells are filled with electrolyte
to the correct level by adding distilled water where necessary.
2. Where appropriate we recommend that the non-earthed lead on the
battery is disconnected prior to charging. It is possible that damage may
occur to any electronically controlled system fitted to the vehicle such as
engine management, anti-theft alarm, alternator etc.
3. Check that the mains supply is OFF and the Current Control Knob (B) is in
the ‘O’ OFF position.
4. Connect the appropriate lead to the unearthed battery terminal (on most
modern cars this is positive (+ve) terminal), then connect the other lead to
the chassis (or a suitable engine bolt) away from the battery and fuel line.
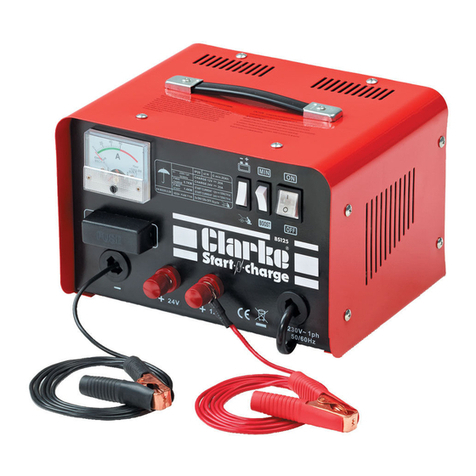
NOTE: Ensure the RED (+ve) lead is plugged into the 12V or 24V receptacle,
depending upon the voltage of the battery to be charged.
5. Remove the battery filler caps, where appropriate, during charging in
order to prevent the build up of dangerous gases within the battery.
6. Switch ON the mains supply.
7. Turn the Current Control Knob (B) to the position necessary to obtain the
required charge rate, as indicated on the ammeter - 3 charging rates are
provided.
CAUTION: Avoid high charge rates with sealed batteries
8. Keep the battery on charge until the Ammeter (G) reads zero (or 0-2 amps)
or has stopped moving down, then turn the Current Control Knob (B) to the
OFF position.
9. When disconnecting the charger, disconnect 1. supply, 2. chassis
conductor and 3. battery conductor, in that order.
IMPORTANT: If the fixed positive lead and the fixed negative lead are
connected to the wrong terminals, then a flash will occur when the 2nd
Clamp is attached. Damage to the charging unit and the battery will be
avoided as your START’N CHARGE is fitted with a polarity protection feature.
It will however be necessary to replace the internal fuse. Remove the black
plastic cover on the front panel (marked ‘fuse’) and replace the burnt fuse
with an exact replacement. See ‘Specifications’ for replacement fuses.
