5
Parts & Service: 020 8988 7400 / E-mail: Parts@clarkeinternational.com or Service@clarkeinternational.com
HOW TO REGULATE THE PRESSURE
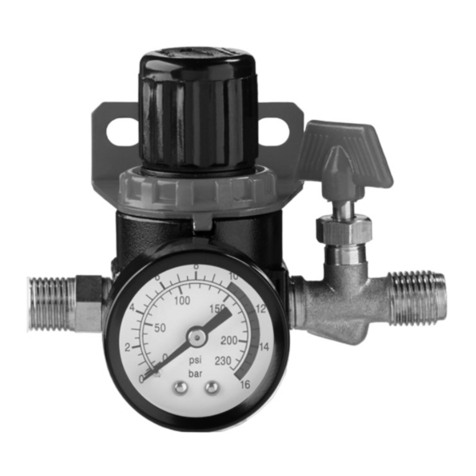
1. To increase pressure; slowly turn the reducer pressure adjuster (6) clockwise
until the reading on the gauge (if fitted) is at the pressure recommended
by the tools’ manufacturer.
2. To decrease pressure; slowly turn the reducer pressure adjuster (6)
anticlockwise.
NOTES
• As the pressure drops, compensate by screwing the adjuster knob
(6) clockwise.
• Outlet pressure must not be regulated higher than the pressure you
need to use.
• Outlet pressure must not be regulated higher than the red mark on
the low pressure gauge (when fitted).
SHUTTING DOWN
1. Close the cylinder valve (1)
2. Release the gas, by operating the tool, until the reducer gauge indicates
“zero”, or no more gas can be heard exhausting.
3. Turn the pressure adjuster (6) anticlockwise until it is completely closed.
THE RELIEF VALVE
For safety reasons, the pressure reducer is equipped with a safety pressure
valve.
In case of malfunctioning, this valve allows gas, at excessive pressure, to
escape.
WARNING: DO NOT ATTEMPT TO RE-CALIBRATE THE RELIEF VALVE.
STORAGE
The pressure reducer must be treated as a precision instrument. When it is not
to be used for long periods, store it in its wrapping or in its box, to prevent
contact with dust, oil and other sources of dirt.

