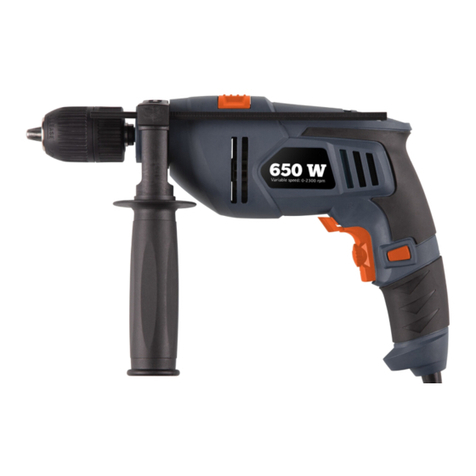
Clas Ohlson Z1J-TD3-13E-UK User manual

English
650 W
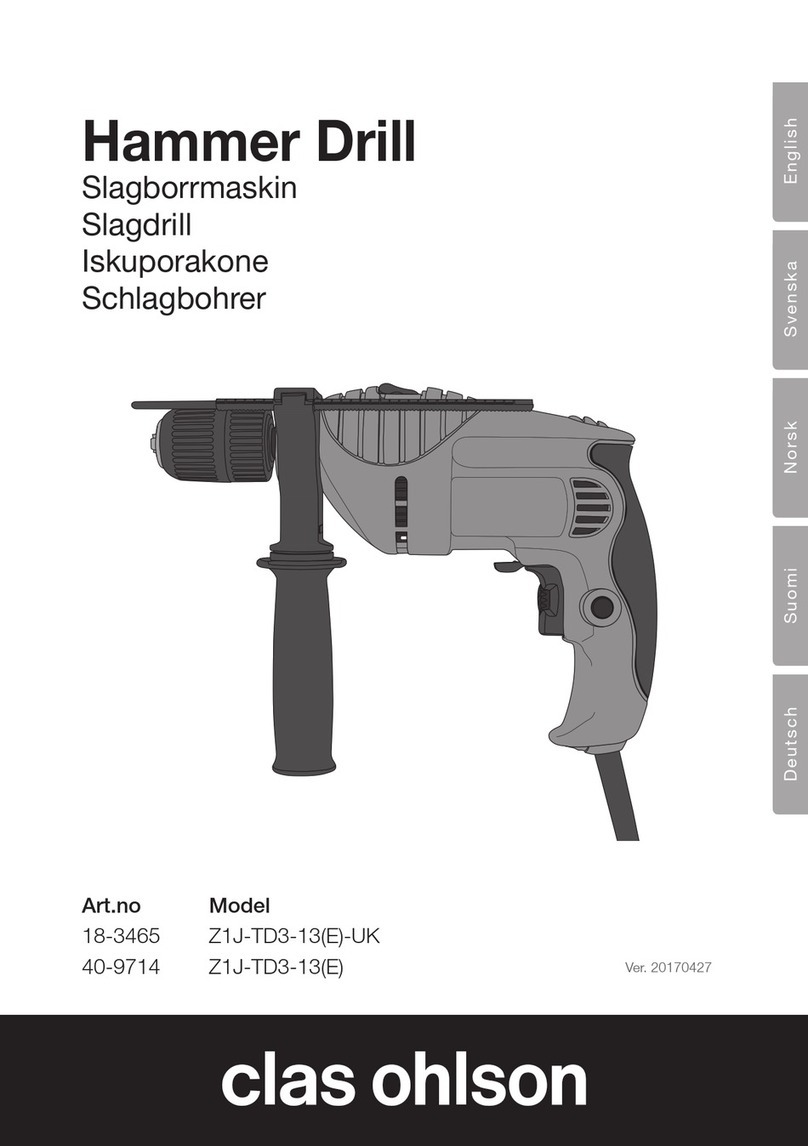
Hammer drill
Art.no Model
18-3465 Z1J-TD3-13(E)-UK Ver. 201302

2

3
English
650 W Hammer Drill
Art.no 18-3465 Model Z1J-TD3-13(E)-UK
Please read theentire instruction manual before use and save it for future reference.
Wereserve theright for any errors in text or images and for making any necessary
technical changes to this document. Ifyou should have any questions concerning
technical problems please contact our Customer Services.
Safety
Warning! Readall theinstructions. Ifthe instructions below are not followed, there is
arisk of electric shock, fire and/or serious injury. Theterm “power tool” in thewarning
text below refers to your mains or battery powered hand tool.
Work area
a) Keep thework area clean and well lit. Accidentsare more likely to happen
in cluttered and dark areas.
b) Do not use power tools in explosive environments, for example in thepresence of
flammable liquids, gases or dust. Powertools generate sparks which may ignite
dust or fumes.
c) Keep children and bystanders away when you are operating thepower tool.
Youmay lose control if you are distracted.
Electrical safety
a) The plug on thepower tool must match thewall socket. Nevermodify theplug in
any way. Neveruse an adapter plug with an earthed power tool. Usingunmodified
plugs and matching wall sockets reduces therisk of electric shock.
b) Avoid body contact with earthed objects such as pipes, radiators, cookers or
refrigerators. Thereis an increased risk of electric shock if your body is earthed.
c) Do not expose thepower tool to rain or wet conditions. Ifwater gets into
thepower tool, therisk of electric shock is increased.
d) Do not abuse themains lead. Neveruse themains lead to carry or drag thepower
tool or to unplug it. Keepthe mains lead away from heat, oil, sharp edges and
moving parts. Damagedor tangled mains leads increase therisk of electric shock.
e) When operating apower tool outdoors, use an extension lead suitable for outdoor use.
Usingan extension lead suitable for outdoor use reduces therisk of electric shock.
f) If you need to use apower tool in ahumid location, connect thetool to thepower
supply via aresidual current device (RCD). Usingan RCD reduces therisk of
electric shock.

4
English
Personal safety
a) Stay alert and use common sense when using apower tool. Donot use
apower tool if you are tired or under theinfluence of drugs, alcohol or medication.
Amoment of inattention when using apower tool may result in serious injury.
b) Use safety equipment. Alwayswear safety glasses. Usingsafety equipment such
as adust mask, non-slip safety shoes, ahard hat and ear protectors reduces
therisk of injury.
c) Avoid starting thetool accidentally. Makesure that theswitch is in theOFF position
before you plug thetool in. Youcould cause an accident if you carry apower tool
with your finger on thetrigger switch or connect apower tool to thepower supply
when theswitch is at ON.
d) Remove all service tools/keys before you switch on thepower tool. Aservice tool
left attached to arotating part of thepower tool may result in injury.
e) Do not overreach. Keepproper footing and balance at all times. Thisallows you to
have better control of thepower tool in unexpected situations.
f) Dress properly. Donot wear loose clothing or jewellery. Keepyour hair, clothing
and gloves away from moving parts. Loosely-fitting clothes, jewellery or long hair
may get trapped in moving parts.
g) If dust extraction and collection equipment is available, make sure it is connected
and properly used. Usingsuch equipment can reduce dust-related hazards.
Using and maintaining thepower tool
a) Do not overload thepower tool. Usethe correct power tool for thework you are doing.
Thecorrect power tool will do thejob better and more safely at therate for which it
was designed.
b) Do not use thepower tool if theswitch does not turn it on and off. Apower tool
that cannot be controlled with theswitch is dangerous and must be repaired.
c) Unplug thepower tool before you make any adjustments, change an accessory or
put thetool away. Thesepreventive safety measures will reduce therisk of thetool
being started accidentally.
d) Store idle power tools out of thereach of children and do not allow people
unfamiliar with thepower tool and these instructions to use it. Powertools are
dangerous in thehands of inexperienced users.
e) Maintain power tools. Checkfor misalignment or binding of moving parts, for
broken parts or anything else that may affect theoperation of thepower tool.
Ifthere is any damage it must be repaired before thetool can be used again.
Manyaccidents are caused by poorly maintained power tools.
f) Keep cutting tools sharp and clean. Properlymaintained cutting tools with sharp
edges are less likely to bind and are easier to control.
g) Use thepower tool, accessories, etc., in accordance with these instructions and
in themanner intended for theparticular type of power tool, taking into account
theworking conditions and thetype of work to be done. Usingthe power tool to
do work for which it is not intended may result in ahazardous situation.
5
English
Special safety rules for hammer drills
a) Wear ear protectors when working with ahammer drill.
Exposureto noise may damage your hearing.
b) Use thehandles supplied when working with thehammer drill.
Lossof control may result in injury.
Product marking with safety symbols
Read theentire user guide!
Always wear safety glasses/visor and ear protectors.
Waste management
Follow local ordinances when disposing of this product. Ifyou are unsure about how
to dispose of this product contact your municipality.
Specifications
Mains voltage 230 V AC, 50 Hz
Power 650 W
Stepless speed 0–2800 rpm
Chuck 13 mm
Drilling capacity Steel ø 10 mm
Concrete ø 13 mm
Wood ø 25 mm
Weight 2 kg
Noise levels LwA 96 dB(A) KwA 3 dB
LpA 85 dB(A) KpA 3 dB
Impact Drilling ah ID 6,83 m/s2KID 1,5 m/s2
Drilling ah D 2,44 m/s2KD 1,5 m/s2

6
English
5
1
3
4
2
9
7
8
6
Description of theproduct
1. Depth stop
2. Hammer/normal drilling control
3. Keyless chuck
4. Side handle
5. Reversing lever
6. Stepless speed control
7. Trigger switch
8. Switch locking button
9. Handle

7
English
unlock
lock
Use
Chuck
1. The hammer drill is fitted with
akeyless chuck (1.5–13 mm).
2. Hold therear part of thechuck and
turn thefront part anticlockwise until
theopening is big enough to accept
thedrill bit.
3. Insert adrill bit or another tool.
4. Hold therear part of thechuck and
turn thefront part clockwise so that
thedrill bit is gripped.
Note! Do not attempt to tighten thechuck by holding theouter part of thechuck and
starting thedrill, as this may result in an accident. Besides, thechuck locks better if
you hold thefront and rear parts and tighten it by hand.
Side handle
1. Turn theside handle (4) anticlockwise
to unscrew it.
2. Set theside handle to theposition
you want and set thedepth stop if
necessary.
3. Turn theside handle clockwise to lock
both thehandle and thedepth stop.
Trigger switch
1. Connect theplug to apower socket
when you have fitted atool to
thechuck and tightened it.
2. To start thehammer drill, slowly squeeze
thetrigger switch (7). Checkthat thetool
is rotating in theright direction. Tostop
themachine, release thetrigger switch.
3. When thechuck is rotating you can
lock thetrigger switch by pressing
thelocking button (8) and releasing
thetrigger.
4. To stop thedrill, press and release
thetrigger switch.

8
English
Changing thedirection of rotation
1. Stop thedrill.
2. Turn thereversing lever (5) to theleft
or right to select thedirection of
rotation you want.
Note! The drill does not work if therever-
sing lever is in an intermediate position.
Thelever must be moved all theway in
therequired direction.
Stepless speed control
1. Start thehammer drill by pressing
thetrigger switch (7).
2. Turn thespeed control (6)
anticlockwise to reduce thespeed
and clockwise to increase it.
3. The speed control regulates how
far in thetrigger switch can be
squeezed.
Note! Always start at alow speed when
drilling without apilot hole or centre punch
dimple. Asa rule, use ahigher speed with
thin drill bits and alower speed with thick
drill bits. Generally, buffing and polishing
calls for ahigh speed.

9
English
Hammer or normal drilling
1. Stop thedrill completely.
2. Select therequired drilling method
with theselector (2). Choosehammer
drilling for hard materials (concrete,
stone, etc.) and choose normal drilling
for steel, aluminium, wood, etc.
• When thehammer symbol can be
seen at theselector, themachine is
set to operate as ahammer drill.
• When thedrill bit symbol can be seen
at theselector, themachine is set to
operate as aconventional drill.
Note! Only operate theselector when thechuck is stationary. Makesure that
theselector is in theright position. Youwill hear aclick when it is correctly set.
Tip!
• When thedrill has been operating under aheavy load, run themotor with no load
for afew minutes (until thecooling air from thedrill is at room temperature) to cool
down thedrill.
• Use theside handle to give you extra control while drilling.
• Only use sharp tools.
• Titanium-coated drill bits are used for hard metals and carbide-tipped drill bits are
used for concrete/tiles. Checkthe pack!
• Firmly secure theworkpiece to be drilled. Useclamps or avice where possible.
Thislets you use both hands to control thedrill, giving greater precision.
• If you are drilling thin materials it is important to place apiece of waste material behind
thedrilling site, otherwise there is amajor risk of thehole having rough edges at theback.
• The drill must be perpendicular to theworkpiece before you start drilling. Checkfrom
several angles. Makesure that you are not pressing at an angle when drilling.
• Do not press too hard, so that thedrill slows down. Letthe tool do thejob!
Reducethe pressure before thedrill goes through.
• Keep thedrill running after you have drilled thehole and pulled back thedrill.
Thiscools down thedrill motor and clears swarf from thedrill bit.
Points to remember when you drill in wood and plastics
• For wood and other softer materials there are several different types of tool, such
as hole saws, flat bits, etc. Choosethe most suitable tool! Tryout thedrill bit on
apiece of scrap material first.
• The tool may overheat if you do not pull it back frequently to clear swarf.
• Place apiece of scrap material behind thesite of thehole before you start drilling,
otherwise there is amajor risk of theedges of thehole breaking away at theback.

10
English
Points to bear in mind when drilling in metal
• Mark theposition of thehole and make adimple with acentre punch.
• The tool may overheat if you use thewrong speed. Itis agood idea to use
acoolant suitable for your material, eg methylated spirits for aluminium
(cast iron and brass must be drilled dry).
• Use thelowest gear and low speed for large holes.
• Take extra care when clamping thin or sharp metal objects so that they do not
come loose and cause cut injuries when drilling. Usea vice if possible.
Points to bear in mind when drilling in concrete, tile or brick
• Use carbide-tipped drills!
• Use thehammer drill setting and press carefully, with thesame feed rate all thetime.
• The drilled-out material is in theform of powder or dust. Usea dust mask.
• Use thehammer drill setting and press carefully, with thesame feed rate all thetime.
DO NOT use hammer drilling on tiles.
Care and maintenance
• Check before using thedrill that all its screws are tight. Themachine is subject to
severe vibration during hammer drilling.
• Make sure that all thecooling air openings of themachine are clear and open.
• If necessary, clean them with acloth moistened with amild detergent.
Neveruse solvents or strong cleaning agents.
• Keep theuser guide together with thehammer drill.

11
Declaration of Conformity
Försäkran om överrenstämmelse
Samsvarerklæring
Vakuutus yhdenmukaisuudesta
CLAS OHLSON AB
SE-793 85 INSJÖN, SWEDEN
Declares that this product complies with the requirements of the following directives and standards
Intygar att denna produkt överensstämmer med kraven i följande direktiv och standarder
Bekrefter at dette produktet er i samsvar med følgende direktiver og standarder
Vakuuttaa, että tämä tuote täyttää seuraavien direktiivien ja standardien vaatimukset
Impact Drill
18-3465
Z1J-TD3-13(E)-UK
Machinery directive
2006/42/EC
EMC directive
2004/108/EC
Low Voltage directive
2006/95/EC
EN 60745-1:2009
EN 60745-2-1:2010
EN 55014-1:2006
EN 55014-2:1997
+A1:2001+A2:2008
EN 61000-3-2:2006
EN 61000-3-3:2008
Klas Balkow
President
Insjön, Sweden, 2011-06-13

Sverige
Kundtjänst tel: 0247/445 00
fax: 0247/445 09
Internet www.clasohlson.se
Post Clas Ohlson AB, 793 85 INSJÖN
Norge
Kundesenter tlf.: 23 21 40 00
faks: 23 21 40 80
e-post: kundesenter@clasohlson.no
Internett www.clasohlson.no
Post Clas Ohlson AS, Postboks 485 Sentrum, 0105 OSLO
Suomi
Asiakaspalvelu puh.: 020 111 2222
sähköposti: asiakaspalvelu@clasohlson.fi
Internet www.clasohlson.fi
Osoite Clas Ohlson Oy, Maistraatinportti 4 A, 00240 HELSINKI
Great Britain
Customer Service contact number: 08545 300 9799
Internet www.clasohlson.com/uk
Postal 10 – 13 Market Place
Kingston Upon Thames
Surrey
KT1 1JZ
This manual suits for next models
1
Table of contents
Other Clas Ohlson Drill manuals

Clas Ohlson
Clas Ohlson DJC-119A-SZ20-144-UK User manual

Clas Ohlson
Clas Ohlson Z1J-TD3-13 User manual

Clas Ohlson
Clas Ohlson Z1J-TD3-13D User manual

Clas Ohlson
Clas Ohlson DJC124-UK User manual

Clas Ohlson
Clas Ohlson DJC123-120-UK User manual

Clas Ohlson
Clas Ohlson DJC123-108-UK User manual

Clas Ohlson
Clas Ohlson DJC123-108-UK User manual

Clas Ohlson
Clas Ohlson DS43 User manual