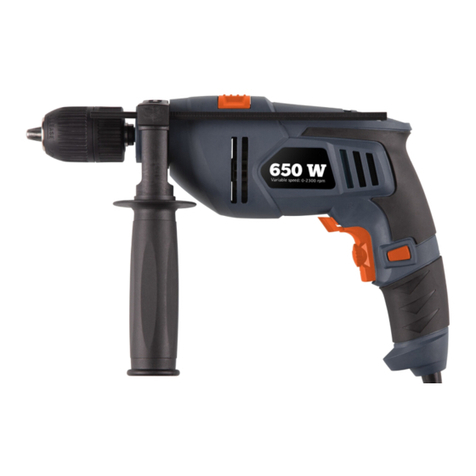
Clas Ohlson DJC124-UK User manual

14.4 V Drill/Driver
Art.no Model
18-3467 DJC124-UK
Ver. 201106
Original instructions

2

3
14.4 V NiMH Drill/Driver
Art.no 18-3467 Model DJC124-UK
Please read theentire instruction manual before use and save it for future reference.
Wereserve theright for any errors in text or images and for making any necessary
technical changes to this document. Ifyou should have any questions concerning
technical problems please contact our Customer Services.
Warning! Whenusing an electric power tool, always observe thegeneral safety rules
below, to avoid therisk of fire, electric shock and injury. Readthrough theentire
user guide before using theproduct and save theuser guide for future reference.
Alwaysunplug thepower lead from thesocket before servicing and adjusting
theproduct.
1. Safety
General safety instructions for power tools
Warning! Readtheentire user guide. Iftheinstructions below are not followed,
there is arisk of electric shock, fire and/or serious injury. Theterm “power tool” in
thewarning text below refers to your mains or battery powered hand tool.
KEEP THIS USER GUIDE.
1) Work area
a) Keepthework area clean and well lit. Accidentsare more likely to happen in
cluttered and dark areas.
b) Donot use power tools in explosive environments, for example in thepresence of
flammable liquids, gases or dust. Powertools generate sparks which may ignite
dust or fumes.
c) Keepchildren and bystanders away when you are operating thepower tool.
Youmay lose control if you are distracted.
2) Electrical safety
a) Theplug on thepower tool must match thewall socket. Nevermodify theplug in
any way. Neveruse an adaptor plug with an earthed power tool. Usingunmodified
plugs and matching wall sockets reduces therisk of electric shock.
b) Avoidbody contact with earthed objects such as pipes, radiators, cookers or
refrigerators. Thereis an increased risk of electric shock if your body is earthed.
c) Donot expose thepower tool to rain or wet conditions. Ifwater gets into
thepower tool, therisk of electric shock is increased.

4
d) Donot mistreat themains lead. Neveruse themains lead to carry or drag
thepower tool or to unplug it. Keepthemains lead away from heat, oil, sharp
edges and moving parts. Damagedor tangled mains leads increase therisk of
electric shock.
e) Whenoperating apower tool outdoors, use an extension lead suitable for
outdoor use. Usingan extension lead suitable for outdoor use reduces therisk
ofelectric shock.
f) Ifyou need to use apower tool in ahumid location, connect thetool to thepower
supply via aresidual current device (RCD). Usingan RCD reduces therisk of
electric shock.
3) Personal safety
a) Stayalert and use common sense when using apower tool. Donot use apower
tool if you are tired or under theinfluence of drugs, alcohol or medication.
Amoment of inattention when using apower tool may result in serious injury.
b) Usesafety equipment. Alwayswear safety glasses. Usingsafety equipment such
as adust mask, non-slip safety shoes, ahard hat and ear protectors reduces
therisk of injury.
c) Avoidstarting thetool accidentally. Makesure that theswitch is in theOFF position
before you plug thetool in. Youcould cause an accident if you carry apower tool
with your finger on thetrigger switch or connect apower tool to thepower supply
when theswitch is at ON.
d) Removeall service tools/keys before you switch on thepower tool.
e) A service tool left attached to arotating part of thepower tool may result in injury.
f) Donot overreach. Keepproper footing and balance at all times. Thisallows you to
have better control of thepower tool in unexpected situations.
g) Wearsuitable clothing. Donot wear loose clothing or jewellery. Keepyour hair,
clothing and gloves away from moving parts. Loosely-fitting clothes, jewellery or
long hair may get trapped in moving parts.
h) Ifdust extraction and collection equipment is available, make sure it is connected
and properly used. Usingsuch equipment can reduce dust-related hazards.
4) Using and maintaining thepower tool
a) Donot overload thepower tool. Usethecorrect power tool for thework you are
doing. Thecorrect power tool will do thejob better and more safely at therate for
which it was designed.
b) Donot use thepower tool if theswitch does not turn it on and off. Apower tool
that cannot be controlled with theswitch is dangerous and must be repaired.
c) Unplugthepower tool before you make any adjustments, change an accessory or
put thetool away. Thesepreventive safety measures will reduce therisk of thetool
being started accidentally.
d) Storeidle power tools out of thereach of children and do not allow people
unfamiliar with thepower tool and these instructions to use it. Powertools are
dangerous in thehands of inexperienced users.

5
e) Checkfor misalignment or binding of moving parts, for broken parts or anything
else that may affect theoperation of thepower tool. Ifthere is any damage it must
be repaired before thetool can be used again. Manyaccidents are caused by
poorly maintained power tools.
f) Keepcutting tools sharp and clean. Properlymaintained cutting tools with sharp
edges are less likely to bind and are easier to control.
g) Usethepower tool, accessories, etc., in accordance with these instructions and
in themanner intended for theparticular type of power tool, taking into account
theworking conditions and thetype of work to be done.
h) Using thepower tool to do work for which it is not intended may result in
ahazardous situation.
5) Using and servicing arechargeable power tool
a) Makesure that theswitch is in theoff position before you fit thebattery.
Fittingthebattery to an electric power tool with theswitch in theon position could
cause an accident.
b) Onlycharge thebattery with acharger supplied by themanufacturer. Acharger
that is suitable for one type of battery may be afire hazard if used with adifferent
type of battery.
c) Onlyuse thecorrect batteries with rechargeable hand tools. Usingthewrong
battery may cause damage, injury and fire.
d) Whenthebattery is not in use, keep it away from metal objects such as paperclips,
coins, keys, nails, screws or other small items that may form abridge from one
pole of thebattery to theother. Short-circuiting thepoles of abattery may cause
burns or fire.
e) Ifthebattery is abused, it may leak acid. Avoidcontact with this substance.
Ifyou happen to come into contact with theacid, rinse theaffected area with water.
Iftheacid gets into your eyes, seek medical assistance. Acidfrom thebattery may
cause irritation and burns.
6) Servicing
a) Servicingand repairs must be done by authorised personnel, using genuine spare
parts. Thisguarantees that thesafety of theelectric power tool is preserved.
Special safety rules for rechargeable power tools
• Use only thecharger supplied. Theproduct is only intended to be used indoors.
• If abattery is warm, let it cool down before charging it. Thetemperature during
battery charging should be between 0 °C and 40 °C (20–25 °C is recommended
for optimum charging results).
• If thebattery is charged at atemperature below 0 °C it may become over-
charged, and this may damage thepower tool. Donot charge thebattery when
thetemperature is above 40 °C. Thebattery only delivers full power after about five
charge/discharge cycles.
6
• Let thecharger rest for 15 minutes before you start to charge thenext battery.
Donot charge more than two batteries in succession without along interval.
• Make sure that no foreign bodies find their way into thetool via thebattery opening.
• Avoid short circuits. Placeadhesive tape across thebattery contacts when storing
it loose.
• Never dismantle therechargeable battery or thecharger.
• Make sure that therechargeable battery is not short-circuited as this may damage
thebattery and result in accidents if thebattery explodes.
• There is arisk of explosion if thebattery is exposed to fire or high temperatures.
Neverput abattery in afire. Neverleave abattery in strong sunlight for along time.
• Before drilling in floors, ceilings or walls, check for hidden electric wiring, water
pipes or anything else that might be damaged in thearea where you intend to drill.
Useametal detection device, for instance.
• Always set theforward/reverse switch to thelocked position before you change
anaccessory.
Product marking with safety symbols on thepower tool
Wear ear protectors and safety glasses.
Read theentire user guide, follow thesafety rules and observe
thewarnings.

7
1 2 3 4
5
6
7
8
9 10
2. Descriptionof theproduct
1. Keylesschuck
2. Torquesetting,
normal/hammer drill mode selector
3. Low/high gear selector
4. Forward/reverse selector
5. Triggerswitch
6. LED light
7. Batterylatch
8. Battery
9. Charger
10. To mainsadaptor

8
3. Charging
NOTE: The mains adaptor is designed for indoor use only.
1. Press in thebattery latch (7) on thebattery and pull it forward out of thepower tool.
2. Connect themains adaptor (10) to awall socket and connect thelead to
thecharger (9). Thegreen LED lights up, indicating that themains adaptor
isconnected.
3. Place thecharger on thebattery and press it home.
4. The red LED lights up when thebattery is correctly installed and is being charged.
5. Allow thebattery to charge for about 3–5 hours, then remove it from thecharger.
Whencharging is complete, unplug themains adaptor.
NOTE: The charger does not switch off automatically.
4. Operation
Forward/reverse action
• To change thedirection of rotation: Release thetrigger switch (5) and allow
thechuck to stop rotating. Tochange thedirection of rotation, press theforward/
reverse selector (4) in therequired direction:
- Press in theselector (4) on theleft-hand side for anticlockwise rotation .
- Press in theselector (4) on theright-hand side for clockwise rotation .
• Move theselector (4) to themidway position to prevent accidental starting of
thepower tool when you are not using it.
Setting thetorque
• The power tool has an adjustable clutch to set therequired torque with theknob (2).
Whencorrectly set, thepower tool stops tightening at theset torque to prevent
thescrew being over-tightened.
• The setting depends on thetype and size of thescrew and thetype of material.
Alwaysstart with thelowest torque and increase thetorque gradually for theresult
you want.
Keyless chuck
• The power tool has arapid-action keyless chuck.
• Hold therear ring of thechuck with one hand and turn thefront part with theother
hand to grip or release theaccessory (drill bit, etc.).
Stepless speed control
• Excellent for screwdriving. Themore you press thetrigger switch (5), thehigher
therotation speed.
• The power tool has an electric brake which operates when you release thetrigger
switch, so that thechuck stops quickly.

9
Hammer drill action
• Used when drilling in masonry/concrete. Turnthecontrol (2) all the way to
thehammer symbol (after maximum torque and normal drilling mode settings).
High/low gear selector
• Select thegear you want with theselector (3) on thetop of thepower drill.
Low 1 = 0 to 400 RPM
High 2 = 0 to 1100 RPM
5. Use
• Choose theaccessory you want to use (drill bit, etc), fit it to thechuck and tighten
thechuck.
• To start and stop thepower tool, press and release thetrigger switch (7).
6. Troubleshooting
Problem Possible cause Action
The motor does not
run.
Battery discharged. Check/charge thebattery.
Short-circuit. Contact our customer
servicedepartment.
Faulty trigger switch.
The motor
runsslowly.
Blunt/damaged accessory. Sharpen or replace.
Trigger switch not fully
pressed in.
Press thetrigger switch further in.
Motor overheated. Reduce thefeed rate.
The power
tool makes
anunusualnoise.
Mechanical obstruction. Contact our customer service
department.
Winding short-circuited.
Severe vibrations. The accessory is loose in
thechuck.
Tighten thechuck, check
thefitting of theaccessory.
Sparks inside
themotor.
Winding short-circuited. Contact our customer
servicedepartment.
Commutator needs
cleaning.

10
7. Disposal
• When thetime comes to dispose of theproduct, do so in accordance with local
regulations. Ifyou are not sure what to do, ask your local authority.
• To avoid short circuits, place adhesive tape across thebattery contacts before
disposing of it.
• Faulty and exhausted batteries must be recycled.
• Do not throw exhausted batteries into afire or into water.
8. Careand maintenance
• Keep theventilation openings of themotor free from debris and dust.
• Clean thepower tool regularly with washing-up liquid and aslightly damp cloth.
Neveruse powerful solvents.
• Charge thebattery regularly. Itwill last longer if it is used.
9. Technicalspecifications
Model DJC124-UK
Supply voltage 14.4 V
Rotation speed, stepless 0–400 RPM (low gear)
0–1100 RPM (high gear)
Adjustable torque 18 steps, drill mode and hammer drill
Impacts 0–5200 (low gear), 0–14300 (high gear)
(impacts per minute)
Max torque 16 Nm (low gear), 7 Nm (high gear)
Keyless chuck 0.8–10 mm
Drilling capacity Ø 20 mm (wood), Ø 10 mm (steel), Ø 8 mm (concrete)
Weight 1.5 kg
Noise level Lpa 84.4 dB(A) K=3 dB(A)
Noise level Lwa 95.4 dB(A) K=3 dB(A)
Vibration Impact drilling: 11.849 m/s² K=1.5 m/s² (no load)
Drilling: 2.800 m/s² K=1.5 m/s² (no load)
Battery 14.4 V/1.2 Ah (NiMH)
Mains adaptor Primary 230 V, 50 Hz
Secondary 15 V, 400 mA
Charging time 3 to 5 hours

11
Declaration of Conformity
Försäkran om överrenstämmelse
Samsvarerklæring
Vakuutus yhdenmukaisuudesta
CLAS OHLSON AB
SE-793 85 INSJÖN, SWEDEN
Declares that this product complies with the requirements of the following directives and standards
Intygar att denna produkt överensstämmer med kraven i följande direktiv och standarder
Bekrefter at dette produktet er i samsvar med følgende direktiver og standarder
Vakuuttaa, että tämä tuote täyttää seuraavien direktiivien ja standardien vaatimukset
IMPACT DRILL/DRIVER
Cotech 18-3467
DJC124-UK
Machinery directive
2006/42/EC
EMC directive
2004/108/EC
LOW VOLTAGE
DIRECTIVE
2006/95/EC
EN 60745-1:2009
+A11:2010
EN 60745-2-1:2010
EN 60745-2-2:2010
EN 55014-1:2006
+A1:2009
EN 55014-2:1997
+A1:2001+A2:2008
Klas Balkow
President
Insjön, Sweden, 2011-06-21

Sverige
Kundtjänst Tel: 0247/445 00
Fax: 0247/445 09
E-post: kundtjanst@clasohlson.se
Internet www.clasohlson.se
Post Clas Ohlson AB, 793 85 INSJÖN
Norge
Kundesenter Tlf.: 23 21 40 00
Faks: 23 21 40 80
E-post: kundesenter@clasohlson.no
Internett www.clasohlson.no
Post Clas Ohlson AS, Postboks 485 Sentrum, 0105 OSLO
Suomi
Asiakaspalvelu Puh.: 020 111 2222
Sähköposti: info@clasohlson.fi
Internet www.clasohlson.fi
Osoite Clas Ohlson Oy, Annankatu 34–36 A, 00100 HELSINKI
Great Britain
For consumer contact, please visit
www.clasohlson.co.uk and click on
customer service.
Internet www.clasohlson.co.uk
This manual suits for next models
1
Table of contents
Other Clas Ohlson Drill manuals

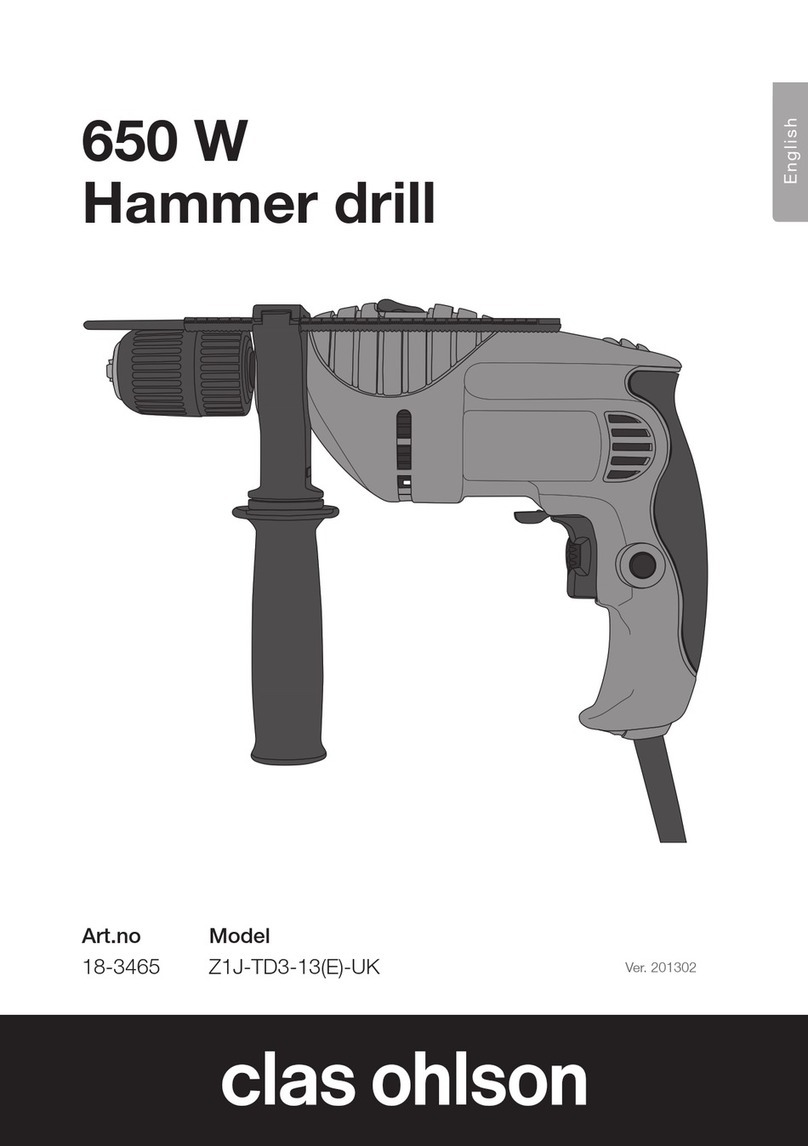
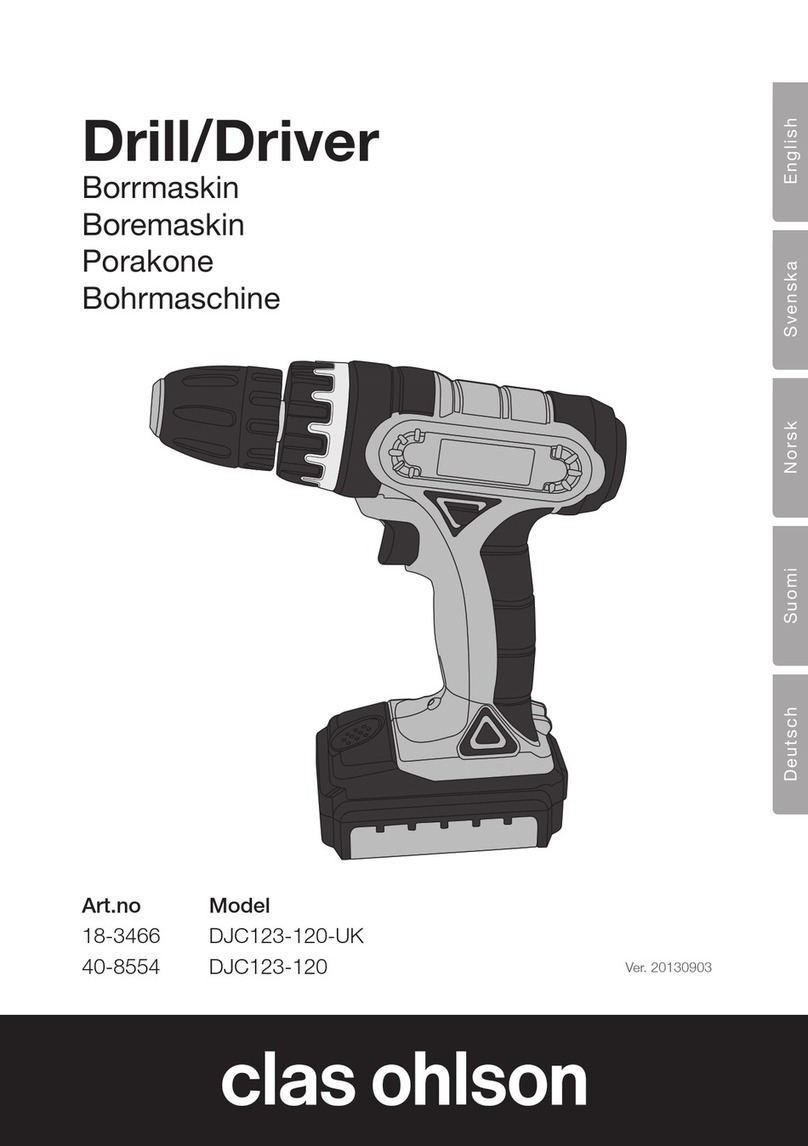
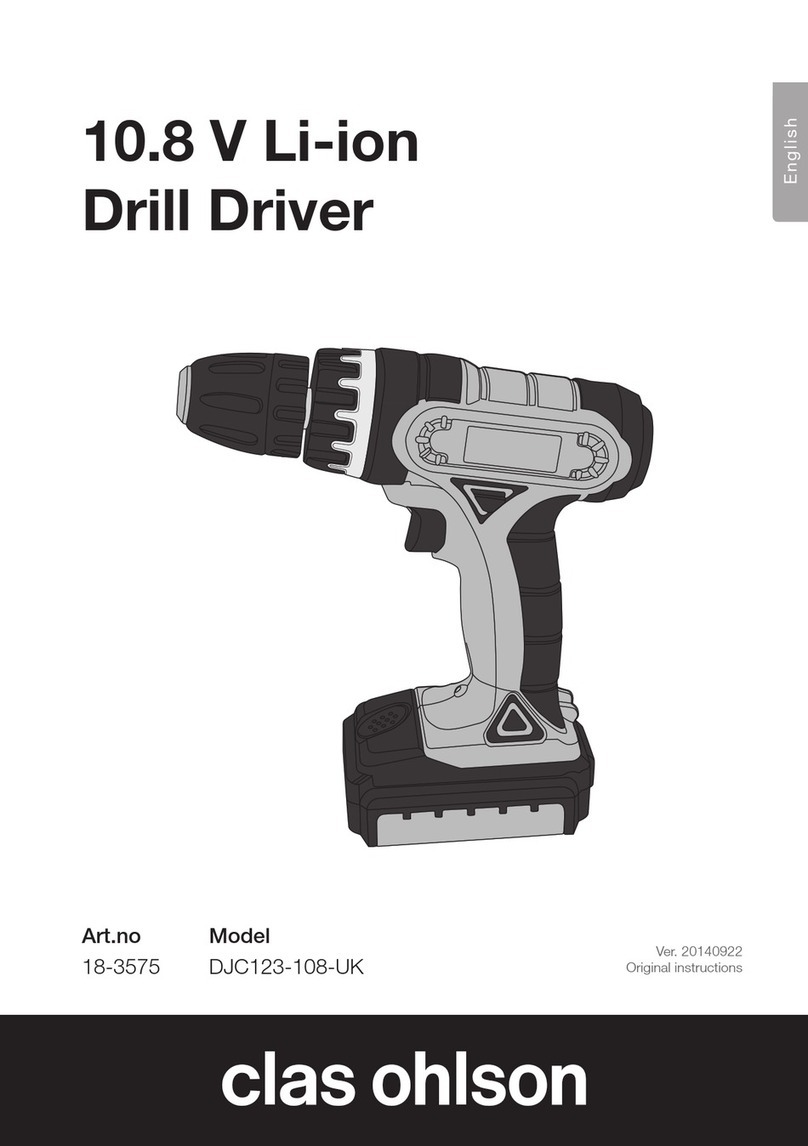
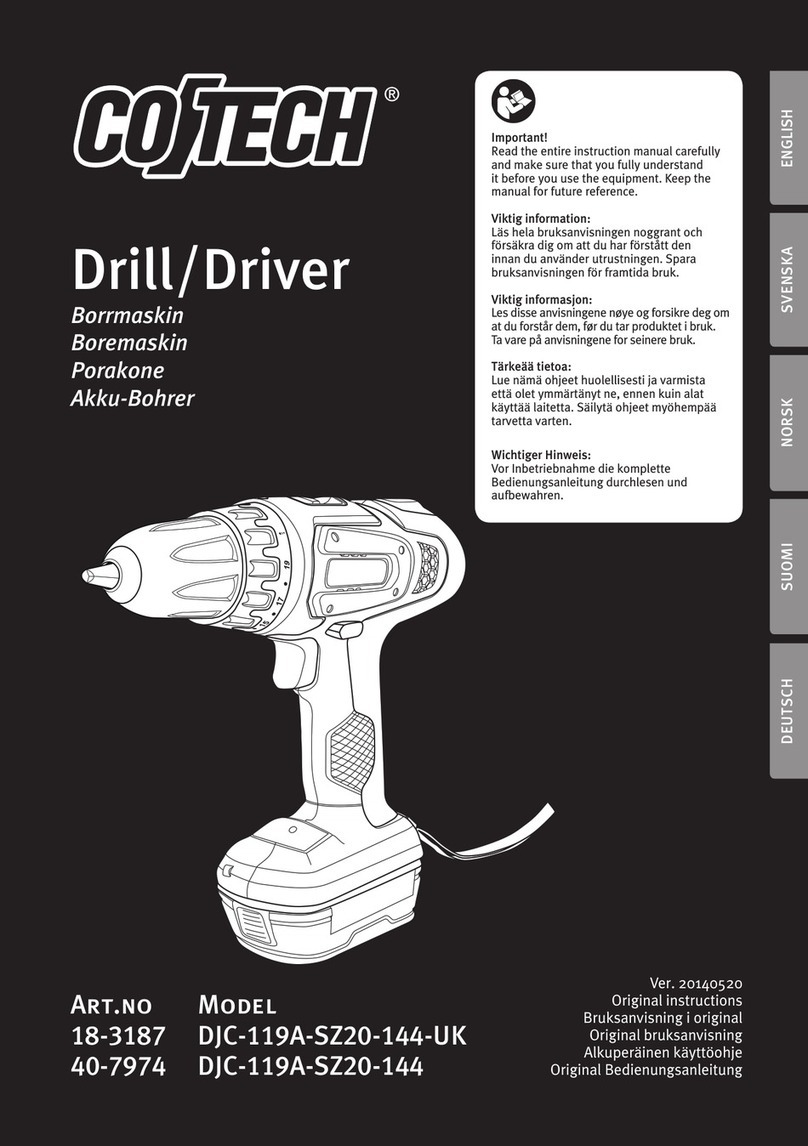
Clas Ohlson
Clas Ohlson DJC123-108-UK User manual

Clas Ohlson
Clas Ohlson DS43 User manual

Clas Ohlson
Clas Ohlson Z1J-TD3-13D User manual

Clas Ohlson
Clas Ohlson DJC123-108-UK User manual

Clas Ohlson
Clas Ohlson Z1J-TD3-13E-UK User manual

Clas Ohlson
Clas Ohlson DJC123-120-UK User manual

Clas Ohlson
Clas Ohlson Z1J-TD3-13 User manual

Clas Ohlson
Clas Ohlson DJC-119A-SZ20-144-UK User manual