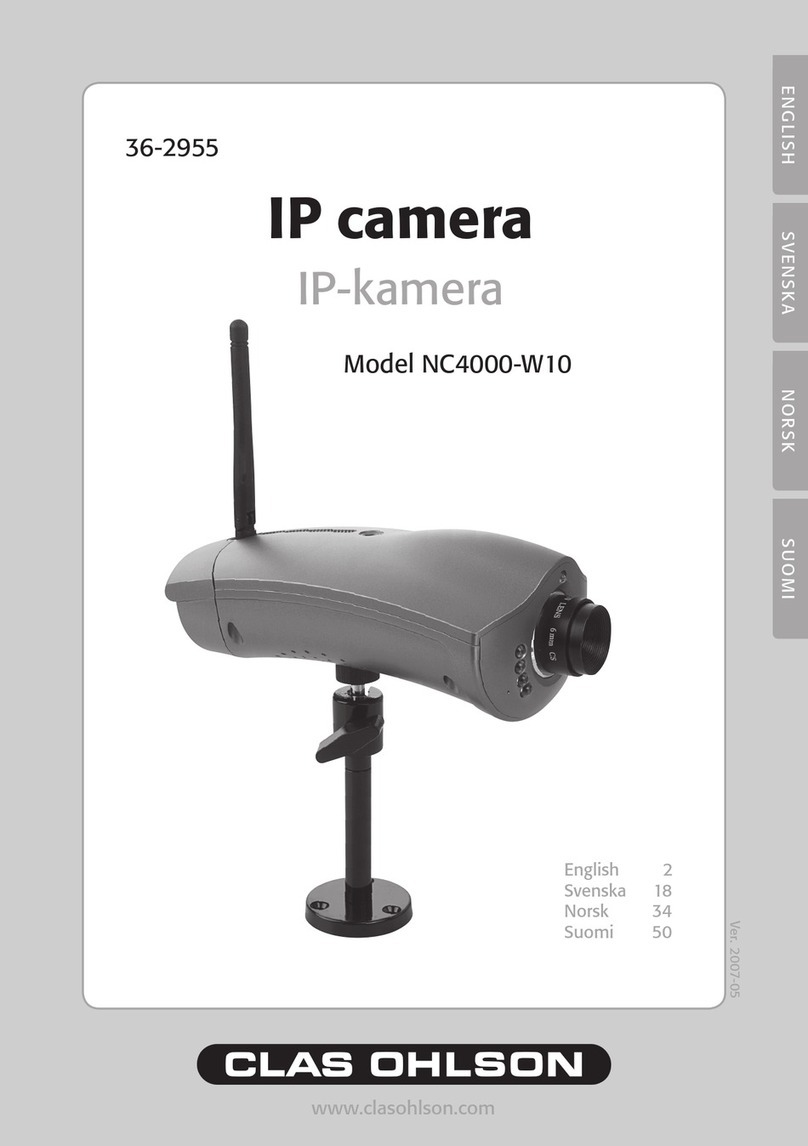
Clas Ohlson NC802APT User manual

ENGLISH SVENSKA NORSK SUOMI
36-2914/18-2062
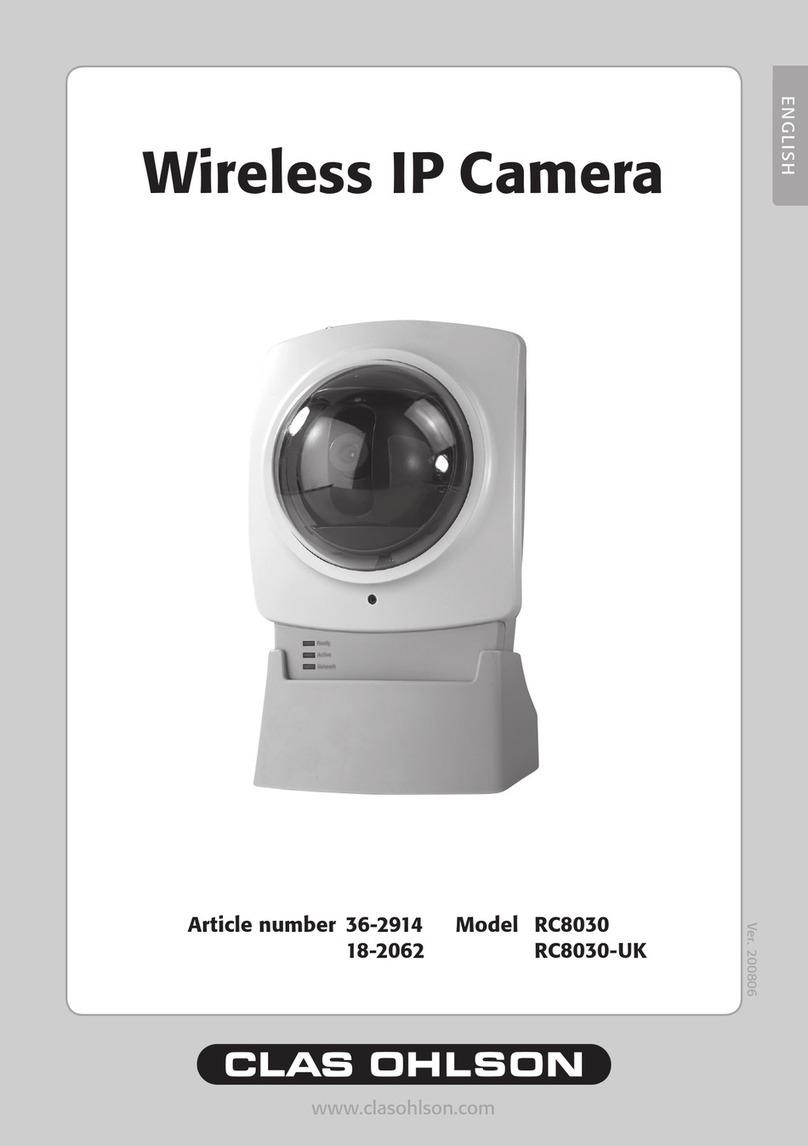
IP camera
Model/Modell/Malli:NC802APT

2
ENGLISH
Quick guide – IP Camera
Art. No 36-2914/18-2062, model NC802APT
Please read the entire instruction manual before using and save it for future use.
We apologise for any text or photo errors and any changes of technical data.
If you have any questions concerning technical problems please contact our
Customer Service Department (see address on reverse.)
Note! This is only a quick guide so that you can quickly get started with the
product. A complete operator's manual in English is found on the supplied CD.
Safety
• The camera is for indoor use only.
• Use only the supplied or recommended power adaptor (5V DC).
• Never expose the camera to moisture or humidity.
• Always disconnect the camera from the electricity network before cleaning.
• Never dismantle the camera. Dangerous current exists unprotected in certain
components within the product casing. Contact with this can give electrical
shock.
System demands
• Network connection PC with Windows 2000 or XP
• Microsoft Internet Explorer 5.x or later
Product Description
Wireless IP camera with motor for possibility to control the camera from another
computer.
• 126° (horizontal) + 64° (vertical) panorama angle.
• Motion detector and built-in microphone.

3
ENGLISH
Buttons and Functions
Front view of camera
Camera lens The camera lens can be adjusted. However make sure that
it is clean from dirt and dust to obtain the best image.
Microphone The built-in microphone is place in the front of the camera.
There is also a socket on the back of the camera for
an extra microphone. When an external microphone is
connected the internal microphone is disconnected.
Power LEDs light up with steady shine when the camera is
turned on.
When the camera starts the LEDs blink for 15-20 seconds.
Active When the LEDs blink, the camera image is transferred in
real time to one or several users.
Network LEDs light up with steady shine when the camera is
connected to a network.
The LEDs blink when the data is transferred to the network.

4
ENGLISH
Back view of camera
Power Input Connection for the supplied power adaptor.
MIC IN Connection (3.5 mm) for external microphone (e.g. a regular
microphone for pc). The camera’s built-in microphone is
automatically disconnected when an external microphone is
connected.
LAN Connect a standard network cable to connect the camera to
your network switch or router.
Note!
• When a network cable is connected the wireless network
(WLAN) is automatically disconnected.
• The power adaptor must always be disconnected before
you connect or disconnect the network cable for the
camera to be able to change between LAN or WLAN.
Reset The reset button has two functions:
• A quick press restores the camera to a DHCP client (the
camera obtains IP address from e.g. a router. A personal
congured IP address is taken away).
• A long press (press and hold in for 3 seconds)
restores the IP address, administrator’s name and the
administrator’s password. The LED (Power) blinks three
times when the camera is restored.
• IP address: DHCP
• Administrator’s name: administrator
• Administrator’s password: (no password)

ENGLISH
Mounting & Installation
1. Mounting of antenna
Attach the supplied antenna to the bracket on the top of the camera. The
antenna can be angled for the best possible reception. The best reception is
obtained with the antenna angled vertically.
2. Camera assembly
Mount the camera in the supplied table stand or mount it on the ceiling or wall
next to the bracket hole on the back of the camera.
3. Connection of network cable
Connect a standard network cable to the LAN connection to connect the
camera to your network switch or router.
When a network cable is connected the wireless network (WLAN) is
automatically disconnected.
• For conguration it is recommended that the camera is connected through the
network cable.
4. Starting the camera
Connect the supplied power adaptor to the input marked POWER. The camera
starts automatically up. Use only the included or recommended adaptor.
. Indicator lights
POWER When started the light is lit a short while before it changes to a
blinking light for 15-20 seconds. Thereafter the light shines
steadily.
ACTIVE The LEDs blink only when the camera image is transferred in
real time to one or several users.
NETWORK Lights when the camera is connected to the network.

6
ENGLISH
Install the configuration program
The following installation instructions apply for Windows XP with Service pack 2
installed.
1. Insert the supplied CD into the computer’s CD-ROM drive. The installation
guide automatically starts and the start image is displayed. If the installation
does not start automatically, use a le explorer setup.exe application found
directly under the root folder on the CD-ROM.
2. When the installation program has started a welcome image is displayed.
Click on Setup Camera to start the installation.
3. The installation program searches for the camera on the network and then
displays the camera in the list to the left.
• Mark the camera and click “►” next.
• In the next dialogue you enter the user name and password for the camera.
Click “►” next.
The preset user name and password are:
• User name: Administrator
• Password: (no password)
4. Select if the camera is to use a xed IP address (Fixed IP address) or to
automatically obtain an IP address (Dynamic IP address) from e.g. a router
with DHCP function. Select your choice and click “►” next.

ENGLISH
5. If you have chosen to give the camera a xed IP address in the earlier step
TCP/IP Settings appears in the dialogue box.
– Enter a free IP address, Subnet Mask and Default Gateway for your network.
– Fill in Primary DNS and Secondary DNS if you wish to use the email and DNS
functions. See information from your broadband supplier.
Click “►” next to continue.

8
ENGLISH
6. Enter the network adjustments in the following dialogue box if the camera is to
be used with the wireless:
Mode – Select Infrastructure if you have an Access Point.
If you use a wireless router select AD-hoc.
ESSID – Enter your wireless network’s SSID
Domain – Select your region in the list.
Channel – If you chose Ad-hoc select the same channel that your wireless
network uses. See the instructions for wireless equipment.
Click “►” next to continue.
7. Select the same security level that your wireless network uses and click
"►” next to continue.

9
ENGLISH
8. If you chose WEP as a security screen in the above step the following dialogue
box is shown above.
– Enter the same security settings as your wireless network.
See the instructions for wireless equipment.
Click “►” next to continue.
9. If you chose WPA-PSK as a security screen in the above step the following
dialogue box is shown above.
– Enter the same security settings as your wireless network.
See the instructions for wireless equipment.
Click “►” next to continue.

10
ENGLISH
10. Enter the camera description as well as time, date and time zone.
Click “►” next to continue.
11. The following dialogue box shows the settings you have just entered.
Click “►” next to save or backward “◄” to change the settings.
12. Click Install Utility when the dialogue box Successful! Appears. The
installation of the video program begins.
13. Follow the installation instructions on the screen to nish the installation.

11
ENGLISH
Using the video program Monitor Manager
1. When the program has begun Monitor Manager is displayed on the screen.
2. Click the Setup button
on the right side of the
screen. The dialogue
box Setup appears.
If you have several
cameras connected to
the network you can
also congure them
here.
3. Select Camera Setup option and
mark the camera in the list Camera
List. Enter a number for the camera
in the Local ID eld. If needed you
can also change the camera setting
in the eld Camera Data to the
right.
4. Click Add when you have done your settings. The camera is added to the list
of connected cameras.
5. Click Exit. The program returns to the screen image Monitor Manager.
6. Click on the camera’s number in the control panel to the right. The camera
image appears.
7. If you have several cameras connected these are shown in the boxes above.
Click one of the four boxes Video Layout in the control panel to the right to
select how many camera layouts are to be displayed on the screen.
8. Control the camera by clicking on the control arrows in the program’s lower
right corner.

12
ENGLISH
Show the camera image via the web browser
Through the camera web interface you can view camera images in real time.
You can also change existing congurations while adjusting the functions of the
camera such as image, web and email congurations. For further instructions see
the complete operator’s manual in English which is found on the supplied CD-
ROM.
Images in real time can only be shown if the web reader is ActiveX 8.0 –
compatible (e.g. Internet Explorer 6.0).
1. Enter the camera’s IP address (in this case 192.168.1.35) and press Enter.
Tip! Enter a page in the web browser's favourites/bookmarks!
2. When the camera’s web interface is loaded the main menu is displayed in the
left corner.
Note!
• Images in real time can only be shown if the web browser is ActiveX 8.0
– compatible (e.g. Internet Explorer 6.0).
• You must accept and install the Active X component when the question
comes up on the web browser window.
3. Click View Video to show the camera image or click Administration to
change the camera’s settings (you must enter the user name and password to
be able to change the camera settings).
Connecting to the camera via Internet
If the camera is installed in the network behind e.g. a router, the router must
be congured for the camera to be able to be reached from internet. See your
operating instructions for your router.

13
ENGLISH
Care and Maintenance
Use a soft damp cloth to wipe the product. Never use strong solvents or
detergents.
Trouble Shooting Schedule
Not able to connect to the camera / The program does not have contact with the
camera
• Check that any rewalls in your computer are not blocking the camera
connection to the network. Take the rewall away or congure the rewall.
• Make sure that the IP address you gave the camera corresponds with the
network series of IP addresses. Connect the camera and run the conguration
program again.
• Check that the network cable you are using is whole and also of the same type
as the one supplied with the camera.
• Disconnect the camera’s power supply a short while and try again later.
• Try to restore the camera by pressing the reset button in located on the botton
of the camera.
Disposal
Follow local ordinances when disposing of this product. If you are unsure about
how to dispose of this product contact your municipality.
Specifications
Power Supply 5 V DC, 2.5 A via included adaptor
Network LAN/WLAN with support for TCP/IP, SMTP, SHCP, HTTP,
DDNS
WLAN 802.11 g (WPA-PSK, WEP (64/128 bits security)
Max resolution 640x480 (VGA)

14
SVENSKA
Snabbguide - IP-kamera
Art.nr 36-2914/18-2062, modell NC802APT
Läs igenom hela bruksanvisningen före användning och spara den sedan för
framtida bruk. Vi reserverar oss för ev. text- och bildfel samt ändringar av tekniska
data. Vid tekniska problem eller andra frågor, kontakta vår kundtjänst (se adres-
suppgifter på baksidan).
Obs! Detta är endast en snabbguide för att du snabbt ska komma igång med
produkten. Fullständig bruksanvisning på engelska nns på den medföljande cd-
skivan.
Säkerhet
• Kameran är endast avsedd för inomhusbruk.
• Använd endast medföljande eller rekommenderad nätadapter (5V DC).
• Utsätt inte kameran för fukt eller väta.
• Koppla alltid ifrån kameran från elnätet före rengöring.
• Ta aldrig isär kameran. Farlig spänning nns oskyddat på vissa komponenter
inuti produktens hölje. Kontakt med dessa kan ge upphov till elektriska stötar.

1
SVENSKA
Systemkrav
• Nätverksansluten PC med Windows 2000 eller Windows XP.
• Microsoft Internet Explorer 5.x eller senare.
Produktbeskrivning
Trådlös IP-kamera med motor för möjligheten att själv styra kameran
från en annan dator.
• 126 ° (horisontal) + 64 ° (vertikal) panoreringsvinkel.
• Rörelsedetektor samt inbyggd mikrofon.
Knappar och funktioner
Kamerans framsida
Kameralins Kamerans lins kan inte justeras. Dock bör man se till att den är
ren från smuts och damm för att erhålla bästa bild.
Mikrofon Den inbyggda mikrofonen nns placerad på kamerans fram-
sida. Det nns även ett uttag på kamerans baksida för en
extern mikrofon. När en extern mikrofon ansluts kopplas den
interna mikrofonen bort.
Power Lysdioden lyser med fast sken när kameran är påslagen.
När kameran startar upp blinkar lysdioden i 15-20 sekunder.
Active När lysdioden blinkar överförs kamerabilden i realtid till en eller
era användare.
Network Lysdioden lyser med fast sken när kameran är ansluten till ett
nätverk.
Lysdioden blinkar när data överförs till nätverket.

16
SVENSKA
Kamerans baksida
Power
Input Anslutning för den medföljande nätadaptern.
MIC In 3,5 mm anslutning för extern mikrofon (t.ex. en vanlig mikrofon
för pc). Kamerans inbyggda mikrofon kopplas automatiskt bort
när en extern mikrofon ansluts.
LAN Anslut en standard nätverkskabel för att ansluta kameran till din
nätverksswitch eller router.
Obs!
• När en nätverkskabel ansluts kopplas det trådlösa nätverket
(WLAN) automatiskt bort.
• För att kameran ska växla mellan LAN eller WLAN måste
nätadaptern alltid kopplas ifrån innan du ansluter eller kopplar
ifrån nätverkskabeln.
Reset Resetknappen har två funktioner:
• Vid kort tryck återställs kameran till att vara DHCP-klient
(Kameran erhåller IP-adress från t.ex. en router. En egen
kongurerad IP-adress tas bort).
• Vid långt tryck (tryck och håll in i 3 sekunder) återställs IP-
adress, administratörsnamn samt administratörslösenord.
Lysdioden (Power) blinkar tre gånger när kameran återställts.
• IP-adress: DHCP
• Administratörsnamn: administrator
• Administratörslösenord: (inget lösenord)

1
SVENSKA
Montering & Installation
1. Montering av antennen
Skruva fast den medföljande antennen till fästet på kamerans ovansida.
Antennen kan vinklas för bästa möjliga mottagning. Vanligtvis erhålls bäst
mottagning med antennen vinklad vertikalt.
2. Montering av kameran
Montera kameran i det medföljande bordsstället eller montera den i tak eller
vägg via fästhålen på kamerans baksida.
3. Anslutning av nätverkskabel
Anslut en standard nätverkskabel till anslutningen ”LAN” för att ansluta
kameran till din nätverksswitch eller router.
• När en nätverkskabel ansluts kopplas det trådlösa nätverket (WLAN)
automatiskt bort.
• Vid kongureringen rekommenderas att kameran ansluts via
nätverkskabel.
4. Starta kameran
Anslut den medföljande nätadaptern till ingången märkt ”POWER”. Kameran
startar upp automatiskt. Använd endast medföljande eller rekommenderad
nätadapter.
. Kontrollampor
POWER Vid uppstart tänds lampan en kort stund innan den övergår
i blinkande sken i 15-20 sekunder. Därefter lyser lampan med
fast sken.
ACTIVE Lyser endast när kamerabilden överförs i realtid till en eller
era användare.
NETWORK Lyser när kameran är ansluten till ett nätverk.

18
SVENSKA
Installera konfigureringsprogrammet
Följande installationsanvisningar gäller för Windows XP med Servicepack 2
installerat.
1. Sätt i den medföljande cd-skivan i datorns cd-romläsare. Kongureringsguiden
startar automatiskt och startbilden visas. Om kongureringsguiden inte startar
automatiskt, kör då len setup.exe som nns på direkt under roten på cd-
skivan.
2. När installationsprogrammet startat visas välkomstbilden. Klicka på ”Setup
Camera” för att starta installationen.
3. Installationsprogrammet söker efter kameran på nätverket och visar sedan
kameran i listan till vänster.
–Markera kameran och klicka på nästa ”►”.
– I nästa dialogruta anger du användarnamn och lösenord för kameran. Klicka
sedan på nästa ”►”.
Förinställd användarnamn och lösenord är:
– Användarnamn: administrator
– Lösenord: (inget lösenord)
4. Välj om kameran ska använda en fast IP-adress (”Fixed IP Address”) eller att
erhålla en IP-adress automatiskt (”Dynamic IP-adress”) från t.ex. en router
med DHCP-funktion. Markera ditt val och klicka på nästa ”►”.

19
SVENSKA
5. Om du valt att ge kameran en fast IP-adress i föregående steg visas
dialogrutan TCP/IP Settings.
– Ange en ledig IP-adress, Subnet Mask samt Default Gateway för ditt nätverk.
– Fyll i Primary DNS och Secondary DNS om funktionerna e-post och Dynamisk
DNS ska användas. Se dina uppgifter från din Internetleverantör.
Klicka på nästa ”►” för att fortsätta.

20
SVENSKA
6. Om kameran ska användas med det trådlösa nätverket anger du nätverkets
inställningar i följande dialogruta:
Mode – Välj Infrastructure om du använder dig av en accesspunkt. Använder
du en trådlös router väljer du Ad-hoc.
ESSID – Ange ditt trådlösa nätverks SSID.
Domain – Välj din region i listan.
Channel – Om du valt Ad-hoc anger du samma kanal som ditt trådlösa nätverk
använder. Se den trådlösa utrustningens instruktioner.
Klicka på nästa ”►” för att fortsätta.
7. Välj samma säkerhetsnivå som ditt trådlösa nätverk använder och klicka på
nästa ”►” för att fortsätta.
Table of contents
Languages:
Other Clas Ohlson IP Camera manuals
Popular IP Camera manuals by other brands

Hootoo
Hootoo HT-IP212HDP Advanced user's manual

Speco
Speco O2FD4M user manual

HOMEWIZARD
HOMEWIZARD HWEYE01x user manual

BayCom
BayCom B80 series Quick installation guide

Planet Networking & Communication
Planet Networking & Communication ICA-4210P user manual

Balluff
Balluff BVS SC-M1280Z00-07-000 user manual