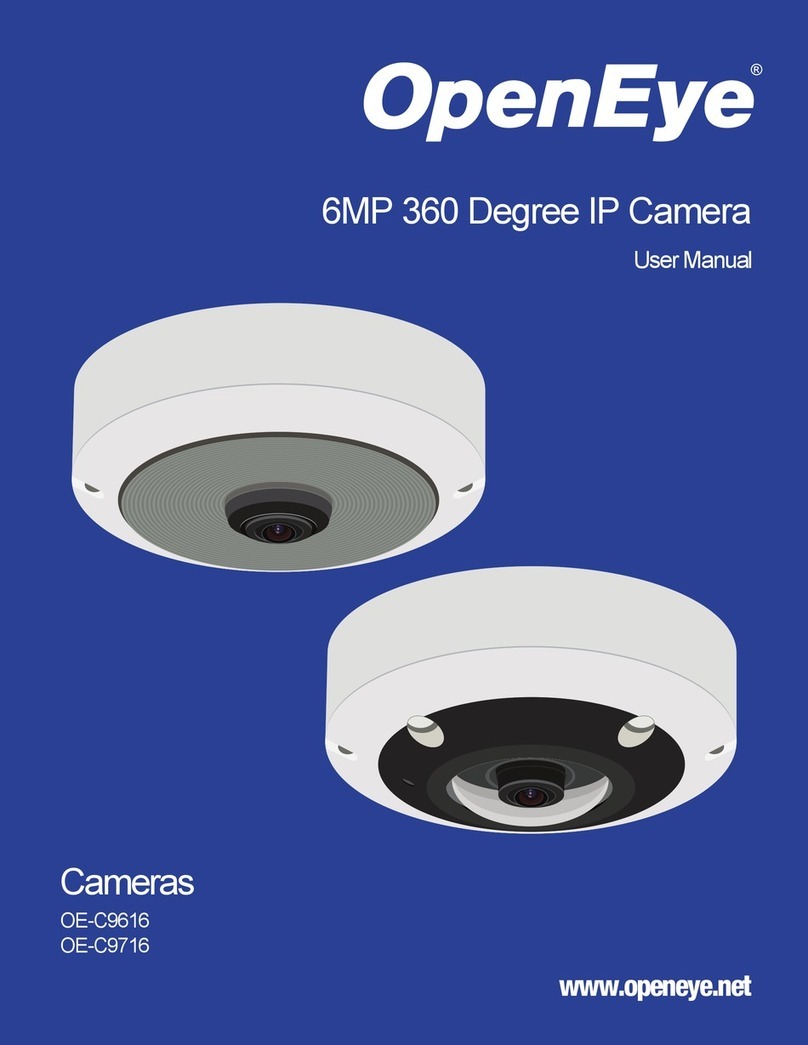
OpenEye OE-C97512 User manual

12MP ULTRA HIGH-DEFINITION
FISHEYE 360° IP CAMERA
USER MANUAL
OE-C97512

36870AD
OE-C9751212MP360°PanoramicFisheyeIPCamera
User Manual
Manual Edition 36870AD –July 2019
©2019, OPENEYE
All Rights Reserved.
Nopart of thisdocumentation maybereproducedinany means, electronic ormechanical, foranypurpose,
exceptasexpressedintheSoftwareLicenseAgreement.OpenEyeshallnotbeliablefortechnicaloreditorial
errors or omissions contained herein. The information inthis document is subject to change without notice.
Theinformationinthis publication is provided“as is” without warranty of anykind. The entire risk arisingout
of the use of this information remains with recipient. In no event shall OPENEYE be liable for any direct,
consequential, incidental, special, punitive, or other damages whatsoever (including without limitation,
damagesforlossofbusinessprofits,businessinterruptionorlossofbusinessinformation),evenifOPENEYE
has been advised of the possibility of such damages and whether in an action or contract or tort, including
negligence.
Thisdocumentationiscopyrighted.AllotherrightsarereservedtoOPENEYE.OPENEYE,andOpenEye,are
registeredtrademarksofOPENEYEintheUnitedStatesandelsewhere;Windows,WindowsXPEmbedded,
andWindows 7 Embedded are registered trademarks of Microsoft Corporation. All other brand and product
names are trademarks or registered trademarks of the respectiveowners.
OPENEYE
Liberty Lake, WA ● U.S.A.

10
Important Safeguards
Read Instructions
Read all of the safety and operating instructions before using the product.
Retain Instructions
Save these instructions for future reference.
Attachments / Accessories
Do not use attachments or accessories unless recommended by the appliance manufacturer
as they may cause hazards, damage product and void warranty.
Installation
Donotplaceormountthisproductinoronanunstableor improperlysupportedlocation.
Improperlyinstalledproductmayfall,causingseriousinjurytoachildoradult,anddamageto
theproduct.Useonlywithamountingdevicerecommendedbythemanufacturer,orsoldwith
theproduct.Toinsurepropermounting,followthemanufacturer'sinstructionsanduseonly
mounting accessories recommended bymanufacturer.
Power source
Thisproductshouldbeoperatedonlyfromthetypeofpowersourceindicatedonthemarking
label.
Precautions
Operating
•Before using, make sure power supply and other cables are properly connected.
•Whileoperating,ifanyabnormalconditionormalfunctionis observed,stop usingthe
camera immediately and then contact your localdealer.
Handling
•Do not disassemble or tamper with parts inside thecamera.
•Do not drop or subject the camera to shock and vibration as this can damage camera.
•Caremustbe taken when you clean the clear dome cover. Scratches and dust will ruin
the image quality of your camera. Do not use strong or abrasive detergents when
cleaning the camera body. Use a dry cloth to clean the camera when it is dirty.Incase
the dirt is hard to remove, use a mild detergent and wipe the camera gently.
Installation and Storage
•Installelectricitywiringcarefully.Pleasenotethatinputelectricitytotheunitisat
tolerance of DC 12V±25%.
•Donotinstallthecamerainareasofextremetemperaturesinexcessoftheallowable
range. (-31 °F ~ 140 °F)
•Avoid installing in humid or dusty places. The relative humidity must be below 90%.
•Avoid installing in places where radiation ispresent.
•Avoid installing in places where there are strong magnetic fields and electric signals.
•Avoidinstallinginplaceswherethecamerawouldbesubjecttostrongvibrations.
•Whetherthe camera is in useor not, never aim itat the sunor otherextremely bright
objects. Otherwise the camera may be smeared and damaged.

36870AD
RISK OF ELECTRIC SHOCK
DO NOT OPEN
CAUTION: TO REDUCE THE RISK OF ELECTRIC SHOCK,
DO NOT REMOVE COVER (OR BACK).
NO USER-SERVICEABLE PARTS INSIDE.
REFER SERVICING TO QUALIFIED SERVICE PERSONNEL.
CA UT I O N
Regulation
This device complies with Part 15 of the FCC Rules. Operation is subject to the following two
conditions: (1) this device may not cause harmful interference, and (2) this device must accept
any interference received, including interference that may cause undesired operation.
Warning
DANGEROUS HIGH VOLTAGES ARE PRESENT INSIDE THE ENCLOSURE.
DO NOT OPEN THE CABINET.
REFER SERVICING TO QUALIFIED PERSONNEL ONLY.
Caution

4
TABLE OF CONTENTS
INTRODUCTION .............................................................................................................................. 5
Overview...................................................................................................................................................5
Product Features..................................................................................................................................5
CONNECTIONS ............................................................................................................................... 6
Camera Box Contents ..............................................................................................................................6
Dimensions...............................................................................................................................................7
Bottom of Camera.....................................................................................................................................8
Removing the Camera Cover ...................................................................................................................9
Connections............................................................................................................................................10
Ethernet Cable Connection.....................................................................................................................11
Weather Resistant Cable Connector ......................................................................................................12
NETWORK CAMERA MANAGER SOFTWARE............................................................................... 13
Installation...............................................................................................................................................13
Launching Network Camera Manager................................................................................................13
Camera Configuration.............................................................................................................................15
Device Addressing..............................................................................................................................15
Setup & Configuration.............................................................................................................................17
Connecting to the Camera..................................................................................................................17
Video Settings ....................................................................................................................................18
System Settings..................................................................................................................................18
Live .........................................................................................................................................................19
Setup.......................................................................................................................................................20
Basic Camera Settings.......................................................................................................................20
Network Settings ................................................................................................................................21
Streaming Settings.............................................................................................................................28
Picture Settings ..................................................................................................................................33
Events Settings...................................................................................................................................38
storage Settings..................................................................................................................................39
Security Settings.................................................................................................................................40
Maintenance.......................................................................................................................................42
CAMERA SPECIFICATIONS.......................................................................................................... 45
36870AD
INTRODUCTION
OVERVIEW
The OE-C97512 Ultra High Definition 360° 12MP camera delivers superior IP video quality while
capturing activity in all directions. This camera comes with embedded IR LEDs to enhance the
quality of nighttime images. Additional features include a movable IR cut filter for true day/night
images, dual streaming capability, and (camera side) encoding. The Smart Compression option
reducesstoragerequirementsbyupto70% whilemaintaininghighresolution video allowing youto
meetvideoretentionandresolutionrequirementsforless.TheOE-C97512is IK10ratedandcomes
in IP66-rated weatherproof housing.
AllOpenEyecamerasarefullyONVIFcompliantandcompatiblewiththeOpenEyeWebServices
platform, allowingmultiple userstoviewhighqualityimages and perform setupthrough aremote
web browser.
PRODUCT FEATURES
•12MP (4000x3000) maximum resolution
•1.8mm @ F2.4 focal length
•IP66 outdoor rating
•True Day/Night (movable IR cut filter)
•Digital Wide Dynamic Range
•Smart Compression
•Panoramic Image
•IK10 vandal resistant rating
•ONVIF Profile S compliant
•Up to 8 Regions of Interest

6
Waterproof Cable Connector
Mounting Template
Quick Start Guide
Plastic Anchors and Screws
OE-C97512 IP Camera
CONNECTIONS
CAMERA BOX CONTENTS
Before proceeding, please check thattheboxcontains theitemslistedhere. Ifany item is
missing or has defects, do not install or operate the product and contact your dealer for
assistance.

36870AD
DIMENSIONS

8
BOTTOM OF CAMERA

36870AD
REMOVING THE CAMERA COVER
Press locking tab and slide cover forward to remove the camera cover.

10
CONNECTIONS
Cable Connections
RJ-45
1
Data Connection & PoE Power
Audio I/O
2
Audio In
Audio Out

36870AD
ETHERNET CABLE CONNECTION
Connect one end of the CAT 5 Ethernet cable to the RJ-45 connector of the camera and the other
end of the cable to the network switch orrecorder.
Check thestatusofthelink indicatorandactivity indicatorLEDs.IftheLEDs areunlit, check theLAN
connection.
The Green link light indicates a good network connection.
TheOrangeactivitylightflashestoindicatenetworkactivity.

12
WEATHER RESISTANT CABLE CONNECTOR
This camera features an IP66-rated weather resistant connector. For unprotected outdoor
connections,screwtheconnectorontheincluded Ethernetcamera cable onto thecamera dongle.If
your installation location does not require a water-resistant connection, loosen and slide the
connector back on the cable until it’s out of the way.
This camera features an IP66-rated waterproof cable connector for unprotected outdoor
connections. You do not need to re-terminate the cable to use the waterproof cable connector.
Included Pieces:
Thread Lock Cap
Silicone Seal Ring
RJ45 Enclosure
Small Silicone “O”
Ring
To Install the weather resistant cable connector, follow these steps:
1. Slide all pieces of the waterproof cable connector over the cable plug in this order:
•Thread Lock Cap
•Flexiblesiliconesealring.Youwillneedtostretchthesiliconesealover
the RJ-45 plug.
•
RJ45 Enclosure
2. Stretch the small silicone “O” ring onto the camera dongle.
3. Connect the cameracabletothe plug on the dongle. Screw the RJ45 Enclosure into
the dongle.
4. Insert the flexible silicone seal into the “crown” section of the large plastic ring.
5. Screw the small plastic ring into the large plasticring.
CAUTION: Do not attempt to disconnect the camera connection without loosening the smaller thread lock cap.
Do not force. Forcing the assembly will break the camera dongle and will void camera warranty.
Note: Insert the flexible silicone seal ring onto the tip of a pair of needle nose pliers and stretch the
seal over the RJ45 plug.
Note: To remove the RJ45 enclosure from the plug, tape down the locking tab with electrical or
office tape.

36870AD
NETWORK CAMERA MANAGER
SOFTWARE
OpenEye Network Camera Manager (NCM) isa software toolthat allows you toquicklyandeasily
connectandconfigureyourOpenEyeIPCameras.Thissoftwareallows youtoassignIPaddresses,
configure video settings, and update firmware on multiple cameras at once.
The Network Camera Manager software is pre-installed on all OpenEye Recorders, and is also
availablefordownloadontheOpenEyewebsiteforinstallationon yourpersonalcomputerorlaptop.
INSTALLATION
LAUNCHING NETWORK CAMERA MANAGER
Afterinstallingtheprogram on yourPCorlaptop, open Network Camera Manager tobegin
configuring your cameras.
Because Network CameraManager isaJavaapplication, youareabletoinstallNCMonboth
Windows and Linux platforms.
ForApexWindowsandLinux platforms,NetworkCameraManagerwillbepre-installedon your
OpenEye recorder. Follow the instructions below to launch Network Camera Manager.
Launch from Apex Windows Recorders
1. Exit the recorder Live Screen.
2. From the Windows Start menu, launch Network CameraManager.

14
Launch from Apex Linux Recorders
1. In the Apex Settings menu, click Launch SupportTools.
2. Click the Network Camera Manager icon.

36870AD
CAMERA CONFIGURATION
DEVICE ADDRESSING
The functions on the Device Addressing tab allow you to find, configure, and view network cameras.
Finding Network Devices
1. Click Refresh to reload the DeviceList.
2. TonarrowyoursearchbyCameraModelandNetworkLocation,usetheModelFilterand
Networks dropdowns.
MAC Address search is also available if you are looking for a specific device.
Load inWeb Browser
Network
Camera
Model

16
Viewing a Network Camera
1. Click Load in the row of the desiredcamera.
2. TypetheUsernameandPasswordforthecamera.Theusernameandpasswordarecase
sensitive.Itisstronglyrecommendedthatthepasswordbechangedaftertheinitialsetupto
prevent unauthorized access. The default username and password for OpenEye IP cameras
are as follows:
Username –admin
Password –1234
3. The viewer software is now opened in an internet browser.
4.
You can now configure your camera using the Viewer Software. For more information on using
Viewer software, please see the user manual for your camera.

36870AD
SETUP & CONFIGURATION
CONNECTING TO THE CAMERA
1. Locate the camera on the Device List.
2. Click Load to open the camera in the webviewer.
3. Log in to the camera with the appropriate Username and Password.
Resetting the Camera
If itis necessarytoreset the camera tothe factory default settings, hold down the Reset button (see
CameraOverview)for30seconds.Thiswillreturn allsettings,includingnetworksetup,tothefactory
default.
Administrator/User Privileges
TheAdministratoraccounthastheauthoritytoconfiguretheIPcameraandauthorizeusers’ access
to the camera. The User accounts have access to the camera with limited authority.
Note ThedefaultUsernameis“admin” andthedefaultPasswordis“1234”. Theusernameand
password are case sensitive.

18
VIDEO SETTINGS
The Video Settings menu configures the camera’s
basicsettings,includingframerate,bitrate, andthe
streaming codecs.
1. Usethedropdownmenustoconfigurethe
Video Orientation, Sharpness, and Wide
Dynamic Range.
2. Click Apply to save each selection.
3. UsetheCodecoptionsdropdownto
configure the desired Streams.
4. ClickApplyatthebottomofthewindowto
save all changes.
SYSTEM SETTINGS
The System Settings menu allows you to
change your Password, specifythe Date /
Time,andperformcameraMaintenance.
Factory Default —Return camera to original
factory settings. This maintains the firware.
Reboot —Reboot the camera. This maintains
the firmware and current settings.
Other manuals for OE-C97512
3
Table of contents
Other OpenEye IP Camera manuals

OpenEye
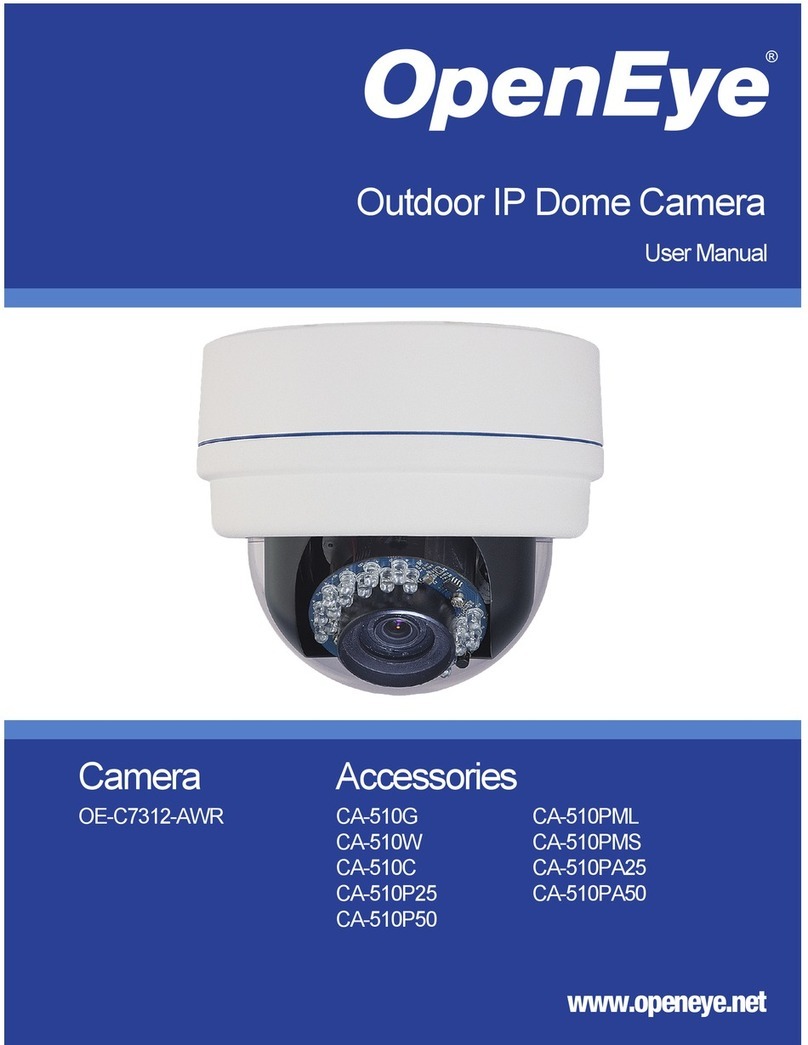
OpenEye OE-C7312-AWR User manual

OpenEye
OpenEye CM-650 User manual

OpenEye
OpenEye OE-C9616 User manual

OpenEye
OpenEye CM-816 User manual

OpenEye
OpenEye CM-711 User manual

OpenEye
OpenEye OE-C2012B8 User manual

OpenEye
OpenEye OE-C6412-R User manual

OpenEye
OpenEye OE-C6412-RT User manual

OpenEye
OpenEye CM-722I User manual

OpenEye
OpenEye OE-C6413-AWR User manual