Clas Ohlson KW-1004-iR User manual

KW-1004iR
User’s Manual
1.-/ 2ABC 3DEF
4GHI 5JKL 6MNO
7PQRS 8TUV 9WXYZ
0-/--
AUTOSC AN
CD i.R adi o USB
SD/MMC FM M.Serv er
FileMg r AUX
OK
REC
STOP
ESC/
REPEAT RANDOM
TIMER INFO A-B
CLOCK ST.MO
X-BASS SLELP
P-EQ MUT E
MEMORY PLAY/
PAUSE
SETUP
DIMMER
STANDBY
i net
-
VOL+

!"
!
#
$
!
%&
This device complies with Part 15 of the FCC Rules. Operation is subject to the
following two conditions: (1) This device may not cause harmful interference, and
(2) This device must accept any interference received, including interference that
may cause undesired operation.
Warning: Changes or modifications to this unit not expressly approved by the
party responsible for compliance could void the user’s authority to operate
the equipment.
NOTE: This equipment has been tested and found to comply with the limits
for a Class B digital device, pursuant to Part 15 of the FCC Rules. These
limits are designed to provide reasonable protection against harmful
interference in a residential installation. This equipment generates, uses and
can radiate radio frequency energy and, if not installed and used in
accordance with the instructions, may cause harmful interference to radio
communications.
However, there is no guarantee that interference will not occur in a particular
installation. If this equipment does cause harmful interference to radio or
television reception, which can be determined by turning the equipment off
and on, the user is encouraged to try to correct the interference by one or
more of the following measures:
Reorient or relocate the receiving antenna.
Increase the separation between the equipment and receiver.
Connect the equipment into an outlet on a circuit different from that to
which the receiver is connected.
Consult the dealer or an experienced radio/TV technician for help.

'& (
)& *
+& ,
-& .
/& 0
1& 2
3& 04
$
5& 0
%&
6& 078
97
4
':&;
''&<=
')&>
?
=8
'+&>
'-&(!!
8
!

2
Contents
Chapter 1 Overview 6
1.1 Introduction 6
1.2 Audio sources 6
1.3 Record 6
1.4 Networking 7
1.5 Others 7
Chapter 2 Installation 8
2.1 Installation 8
2.1.1 LAN setting 8
2.1.2 Wireless LAN setting 8
2.2 Boot for the First Time 9
- Network setting - LAN 11
- Network setting –WLAN (with WiFi Dongle) 12
- Can not find Access Point 13
- Select an existing Access Point that does not need an encryption 14
- Fail to connect to Access Point 15
Chapter 3 CD 17
3.1 Inserting a CD into the CD Tray 17
3.2 Getting CD Information 17
3.3 Playing an Audio CD 18
3.4 Playing an MP3/WMA CD 19
3.5 CD Ripping 20
3.5.1 Converting All the Tracks within the Disc 20
3.5.2 Converting Selected Tracks within the Disc 20
3.6 Now Playing 22
3.7 Lyrics 23
3.8 Balance 24
Chapter 4 Internet Radio 25
4.1 Introduction 25
4.2 World Station 25
4.3 SHOUTCast 27
4.4 Add/Delete a Radio Station 27

3
Contents
4.5 Access to Live365 28
4.6 Add/Delete A Radio Station in/from Live365 29
4.7 Internet Radio Recording 30
4.7.1 Both USB and SD/MMC Storage Media are Ready 30
4.7.2 Only One Storage Medium is Ready 30
Chapter 5 USB / iPod 32
5.1 Playing Songs on the USB Disk 32
5.2 Apple iPod Support 32
5.2.1 Supported iPod Models 33
5.2.2 Supported iTunes Version 33
5.3 Playing Songs on Apple iPod 33
Chapter 6 SD/MMC 34
6.1 Playing Songs on the SD/MMC Card 34
Chapter 7 FM Radio 35
7.1 Listening to FM Radio 35
7.2 Tuning the FM Frequency 35
7.3 Prescanning All Active FM Radio Stations 36
7.4 Presetting a Favorite Station 37
7.5 Listening to a Preset Station 37
7.6 Ripping From FM 38
Chapter 8 Upnp – Media Server 39
8.1 Supported Media Server 39
8.2 Setting Upnp Environment 39
8.2.1 UPnP Networked Environment Diagram 39
8.3 Playing Songs on UPnP Media Server 40
Chapter 9 File Manager 41
9.1 Copy/Move Files to an USB Disk or SD/MMC Card 41
9.2 Copy/Move Files to iPod 42

4
Contents
Chapter 10 AUX 44
10.1 AUX Mode 44
10.2 Recording in AUX Mode 44
Chapter 11 Setup 46
11.1 Date & Time 46
11.1.1 Setting the Date 46
11.1.2 Setting the Time 47
11.1.3 Setting the Time formation 48
11.2 Alarm 48
11.2.1 Setting the Alarm 48
11.2.2 Setting the Alarm Sound 49
11.2.3 Disarming the Alarm 50
11.3 Sleep 51
11.3.1 SLEEP Mode 51
11.4 Network 51
11.4.1 Understanding the Networking States on Smart Boombox 52
11.4.2 Setting the Wi-Fi Connectivity 53
11.4.3 Setting the Wi-Fi Connectivity by Wi-Fi Wizard 53
11.4.4 Inputting Static IP 55
11.4.5 Inputting DNS 56
11.4.6 Inputting Proxy 56
11.5 Live365 Login 59
11.6 Information 60
11.7 Language 60
11.8 Reset All Settings 61
11.9 Firmware Upgrade 61
11.9.1 Upgrade Firmware by Using USB / SD/MMC 61
11.9.2 On-Line Upgrade 62
Chapter 12 Trouble Shooting 63
12.1 FAQ 63
12.1.1 Recording 63
12.1.2 Internet Radio 63

5
NOTICE:
Recording/Ripping any audio content made with this system is only
for your personal use. It should not be sold, distributed, and played for a
public audience without copyright holder’permission.
Copyright Description
WARNING:
Gracenote Logo must appear on the items printed in full color
Gracenote Logo must appear on the items printed in full colorGracenote Logo must appear on the items printed in full color
Gracenote Logo must appear on the items printed in full color
Gracenote Logo must appear on the user manual
Gracenote Logo must appear on the user manualGracenote Logo must appear on the user manual
Gracenote Logo must appear on the user manual
Devices contains Gracenote technology must
Devices contains Gracenote technology mustDevices contains Gracenote technology must
Devices contains Gracenote technology must have Gracenote Logo
have Gracenote Logo have Gracenote Logo
have Gracenote Logo
visible on the front of the device.
visible on the front of the device.visible on the front of the device.
visible on the front of the device.
iPod is produced by Apple
iPod is produced by AppleiPod is produced by Apple
iPod is produced by Apple®
iTunes is produced by Apple
iTunes is produced by AppleiTunes is produced by Apple
iTunes is produced by Apple®
MusicID service is provided by Gracenote™
For more information visit http://www.gracenote.com

SAFETY PRECAUTIONS
1
ENGLISH
HAZARD WARNING: TO REDUCE THE RISK OF FIRE OR ELECTRIC SHOCK,
DO NOT EXPOSE THIS PRODUCT TO RAIN OR MOISTURE.
ESD Remark:
In case of malfunction due to electrostatic discharge just reset the product (reconnect of power
source may be required) to resume normal operation
WARNINGS
To reduce the risk of fire or electric shock, do
not expose this appliance to rain or moisture
EXPLANATION OF GRAPHIC SYMBOLS
This product contains a low-power laser emitter

SAFETY PRECAUTIONS
2
ENGLISH
Condensation
• Water droplets or condensation may form
inside the CD player if it is left in a warm,
damp atmosphere.
• The product may not operate correctly if
condensation forms inside it.
• Leave the product in a warm, dry room for 1 to
2 hours to allow the condensation to evaporate.
In the event of a problem, unplug the power cord
and contact a qualified repair technician.
Warning: Ventilation
Your personal CD player has ventilation holes,
which should never be obstructed.
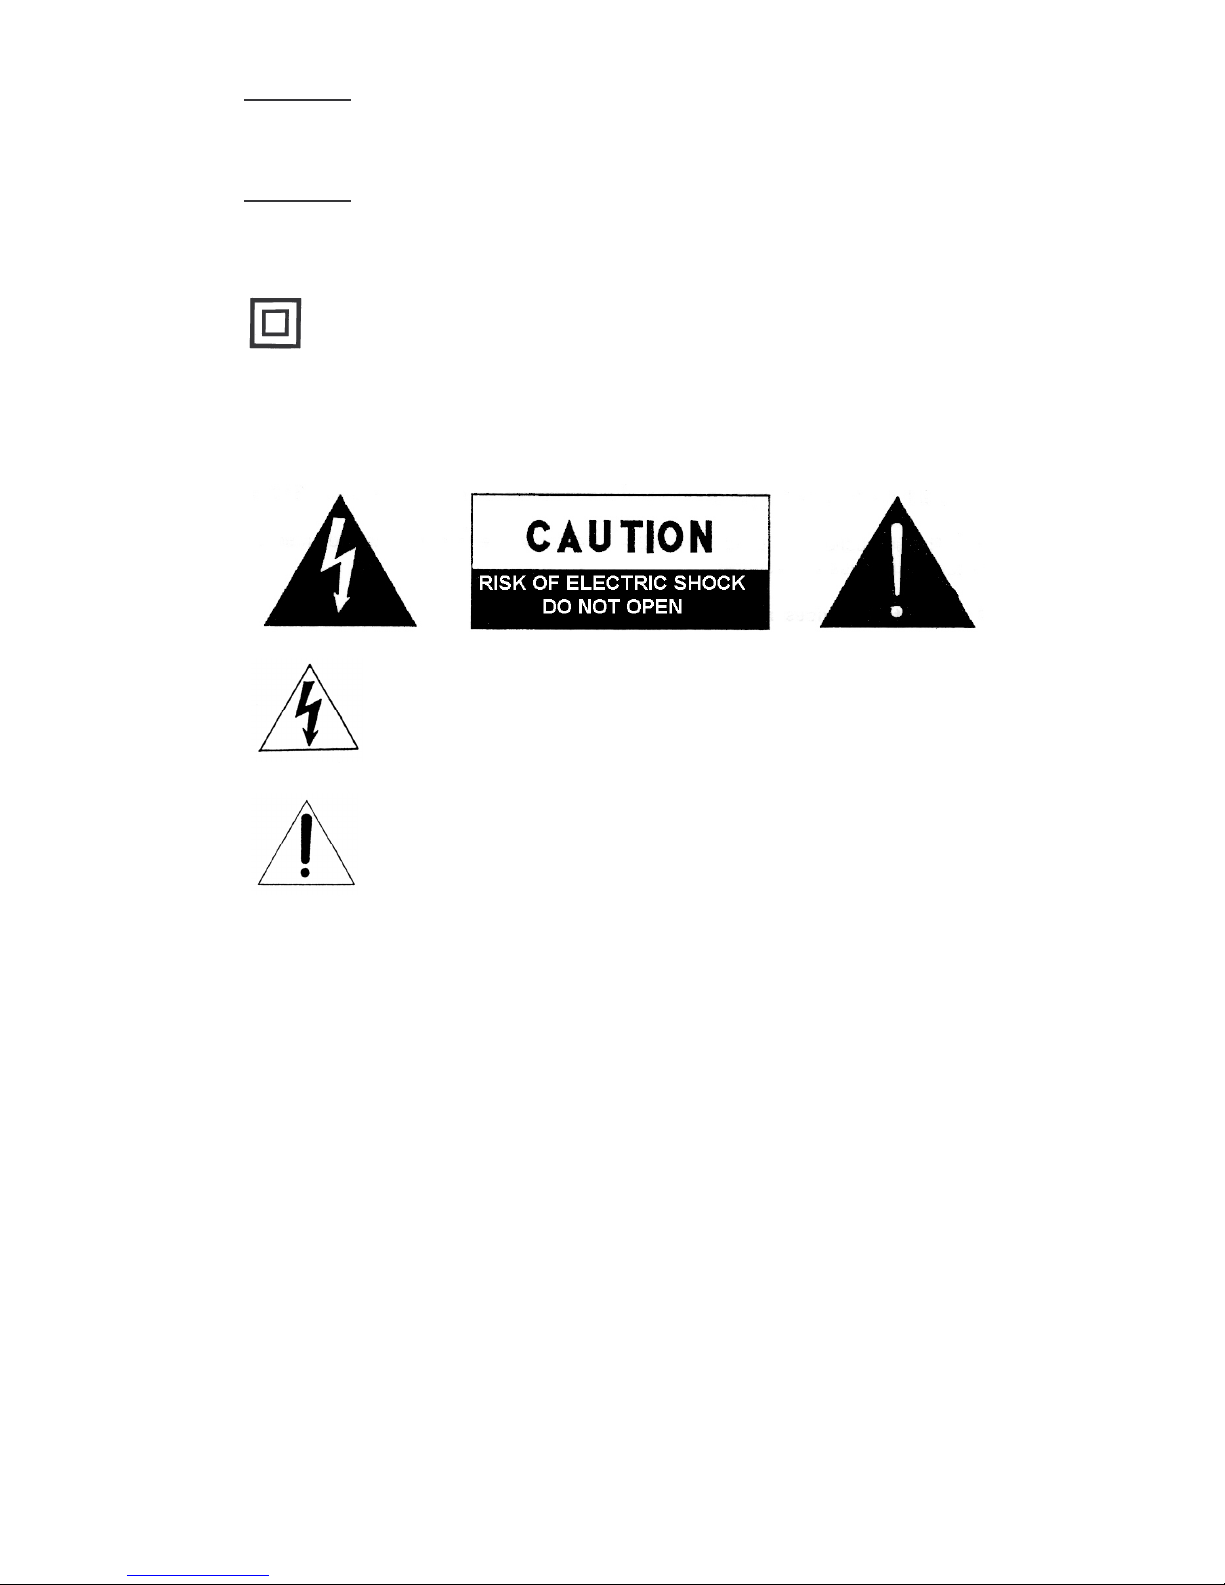
Liquid warning:
Never allow liquids to splash or drip onto the
product. Never place a liquid-filled container
(e.g. vase, jar, etc.) above it.
• The apparatus shall not be exposed to dripping
or splashing and that no objects filled with
liquids, such as vases, shall be placed on
apparatus
• The mains plug is used as the disconnect
device and it shall remain readily operable.
To be completely disconnect the power input,
the mains plug of apparatus shall be
disconnected from the mains.
• The apparatus will be use in open area
• The ventilation should not be impedde by
covering the ventilation openings with items
such as newspaper, table-cloths, curtains etc
• No naked flame sources such as lighted
candles should be placed on the apparatus;
• Attention should be drawn to the environmental
aspects of battory disposal;
• The use of apparatus in moderate climates.
PRECAUTIONS FOR USE
To ensure safe, appropriate use of your personal
CD player, please follow the advice below:
Location
• Do not use the product in extremely hot, cold,
dusty or damp conditions.
• Place the product on a smooth, flat surface.
• Ensure that air is free to circulate through the
product. Do not use it in a poorly ventilated place,
cover it with a cloth or place it on carpet.
Power supply
• Before using the product, check that its rated
voltage is suitable for your mains supply.
Safety precautions
•When you plug in or unplug the power cord,
always Hold the plug rather than the cable.
Pulling the cord could damage it and create a
hazard.
•Always unplug the product from the mains if
you do not intend to use it for an extended period.
•The STANDBY button does not disconnect the
product from the mains power supply.
To disconnect the product from the power supply,
you must unplug the power cord.
•This product should only be used in a horizon-
tal position.
Keep minimum distances(5 cm)around the apparatus
for sufficient ventilation;
The ventilation should not be impeded by covering
the ventilation openings with items, such as
newspapers, table-cloths, curtains, etc;
No naked flame sources, such as lighted candles,
should be placed on the apparatus;
Attention should be drawn to the environmental
aspects of battery disposal. Don't throw used
batteries in dust bin. Please contact your retailer
in order to protect the environment.
Don't use the apparatus in tropical climates;
The apparatus shall not be exposed to dripping
or splashing and that no objects filled with liquids,
such as vases, shall be placed on the apparatus.

1
2
3
4
5
67
89
10 11
12
13
14
15
16
17
18
19
20
21
22
23
24
25
26
1
2
34
56
78
9
10
11
12
1314
1516
17
18
19
20
21
22
23
24
25
26
27
29
28
30
32
31
33
34
35
1. CD DOOR
2.STANDBY BUTTON
3.LCD DSPLAY
4.
5.ENTER/OK BUTTON
6.REC
7.SKIP
8.
9.
10.MEMCRY
11.SETUP/BAND
12.STOP
13.MUTE/SNOOZE
14.MENU
15.UP
REMOTE SENSOR
USB INTERAFCE
STEREO HEADPNONE JACK
BUTTON
BUTTON
BUTTON
BUTTON
BUTTON
BUTTON
BUTTON
LOCATION OF CONTROLS Remote Control Handset
1.STANDBY BUTTON
2. BUTTON
3.CD BUTTON
4.MESHWORK RADIO BUTTON
5.SD/MMC BUTTON
6.FM BUTTON
7.FILE MANAGE BUTTON
8.UP BUTTON
9. MEMCRY BUTTON
10. SKIP
11. REC BUTTON
12. DOWN BUTTON
13.SUTUP BUTTON
14.REPEAT BUTTON
15.TIMER BUTTON
16.INFO BUTTON
17.CLOCK BUTTON
18.X-BASS BUTTON
19.P-EQ BUTTON
20.0-9 BUTTON
21.AUTOSCAN BUTTON
22.USB BUTTON
23.UP NP BUTTON
24.AUX BUTTON
25. PLAY/PAUSE BUTTON
26. SKIP
27.ENTER/OK BUTTON
28.STOP/ESC BUTTON
29.RANDOM BUTTON
30.A-B REPEAT BUTTON
31.ST.MO BUTTON
32. VOLUME
33.SLELP BUTTON
34.DIMMER BUTTON
35.MUTE BUTTON
16.DOWN
17.SKIP
18.
19.
20.PLAY/PAUSE
21.WIRELESS NETWORK CARD JACK
22.SPEAKER
23.
24.
25.DIAPLASIS BUTTON
26.AUDIO OUTPUT
27.AUX IN
28.CROON OUTPUT
29.MESHWORK JACK
BUTTON
SD CARD JACK
VOLUME UP/DOWN
BUTTON
AC JACK
FM ANTENNA
1.-/ 2ABC 3DEF
4GHI 5JKL 6MNO
7PQR S 8TUV 9WXY Z
0-/--
AUTOSCAN
CD i.R adi o USB
SD/ MMC F M UP NP
FileMgr AUX
OK
REC
STO P
ESC /
REPEAT RANDOM
TIMER INF O A-B
CLO CK ST.M O
X-B ASS S LELP
P-E Q MUT E
MEM ORY PL AY/
PAUS E
SET UP
DIM MER
STAND BY
i ne t
-
VOL +
VOL -

6
Chapter I Overview
1.1 Introduction
This unit integrated digital audio playback functions with network connectivity,
which can play Audio CD, Data CD (MP3/WMA audio files),
USB disk, SD/MMC card, FM radio and above 20,000
internet radio stations.
1.2 Audio Sources
●Audio CD (By gathering CD track information from Gracenote CDDB)
●Support MP3/WMA audio files (Included ID3V1 ,2)
●Support static lyrics and synced lyrics (.txt /.lrc /.smi)
●Support USB Flash drive, USB HD drive,Apple iPod
●Live 365 Internet Radio (http://www.live365.com)
●SHOUTCast Internet Radio (http://www.shoutcast.com)
●Local FM On-Line Radio
●FM (87.5~108MHz)
●Support AUX
1.3 Record
●Convert Audio CD tracks into 128kbps MP3 file and save to an USB disk,
SD/MMC card or iPod series. By connecting to Gracenote CDDB may gather
CD track information about the playing CD
●Record Internet Radio Station (Live365/SHOUTCast) and save to an USB disk,
SD/MMC card or iPod series as MP3 files
●Record FM Radio and save to an USB disk, SD/MMC card or iPod series as MP3
files.
●RecordAUX into 128kbps MP3 file save to an USB disk, SD/MMC card or iPod
series.
●Support storage backup management program

7
1.4 Networking
●Support Ethernet 10/100 Mbps
●Support Wireless LAN IEEE 802.11 b/g Dongle (optional)
●Support Infrastructure /Ad-Hoc
●Support WEP 64/128 and WPA-PSK encryption
●Support Proxy Setting
●SMBB provides the wireless setting wizard to make wireless network setup more
easily.
1.5 Others
●Support two alarm clock settings
●Support time sync technology (* network available)
●Support firmware upgrade

8
Chapter 2 Installation
2.1 Installation
NOTE:The voltage is AC 120V~60Hz.
Please check the voltage in your area before plugging in the unit.
2.1.1 LAN Setting
˙Make sure the internet environment is ready and the network setting is
available (ADSL or Cable Modems is highly recommended).
˙The default setting of network is DHCP. (more network setting
please check 11.4 Network)
or
˙
˙˙
˙If you want to listen audio contents from your PC, you can use Cross-over
to connect your SMBB to your PC directly.
2.1.2 Wireless LAN Setting
˙Make sure the internet environment is ready and the network setting is
available.
˙Plug-in the provided Wifi Dongle (More setting please see 11.4
Network)

9
or
˙
˙˙
˙you can receive your audio contents from PC’s under wireless environment
by using Ad-hoc.
2.2 Boot for The First Time
When you turn on the system at the first time, it will check the environment
and search for any available internet protocol automatically. If there is no network
devices connected, you should plug-in LAN or WiFi dongle and
follow the instructions of network wizard. After system does link to the network, it
will process time sync, and then goes to standby mode. Usually it will take 6-30
seconds to finish the whole process.

10
Table 2.2.1 Turn on the unit By Using LAN
When power-on,Penbex Logo shows up
→
1
Checking available network devices
Network Connecting
Network Connecting Network Connecting
Network Connecting …
Network Connecting
→
Time Sync processing
2007
20072007
2007-
--
-May
MayMay
May-
--
-03 Thu..
03 Thu..03 Thu..
03 Thu..
PM
PMPM
PM
Off
OffOff
Off off
offoff
off
Stand-By Mode
˙The default of network setting is LAN (or after you have chosen
“Reset all setting”). You can choose WLAN (wireless), please plug the provided
Wi-Fi dongle into USB port which located at the rear of unit.
˙If you still have problems with network setting, please follow the instructions of
network wizard on next page.

˙
˙˙
˙NETWORK SETTING – LAN
Choose LAN to connect internet
Choose WLAN to connect internet
Exit network wizard mode
˙
˙˙
˙CAN NOT GET DHCP

˙
˙˙
˙NETWORK SETTING – WLAN (wireless)
Choose LAN to connect internet
Choose WLAN to connect internet
Exit network wizard mode

˙
˙˙
˙CAN NOT FIND ACCESS POINT
Select「GO」to run Wizard mode OR Select「EXIT」to quit
(1) CAN NOT FIND ANY ACCESS POINT
Select「RESCAN」to searchAP again OR Select「EXIT」to quit
(2) CAN NOT FIND THE AP YOU WANT, PRESS「
「「
「ESC」
」」
」TO ENTER PRESCAN MODE
Select「RESCAN」to searchAP again OR Select「EXIT」to quit

˙
˙˙
˙SELECT AN EXISTING AP THAT DOES NOT NEED AN ENCRYPTION
Select「Yes」to make a connection OR Select「No」to select other Access Points
˙
˙˙
˙SELECT AN EXISTING AP THAT NEEDS AN ENCRYPTION
After input the encryption, Select「Yes」to make a connection OR Select「No」to select other Access Points

˙
˙˙
˙FAIL TO CONNECT TO ACCESS POIN
1. Select 「Retry」to connect again
2. or Select「Wizard」to search available Access Point
3. or Select「EXIT」to quit
˙
˙˙
˙CAN NOT GET DHCP
1. Select 「Retry」to connect again
2. or Select「Wizard」to search available Access Point
3. or Select「EXIT」to quit
Other manuals for KW-1004-iR
1
Table of contents
Other Clas Ohlson Portable Stereo System manuals
Popular Portable Stereo System manuals by other brands

Audiovox Electronics
Audiovox Electronics Shuttle Boom Box SIR-BB3 user guide

Enabling Devices
Enabling Devices Naxa 393 user guide

Panasonic
Panasonic RXED90 - RADIO CASSETTE W/CD operating instructions

Grundig
Grundig RR 700 CD user manual

Aiwa
Aiwa BBTU-400 instruction manual

Philips
Philips AZ 2048 Product information