Clear Power CP50006 User manual

• Remote control allows for programming the timer
from up to 80ft away
• 7 settings: Always On, On at dusk/O at dawn,
On at dusk, - o in 2, 4, 6 or 8 hours, Always O
FEATURES
Item #CP50006
Outdoor Timer
w/Remote Control
Operating Instructions
USING THE REMOTE CONTROL
Press the button beneath the desired setting.
Example: To program the timer to go on
approximately at dusk and o in 4 hours, press
the button on the remote control beneath
"4hrs" (Fig. 1).
The LED indicator illuminates when any button
is pressed.
Fig 1.
PAIRING THE REMOTE TO THE TIMER
MANUALLY CONTROLLING THE TIMER
INSTALLING THE BATTERY
To install A23 (12V) battery: Remove the back cover of the battery
compartment. Align "+" and "-" ends of the battery to those in the
compartment. Fully insert. Close the cover.
Devices
do
not turn on
approximately
at dusk.
Devices
do
not turn on
when the
timer is in
the “ON”
position.
Lights are
flashing
(turning on
and off).
Timer power
is not “on”
Timer is located
in an area with
too much
ambient light for
the photocell to
sense darkness.
Connected
devices
are
not in the “ON”
position or are
not functioning.
Light bulbs
need to be
replaced.
Timer is in
Dusk-to-Dawn
mode and light
from connected
lights is affecting
the photocell.
Timer is not fully
plugged into the
outlet.
Circuit breaker
connected to
the outlet has
tripped.
Move the timer to another
location where there is no
ambient light.
Ensure the connected devices
are functional by plugging them
directly into the outlet. Be sure
the connected devices are in the
“ON” position if they have their
own switch. Make sure the outlet
the timer is plugged into is active
- the LED should light up when
plugged into an outlet and in the
“ON” position. Check the bulbs
and replace if necessary.
Move the lights away from the
timer, or reposition the timer
so it does not face the lights
directly.
Make sure the timer is fully
plugged into the outlet.
Check the circuit breaker
connected to the outlet and
reset it if needed.
PROBLEM POSSIBLE
CAUSE
CORRECTIVE
ACTION
TROUBLESHOOTING
NOTE: The timer will turn ON approximately at dusk and the red light
next to the desired setting will be ON. After the timed cycle has been
completed the red light next to the desired setting will remain ON to
show that the program is still active and will repeat at dusk each day until
the operating mode is changed. This timer has a power failure back-up
that will remember the last program setting when the power returns.
OPERATING MODES
OFF - Power is OFF to attached devices
ON - Power is ON to attached devices
Dusk-Dawn - Power will turn on at dusk and remain
on until dawn
2 Hrs - Power will turn on at dusk and remain on for 2 hours
4 Hrs - Power will turn on at dusk and remain on for 4 hours
6 Hrs - Power will turn on at dusk and remain on for 6 hours
8 Hrs - Power will turn on at dusk and remain on for 8 hours
• This timer is weather-resistant and rated for outdoor use. The timer will function
outdoors when installed and operated as outlined in this manual.
• This timer operates using a light-sensitive photocell that senses when the
environment is getting dark (dusk) or light (dawn). The photocell is located above the
“Program” button on the face of the timer.
• Once programming activates at dusk in the 2hr, 4hr, 6hr or 8hr mode, the program
cycle will complete before the timer resets. Headlights, porch lights, street lamps and
other external lighting sources will not interfere with the active timer program.
• In the dusk-to-dawn mode, temporary light sources like headlights, porch lights and
other external light sources will not interfere with the photocell function unless the
external light source is on for more than 15 minutes. In that case, the timer will shut o
until darkness is restored.
• When set to “ON”, the timer will provide continual power to attached devices until the
timer is switched to “OFF”, or to any of the other operating modes.
• Do not place the timer hidden in bushes where it won’t sense daylight.
• It may take until complete darkness for the photocell to turn on power to the timer.
• The “Operating Mode” indicator light will turn on when the timer programming is
activated and power is being provided to attached devices.
• Do not use extension cords to connect the timer to the power source.
HELPFUL TIPS
Press the "Program" button repeatedly until
the red indicator light beneath the
operating modes is aligned with the desired
mode.The red light will blink rapidly 3 times to
conrm your selection. The red light next to the
selection will remain on to show that the
program has been set. (Fig. 4)
Fig. 4
The remote control transmitter has already been
paired to the timer. However, if the pairing is lost:
1. Press the "Program" button until the ON indicator
illuminates, then hold the "Program" button for 3-4
seconds until the OFF indicator illuminates and the ON
indicator ashes.
2. Press and hold any button on the remote control
until the ON indicator light on the timer ashes quickly
then turns o. This indicates the pairing is successful.
3. Press any time mode on the remote transmitter.The
indicator light for the corresponding mode on the
timer should illuminate.
To unpair the remote control:
1. Press the "Program" button until the OFF indicator
illuminates and hold the "Program" button for 10
seconds or until all the other indicator lights ash for
one second and then turn o.
(The OFF indicator remains illuminated.)
The remote transmitter is unpaired.To re-pair the
remote transmitter to the timer, follow the pairing
instructions above.
Fig. 3
Fig. 2

SAFETY INFORMATION & SPECIFICATIONS FCC REGULATORY STATEMENT
WARNING: CHOKING HAZARD – Small Parts. Not for
children under 3 years.
!
FOR USE OUTDOORS. MUST BE PLUGGED
INTO A GFCI PROTECTED (GROUND
FAULT CIRCUIT INTERRUPTER)
PROTECTED OUTLET.
This is a“GROUNDED”device. The male plug contains a ground pin
and is only intended for use with a three-pronged grounded
outlet.
This device is for use with a 125VAC power source.
DO NOT LAY TIMER ON THE GROUND. This timer has an eye-hole in
the cord strain relief from which to securely hang it close to the
outdoor electrical outlet.
1. INSTALL TIMER to a vertical at
surface close to a properly installed
outdoor-rated grounded receptacle
a. Using a screw or hook (not included),
secure the MOUNTINGTAB at the top
of the timer to a wall or post.
Dispose the old battery in compliance with all applicable laws.
Contact your local solid waste authority for detailed information.
WARNING: DO NOT DISPOSE OF BATTERIES IN FIRE. BATTERIES
MAY EXPLODE OR LEAK.
• Non-rechargeable batteries are not to be recharged.
• Batteries are to be inserted with the correct polarity.
• Exhausted batteries are to be removed from the product.
• Regularly change the battery in remote control for the best
performance. If you nd the timer programs are not responding,
the battery should be replaced. Always dispose of old batteries
properly with consideration of environment.
• * Make sure the battery and connected devices plugged into the
outlets are installed rmly and correctly for safe operation.
Under Industry Canada regulations, this radio transmitter may
only operate using an antenna of a type and maximum (or
lesser) gain approved for the transmitter by Industry Canada.
To reduce potential radio interference to other users, the
antenna type and its gain should be so chosen that the
equivalent isotropically radiated power (e.i.r.p.) is not more
than that necessary for successful communication.
This device complies with Industry Canada licence-exempt RSS
standard(s). Operation is subject to the following two
conditions: (1) this device may not cause interference, and (2)
this device must accept any interference, including interference
that may cause undesired operation of the device.
WARNING
:
Changes or modications not expressly approved by the
party responsible for compliance could void the user's authority to
operate the equipment.This device complies with part 15 of the FCC
rules. Operation is subject to the following two conditions:
1. This device may not cause harmful interference, and
2. This device must accept any interference received,
including interference that may cause undesired
operation.
Note:This equipment has been tested and found to comply with the
limits for a Class B digital device, pursuant to Part 15 of the FCC
Rules.These limits are designed to provide reasonable protection
against harmful interference in a residential installation.This
equipment generates, uses and can radiate radio frequency energy
and, if not installed and used in accordance with the instructions,
may cause harmful interference to radio communications. However,
there is no guarantee that interference will not occur in a particular
installation. If this equipment does cause harmful interference to
radio or television reception, which can be determined by turning
the equipment o and on, the user is encouraged to try to correct
the interference by one or more of the following measures:
1. Reorient or relocate the receiving antenna.
2. Increase the separation between the equipment and
receiver.
3. Connect the equipment into an outlet on a circuit
dierent from that to which the receiver is connected.
4. Consult the dealer or an experienced radio/TV
technician for help.
IC REGULATORY STATEMENT
Works with CFL, LED
& Incandescent light sources
WARNING: This product can expose you to chemicals including
Di(2-ethylhexyl)phthalate (DEHP), which is known to the State of
California to cause cancer and birth defects or other reproductive
harm. For more information go to www.P65Warnings.ca.gov.
AVERTISSEMENT : Ce produit peut exposer l'utilisateur à des
produits chimiques, notamment le Di(2-ethylhexyl)phthalate (DEHP)
qui est reconnu dans l’état de Californie comme étant à l'origine de
cancers, anomalies congénitales ou autres problèmes de reproduction.
Pour plus de renseignements, aller sur www.P65Warnings.ca.gov.
ADVERTENCIA: Este producto puede exponerlo a sustancias
químicas incluido el Di(2-ethylhexyl) phthalate (DEHP) que en el
Estado de California se ha determinado que producen cáncer,
defectos de nacimiento u otros daños en el sistema reproductor. Para
obtener más información vaya a www.P65Warnings.ca.gov.
Risque de choc électrique
• Gardez les enfants à l’écart.
• Débranchez la minuterie avant de procéder au nettoyage.
• Insérez complètement la fiche.
• N’utilisez pas l’article dans des endroits humides.
Risque d’incendie
• N’utilisez pas cet article pour commander des appareils
qui contiennent des éléments chauffants (appareils de
cuisson, radiateurs, fers, etc.).
• Ne dépassez pas les capacités électriques. Pour usage à
l’intérieur seulement.
AVERTISSEMENT
Peligro de descarga eléctrica
• Mantenga a los niños alejados.
• Desenchufe el temporizador antes de limpiarlo.
• Introduzca plenamente el enchufe.
• No lo use en áreas mojadas.
Peligro de incendio
• No lo use para controlar artefactos que contengan
elementos calefactores (artefactos de cocción,
calentadores, planchas, etc.).
• No exceda las capacidades nominales. Para uso en
interiores solamente.
Risk of Electric Shock
• Keep children away
• Unplug timer before cleaning
• Fully insert plug
• Do not use near standing water.
Risk of Fire
• Do not use to control appliances that contain heating
elements (cooking appliances, heaters, irons, etc.)
• Do not exceed electrical ratings.
ADVERTENCIA
WARNING
Electrical Ratings
125VAC/60Hz
15A 1875W Resistive
8A 1000W Tungsten
and Ballast
1/2 HP
Transmission frequency: 434Mhz
Signal reception range: 80Ft in
line-of-sight
Do not exceed the maximum load
of 8A (approximately 1,000W)
Popular Timer manuals by other brands
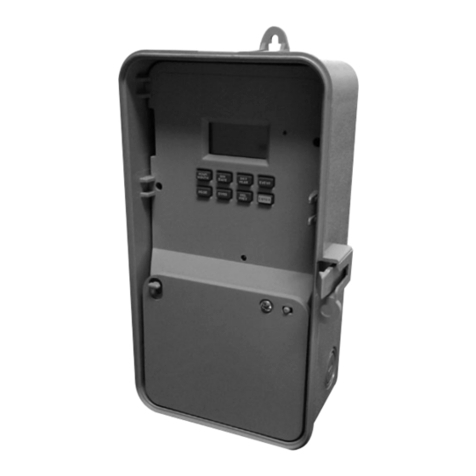
Tork
Tork DGS100A instruction manual
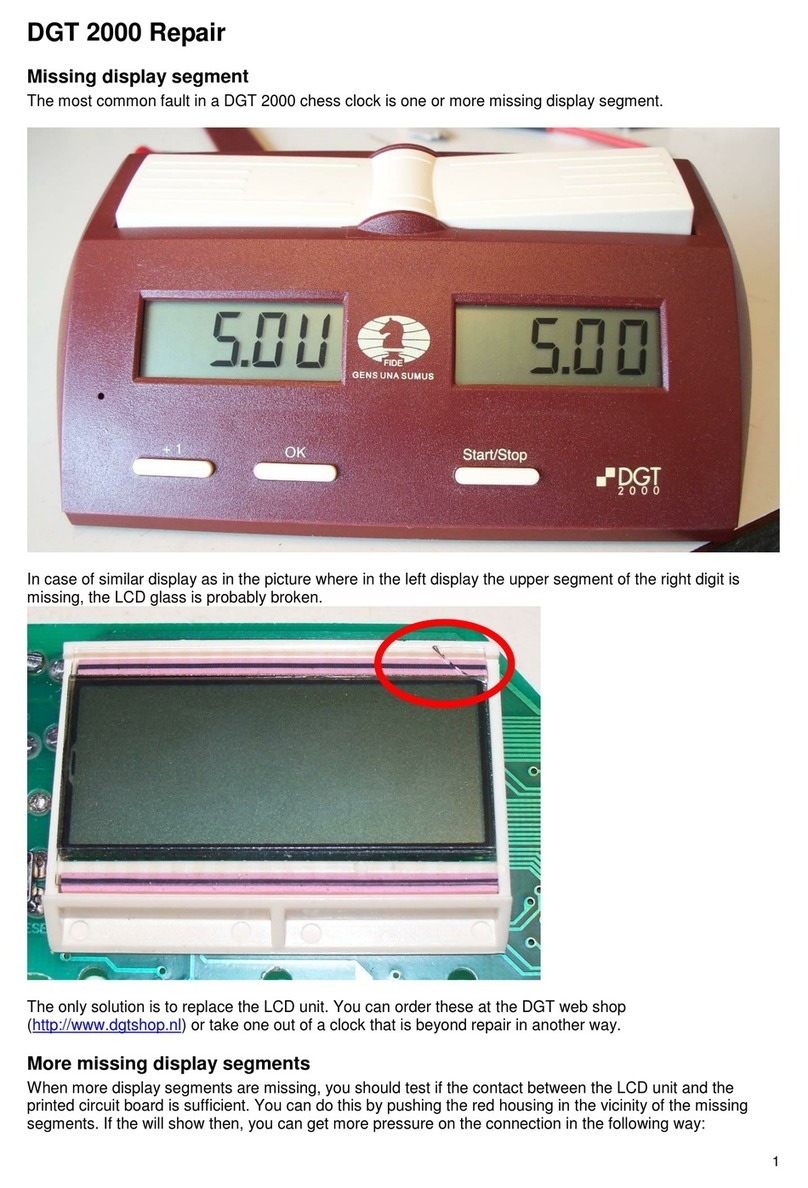
Digital Game Technology
Digital Game Technology DGT 2000 Repair guide

Kitchen Brains
Kitchen Brains FASTIMER MT-300 user guide
Intermatic
Intermatic HB65RC supplementary guide
Orbis
Orbis DATA MICRO + operating instructions
Hunter
Hunter NITETIME PRO 45043 Owner's guide and installation manual
