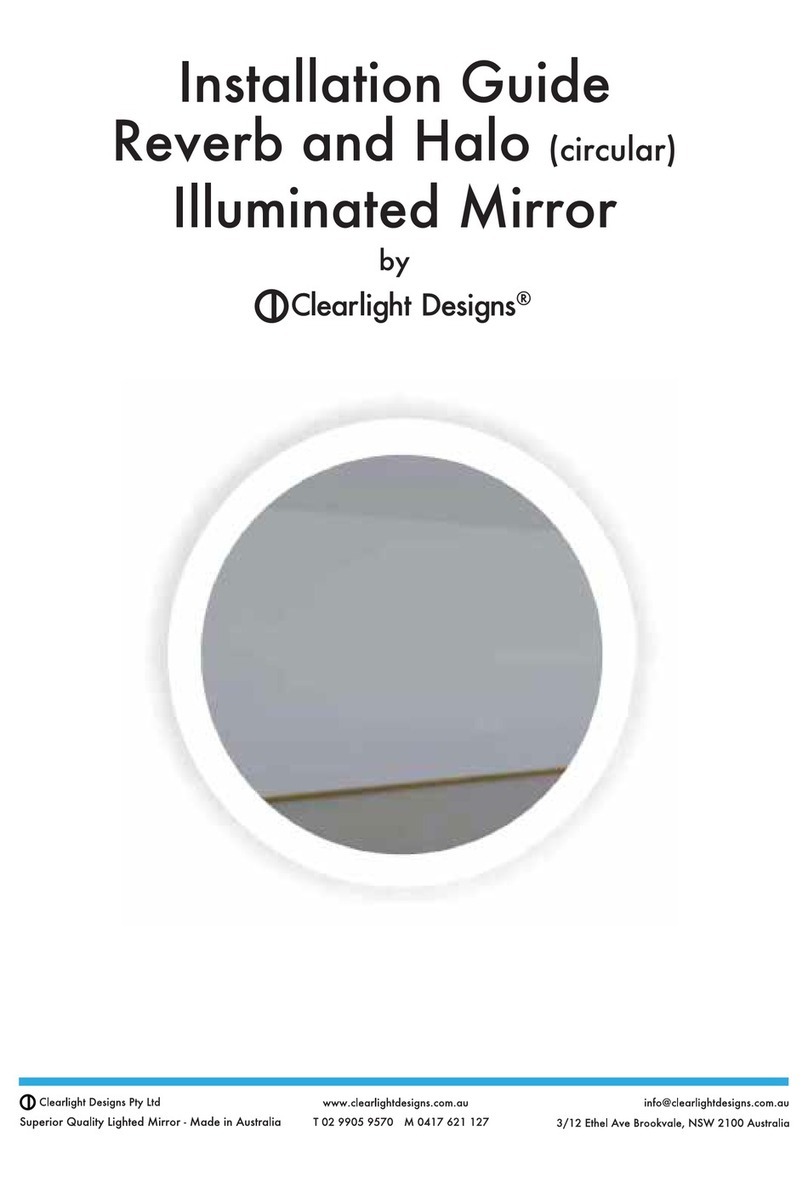
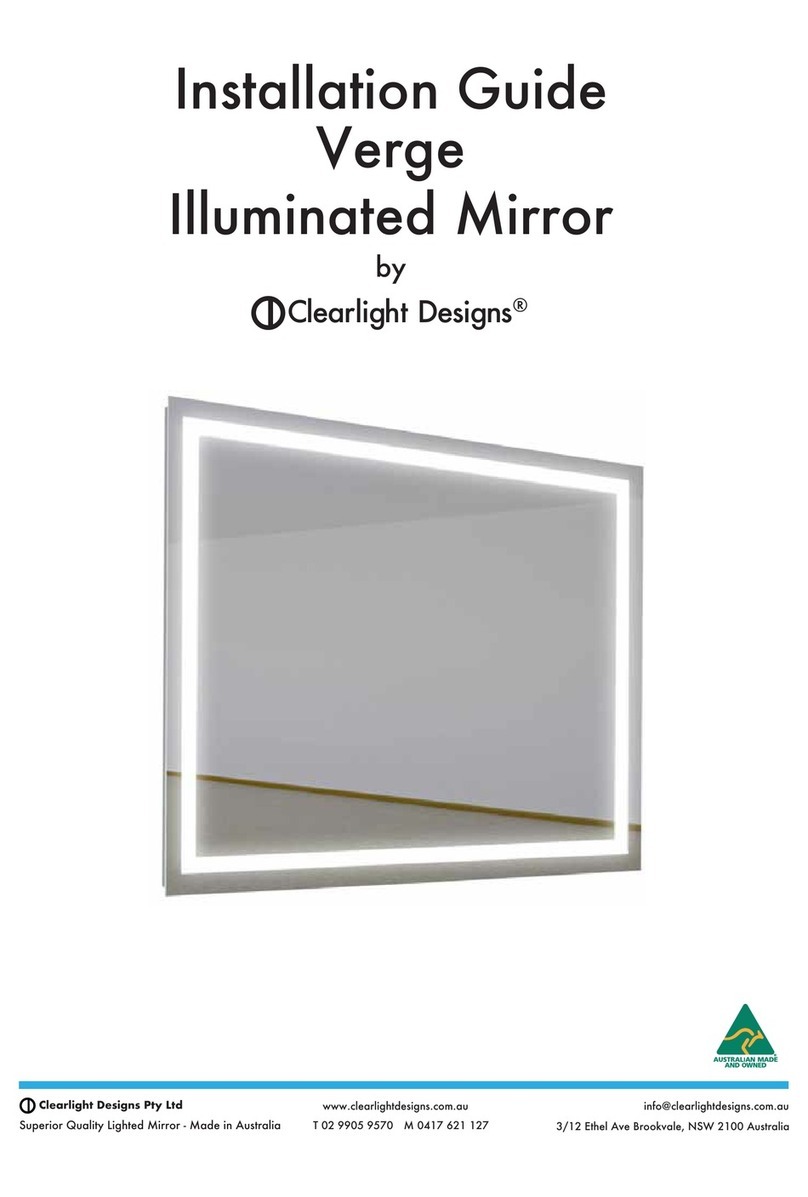
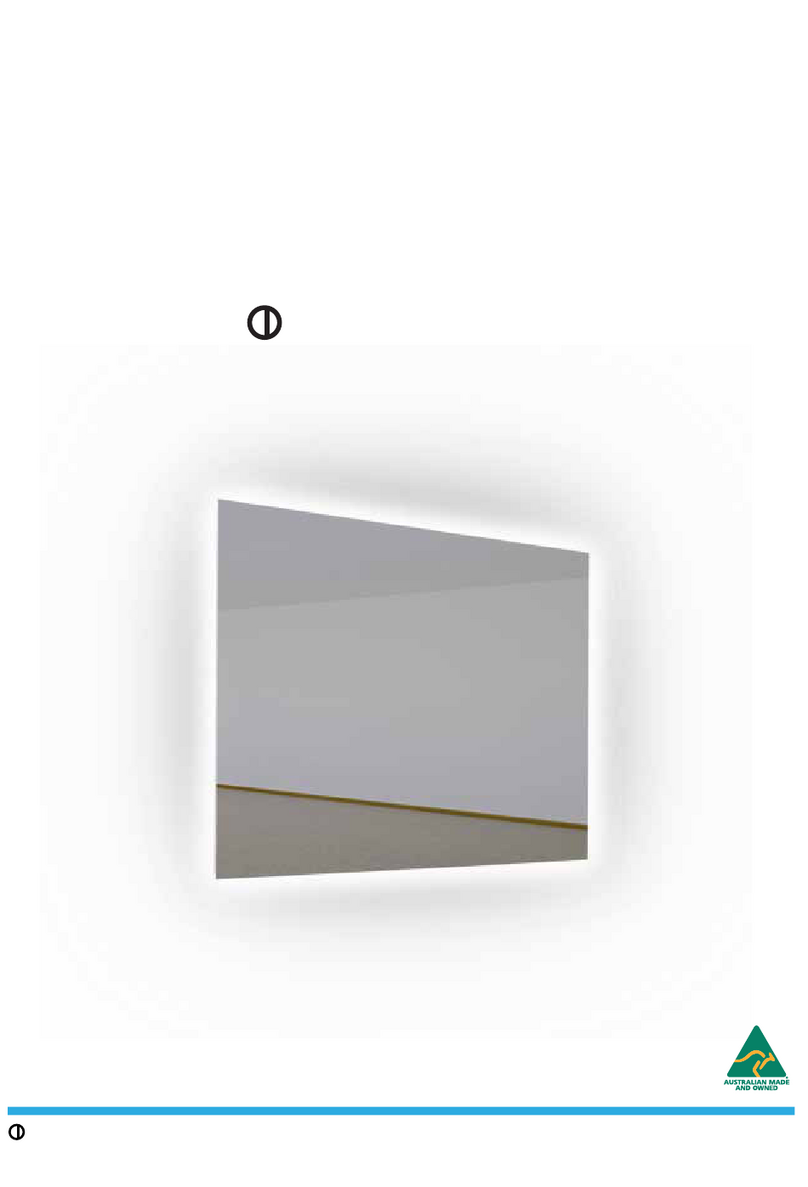
Clearlight Designs Edge User manual

FEATURES
• Modern powder-coated metal frame
• 70,000 hours energy efficient LED lighting
• Turn on/off with a light switch on the wall
• Powered by an energy efficient 12V DC power supply
• Hi Quality AGC Mirrox copper free mirror
• Easy installation
• Designed and Made in Sydney, Australia.
SHAPE OPTIONS
• Rectangle
• Square
• Circular
EXTRAS
• Dimmer with remote control or wall control
• Demister pad
Key features in The Edge Lighted Mirror range include
• The Edge is a 50mm deep aluminium frame with choice of powder-coat colours from Dulux range.
• Our Reverb Light Style is available with rectangular, square and round mirrors. It is a lighting feature
designed to flood light across the wall. Add The Edge and the light is deflected forward to shine out of
the front of the mirror. It is highly effective and by utilising the wider light strips it is the best solution for a
bright makeup mirror. It is so bright a remote control dimmer is recommended.
• It comes ready to hang on our exceptionally strong Split Batten Hanging System.
• Double row of 12vDC 5050 LEDs that output 2400 lumens per metre, CRI ≥90 .
Natural Daylight (4000k), 28.8 w/m. is standard colour temperature in our mirrors, or option of Warm
White (3000k)28.8 w/m.
Note: Natural Daylight is recommened for Make-up mirror. Warm white doesnt appear as bright as the
Natural Daylight
• Safety. LEDs Powered by 12 volt DC, The de-mister heating pads, operate on 12volt, are made in the
UK and are of the highest quality.
Superior Quality Lighted Miror - Made in Australia
www.clearlightdesigns.com.au
T 02 9905 9570 M 0417 621 127
3/12 Ethel Ave Brookvale, NSW 2100 Australia
Clearlight Designs®
Superior Quality Lighted Miror - Made in Australia
Clearlight Designs®PTY LTD
The Edge with Features, Specs and Installation
Reverb Light Style
or Weston Light Style

THE EDGE with REVERB LIGHT STYLE - Specifications and Installation
All measurements in millimetres
Superior Quality Lighted Miror - Made in Australia
Clearlight Designs®
Hole in backing panel
(for excess cable)
Front of THE EDGE with REVERB LIGHT STYLE Back of THE EDGE with REVERB LIGHT STYLE Side of The Edge
Red lines indicates
low voltage power cable
Split Batten
50 The Edge
65
65
160
3
3
Superior Quality Lighted Miror - Made in Australia
www.clearlightdesigns.com.au
T 02 9905 9570 M 0417 621 127
3/12 Ethel Ave Brookvale, NSW 2100 Australia
Clearlight Designs®
PTY LTD
STEP 1 - Before fitting the chassis to the wall or wiring for power connection:
INSTALLATION
STEP 2 -
Electrical installation
A light switch to operate the mirror needs to be installed on the
wall, or other convenient location, by a licensed electrician.
Each switch connects to a power outlet, where the driver/s is to be
located, this can be in the wall cavity behind the mirror, or in the
ceiling, or vanity cupboard etc.
You will need to know the location of:
•the wall studs
•water pipes
•electrical cables
Consult your plans and have a licensed electrician install electrical requirements for your mirror in accordance with this installation guide.
The driver/s can then be plugged into the power outlet. The
low voltage cables from the driver will run inside the wall to
protrude from a hole in the wall at the approximate centre of
the mirror chassis, ready for connection to the LEDs (and
de-mister if applicable).
Side view Split Battens (how they work)
Wall
12 3
Split
Battens

Superior Quality Lighted Miror - Made in Australia
Clearlight Designs®
Superior Quality Lighted Miror - Made in Australia
www.clearlightdesigns.com.au
T 02 9905 9570 M 0417 621 127
3/12 Ethel Ave Brookvale, NSW 2100 Australia
Clearlight Designs®
PTY LTD
CXX
top left corner of mirror top right corner of mirror
Mirror installation
Hole in backing
panel
(for excess cable)
Hole in wall
(for excess cable)
Split batten recessed
into backing panel
low voltage
power cable
low voltage
power cable
Split Batten
STEP 3 - Installing the mirror on the wall
a. On the wall, mark the position of the two top corners of the mirror.
b Draw a line between them and mark the centre.
c On the back of the mirror Measure the distance,
x
mm, from the top of the split batten that is taped to the back of the mirror., to the
top of the Edge frame
d Remove the tape and then screw that split batten (through the centre hole) to the wall
x
mm down from the centre point previously
marked on the wall.
e Check for level, then screw the remaining screws into the split batten.
If the wall is tiled, drill tiles and insert wall plugs, or Ramset expanding wall anchors
If the wall plasterboard - install Ramset expanding wall anchors or similar. Or screw onto reinforced wooden panel in the wall
behind the plasterboard.
You will need 2 people to lift and guide the mirror into place.
f Place mirror on a support, such as a table, in front of the area marked on the wall -
NOTE - use padding under the mirror to avoid damage from hard surface.
g Attach the low voltage cable from the wall to the cable from the mirror using cable joinersand turn the light on to test.
If there is a Demister on your mirror attach the 12v cables in the same manner
h Set up the cable to recede into the wall cavity (this can be done by attaching a small weight to the cable), or feed the cable into the
j
against the wall.
k Now slide mirror down about 20mm into position and the split battens are engaged.
and go back to step ‘h’
l Once mirror is securely in place carefully remove plastic covering by slowly pealing from the top corners down.
Split Batten
Care and Cleaning
Do not spray cleaners directly onto the front of the mirror as the liquid may run down the glass and nd its way to the back of the frosted
glass where you cannot access the surface to clean it.
Spray cleaner onto a soft cotton cloth and then clean the surface.
ror,
When cleaning a mirror simply wipe the glass surface with a few drops of methylated spirits or Isoprophyl Alcohol on a clean slightly damp
cotton cloth. We have found the Isoprophyl Alcohol is the best for cleaing mirrors.
Do not use cleaners containing Ammonia, or bleach, this will void warranty
Paper towels tend to leave a smear.
xmm
xmm
i Lift the mirror and place it against the wall at the height it will be when installation is nished.
In this spot the bottom of the mirror will be against the wall and the top of the mirror will be sitting out from the wall by about 10mm.
This manual suits for next models
2
Table of contents
Other Clearlight Designs Personal Care Product manuals
