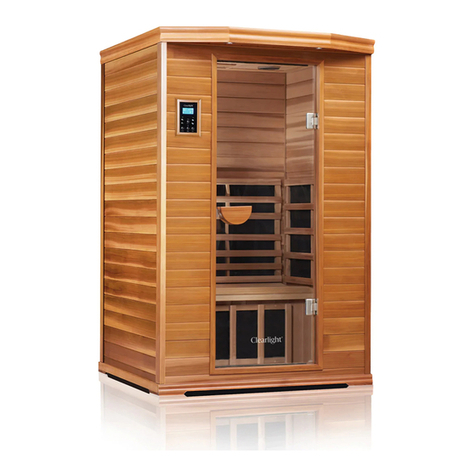
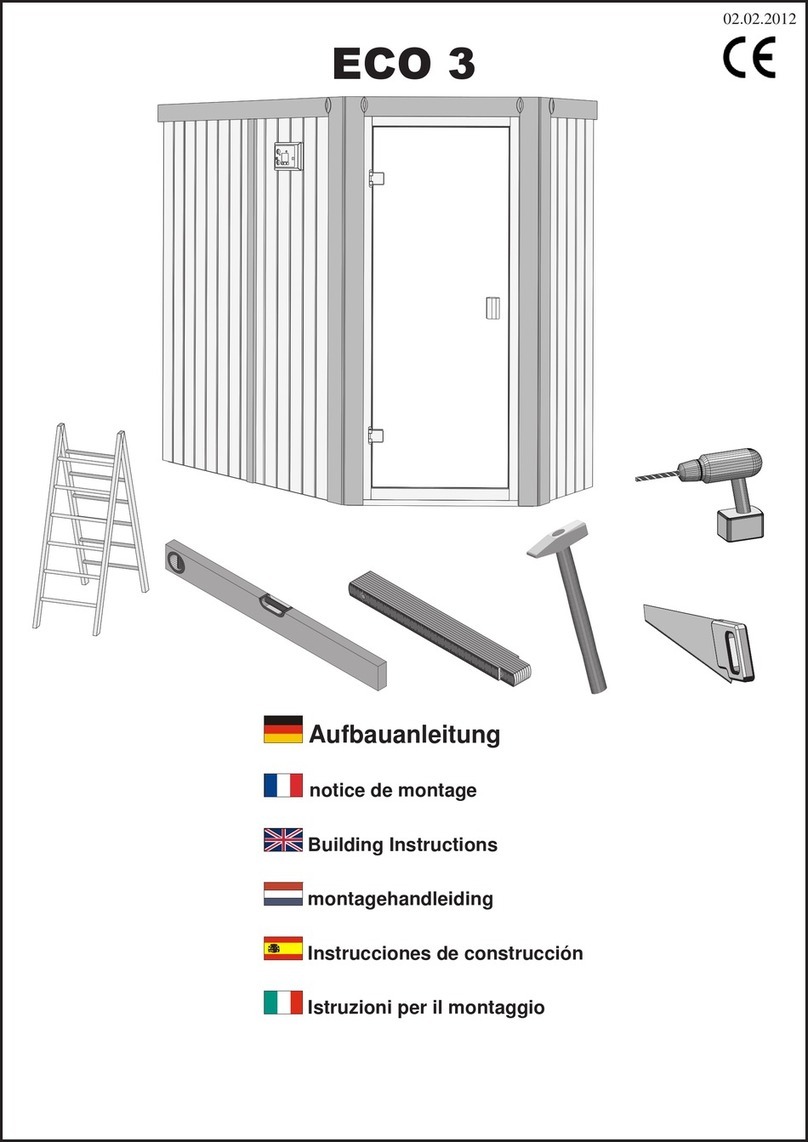
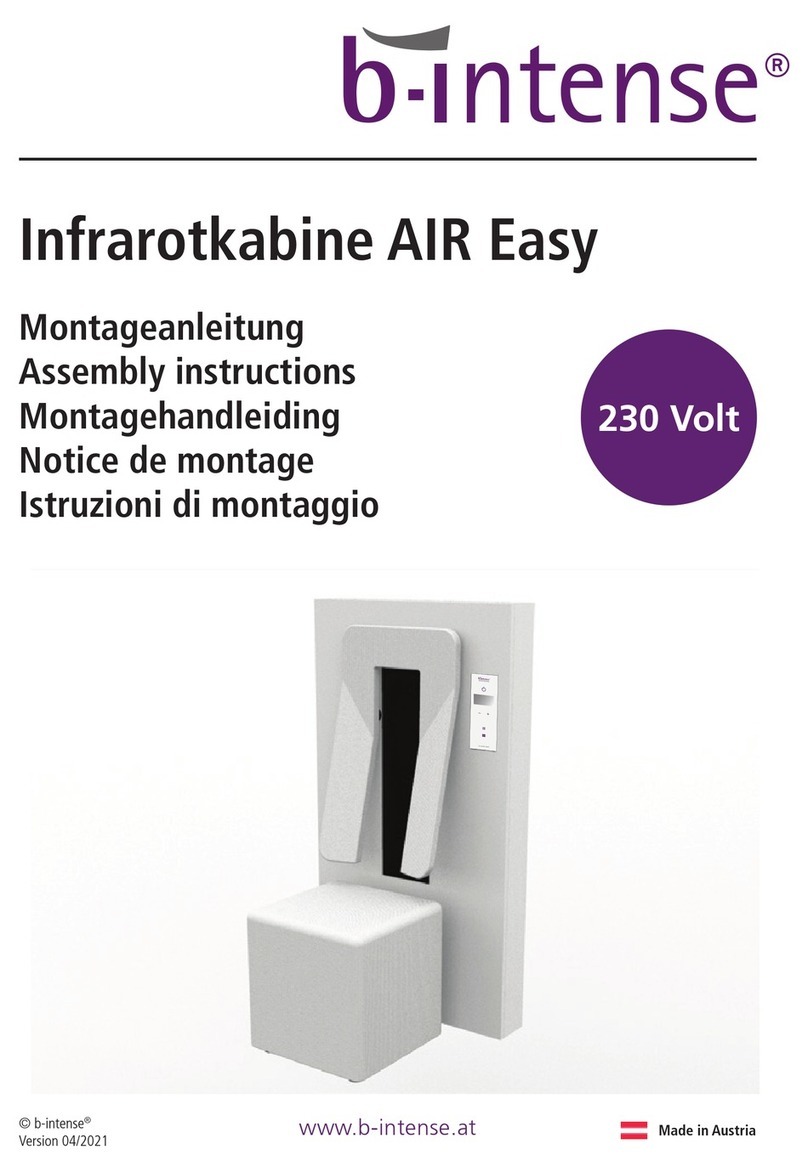
Clearlight ESSENTIAL C-1 User manual

CLEARLIGHT®ESSENTIAL
FAR INFRARED SAUNAS
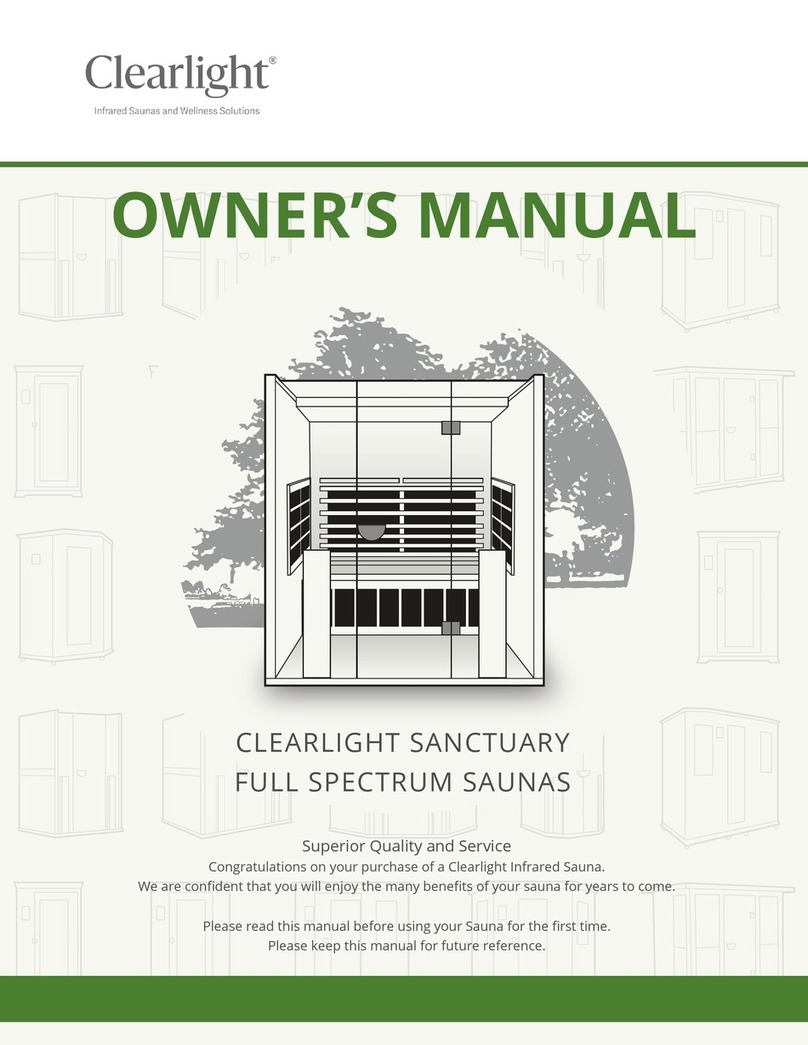
OWNER’S MANUAL
Superior Quality and Service
Congratulations on your purchase of a Clearlight Infrared Sauna.
We are condent that you will enjoy the many benets of your sauna for years to come.
Please read this manual before using your Sauna for the rst time.
Please keep this manual for future reference.
infraredsauna.co.uk P: 0238 202 6522
UK 0238 202 6522 infraredsauna.co.uk EU +49 (0) 4040 110 162 clearlightsaunas.eu


Installation Information 04
01 | ESSENTIAL C-1,-2,-3 05
02 | ESSENTIAL C 14
Enjoying Your Sauna 24
Using Your Sauna Control Panel 25
Tips for Use 28
Safety Instructions 30
Important Safeguards 32
Warranty 34
Why Detoxify 36
* The information contained in this manual is subject to change without notice.
Table of Contents

ESSENTIAL -1, -2, -3
4 5
UK 0238 202 6522 infraredsauna.co.uk EU +49 (0) 4040 110 162 clearlightsaunas.eu
Choosing a location
Place your sauna on a dry and level surface for best results. Garage, basement, attic, playroom, bedroom, or garden house
are just a few of the possible locations for your sauna.
Your sauna’s natural cedar or basswood exterior will beautifully compliment any location.
Outside, place the sauna on a deck or concrete pavers, available at your local building supply store, to protect it from
moisture in the ground which can wick up through the wooden feet. Outside installation also requires our optional
canvas cover.
Installation requirements for your sauna are as follows:
1. Your Clearlight®sauna is a self-contained and freestanding unit. It should not be built into any structure without
prior authorization.
2. Please maintain a minimum of 4-inch clearance on all sides of the unit to allow air to circulate while giving access for
the power cord..
Cleaning and maintenance
1. Before using your sauna for the rst time, clean the inside of the sauna with a damp cloth. Use your favorite furniture
polish on the exterior.
2. Place a towel on the oor and bench to absorb any perspiration. Wash these oen to maintain a clean and pleasant
environment inside your sauna.
3. Perspiration may darken the wood over time. This can be removed by a light sanding with ne grit sandpaper.
Please be careful when carrying and installing the glass pieces to avoid breakage. Make certain the glass is securely fastened during
installation before letting go of any individual piece that could break.
Installation

ESSENTIAL -1, -2, -3
4 5
UK 0238 202 6522 infraredsauna.co.uk EU +49 (0) 4040 110 162 clearlightsaunas.eu
ESSENTIAL
-1, -2, -3
01
Packaging - - - - - - - - - - - - - - - - - - - - - - - - - - - - 06
Assembly Instructions - - - - - - - - - - - - - - - - - - - - - 07

ESSENTIAL -1, -2, -3
6 7
UK 0238 202 6522 infraredsauna.co.uk EU +49 (0) 4040 110 162 clearlightsaunas.eu
.
Packaging
Box 1 of 3 Box 2 of 3 Box 3 of 3
1. Floor Panel 1. Le Side Wall 1. Front Wall
2. Ceiling Panel 2. Right Side Wall 2. Back Wall
3. Accessories 3. Bench & Bench Support
4. Installation Manual
CONTENTS OF BOXES
ACCESSORY BOX CONTENTS

ESSENTIAL -1, -2, -3
6 7
UK 0238 202 6522 infraredsauna.co.uk EU +49 (0) 4040 110 162 clearlightsaunas.eu
Assembly Instructions
Assembly of the sauna requires two adults to complete. Please read the instructions thoroughly before and during assembly
to ensure proper installation of the unit. If you encounter any problems or have questions during assembly, please feel free
to call our Customer Service departmentt in Germany at +49(0)40 4011 0162 or EU: +44 118 324 1242.
When determining a location for your sauna, please keep in mind the following:
1. The main power cord on the sauna must be easily accessible.
2. The location must be dry and level.
3. Panels should be installed in the following order:
1) Floor 4) Right Side Wall 7) Front Wall
2) Back Wall 5) Under Bench Supports 8) Roof
3) Le Side Wall 6) Bench
1. Place the bottom oor panel on the ground
near the location you will be using the sauna.
Make sure the front of the oor is in the desired
location of the door. The ceramic oor tile
heater indicates the front of the sauna.
1. Connect the le back panel to the oor panel by lining up
the back panel on the groove of the bottom panel.
1 - LOCATION OF SAUNA & INSTALLATION ORDER
2 - PLACING FLOOR PANEL 3 - CONNECTING THE LEFT BACK
WALL TO THE FLOOR

ESSENTIAL -1, -2, -3
8 9
UK 0238 202 6522 infraredsauna.co.uk EU +49 (0) 4040 110 162 clearlightsaunas.eu
Assembly Instructions Cont’d
The side wall panels connect to the back wall with the installed locking brackets. There are mating brackets on the side
of each panel.
1. Place the right back wall in the slot in the oor.
Li the right back wall up about 4” (10cm)
higher than the le back wall panel
(See Picture 1).
2. Place the right back wall panel against the le
back wall (See Picture 2), then slide down the
right back wall panel until the two panels are
equal height. (See Picture 3).
3. If the panels are not equal height or there is
an obvious gap between the two panels, this
means they are not propery attached and you
should try again.
4 - CONNECT SIDE WALLS

ESSENTIAL -1, -2, -3
8 9
UK 0238 202 6522 infraredsauna.co.uk EU +49 (0) 4040 110 162 clearlightsaunas.eu
Assembly Instructions Cont’d
Slide down the le side long bench heater panel by lining up its sides with the vertical guides on the le side wall
and right back wall.
1. Be careful not to scratch the side panels when positioning the heater panel.
2. Push the le bench heater panel all the way down until it is touching the oor panel and securely in place.
5 - INSTALLING UNDER BENCH SUPPORTS
Vertical bench heater
panel guides are found
on the side panels.
Heater must be
facing outward

ESSENTIAL -1, -2, -3
10 11
UK 0238 202 6522 infraredsauna.co.uk EU +49 (0) 4040 110 162 clearlightsaunas.eu
Assembly Instructions Cont’d
6 - CONNECT HEATER CONNECTION UNDER BENCH
7 - INSTALLING BENCH
Follow the connections as in the photo below.
1. Connect the under bench support heater connection to the connector coming out of the wall.
2. Connect the cable coming out of the oor to the other connector coming out of the wall.
3. Connect the green ELF grounding wires together.
4. Keep in mind, there is no incorrect way to connect these connectors as long as you connect the male
two wire connectors to the female two wire connectors and the male single green wire connectors to the
female green single wire connectors.
Install the bench panel by sliding it over the horizontal bench guides on the side panels. Be careful not to
scratch the adjacent panels when sliding in the bench.
Push the bench all the way in until it touches the back panel and is securely in place.
Be sure that the bench is pushed all the way back until it slides under the heater guard to secure the bench in
place.
LEFT
TOP
BOTTOM
FRONT
BLACK
LEFT
TOP
BOTTOM
FRONT
BLACK

ESSENTIAL -1, -2, -3
10 11
UK 0238 202 6522 infraredsauna.co.uk EU +49 (0) 4040 110 162 clearlightsaunas.eu
Assembly Instructions Cont’d
1. Place the front wall in the slot in the oor.
2. Align the brackets in the front wall, slide the front wall down and make sure they are locked in place.
1. Lower the roof panel on to the assembled panels.
2. Position the top panel so that the exterior lights are at the front of the sauna.
3. Make sure that the cables from the top panel do not get pinched when placing the panel.
4. Gently place the top panel onto the rest of the assembled panels. When all four corners are in place,
gently push down the roof panel from the outside corners until it is snuggly t over the rest of the panels.
8 - INSTALLING THE FRONT WALL
9 - INSTALLING THE ROOF PANEL
)

ESSENTIAL -1, -2, -3
12 13
UK 0238 202 6522 infraredsauna.co.uk EU +49 (0) 4040 110 162 clearlightsaunas.eu
Assembly Instructions Cont’d
1. Open the hatches located on the roof.
2. You will nd cables located unter the hatch: Please connect all of them together. No cable should remain unconnected.
3. Once all wires are connected, push the wires back under the hatches and close them.
10 - CONNECT HEATERS IN ROOF
11 - INSTALLING DOOR HANDLE
1. Locate the door handle.
2. Attach the door handle using the enclosed screws. The piece that is nished should be placed on the outside.
Note: If you are using a tablet or smartphone in your sauna, the door handle will act as both the door handle
and tablet/smartphone holder when the door is closed.

ESSENTIAL -1, -2, -3
12 13
UK 0238 202 6522 infraredsauna.co.uk EU +49 (0) 4040 110 162 clearlightsaunas.eu
Installation of your sauna is now complete. Using a damp cloth, wipe out the sauna to remove any excess saw dust that
may have settled on the wall & oor panels and the heater panels.
Please refer to usage instructions located later on in this manual.
12- INSTALLATION IS COMPLETE
Assembly Instructions Cont’d

ESSENTIAL -1, -2, -3
14 15
UK 0238 202 6522 infraredsauna.co.uk EU +49 (0) 4040 110 162 clearlightsaunas.eu
ESSENTIAL - C
14 15
ESSENTIAL - C
02
Packaging - - - - - - - - - - - - - - - - - - - - - - - - - - - - 06
Assembly Instructions - - - - - - - - - - - - - - - - - - - - - 07

ESSENTIAL -1, -2, -3
14 15
UK 0238 202 6522 infraredsauna.co.uk EU +49 (0) 4040 110 162 clearlightsaunas.eu
ESSENTIAL - C
14 15
.
Packaging
Box 1 of 3 Box 2 of 3 Box 3 of 3
1. Floor Panel 1. Le Side Wall 1. Front Wall
2. Ceiling Panel 2. Right Side Wall 2. Back Wall
3. Accessories 3. Small Bench Square
4. Installation Manual 4. 2x Long Benchs
5. 2x Bench Supports
CONTENTS OF BOXES
ACCESSORY BOX CONTENTS
Door Handle

ESSENTIAL -1, -2, -3
16 17
UK 0238 202 6522 infraredsauna.co.uk EU +49 (0) 4040 110 162 clearlightsaunas.eu
ESSENTIAL - C
16 17
Assembly Instructions
Assembly of the sauna requires two adults to complete. Please read the instructions thoroughly before and during assembly
to ensure proper installation of the unit. If you encounter any problems or have questions during assembly, please feel free
to call our Customer Service department in Germany at +49(0)40 4011 0162 or EU: +44 118 324 1242.
When determining a location for your sauna, please keep in mind the following:
1. The main power cord on the sauna must be easily accessible.
2. The location must be dry and level.
3. Panels should be installed in the following order:
1) Floor 4) Le Side Wall 7) Bench
2) Le Back Wall 5) Right Side Wall 8) Front Wall
3) Right Back Wall 6) Under Bench Supports 9) Roof
1. Place the bottom oor panel on the ground
near the location you will be using the sauna.
Make sure the front of the oor is in the desired
location of the door. The ceramic oor tile
heater indicates the front of the sauna.
1. Connect the le back panel to the oor panel by lining up
the back panel on the groove of the bottom panel.
1 - LOCATION OF SAUNA & INSTALLATION ORDER
2 - PLACING FLOOR PANEL 3 - CONNECTING THE LEFT BACK
WALL TO THE FLOOR

ESSENTIAL -1, -2, -3
16 17
UK 0238 202 6522 infraredsauna.co.uk EU +49 (0) 4040 110 162 clearlightsaunas.eu
ESSENTIAL - C
16 17
Assembly Instructions Cont’d
The side wall panels connect to the back wall with the installed locking brackets. There are mating brackets on the side
of each panel.
1. Place the right back wall in the slot in the oor.
Li the right back wall up about 4” (10cm)
higher than the le back wall panel
(See Picture 1).
2. Place the right back wall panel against the le
back wall (See Picture 2), then slide down the
right back wall panel until the two panels are
equal height. (See Picture 3).
3. If the panels are not equal height or there is
an obvious gap between the two panels, this
means they are not propery attached and you
should try again.
4 - CONNECT THE RIGHT BACK WALLL

ESSENTIAL -1, -2, -3
18 19
UK 0238 202 6522 infraredsauna.co.uk EU +49 (0) 4040 110 162 clearlightsaunas.eu
ESSENTIAL - C
18 19
The right side wall will be connected to the right back wall by connecting together the installed brackets.
There are “+” brackets and “-” brackets on the side of each panel. The right side wall will be installed as follows:
1. Place the right side wall in the slot in the oor.
Li the right side wall up about 4” (10cm) higher
than the right back wall panel
(See Picture 1).
2. Place the right side wall panel against the right
back wall (See Picture 2), then slide down the
right side wall panel until the two panels are
equal height. (See Picture 3).
3. If the panels are not equal height or there is
an obvious gap between the two panels, this
means they are not propery attached and you
should try again.
4. Repeat these steps for the le side wall.
5 - CONNECTING SIDE WALLS
Assembly Instructions Cont’d
4 - CONNECT SIDE WALLS

ESSENTIAL -1, -2, -3
18 19
UK 0238 202 6522 infraredsauna.co.uk EU +49 (0) 4040 110 162 clearlightsaunas.eu
ESSENTIAL - C
18 19
Assembly Instructions Cont’d
Slide down the le side long bench heater panel by lining up its sides with the vertical guides on the le side wall
and right back wall.
1. Be careful not to scratch the side panels when positioning the heater panel.
2. Push the le bench heater panel all the way down until it is touching the oor panel and securely in place.
3. Next, install the shorter right bench heater panel by lining its sides up with the vertical guide of the le bench
support and the right side wall.
4. Push the right bench heater panel all the way down until it is touching the oor panel and securely in place.
6 - INSTALLING UNDER BENCH SUPPORTS
Heater must be
facing outward
Left Bench Support Installed Right Bench Support Installed
Assembly Instructions Cont’d
5 - INSTALLING UNDER BENCH SUPPORTS
Vertical bench heater
panel guides are found on
the side panels.

ESSENTIAL -1, -2, -3
20 21
UK 0238 202 6522 infraredsauna.co.uk EU +49 (0) 4040 110 162 clearlightsaunas.eu
ESSENTIAL - C
20 21
Assembly Instructions Cont’d
7 - CONNECT HEATER CONNECTION UNDER BENCH
8 - INSTALLING BENCH
Follow the connections as in the photo below.
1. Pass the cable from the right bench support through the hole in the le bench support.
2. Connect the cable from the right bench support to one of the connectors from the le bench support.
3. Connect the cable from the le bench support and coming out of the oor to the connector coming out
of the back wall.
4. Keep in mind, there is no incorrect way to connect these connectors as long as you connect the male
two wire connectors to the female two wire connectors and the male single green wire connectors to the
female single green single connectors.
Install the three bench pieces in the following order:
1. Install the long bench against the le side back wall by placing the bench on the Bench Support Panel and slide it
ush to the back wall.
2. Install the short bench against the right side back wall by placing the bench on the Bench Support Panel and slide
it ush to the back wall.
Left Bench Installed Right Bench Installed
This manual suits for next models
3
Table of contents
Other Clearlight Plumbing Product manuals
Popular Plumbing Product manuals by other brands
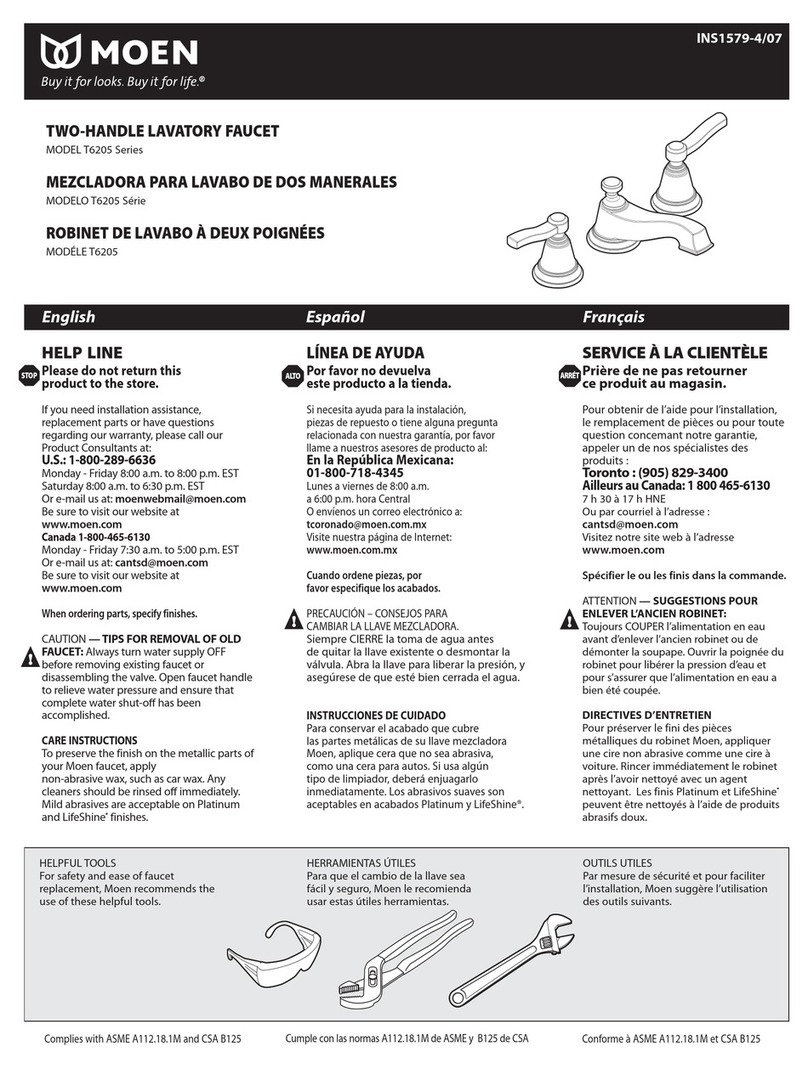
Moen
Moen T6205 Series manual
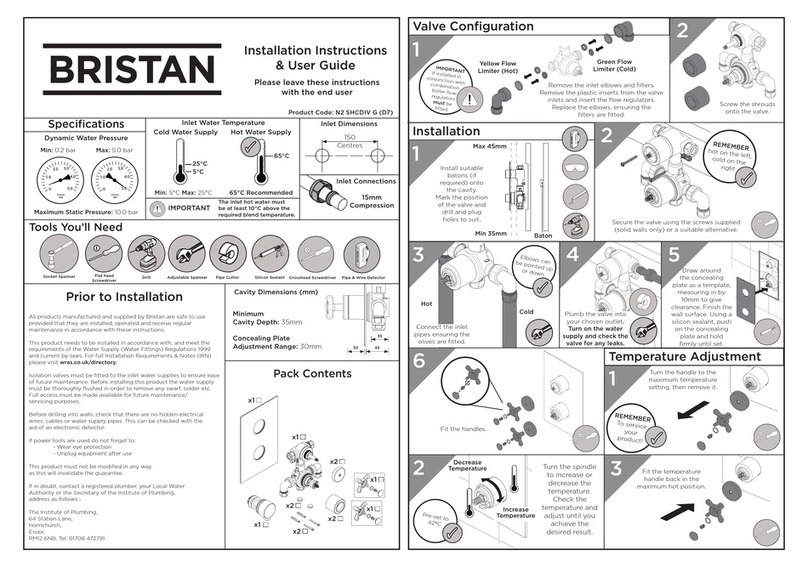
Bristan
Bristan N2 SHCDIV G (D7) Installation instructions & user guide

Pfister
Pfister Lindosa F-049-LD Quick installation guide
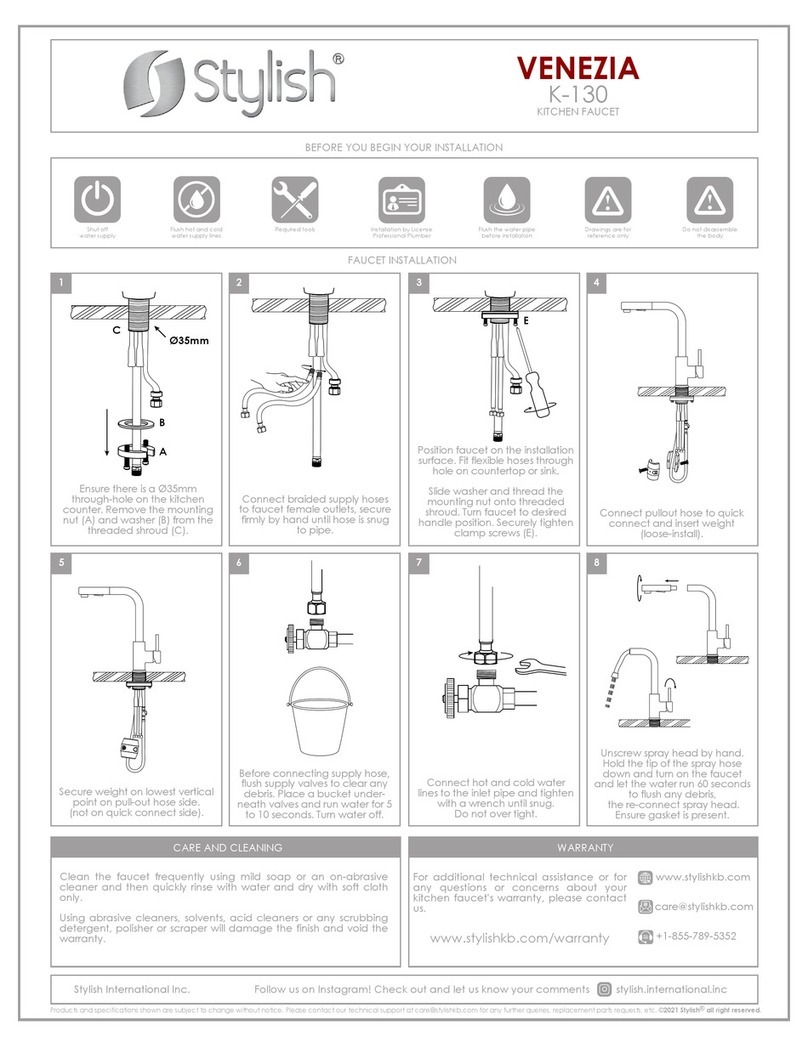
Stylish
Stylish VENEZIA K-130 Installation

Kraus
Kraus Indy KSB-10001 installation manual
BELLOSTA
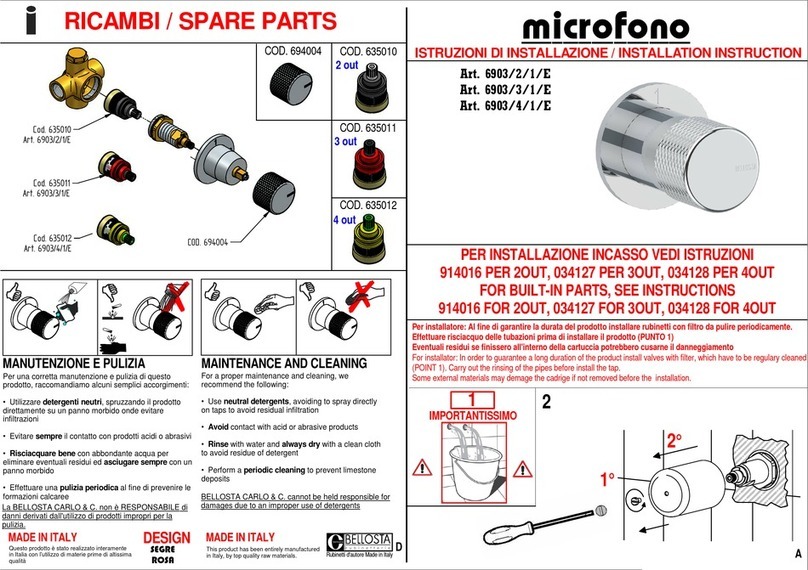
BELLOSTA Microfono 6903/2/1/E installation instructions
