manuals.online logo
Brands
  1. Home
  2. •
  3. Brands
  4. •
  5. Clearlite Bathrooms
  6. •
  7. Other
  8. •
  9. Clearlite Bathrooms Trombone Door Set User manual

Clearlite Bathrooms Trombone Door Set User manual

Installaon Instrucons
Trombone Door Set
Please read these Instrucons carefully May 2018
Components
A - Door Wall Receiver X2
B - Door Assembly
(For shipping purposes the Door & Return
Receivers are packed in the sides of the
Door and Return)
Installaon Components
Drip Seal –1m
Cleaning Towelee
No.6 x 10mm screw
Qty 8
No.6 x 38mm screw
Qty 6
Screw Cap
Qty 8
 Drill
 Spirit level
 Tape Measure
 Screw Driver (No.1 Sq drive)
Tools Required
 Caulking Gun
 Masking tape
 Pencil
Tube of NG Silicone
A
A
A
B
Size Minimum Door Width Maximum Door Width
P640 640mm 700mm
P700 700mm 760mm
P760 760mm 840mm
P840 840mm 940mm
P940 940mm 1000mm
The Door can be installed either le or right hand hinged by simply rotang 180 degrees.
Important : The Door must always open outwards
Installing a Door Only
Installing the Wall Receivers
1. Place the Wall Receiver hard against the inside
edge of the tray upstand. Using a spirit level en-
sure the Wall Receiver is plumb. Mark the posion
of the Wall Receiver on the wall. Repeat for the
opposite side
2. Pre drill three equally spaced clearance holes (i.e.
top, boom and centre) in the Wall Receivers us-
ing a 4.5mm drill bit. Reposion the Wall Receivers
onto the wall. Drill into the wall through the clear-
ance holes using a 3.0mm drill bit.
N.B. The holes preferably locate into a stud or nog.
As an alternave, a toggle system can also be used.
3. Apply Silicone into the screw holes and secure the
Wall Receivers to the walls using the No.6 x 38mm
stainless steel screws.
Installing the Door
4. Slide the door assembly together so it is narrower
than the opening.
Do not remove the door seng block, this will assist in
supporng the door during installaon and seng the
correct clearance from the sill
5. Determine which side the Door is to be hinged
ensuring that the door opens outwards. Li the
Door onto the tray and fully insert one side into
a Wall Receiver.
6. Expand the Door out so it fully engages into the
opposite Wall Receiver. Check that the Door
Jambs are plumb
Securing the Door Set
7. From the inside of the shower fix the Door to the
Wall Receivers by drilling three 3mm holes down
the Wall Receivers (top, boom and centre). Drill
through the Wall Receivers into the Door Jamb
profiles.
8. Secure in place using No.6 x 10mm stainless steel
screws. Cover the screw heads with the cover caps.
Repeat for opposite side.
Secure the head and Sills
9. From the inside drill a 3.0mm hole approximately
25mm in from the end of the Female Head and
Sill secons and into the Male Head and Sill sec-
ons.
10. Secure the secons together using No.6 x 10
Stainless steel screws.
11. Cover the screws heads with the cover caps.
12. Slide the outside Clamp Block Covers off the Pivot
Clamp. Using a flat blade screwdriver sufficiently
loosen the two screws , adjust the door by sliding
le or right in the pivot
Once the door adjustment is complete ensure the
screws are reghtened and reinstall the Clamp
Block Covers. Open the door and remove the
door seng block
13 Fit the Drip Seal. The Drip seal is supplied in a 1m
length, this will need to be cut to the desired lengths
for each side of the pivot . The opening side Drip seal
will also need to be notched to fit under the door
magnet profile. Make the Notch 13mm in length and
finishing down to the horizontal ledge of the drip seal
14. Fit the drip seals to the glass door
Notch under Door Magnet profile
Sealing the Door set
15. Take the Cleaning Towelee and wipe the
surfaces of the Powder coated profiles
where Silicone will be applied Allow to dry (1
-2 minutes)
16. The Door can now be sealed in place using
silicone sealant. Ensure all surfaces are first
cleaned with dry clean cloth. Seal between
the tray upstand and the Door set along the
boom outside edges. Seal vercally be-
tween the Wall Receivers and Wall Liner
Note MASKING the area to be Sealed will give
you a superior finish
17. Your Door set is now complete
IMPORTANT: DO NOT apply sealant to the inside
of the shower

Other Clearlite Bathrooms Other manuals

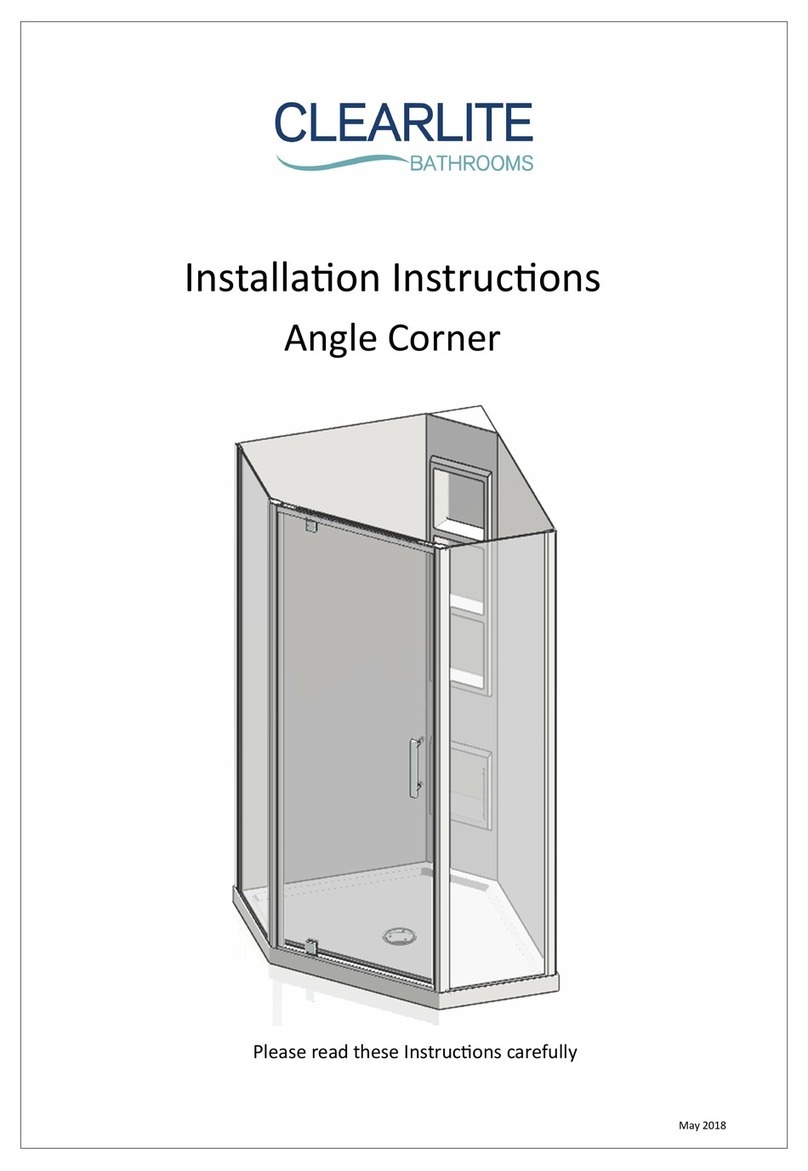
Clearlite Bathrooms Angle Corner User manual

Clearlite Bathrooms

Clearlite Bathrooms Angle Corner User manual

Clearlite Bathrooms Alcove User manual

Clearlite Bathrooms

Clearlite Bathrooms Alcove User manual

Popular Other manuals by other brands

Delta Electronics CG5 Specifications

Delta Electronics

Delta Electronics CG5 Specifications

Motorola FX7400-22350A30-US Integrator guide

Motorola

Motorola FX7400-22350A30-US Integrator guide

Pepperl+Fuchs IQT1-18GM-IO-V1 manual

Pepperl+Fuchs

Pepperl+Fuchs IQT1-18GM-IO-V1 manual

Ferplast Airfizz Series user manual

Ferplast

Ferplast Airfizz Series user manual

Magnetic Autocontrol MHTM MicroDrive ACCESS PRO H Mounting instructions

Magnetic Autocontrol

Magnetic Autocontrol MHTM MicroDrive ACCESS PRO H Mounting instructions

PALSON CITY brochure

PALSON

PALSON CITY brochure

Fabtech FTL5107 installation instructions

Fabtech

Fabtech FTL5107 installation instructions

Kärcher Tornado BR 4735 ESC manual

Kärcher

Kärcher Tornado BR 4735 ESC manual

Hobo H08-006-04 user manual

Hobo

Hobo H08-006-04 user manual

EFBE-SCHOTT EKP 100.1 operating instructions

EFBE-SCHOTT

EFBE-SCHOTT EKP 100.1 operating instructions

laerdal Resusci Anne user guide

laerdal

laerdal Resusci Anne user guide

Wilwood Disc Brakes 140-8230 Assembly instructions

Wilwood Disc Brakes

Wilwood Disc Brakes 140-8230 Assembly instructions

Whirlpool 3397617 installation instructions

Whirlpool

Whirlpool 3397617 installation instructions

GeoVision GV-RU9003 manual

GeoVision

GeoVision GV-RU9003 manual

Bestop Twill Replace-a-top installation instructions

Bestop

Bestop Twill Replace-a-top installation instructions

Chauvin Arnoux L452 user manual

Chauvin Arnoux

Chauvin Arnoux L452 user manual

banks Ram-Air 42155 owner's manual

banks

banks Ram-Air 42155 owner's manual

YOKOGAWA SMARTDAC+ GX20 user manual

YOKOGAWA

YOKOGAWA SMARTDAC+ GX20 user manual

manuals.online logo
manuals.online logoBrands
  • About & Mission
  • Contact us
  • Privacy Policy
  • Terms and Conditions

Copyright 2025 Manuals.Online. All Rights Reserved.