laerdal Resusci Anne User manual

www.laerdal.com
Resusci Anne
Simulator
User Guide
EN

2

Contents
3
Intended Use 4
System Overview & Setup 5
Overview 8
Features 9
Charging 10
Power Panel 11
Setup:
Attach Legs 12
Preparing for Simulation:
Connect Microphone 14
Fill Air Container 15
IV Arm 16
Lubrication 17
IO Tibia 18
Change Eyes 20
Use:
Defibrillation 22
ECG Monitoring 24
Connections 25
Ventilation 26
Chest Compressions 27
Blood Pressure (BP) Arm 28
IV Arm 29
Intramuscular (IM) Injections 30
Maintenance:
General cleaning 31
IM Injection Pads 31
Stomach Replacement 32
Lung Replacement 34
Chest Rise Bladder Replacement 36
Battery Replacement 38

4
Intended Use
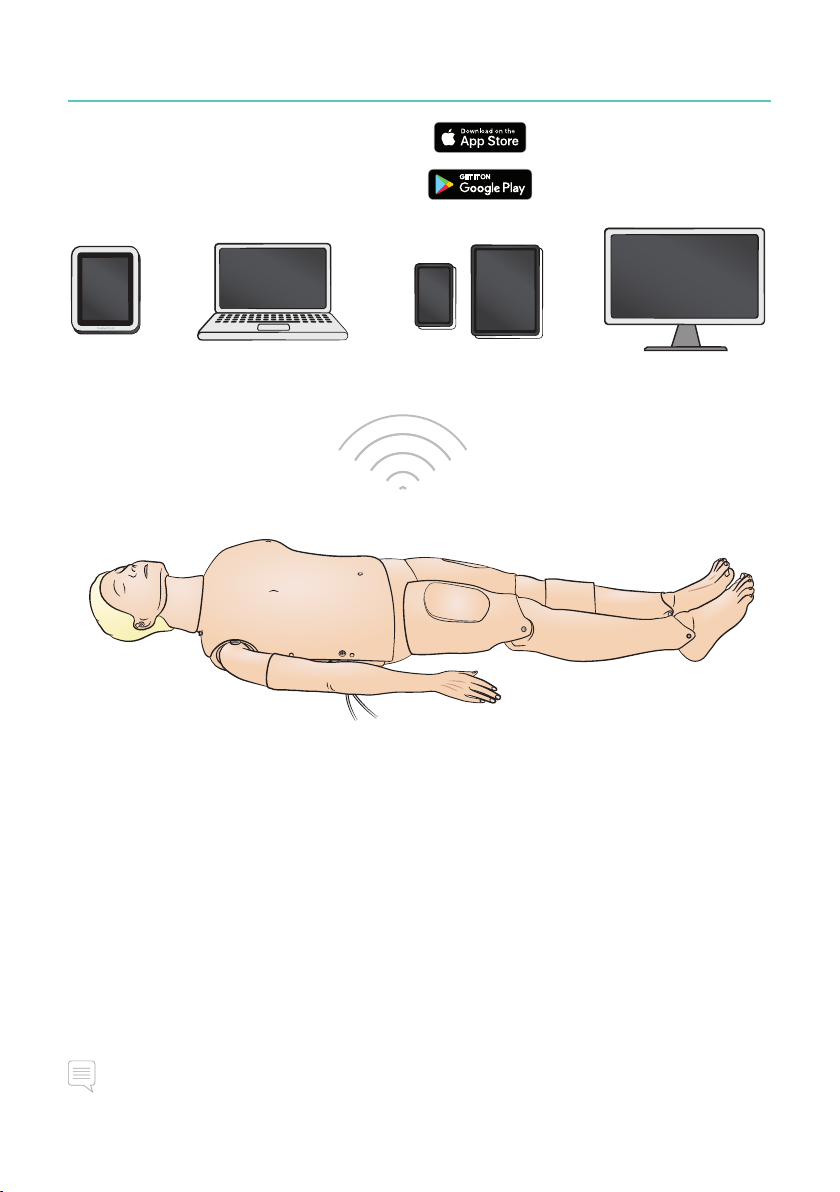
The Resusci Anne Simulator (RA Sim) manikin is designed for the unique training needs
of emergency care in both pre-hospital and in-hospital environments.The manikin
is optimized for quality simulation training in a wide range of ALS scenarios, helping
transform training into a mobile, dynamic and realistic learning experience for both the
instructor and the trainee.This User Guide covers two configurations of the RA Sim:
RA Sim AED Link version and RA-Sim Paddle version. Unless otherwise specified, the
information in this User Guide applies to both configurations.
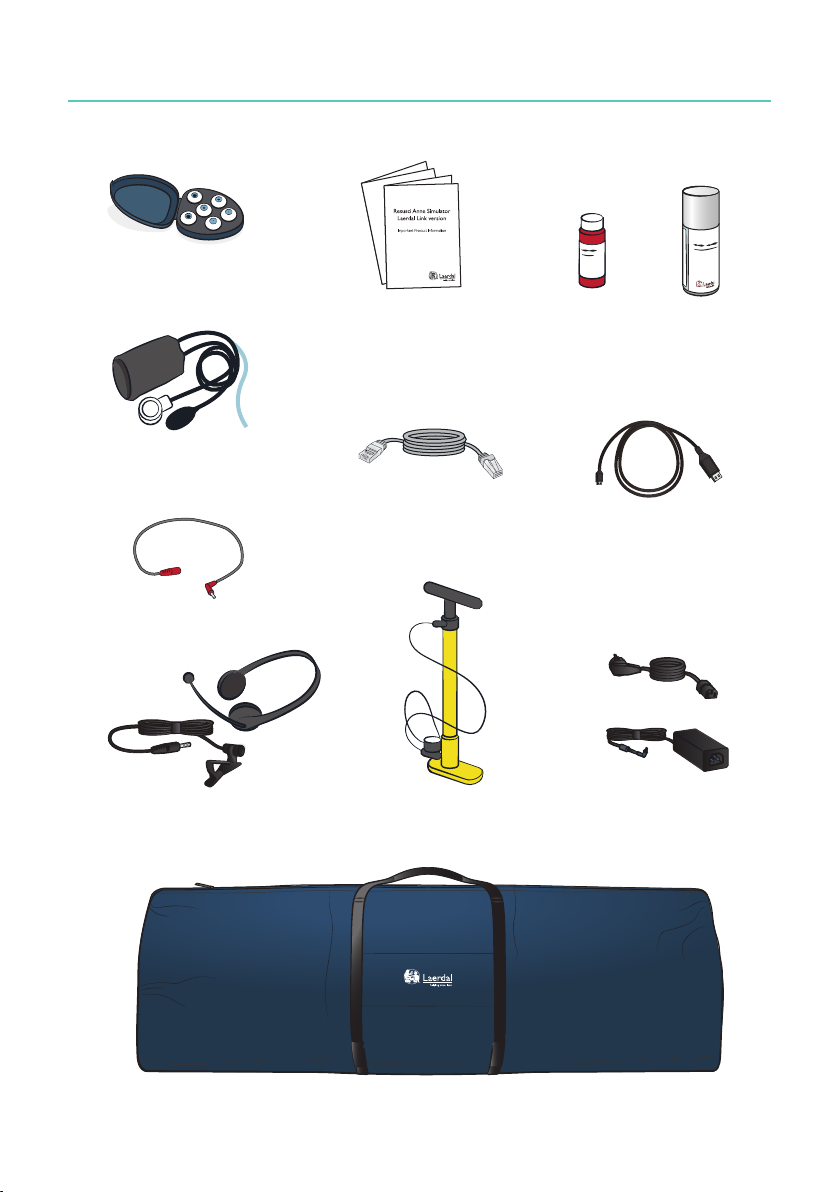
Read the Important Product Information booklet before use.
Refer to the Laerdal Global Warranty for terms and conditions. For more information
visit www.laerdal.com.
The RA Sim AED Link version is designed for use with ShockLink. RA Sim Paddle version
is designed for use with defibrillator delivering high voltage in to the manikin paddle plates
Note
Illustrations may vary from product.
RA QCPR AED
Cautions
• Defibrillation must be performed using ShockLink only. Refer to ShockLink Important
Product Information. Paddle adapters are not possible to use.
• When removing or replacing the chest skin, do not pull or damage the wires connecting
the chest skin to the battery box.
• To prevent skin pitting on the Resusci Anne Simulator Laerdal Link version, do not apply
conductive gel or conductive defibrillation pads intended for patient use.
• Do not provide artificial respiration to the patient simulator using oxygen enriched air or
flammable gases.
Warnings
• Observe all standard safety precautions for the use of defibrillators.
• Do not defibrillate in a flammable or oxygen-enriched atmosphere.
• Only defibrillate using ShockLink as described in ShockLink instructions.

5
To enable scenarios, real time feedback and debriefing, connect to SimPad PLUS or other
PC or Tablet applications.
Note
Visit www.laerdal.com to download SimPad PLUS User Guide.
Operating Systems
• SimPad PLUS
• LLEAP
Compatible systems
• Laerdal Simulation Home
• Voice Conference Application
• Patient Monitor
System Overview & Setup

Items Included
6
Reservoir
bag Extrication
Rescue Legs
Clothes
RA Sim Paddle
version
Training Pads included
with the AED Link version
ShockLink included with
the AED Link version
RA Sim AED Link
version

Items Included
7
Air Pump
Lubricant
Blood Pressure
(BP) Cuff
3 Eye Sets
(normal, constricted,
dilated pupils)
Microphone Headset
and 2nd Microphone
LAN
Cable
Microphone
Extension Cable
Full body soft pack
AC Adapter
and extention
cable
USB
Cable
Simulated
Blood
Documents

8
Overview
IV Arm
BP Arm
Main Panel
IO Tibia
Airway Head
ECG connectors
Pulses
Vocal Sounds
Lung Sounds
Heart Sounds
IM Sites
Note
IV Arm and BP arm can be reversed in alternative configuration; BP left / IV right and opposite.

9
Airway Features
Anatomically accurate, realistic airway including Cricoid cartilage
Head tilt / chin Lift
Jaw thrust
Bag Valve Mask (BVM) Ventilation
Endotracheal Intubation (Anatomical correct down to vocal cords)
Supraglottic intubation ( iGel, Laryngeal Tube LTS, LMA and others)
Sellick Maneuver
Airway closing mechanism (located in torso)
Tongue fall back
Stomach distension
Spontaneous breathing (visible chest rise)
Cardiovascular Features
Live defibrillation (AED Link version with use of ShockLink)
Defibrillation with paddles (Paddle plate configuration)
Automatic rhythm change after defibrillation
ECG monitoring and Extensive ECG library
QCPR Live feedback
Blood pressure (NIBP)
• Systolic and diastolic pressure
• Auscultatory gap
Pulse strength variable with NIBP
Korotkoff sounds synchronized with ECG
Pulses (carotid, bilateral)
Compression measurement and feedback
Vascular Features
Multivenous IV arm
Left tibial IO insertion
Bilateral Intramuscular (IM) Injections
Other Features
Interchangeable pupils
Extensive sound libraries
Log files for debriefing
Features

10
Charging
Charge battery using AC Adapter complete with extention cable.
Fully charge battery before first use. Use AC adaptor with extension cable to charge.

11
Power Panel
Manikin starting
Manikin is on
Manikin is visible for SimPad
Manikin is connected
to SimPad

12
Setup - Attach Legs
1
2
3
4

13
5
6
Setup - Attach Legs
Note
To remove legs, reverse procedure.

14
Preparing for Simulation - Connect Microphone
1
2
3
4

15
Preparing for Simulation - Fill Air Container
Note
If spontaneous breathing is activated and no chest rise is observed, ensure there is enough air
in the air container. Refill as necessary.
Air container is located inside pelvis. Use manual pump provided (or external compressor).
Do not to exceed 10 bar (145 psi).

16
Preparing for Simulation - IV Arm
16
Attach IV tubing to IV bag. Allow fluid to flow through arm and out of other vein. Use
clamp to stop flow.

17
Preparing for Simulation - Lubrication
Lubrication
• Lubricate airway with two or three sprays prior to starting your training session.
• Lubricate airway management tools liberally prior to starting intubations. Consider
whether additional lubrication is needed later in the session.
• Use only Laerdal Airway Lubricant. Do not use silicon or other lubricant, as this may
damage manikin.
• Lubricate the supraglottic or ET tubes before insertion.
Note
Head contains electrical components. Due to inability to sanitize airway, mouth-to-mouth/
mouth-to-mask ventilation should not be performed.
Cautions
• Use only Laerdal Airway Lubricant. Other lubricant not approved by Laerdal can damage
the airway.
• Lubricate instruments and tubes before insertion into the airway. Non-lubricated
instruments and tubes are difficult to insert and can also damage the airway.
• The airways in the Airway Head cannot be completely sanitized, therefore, do not do:
Mouth-to-mouth ventilation, mouth-to-mask ventilation, insertion of simulated vomit for
suctioning.

18
Preparing for Simulation - IO Tibia
12
34
5 6

19
Preparing for Simulation - IO Tibia
30 - 35ml
7
8
910
11
12

20
Preparing for Simulation - Change Eyes
3 4
1 2
Use different pupils to simulate various patient conditions.
Other manuals for Resusci Anne
7
Table of contents
Other laerdal Other manuals
Popular Other manuals by other brands

IBM
IBM HS21 BLADECENTER - L5408 FOR SPEC CPU2006 specification

Hortitek
Hortitek Defender Series instruction manual

Himoto
Himoto Off-road buggies instruction manual

Eaton
Eaton 150 VCP-T16 Instructions for the use

Motorola
Motorola Escape 500 ANC quick start guide

ReelCraft
ReelCraft 5005 Series operating instructions