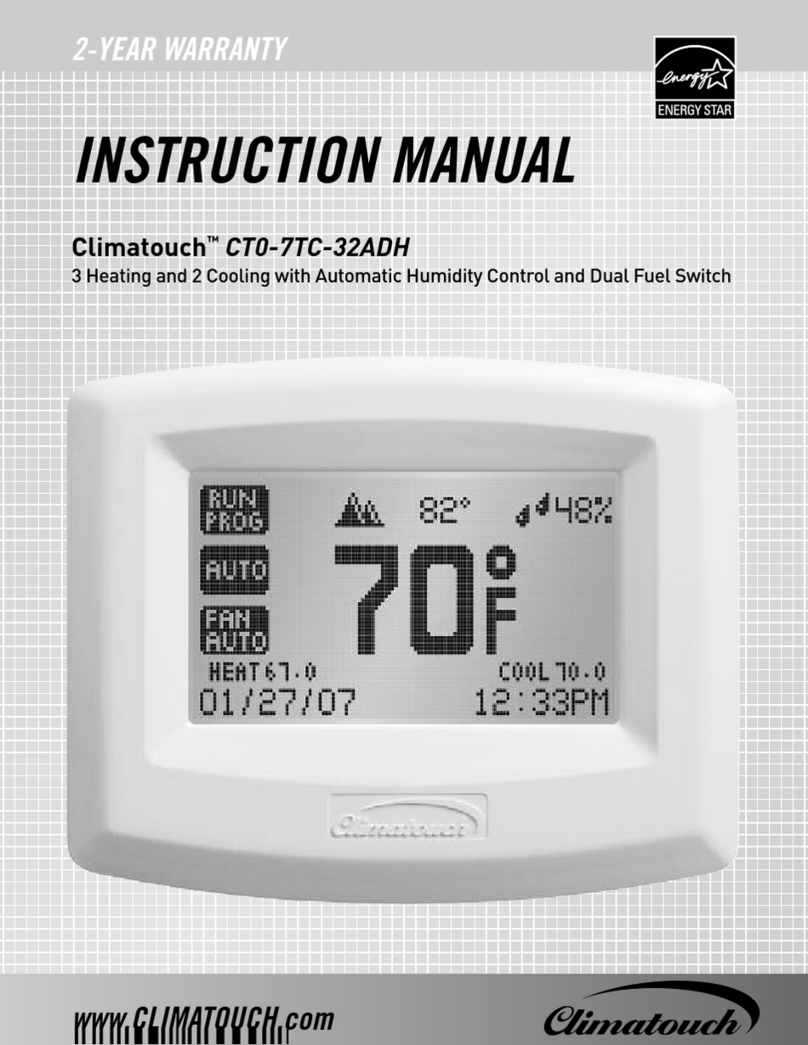
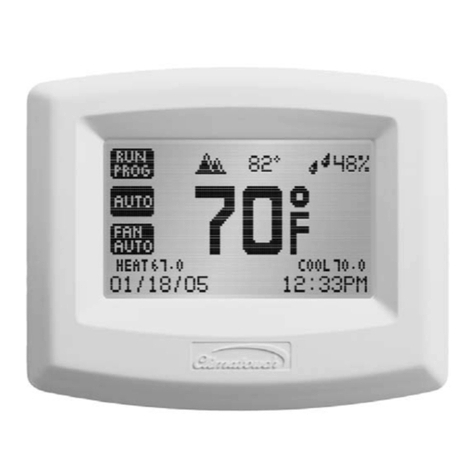
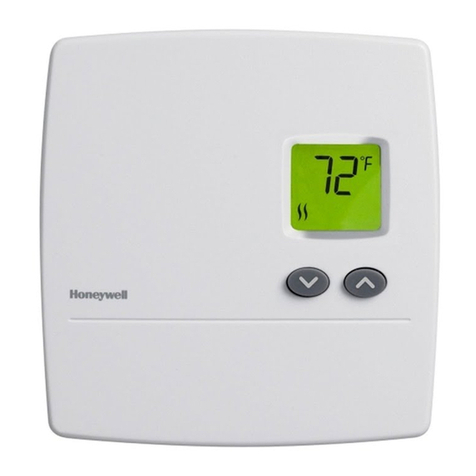
Climatouch CT0-7SC-721 User manual

INSTRUCTION MANUAL
CT0-7SC-721
CT0-7SC-511

SPIN-AND-CLICK INTERFACE ...............................
Multicolor Backlight ...............................................
THERMOSTAT FEATURES ......................................
INSTALLATION - BEFORE YOU BEGIN ...................
INSTALLATION - MOUNTING THE THERMOSTAT ..
INSTALLATION - WIRING DIAGRAMS ...................
USING THE THERMOSTAT - SPIN-and-CLICK .....
USING THE THERMOSTAT - MAIN SCREEN .........
TEMPERATURE SET-POINT(S) ........................
THERMOSTAT OPERATION MODES .................
TEMPERATURE CONTROL MODES ..................
FAN OPERATION MODES .................................
TIME AND DAY SETTINGS .....................................
PROGRAM SETTINGS............................................
BACKLIGHT SETTINGS .........................................
CONFIGURATION SETTINGS .................................
CONFIGURATION – SCREEN 1 .........................
CONFIGURATION – SCREEN 2 .........................
CONFIGURATION – SCREEN 3 .........................
CONFIGURATION – SCREEN 4 .........................
CONFIGURATION – SCREEN 5 .........................
CONFIGURATION – SCREEN 6 .........................
CONFIGURATION – SCREEN 7 .........................
CONFIGURATION – SCREEN 8 .........................
CONFIGURATION – SCREEN 9 .........................
CONFIGURATION – SCREEN 10 .......................
CONFIGURATION – SCREEN 11 .......................
SECURITY SETTINGS .......................................
REPLACING THE BATTERIES ...............................
FAQ ........................................................................
WARRANTY ...........................................................

The intuitive interface with its elegantly embedded
control-button and recessed scroll-wheel allows
you to quickly and easily access all of the thermo-
stat’s features:
Instantly change the temperature set-point with •
a ick of your nger;
Quickly select thermostat, temperature or fan •
control modes;
Easily set-up a customized, temperature control •
program.
Large LCD screen with Multicolor Backlight shows
the current HVAC status using different, user-se-
lectable screen colors, allowing you to observe the
status of your HVAC system at a glance.* It also
clearly displays current temperature, tempera-
ture set-point, day, time and thermostat operation
modes at all times.
The Climatouch™ “Spin-and-Click” thermostat el-
evates your environmental comfort and control to
a higher level. With its innovative LCD screen with
Multicolor Backlight* and revolutionary “Spin-and-
Click” interface, it’s both easy on the eyes and easy
to use. The Climatouch™ “Spin-and-Click” thermo-
stat allows you to operate a heating, ventilation and
air conditioning (HVAC) system with absolute preci-
sion and unparalleled simplicity.

An Automatic Temperature Control mode alter- •
nates between the heating and cooling capabili-
ties of your HVAC system to maintain the tem-
perature at the current temperature set-point for
absolute comfort control.
3 independent fan operation modes control air- •
ow to maintain room comfort. A unique “Fan
Intermittent” mode runs the fan for 10 minutes
every half-hour to ensure proper air circulation
and save energy.
Battery back-up protects your programmed set- •
tings during extended power failures.
Secure access operation with a user-selected PIN •
prevents unauthorized use of the thermostat.
Precise temperature control in 1°F increments •
ensures that your comfort is maintained at the
desired set-point.
Dual Powered: Hardwired and Battery Powered - •
easily replaces traditional mercury-switched two
wire thermostats.
The fully programmable, Climatouch™ “Spin-and-
Click” thermostats precisely controls temperature
and airow for optimum comfort and air quality. It
also delivers enhanced energy savings and efcien-
cy without sacricing your environmental comfort.
7-day programmable* “Program” mode precisely •
ts your schedule, with up to 4 temperature and
fan operation mode changes for each day of the
week. A convenient ”Copy” option duplicates
daily settings to simplify the set-up of a custom
7-day program.*
Up to 2 “Heat” and 1 “Cool” stages allows you •
to control the widest variety of HVAC system
congurations.

Remove the thermostat backplate and align it to
the wall at the selected installation location.
Mark the 2 inside holes for drilling plastic screw
anchors holes on the wall.
Remove the backplate and drill 2 3/16” holes in
marked locations.
Insert 2 plastic screw anchors
Mount the thermostat backplate using 2 supplied
screws.
Connect the wires to the screw-terminals on the
thermostat backplate based on the specications
of the HVAC unit(s). Please refer to Wiring
Diagrams to determine the appropriate wire
connections.
Insert 2 supplied AA batteries into the thermo-
stat battery compartment.
Align the pins on the back of the thermostat with
the screw-terminals on the thermostat back-
plate and press rmly but gently to connect the
thermostat with the backplate.
Turn on the electricity at the electrical service
panel.
Make sure to turn off the power supply located at
the electrical service panel. All heating and cooling
units should be OFF.
If replacing an existing thermostat, remove the old
thermostat and label all the wires with old thermo-
stat screw-terminal letter designations.
Choose a thermostat installation location that is on
an interior wall and away from direct sunlight, radi-
ant heat and air-ducts.

CONNECTING EXISTING WIRES TO A THERMOSTAT
ORANGE
RED
WHITE
BLUE
GREEN
YELLOW
REVERSE VALVE
24V
HEAT
COMMON
FAN
HP or AC
W1
R
C
OB/W2
G
Y
R RH 4or or or V
OB/W2
H Oor or or B
W1 Wor
G For
Y Y1 Mor or
CXBor or
STANDARD HVAC
WIRE COLOR
OLD THERMOSTAT SCREW-TERMINAL
LETTER DESIGNATION
AIR CONDITIONER
RED
BLUE
GREEN
YELLOW
24V
COMMON
FAN
AC
OB
W2 RW1 C G Y

AIR CONDITIONER AND 1 STAGE HEAT
RED
WHITE
BLUE
GREEN
YELLOW
24V
HEAT
COMMON
FAN
AC
OB
W2 RW1 C G Y
AIR CONDITIONER AND 2 STAGE HEAT
ORANGE
RED
WHITE
BLUE
GREEN
YELLOW
2nd STAGE HEAT
24V
1st STAGE HEAT
COMMON
FAN
AC
OB
W2 RW1 C G Y

HEAT PUMP AND 1 STAGE HEAT
ORANGE
RED
WHITE
BLUE
GREEN
YELLOW
REVERSE VALVE
24V
HEAT
COMMON
FAN
HP
OB
W2 RW1 C G Y
HEAT PUMP
ORANGE
RED
BLUE
GREEN
YELLOW
REVERSE VALVE
24V
COMMON
FAN
HP
OB
W2 RW1 C G Y

Climatouch™ “Spin-and-Click” features the in-
tuitive interface that can recognize several distinct
user inputs in order to access all of the thermostat
features and menus.
“Spin-and-Click” interface can recognize the follow-
ing inputs:
Scroll-wheel CLOCKWISE SPIN •
Scroll-wheel COUNTER-CLOCKWISE SPIN •
Control-button CLICK •
Control-button HOLD •
Control-button RELEASE •

The MAIN SCREEN displays the following information:
Current Day
Current Time
Current Temperature
Temperature Set-Point(s)
Thermostat Operation Mode
Temperature Control Mode
Fan Operation Mode
Fan Operation Indicator
Security Setting Indicator
From the MAIN SCREEN you can:
Change Temperature Set-Point(s) •
Select Thermostat Operation Mode •
Select Temperature Control Mode •
Select Fan Operation Mode •
Access Time and Date Settings •
Access Program Settings •
Access Backlight Settings •

SPIN the scroll-wheel to select the second digit
of the PIN.
CLICK the control-button to enter the second
digit of the PIN and advance.
SPIN the scroll-wheel to select the third digit of
the PIN.
CLICK the control-button to enter the third digit
of the PIN and advance.
If the padlock indicator is displayed in top-right
corner to indicate that the thermostat is protected
from unauthorized use, you will rst need to enter
the 3-digit PIN in order to change any settings. The
default PIN is 000.
The thermostat will temporarily unlock to allow you
to make desired changes.
To enter PIN:
SPIN the scroll-wheel or CLICK the control-
button until “Enter Pin” message appears on the
screen.
SPIN the scroll-wheel to select the rst digit of
the PIN.
CLICK the control-button to enter the rst digit
of the PIN and advance.

To change the DEFAULT set-point for the AUTO mode:
CLICK the control-button until the indicator for
desired DEFAULT set-point (HEAT or COOL) is
ashing.
Wait until the thermostat times-out (none of the
indicators will ash).
Next time you SPIN the scroll-wheel, the selected
DEFAULT set-point will change rst.
If you change the temperature set-point while the
thermostat is in the PROGRAM operation mode, a
“Temporarily Set to” indicator will appear.
“Temporarily Set to” indicator indicates that the
selected temperature set-points will remain in
effect for 45 minutes if TEMPERATURE SETBACK
TIMEOUT feature is enabled during the congura-
tion or until the next program event begins, which-
ever comes rst.
To change the temperature set-point, SPIN the
scroll-wheel.
SPIN the scroll-wheel in counter-clockwise di-
rection to raise the temperature set-point.
SPIN the scroll-wheel in clockwise direction to
lower the temperature set-point.
In AUTO Temperature Control Mode you can change
both HEAT and COOL set-points.
SPIN the scroll-wheel to change the default tem-
perature set-point – the corresponding set-point
indicator will ash.
CLICK the control-button to select the other set-
point - the corresponding set-point indicator will
ash.
SPIN the scroll-wheel to change the other set-
point.

SPIN the scroll-wheel to select desired thermo-
stat operation mode. The selected thermostat
operation mode indicator will ash.
CLICK the control-button to confirm your
selection.
Climatouch™ “Spin-and-Click” thermostat can op-
erate in PROGRAM mode, HOLD a xed temperature
or be turned OFF.
• - Initiates the PROGRAM SETTINGS
with 4 independent events per day. To set up a
temperature control program with custom tem-
perature and fan operation mode changes, refer
to PROGRAM SETTINGS section.
• - Regulates the room temperature as de-
termined by the selected temperature control
mode and temperature set-point(s).
• – Thermostat does not control the HVAC
system. The thermostat will continue to display
current time, day and room temperature.
To select the thermostat operation mode:
CLICK the control-button until the “MODE” indi-
cator starts to ash.

SPIN the scroll-wheel to select desired temper-
ature control mode. The selected temperature
control mode indicator will ash.
CLICK the control-button to confirm your
selection.
Depending on the your HVAC system, the Climatouch™
“Spin-and-Click” thermostat can operate in one of the
following temperature control modes:
• - both cooling and heating HVAC units are
used to keep the room temperature between the
selected HEAT and COOL set-points.
• - Only the air conditioning is used to regu-
late the room temperature.
• - Only the heating unit(s) is(are) used to
regulate the room temperature.
To select the temperature control mode:
CLICK the control-button until the “SYSTEM” in-
dicator starts to ash.

SPIN the scroll-wheel to select desired fan op-
eration mode. The selected fan operation mode
indicator will ash.
CLICK the control-button to confirm your
selection.
When the fan is running, the animated fan indicator
will appear on the MAIN SCREEN.
Climatouch™ “Spin-and-Click” thermostat can op-
erate the fan in one of the following three fan opera-
tion modes:
• - The fan runs only when there is a demand
for heating or cooling.
• - The fan runs continuously
• - The fan runs 10 minutes per
every 1/2 hour, providing a convenient way to
improve air quality and save energy.
To select the fan operation mode:
CLICK the control-button until the “FAN” indica-
tor starts to ash.

If you wish to change the time and day settings while
the current time digits are not ashing:
While on the MAIN SCREEN, HOLD the control-
button until the screen with only ashing time
digits appears and RELEASE the control-button
SPIN the scroll-wheel to set the current time
CLICK the control-button to conrm the time set-
ting and to proceed to DAY SETTINGS screens. If
you wish to return to the MAIN SCREEN without
setting the current day, HOLD the control-button
until the MAIN SCREEN appears
SPIN the scroll-wheel to set the current day
CLICK the control-button to conrm the day set-
ting and return to the MAIN SCREEN.
If the Current Time digits are ashing, you must rst
set the time.
SPIN the scroll-wheel or CLICK the control-
button to access the TIME SETTING screen with
ashing time digits.
SPIN the scroll-wheel to set the current time
CLICK the control-button to conrm time setting
and to proceed to current day settings screen.
SPIN the scroll-wheel to set the current day.
CLICK the control-button to conrm day setting
and return to the MAIN SCREEN.

DAY(S) – day(s) to which the displayed settings
are applied.
EVENT NUMBER – event of the day (1-4) to which
the displayed settings are applied.
START AT TIME – time at which the displayed
event will begin and the displayed settings will
be applied.
COOL SET-POINT – the environment tempera-
ture point that will trigger a cooling cycle.
HEAT SET-POINT – the environment tempera-
ture point that will trigger a heating cycle.
FAN OPERATION MODE – the fan operation
mode for the event.
To change the program settings:
SPIN the scroll-wheel to select the day and event
number you wish to program. The selected day
and EVENT indicators will ash.
CLICK the control-button to conrm your choice
and advance to START AT TIME setting.
PROGRAM SETTINGS feature allows you to easily
and quickly program daily temperature changes to
t your schedule and reduce energy consumption.
You can customize the program with 4 temperature
and fan operation change per day for each day of
the week (Model CT0-7SC-721) or for weekdays and
weekend (Model CT0-7SC-511).
To program the thermostat:
While on the MAIN SCREEN, HOLD the control-
button until the PROGRAM SETTING screen
appears.
RELEASE the control-button to begin setting the
program.
The program settings screen displays the following
information:

While the “Heat” indicator is ashing, SPIN the
scroll-wheel to select the HEAT SET-POINT for
the event.
CLICK the control-button to conrm HEAT SET-
POINT and advance to FAN OPERATION MODE
setting.
While the “FAN” indicator is ashing, SPIN the
scroll-wheel to select the FAN OPERATION
MODE for the event. The selected fan operation
mode indicator will ash.
CLICK the control-button to confirm FAN
OPERATION MODE and return to day and event
selection.
While “Start at” indicator is ashing, SPIN the
scroll-wheel to select START AT time for the se-
lected event.
CLICK the control-button to conrm START AT
TIME and advance to COOL SET-POINT setting.
While the “Cool” indicator is ashing, SPIN the
scroll-wheel to select the COOL SET-POINT for
the event.
CLICK the control-button to conrm COOL SET-
POINT and advance to HEAT SET-POINT setting.

SPIN the scroll-wheel to select YES or NO for the
COPY option.
CLICK the control-button to conrm your choice.
If you select YES, all program settings from previ-
ously modied day will be copied to newly selected
day. The thermostat will prompt you to COPY the
settings to the next day.
If you select NO, follow the steps above to modify
program settings.
Repeat the described procedure to program tem-
perature and fan operation mode changes for the
whole week.
HOLD the control-button to conrm program
settings and return to the MAIN SCREEN.
While the day and “Event” indicators are ashing,
SPIN the CLICK wheel to select the next event for
which you wish to modify the settings and repeat
the steps above.
If you choose to modify program setting for another
day of the week, the thermostat will prompt you to
COPY the previously modied day settings to newly
selected day.

While “0” is displayed, SPIN the scroll-wheel
until the LCD backlight turns to desired color for
IDLE system status.
CLICK the control-button to select the color and
advance to the next backlight color setting.
While “1” is displayed, SPIN the scroll-wheel
until the LCD backlight turns to desired color for
1st stage HEAT.
CLICK the control-button to select the color and
advance to the next backlight color setting.
Climatouch™ “Spin-and-Click” features a state-
of-the-art LCD screen with Multicolor Backlight
that shows the current HVAC status using different
colors. You can customize the color for each HVAC
status: IDLE, HEAT and COOL.*
Please note that if you are only using batteries to
power the thermostat, Multicolor Backlight feature
will automatically be disabled to save energy and
extend battery life. You will not be able to access the
BACKLIGHT SETTINGS screen.
To customize the backlight colors on AC power only
While on the MAIN SCREEN, make sure that
SYSTEM icon is not flashing and HOLD the
control-button until the BACKLIGHT SETTINGS
screen with a large “0” appears. RELEASE the
control-button.
This manual suits for next models
1
Table of contents
Other Climatouch Thermostat manuals
Popular Thermostat manuals by other brands
Lennox
Lennox ComfortSense L7742U owner's manual

GENERAL LIFE
GENERAL LIFE HT250 SET manual
Netatmo
Netatmo Smart thermostat manual

Peco
Peco TW180 installation instructions
GENERAL LIFE
GENERAL LIFE HT120 SET user manual
meitav-tec
meitav-tec ETN-P Series Owner's manual installation and operating instructions
