manuals.online logo
Brands
  1. Home
  2. •
  3. Brands
  4. •
  5. Siemens
  6. •
  7. Thermostat
  8. •
  9. Siemens REV23M User manual

Siemens REV23M User manual

Symbole Burner active Economy
setpoint 1 heating
period
“Time” menu Error message Setpoint frost
protection 2 heating
period
T “Temperature”
menu
Automatic
operation
Setpoint remote
operation 3 heating
period
“Heating
periods” menu Continuously
comfort mode
Absence
setpoint
Current weekday
“Absence”
menu Continuously
economy mode Actual room-
temperature
Workingday group
Battery
change Frost
protection Actual outside
temperature (*)
Weekend group
Commissioning and quick start Remote
operation 24-hour mode Hot water temp.
setpoint (*)
Entire week
Absence Comfort
setpoint
Actual boiler
water temp. (*)
Time schedule
(*) Display only possible if these values are delivered by the boiler.
Functions of the roller selector
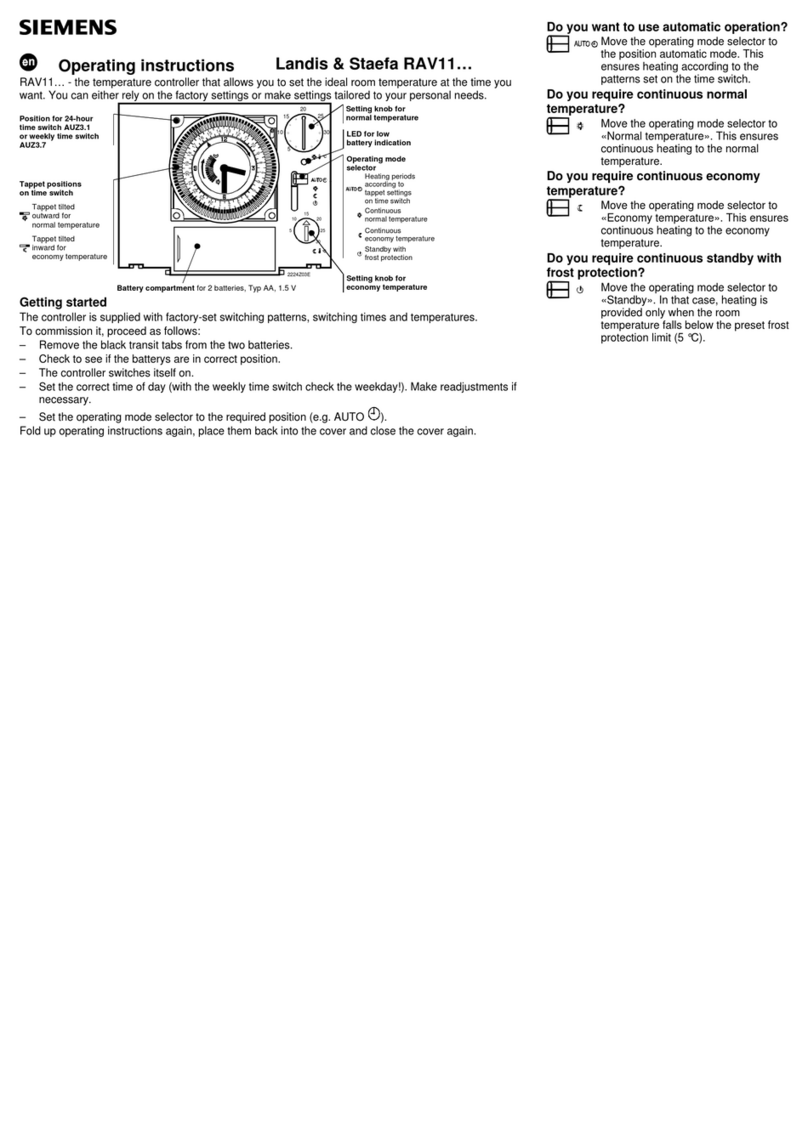
1. Remove controller from its base and open
cover of the battery compartment.
2. Remove the black battery transit tab.
The controller will switch itself on.
3. Close the battery compartment and replace
the controller.
4. Switch on the boiler.
CLICK
Press:
• You access the menu
level
• You activate the menu
• You save the inputs
• You switch to the next
menu item
• You accept the menu
item
+
Roll:
• You go from one menu to the next
• You change the setting variables
(temperature in increments of
0.2 °C, time in increments of
hours and minutes)
• You select predefined functions
Selecting the operating mode Escape button
Press the Esc button to return to the menu level previously activated or to
leave the menu level in a number of steps until you reach the initial display
(the settings currently displayed will be accepted).
Setting the time of day and the weekday
The operating mode selector enables you
to select 5 different operating modes:
• Automatic operation with a maximum of
3 heating periods
• Continuously comfort mode
• Continuously economy mode
• Continuously frost protection mode
• 24-hour mode with current comfort setpoint
Changing temporarily the current
setpoint temperature
CLICK Ö
hÖhÖ
ÖÖ
If no button is pressed for 20 seconds, the setting
displayed will be accepted and the initial display will
appear again.
1. Press: You access the menu level;
the clock flashes.
2. Press: You accept the menu;
the hours flash.
3. Roll: Set the current hour.
4. Press: You save the input;
the minutes flash.
5. Roll: Set the current minute.
6. Press: You save the input;
the weekday flashes.
7. Roll: Select the current weekday.
8. Press the Esc button to return to the menu level:
the T menu flashes
(change not necessarily required; press
the Esc button again to return to the
initial display).
° C
Changing temperatures long-term
The change is
maintained until
the next switching
point is reached!
1. When pressing the or button for the
first time, the currently valid setpoint temperature
will be displayed. It can be readjusted in
increments of 0.2 °C (max. +/-4 °C).
2. After 3 seconds, the initial display will
automatically appear again.
Changing temporarily the
temperature setpoint (savings tip)
CLICK ÖÖ
Ö° C
Ö
Ö° C
ÖÖ
° C ÖÖ
° C
ÖÖ
If no button is pressed for 20 seconds, the setting
displayed will be accepted and the initial display will
appear again.
1. Press: You access the menu level;
the clock flashes.
2. Roll: Toward the display to the T menu.
3. Press: You accept the menu;
symbol
flashes.
4. Press: You accept ;
the setpoint flashes.
5. Roll: Set the comfort temperature
6. Press: You save the input;
symbol flashes.
7. Press: You accept ; the setpoint flashes.
8. Roll: Set the economy temperature.
9. Press: You save the input;
symbol
flashes.
10. Press: You accept ; the setpoint flashes.
11. Roll: Set the frost protection temperature.
12. Press: You save the input; symbol
flashes.
13. Press: You accept ; the setpoint flashes.
14. Roll: Set the temperature setpoint
while remote operation is active.
15. Press the Esc button to return to the menu level:
The heating periods menu flashes.
(change not necessarily required; press the
Esc button again to return to the initial display).
In operating modes and , this
button can be pressed to make a manual
change from comfort to economy mode,
or vice versa. The change will
automatically be canceled when reaching
the next switching point or when
selecting another operating mode.
Siemens SBT / HVAC Products CE1B2266en 02.07.2003
en
Operating Instructions
REV23M
Settings for automatic operation with 2 heating periods 24-hour operation
24-hour operation with only one heating period (the
heating period will automatically be generated from
the current 24-hour program).
Start of the first heating period, end of the last
heating period, plus the currently adjusted comfort
temperature setpoint.
Retrieving the default values
Press the button behind the small opening for at
least one second, thus resetting the user-specific
and the “Permanent-self-learning operating mode”
as well as display of flow temperature, outside
temperature and d.h.w. setpoint to their default
values (the heating engineer settings will not be
changed).
The clock starts at 12:00.
When making a reset, all display fields will light up.
Caution: If the controller is removed from its base
for more than 60 seconds, an error
message will appear on the display.
When sliding the controller back to its
base, the error message must disappear
after 2 minutes at the latest.
Without inserted batteries, reset
functions correctly for a maximum
of 15 seconds only after removing
REV23M from its base.
Default values
Factory settings for heating
Operating mode
Start of continuous operation 00:00 00:00 00:00
End of continuous operations 24:00 24:00 24:00
Setpoint of comfort mode 19 °C
Setpoint of economy mode 16 °C
Setpoint frost protection 5 °C
Setpoint
remote operation 10 °C
CLICK Ö
ÖÖ
ÖÖ
hÖ
hÖ
° C
Ö
Ö
hÖ
hÖ
° C Ö
ÖÖ
/Ö
If no button is pressed for 20 seconds, the setting
displayed will be accepted and the initial display
restored.
1. Press: You access the menu level;
the clock flashes.
2. Roll: Twice toward the display;
menu
flashes.
3. Press: You accept the menu;
the day selection symbol
flashes.
4. Roll: Select the days, the working days, the
weekend or the week.
5. Press: You save the selection made;
heating period flashes.
6. Press: Accept ; heating period 1 flashes.
7. Press: You accept heating period 1;
start time of heating period 1 flashes.
8. Roll: Set the start time of heating period 1.
9. Press: You save the input;
end time of heating period 1 flashes.
10. Roll: Set the end time of heating period 1.
11. Press: You save the input;
setpoint of heating period 1 flashes.
12. Roll: Set the setpoint of heating period 1.
13. Press: You save the input;
heating period 2 flashes.
14. Press: You accept heating period 2;
start time of heating period 2 flashes.
15. Roll: Set the start time of heating period 2.
16. Press: You save the input;
end time of heating period 2 flashes.
17. Roll: Set the end time of heating period 2.
18. Press: You save the input;
setpoint of heating period 2 flashes.
19. Roll: Set the setpoint of heating period 2.
20. Press the Esc button to return to the heating
periods menu:
Menu item heating periods
flashes.
21. Roll: Toward the display or away from it to
menu item;
or heating periods
(change not necessarily required; press
the Esc button several times to leave the
menu level in several steps, thus
returning to the initial display).
Setpoint
absence 12 °C
Operating mode
Selected periods
Settings for automatic operation with 1 or 3 heating periods Start of period 1 07:00 06:00 06:00
End of period 1 23:00 08:00 08:00
The procedure to be followed is the same as that for automatic operation with 2 heating periods the only
difference being that, in addition, a setpoint for heating period 3 can be entered (standard setting 21 °C). Start of period 2 17:00 11:00
End of period 2 22:00 13:00
Start of period 3 17:00
End of period 3
22:00
Absence / holidays Setpoint of period 1 19 °C 19 °C 19 °C
Setpoint of period 2 20 °C 20 °C
Setpoint of period 3 21 °C
Setpoints and See above
Changing the batteries
2 Alkaline batteries type AA 1.5 V
CLICK Ö
ÖÖ
Ö° C
ÖÖ
If no button is pressed for 20 seconds, the setting
displayed will be accepted and the initial display will
appear again.
1. Press: You access the menu level;
the clock flashes.
2. Roll: Away from the display,
menu flashes.
3. Press: Accept ;
symbol flashes.
4. Roll: Set the start (weekday) of your
absence.
5. Press: You save the input;
the number of days flash.
6. Roll: Set the duration of your absence;
number of days (max. 99)
7. Press: You save the input;
setpoint flashes.
8. Roll: Set the temperature.
9. Press the Esc button to return to the menu level;
the clock flashes.
(change not necessarily required; press
the Esc button again to return to the
initial display).
When this symbol appears, the batteries must be
replaced within 3 months.
1. Remove controller from its base.
2. Open battery compartment at the rear and
replace the batteries.
3. Close battery compartment and replace the
controller.
Note:
When changing the batteries, the current data are
maintained for a maximum of one minute.
Siemens SBT / HVAC Products CE1B2266en 02.07.2003

Other Siemens Thermostat manuals

Siemens RAA20 User manual

Siemens

Siemens RAA20 User manual

Siemens RAA02 Series User manual

Siemens

Siemens RAA02 Series User manual

Siemens RDF300 Series User manual

Siemens

Siemens RDF300 Series User manual

Siemens Free Energy Band TH 193 HC User manual

Siemens

Siemens Free Energy Band TH 193 HC User manual

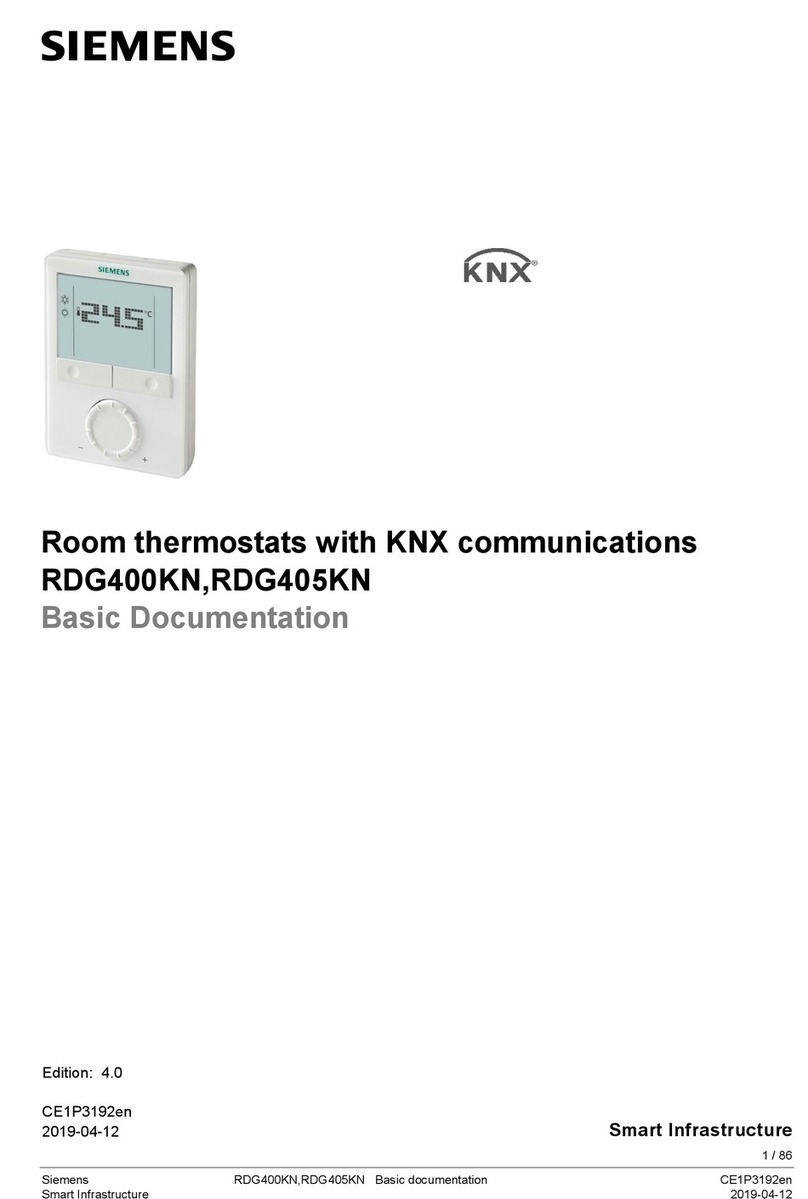
Siemens RDG400KN Operator's manual

Siemens

Siemens RDG400KN Operator's manual

Siemens Powers TH 192 S User manual

Siemens

Siemens Powers TH 192 S User manual

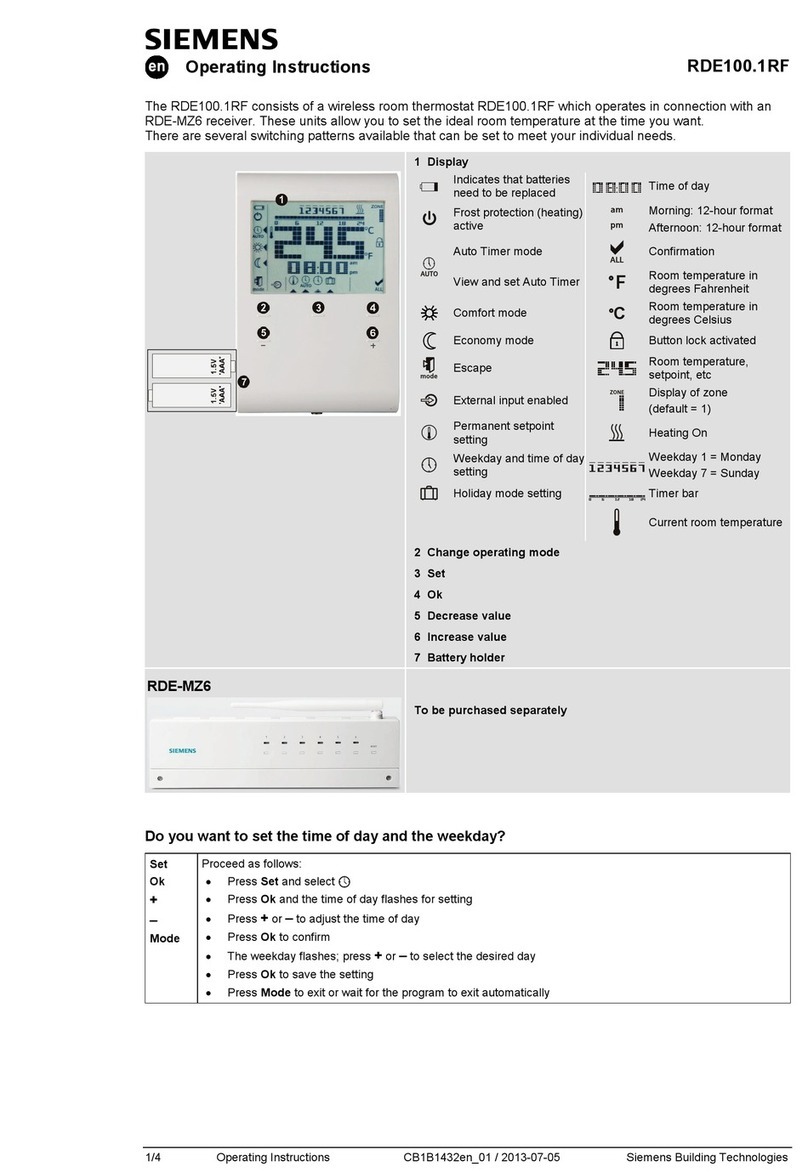
Siemens RDE100 Series Manual

Siemens

Siemens RDE100 Series Manual

Siemens REV34 User manual

Siemens

Siemens REV34 User manual

Siemens Powers TH 192 S Owner's manual

Siemens

Siemens Powers TH 192 S Owner's manual

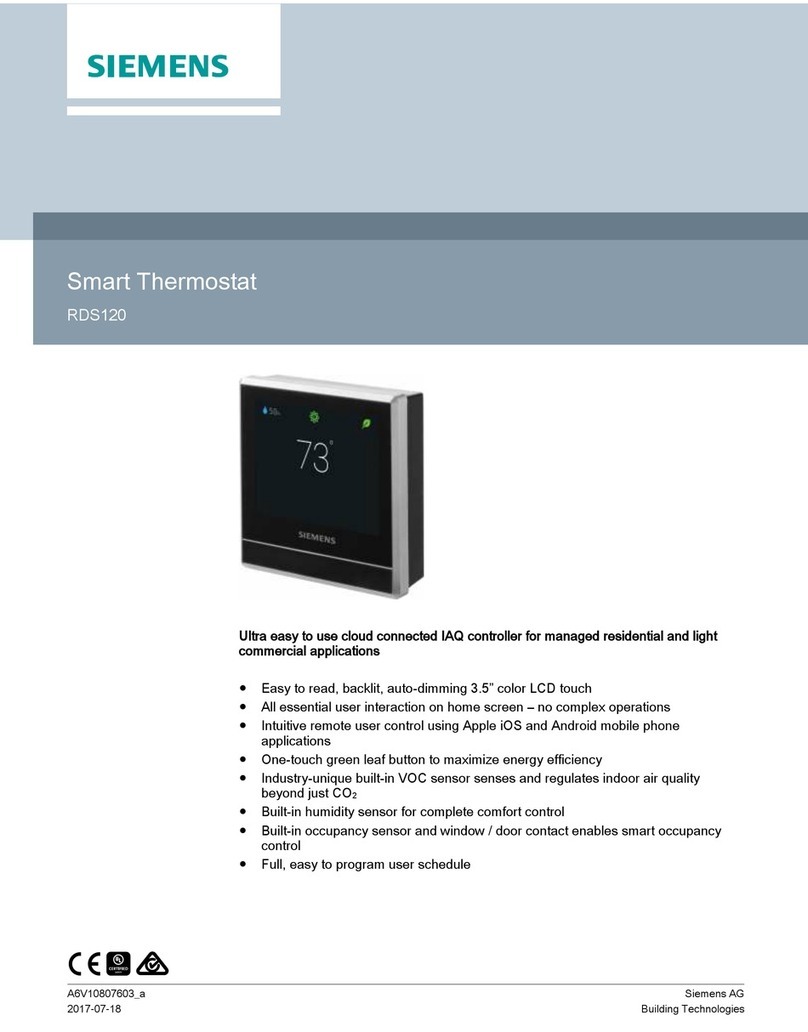
Siemens RDS110.R User manual

Siemens

Siemens RDS110.R User manual

Siemens RAZ-TW User manual

Siemens

Siemens RAZ-TW User manual

Siemens RAB10.1U User manual

Siemens

Siemens RAB10.1U User manual

Siemens RAB20 Series Owner's manual

Siemens

Siemens RAB20 Series Owner's manual

Siemens RDG400KN User manual

Siemens

Siemens RDG400KN User manual

Siemens RDH100 User manual

Siemens

Siemens RDH100 User manual

Siemens RAK-TR IP43 User manual

Siemens

Siemens RAK-TR IP43 User manual

Siemens RDJ10 User manual

Siemens

Siemens RDJ10 User manual

Siemens RDF800KN User manual

Siemens

Siemens RDF800KN User manual

Siemens KNX RDF301.50H User manual

Siemens

Siemens KNX RDF301.50H User manual

Siemens RDE100.1 User manual

Siemens

Siemens RDE100.1 User manual

Siemens RDD100 Series User manual

Siemens

Siemens RDD100 Series User manual

Siemens REV24 User manual

Siemens

Siemens REV24 User manual

Siemens EcoView 97-004 User manual

Siemens

Siemens EcoView 97-004 User manual

Siemens REV23RF User manual

Siemens

Siemens REV23RF User manual

Popular Thermostat manuals by other brands

ESI ESCTP-RF installation instructions

ESI

ESI ESCTP-RF installation instructions

HBX THM-0500 installation manual

HBX

HBX THM-0500 installation manual

Honeywell The Round CT87K owner's manual

Honeywell

Honeywell The Round CT87K owner's manual

Hydrofarm TMP-1 instructions

Hydrofarm

Hydrofarm TMP-1 instructions

Lux Products GEOx operating instructions

Lux Products

Lux Products GEOx operating instructions

Honeywell Home T10 Pro RedLINK manual

Honeywell Home

Honeywell Home T10 Pro RedLINK manual

Danfoss RAS-D2 Combi Instruction

Danfoss

Danfoss RAS-D2 Combi Instruction

ATC OCC2 user manual

ATC

ATC OCC2 user manual

emmeti Sintesi Wall user manual

emmeti

emmeti Sintesi Wall user manual

Vimar Eikon TACTIL 21814.F manual

Vimar

Vimar Eikon TACTIL 21814.F manual

Vaillant VSMART operating instructions

Vaillant

Vaillant VSMART operating instructions

Watts Radiant 519 Product guide

Watts

Watts Radiant 519 Product guide

Salus RTS00RF instruction manual

Salus

Salus RTS00RF instruction manual

AMK Level 5 Installation, operation and troubleshooting

AMK

AMK Level 5 Installation, operation and troubleshooting

DELTA DORE DRIVER 620 installation guide

DELTA DORE

DELTA DORE DRIVER 620 installation guide

Omnie IG OLC 02 user guide

Omnie

Omnie IG OLC 02 user guide

Danfoss DEVIreg Touch installation guide

Danfoss

Danfoss DEVIreg Touch installation guide

White Rodgers M100 installation instructions

White Rodgers

White Rodgers M100 installation instructions

manuals.online logo
manuals.online logoBrands
  • About & Mission
  • Contact us
  • Privacy Policy
  • Terms and Conditions

Copyright 2025 Manuals.Online. All Rights Reserved.