manuals.online logo
Brands
  1. Home
  2. •
  3. Brands
  4. •
  5. Clou
  6. •
  7. Plumbing Product
  8. •
  9. Clou Kaldur CL/06.15.003.29.R User manual

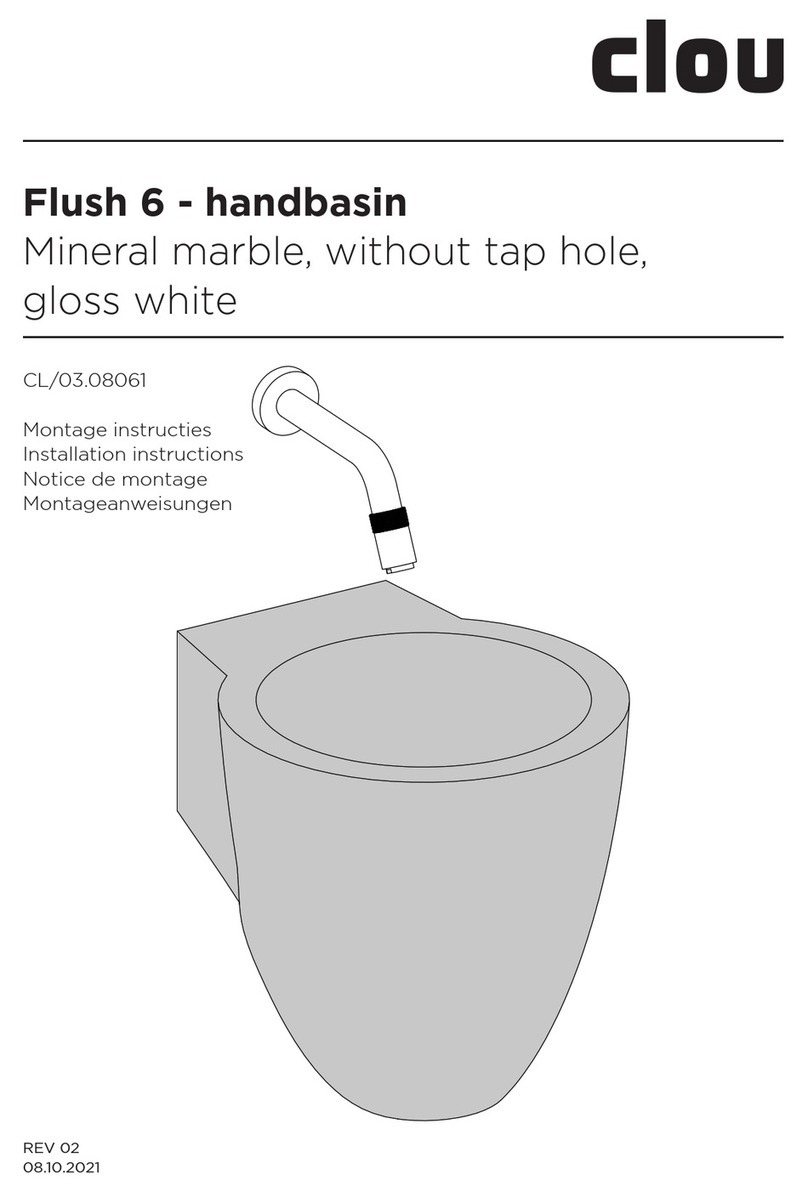
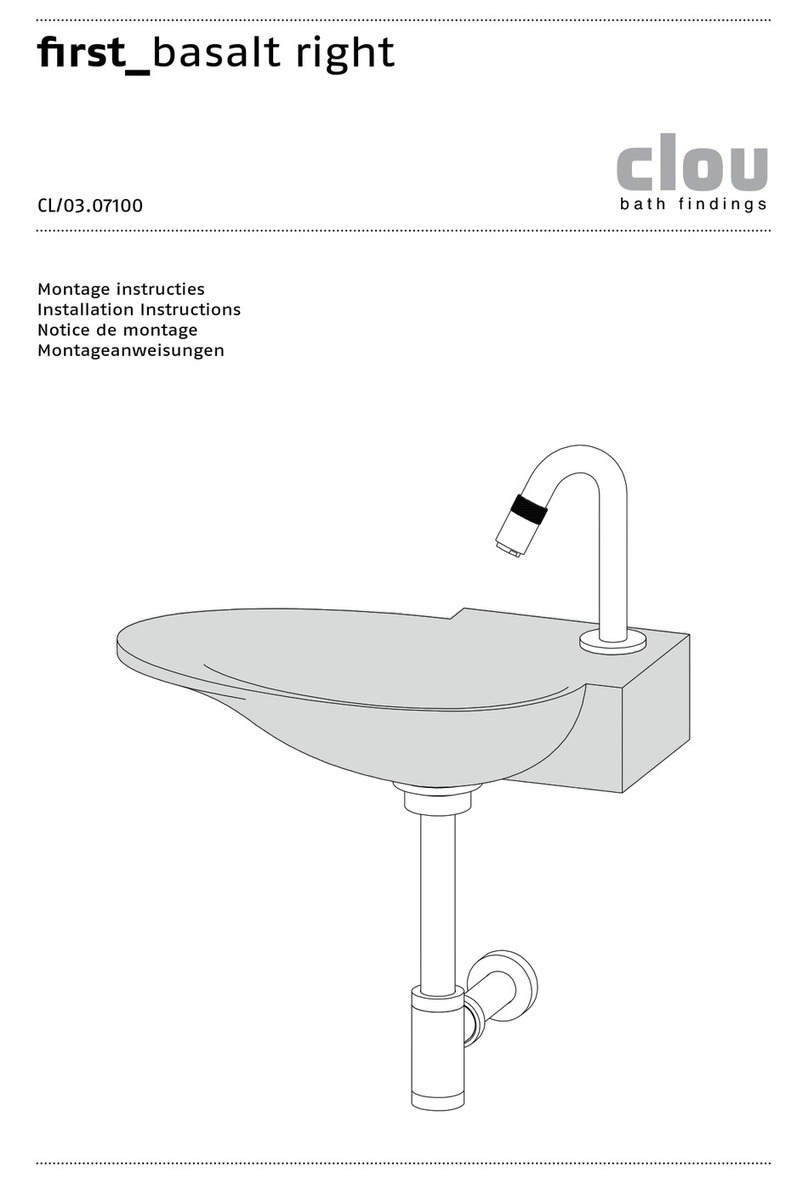
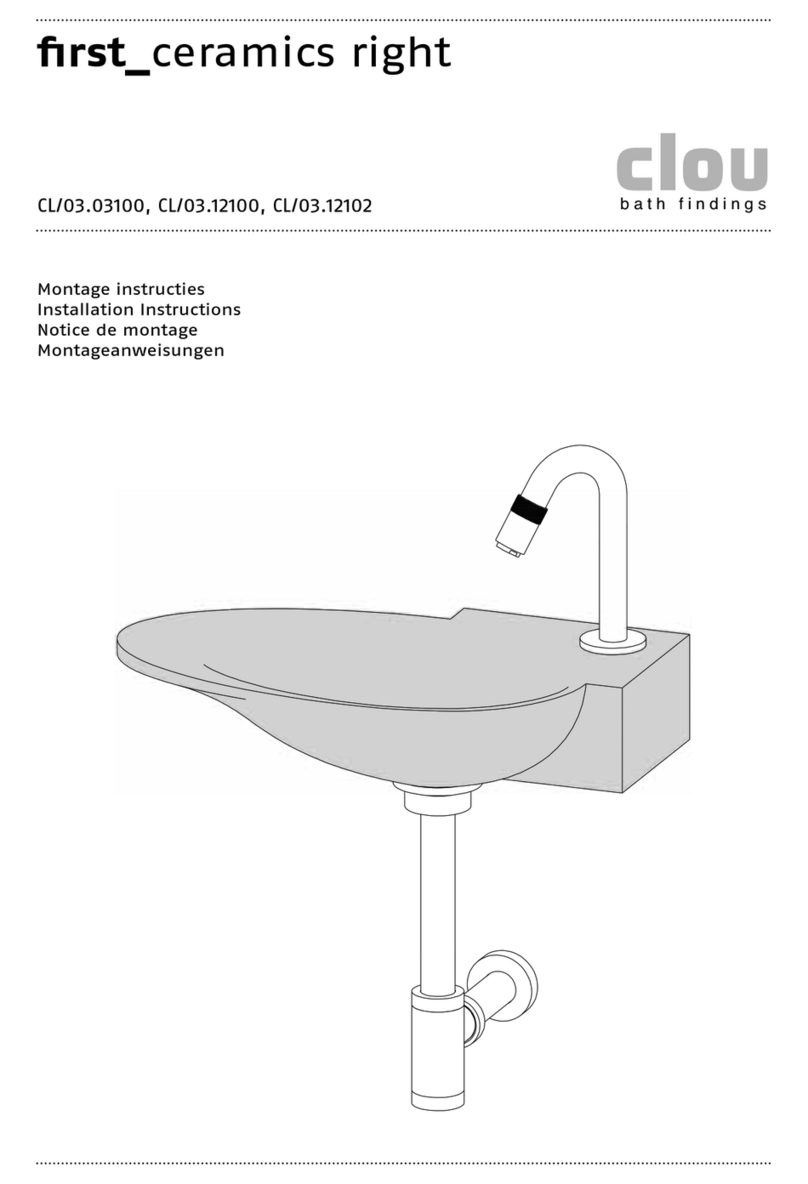
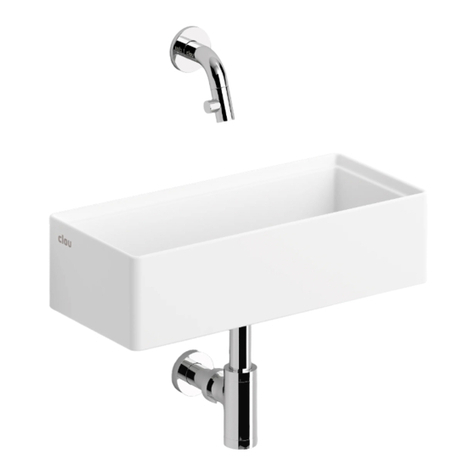
Clou Kaldur CL/06.15.003.29.R User manual

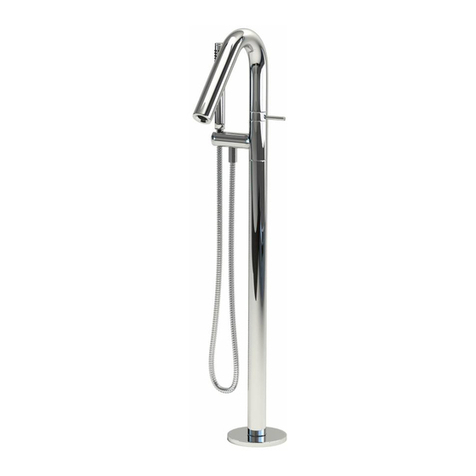
Kaldur - washbasin mixer
Chrome, long, right
CL/06.15.003.29.R
Montage instructies
Installation instructions
Notice de montage
Montageanweisungen
REV 01
06.04.2021
- Alvorens de montage te beginnen moet de
volledigheid van de levering gecontroleerd
worden. Tevens moet ook op transport-
schade gecontroleerd worden, te late
schademeldingen (> 1 dag na levering) wor-
den niet aanvaard.
- Alvorens de montage te beginnen dient
men ervoor te zorgen dat de hoofdwater-
leiding of de hoekstopkraan dicht gedraaid
is.
- Clou b.v. behoudt zich het recht voor
technische en optische wijzigingen aan te
brengen t.o.v. afgebeelde producten.
- Door wijzigingen in de productie kan het
zijn dat gegeven afmetingen niet meer
correct zijn. Alle vermelde afmetingen in
deze handleiding dienen te worden
geverifieerd alvorens de actie uit te voeren.
- Clou b.v. kan niet verantwoordelijk worden
gesteld voor de gevolgen van onaangepast
gebruik, onaangepast transport of
beschadigingen veroorzaakt door
tussenopslag.
- De van toepassing zijnde garantievoor-
waarden gelden steeds.
- Alle maten zijn in mm.
- Before starting the installation, check
whether the delivery is complete. At the
same time the delivery should be checked
for damage due to transportation, damage
reports that are too late (> 1 day after
delivery) will not be accepted.
- Before starting the installation, make sure
that the main water pipe or the angle valve
is turned o.
- Clou b.v. reserves the right to introduce
technical and visual changes with respect
to the depicted images.
- Due to changes in production it is
possible that given dimensions are no
longer correct. All mentioned dimensions
in this manual should be verified before
executing the action.
- Clou b.v. can not be held responsible for
the results of improper use, improper
transportation or any damage caused
during interim storage.
- The current terms of guarantee are always
valid.
- All dimensions are in mm.
NL EN
- Avant de procéder au montage, veuillez
contrôler si l’article livré est complet.
Veuillez aussi contrôler des dommages
éventuels causés par le transport, nous
n’acceptons pas de réclamations dues à
des dégâts causés par le transport au-delà
de 1 jour après livraison.
- Avant de procéder au montage, veuillez
contrôler si la conduite d’eau principale ou
la vanne d’équerre est fermée.
- Clou b.v. se réserve le droit pour tout
changement technique ou optique par
rapport à la photo représentant le produit.
- Des changements de production peuvent
faire en sorte que les dimensions achées
ne correspondent plus, nous vous prions de
vérifier avant de procéder à toute action.
- Clou b.v. ne peut être tenu responsable
pour usage non approprié des articles,
transport inadéquat ou dommage causé à
votre entrepôt en attente de livraison.
- Les conditions de garantie en vigueur
restent toujours valables.
- Toutes les mesures achées sont en mm.
- Bevor Sie die Montage durchführen,
kontrollieren Sie bitte ob das gelieferte
Artikel vollständig ist. Auch kontrollieren
Sie mögliche durch den Transport
verursachte Schäden, wir akzeptieren
keine Beschwerden auf Schäden nach
1 Tag nach Lieferung.
- Bevor Sie die Montage durchführen,
kontrollieren Sie bitte ob die Hauptwasser-
leitung oder das Eckventil ausgeschaltet
ist.
- Clou b.v. behält sich das Recht vor, die
technische und Sichtbarmachungsände-
rungen in Bezug auf die bildlich
dargestellten Bilder vorzustellen.
- Wegen der Änderungen in der Produktion
ist es möglich, dass gegebene Maße nicht
mehr korrekt sind. Vor der Durchführung
der Tätigkeit alle erwähnten Maße in
diesem Handbuch sollten überprüft werden.
- Clou b.v. kann nicht verantwortlich
gehalten werden für die Resultate des
unsachgemäßen Gebrauches,
unsachgemäßen Transportes oder
irgendeines Schadens, die während der
Zwischenlagerung verursacht werden.
- Die gegenwärtigen Ausdrücke der Garantie
sind immer gültig.
- Alle Maße sind in Millimeter.
FR DE
Gebruiksvoorschriften:
Zie ook de onderhoudsvoorschriften op www.clou.nl
User’s instructions:
See also the maintenance guides at www.clou.nl
Instructions d’utilisation:
Consultez également les instructions de nettoyage sur www.clou.nl
Gebrauchsanweisungen:
Sehen Sie auch die Wartungsanweisungen am www.clou.nl
Inhoud levering:
Content of delivery:
Contenu de la livraison:
Inhalt der Anlieferung:
Benodigd gereedschap:
Required tools:
Outils requis:
Erforderliche Werkzeuge:
Tijdens de installatie moet men voorkomen dat het oppervlak van
het product beschadigd raakt door het te raken met andere harde
voorwerpen. De kraan zuiver maken met een zacht doekje, nooit
met chloor noch met een schuurspons.
During installation one has to prevent damaging the surface of the
product due to hitting it with other hard objects. Clean the tap
with a soft fabric, never with chlorine nor a scouring pad.
Pendant l’installation préservez la surface du produit de tout choc.
Utilisez seulement un tissu doux pour nettoyer les robinets, n’utili-
sez pas de chlore ni de produits abrasifs.
Während der Installation muss man beschädigung verhindern der
Oberfläche des Produktes, das zur Platzierung der harten Gegen-
stände gegen das Produkt. Verwenden Sie nur weiches Gewebe,
um die Wasserhähne zu reinigen, sollten keine Chlor oder Topf-
reiniger zur Reinigung verwendet werden.
CHLORINE
20
20
45,50
33
max.
24
3/8''
COLD HOT
48
48
196,50
119
174,50
3/8" 3/8"
Dimensions in mm, for reference only / 06.04.2021 / rev_01 www.clou.nl
Kaldur - washbasin mixer
Long, right
CL/06.15.003.29.R
Dimensions in mm, for reference only / 06.04.2021 / rev_01 www.clou.nl
Kaldur - washbasin mixer
Chrome, long, right
CL/06.15.003.29.R
CL/1060.6062
CL/1060.6061
CL/1060.6020
CL/1060.6001
CL/1078.6000
CL/1060.6065
CL/1060.6065
Reserve onderdelen:
Spare parts:
Pièces de rechange:
Ersatzteile:
Een water reducerende perlator is ook verkrijgbaar. Deze reduceert het volume van 11 liter per minuut
naar 3,8 liter per minuut. Deze perlator heeft artikelnummer: CL/1060.6074
A water reducing aerator is also available. This reduces the volume from 11 liters per minute to 3.8
liters per minute. This aerator has article number: CL/1060.6074
Un aérateur réducteur d’eau est également disponible. Il réduit le volume de 11 litres par minute à 3,8
litres par minute. Cet aérateur a le numéro d’article: CL/1060.6074
Ein wasserreduzierender Belüfter ist ebenfalls erhältlich. Dies reduziert das Volumen von 11 Litern pro
Minute auf 3,8 Liter pro Minute. Dieser Belüfter hat die Artikelnummer: CL/1060.6074
1
Schroef de mengkraan op de fontein.
Houdt rekening met de positie van de
koud- (blauwe lijntjes) en warmwater-
slang (rode lijntjes).
Screw the mixer tap onto the washba-
sin. Take the position
of the cold (blue lines) and warm (red
lines) water hose into consideration.
Attachez le mélangeur au lavabo.
Gardez la position du tuyau d’eau
froid (lignes bleues) et chaud (lignes
rouges).
Schrauben sie das Mischarmatur
auf dem Waschbecken. Beachte die
Position der Kälte (blaue Linien) und
Heißwasserschlauch (rote Linien).
2
Sluit de flexibele slang, voor gemengd
(rode en blauwe lijntjes) aan op de
uitloop.
Connect the flexible hose for mixed
(red and blue lines) to the spout.
Branchez le tuyau flexible d’eau mixte
(lignes rouge et bleu) au robinet.
Schließen Sie die Schläuche für
gemischte Wasser (rote und blaue
Linien) an den Mischarmatur.
3
Sluit de flexibele slangen aan op de
respectievelijke hoekstopkranen. Let
op dat de terugslagklep correct is
gemonteerd.
Connect the flexible hoses to the re-
spective angle valves. Ensure that the
return valve is mounted correctly.
Raccordez les tuyaux flexibles aux
robinets d’équerre respectifs. Notez
que le clapet anti-retour est monté
correctement.
Schließen Sie die Schläuche an die
entsprechenden Eckventil. Beachten
Sie, dass das Rückschlagventil korrekt
montiert ist.
4
Controleer of de hendels in dezelfde
positie staan als aangegeven.
Check if the handles are
in the same position as indicated.
Controllez si les poignées sont à la
même position, comme indiqué.
Sicherstellen, dass die Grie in der
richtige Position ist, wie dargestellt.
H
C
OFF
ON
5
Controleer de kraan op lekken. In ge-
val van problemen, contacteer Clou.
Check the valve for leaks. In case of
problems, contact Clou.
Vérifiez s’il ya des fuites. En cas de
problème, contactez Clou.
Überprüfen Sie die Mischarmatur auf
Lecken. Bei Problemen, kontaktieren
Sie Clou.
Clou. Bath findings.
Clou bv
Thermiekstraat 1
NL-6361 HB Nuth
T +31 (0)45 524 56 56
[email protected]
www.clou.nl
Looking for inspiration?

This manual suits for next models

1

Other Clou Plumbing Product manuals

Clou Mini Wash Me CL/03.03231 User manual
Clou

Clou Mini Wash Me CL/03.03231 User manual

Clou Xo CL/06.04012.29 User manual

Clou

Clou Xo CL/06.04012.29 User manual

Clou Wash Me CL/02.13039 User manual

Clou

Clou Wash Me CL/02.13039 User manual
Clou Wash Me CL/02.13033 User manual

Clou

Clou Wash Me CL/02.13033 User manual

Clou Hammock Aluite User manual

Clou

Clou Hammock Aluite User manual

Clou Kaldur CL/06.05.003.29.R User manual

Clou

Clou Kaldur CL/06.05.003.29.R User manual

Clou New Flush 3.1 CL/03.13431.02 User manual

Clou

Clou New Flush 3.1 CL/03.13431.02 User manual

Clou New Flush 3 CL/03.03430 User manual

Clou

Clou New Flush 3 CL/03.03430 User manual

Clou Xo 8 User manual

Clou

Clou Xo 8 User manual
Clou Mini Wash Me CL/03.12231 User manual

Clou

Clou Mini Wash Me CL/03.12231 User manual

Clou Flush 2 CL/03.03220 User manual

Clou

Clou Flush 2 CL/03.03220 User manual

Clou CL/03.03432.01 User manual

Clou

Clou CL/03.03432.01 User manual

Clou Freddo 5 CL/06.03.006.41.L User manual

Clou

Clou Freddo 5 CL/06.03.006.41.L User manual

Clou flush 1 CL/03.03010 User manual

Clou

Clou flush 1 CL/03.03010 User manual

Clou hammock CL/07.66.104.55 User manual

Clou

Clou hammock CL/07.66.104.55 User manual

Clou first CL/03.12100 User manual

Clou

Clou first CL/03.12100 User manual

Clou Vale CL/03.30161.01.R User manual

Clou

Clou Vale CL/03.30161.01.R User manual

Clou Freddo 5 User manual

Clou

Clou Freddo 5 User manual

Clou Wash Me CL/02.30430 User manual

Clou

Clou Wash Me CL/02.30430 User manual

Clou Xo CL/06.04003.29 User manual

Clou

Clou Xo CL/06.04003.29 User manual

Clou flush 1 CL/03.03011 User manual

Clou

Clou flush 1 CL/03.03011 User manual

Clou Xo type 1 CL/06.14001.21 User manual

Clou

Clou Xo type 1 CL/06.14001.21 User manual

Clou Solium I User manual

Clou

Clou Solium I User manual

Clou wash me CL/02.01038 User manual

Clou

Clou wash me CL/02.01038 User manual

Popular Plumbing Product manuals by other brands

DH Instruments VACUUM PUMP DOWNSTREAM INTERCONNECT KIT FOR... installation instructions

DH Instruments

DH Instruments VACUUM PUMP DOWNSTREAM INTERCONNECT KIT FOR... installation instructions

Sanela SLP 49RB Instructions for use

Sanela

Sanela SLP 49RB Instructions for use

Vola 5400NV FITTING INSTRUCTION

Vola

Vola 5400NV FITTING INSTRUCTION

BK RESOURCES BKF-SMPR-WB-G installation instructions

BK RESOURCES

BK RESOURCES BKF-SMPR-WB-G installation instructions

BELLOSTA sogno 7000 Installation instruction

BELLOSTA

BELLOSTA sogno 7000 Installation instruction

Glacier bay ARNETTE HD67664W-6201 Installation and care guide

Glacier bay

Glacier bay ARNETTE HD67664W-6201 Installation and care guide

Toto WH182EAT Installation instruction

Toto

Toto WH182EAT Installation instruction

DOCOL Delicatta 00108706 installation guide

DOCOL

DOCOL Delicatta 00108706 installation guide

Fantini Rubinetti ACQUA ZONE DREAM C032U instructions

Fantini Rubinetti

Fantini Rubinetti ACQUA ZONE DREAM C032U instructions

Hamwells Blue 12 installation manual

Hamwells

Hamwells Blue 12 installation manual

Sterling Plumbing Shower Receptor 72151100 Specification sheet

Sterling Plumbing

Sterling Plumbing Shower Receptor 72151100 Specification sheet

Kohler PURIST UPGRADE K-99168T installation instructions

Kohler

Kohler PURIST UPGRADE K-99168T installation instructions

Carron Phoenix RENO Fitting Instructions & Contents List

Carron Phoenix

Carron Phoenix RENO Fitting Instructions & Contents List

Mora Rexx k5 Installation instruction

Mora

Mora Rexx k5 Installation instruction

WDI Technology ECOFLUSH B8100 user manual

WDI Technology

WDI Technology ECOFLUSH B8100 user manual

Reece LAUFEN PALOMBA 9504211 quick start guide

Reece

Reece LAUFEN PALOMBA 9504211 quick start guide

Helvex Maxima E-712 installation guide

Helvex

Helvex Maxima E-712 installation guide

Grohe Contromix 36 121 manual

Grohe

Grohe Contromix 36 121 manual

manuals.online logo
manuals.online logoBrands
  • About & Mission
  • Contact us
  • Privacy Policy
  • Terms and Conditions

Copyright 2025 Manuals.Online. All Rights Reserved.