manuals.online logo
Brands
  1. Home
  2. •
  3. Brands
  4. •
  5. Clou
  6. •
  7. Plumbing Product
  8. •
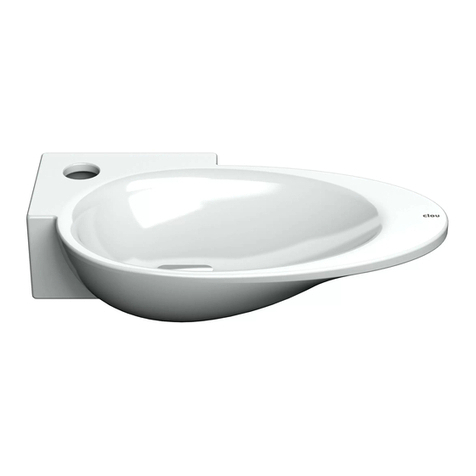
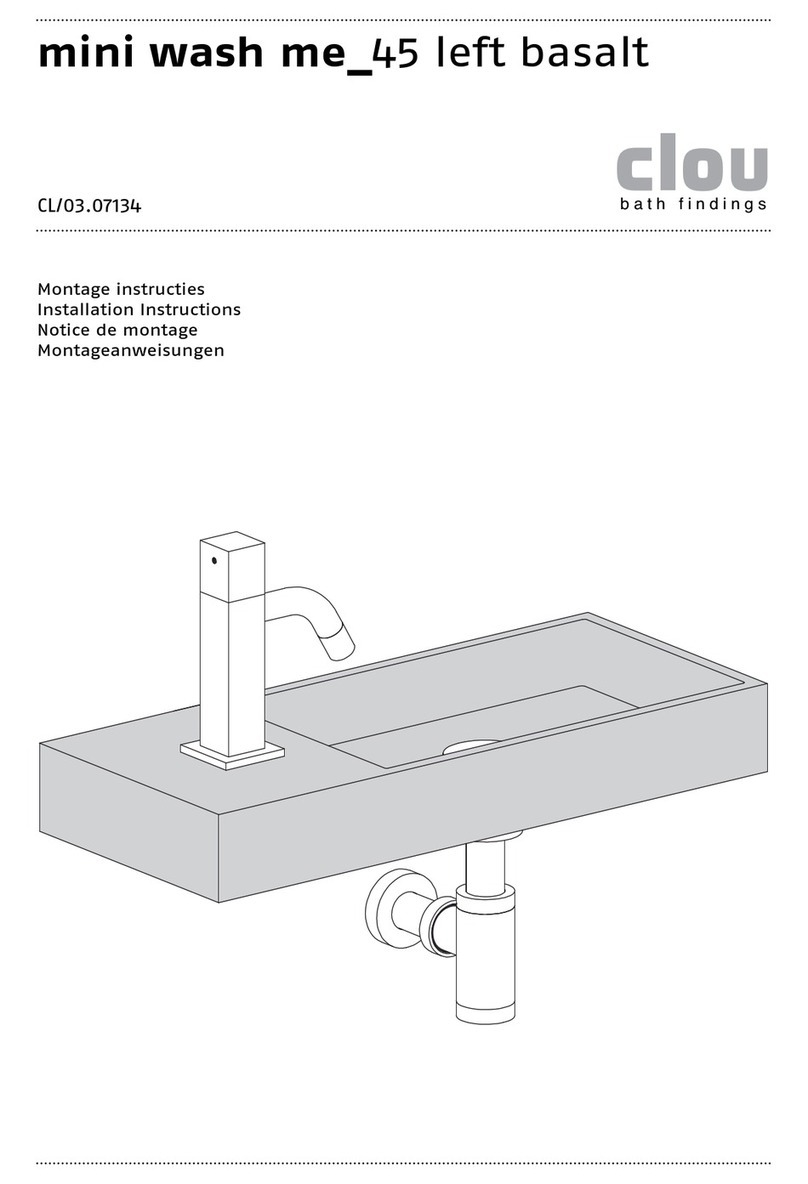
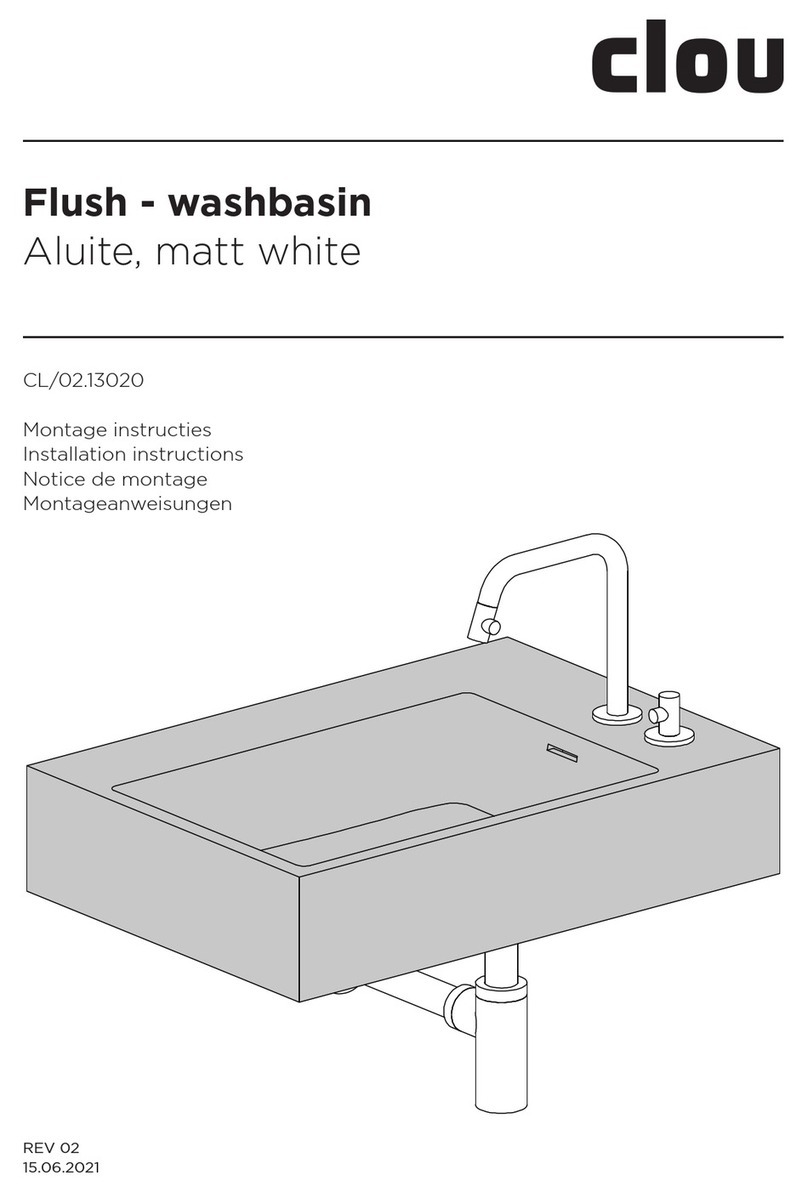
  9. Clou mini wash me CL/03.03137 User manual

Clou mini wash me CL/03.03137 User manual

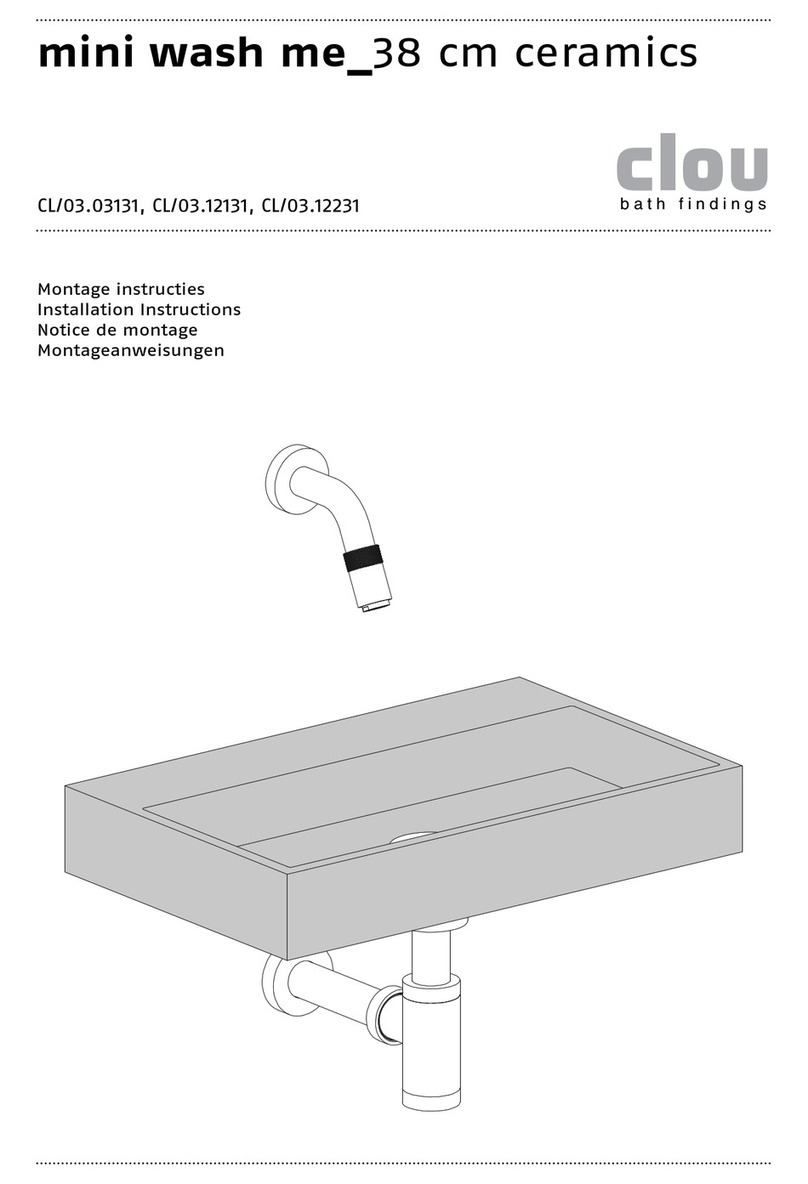
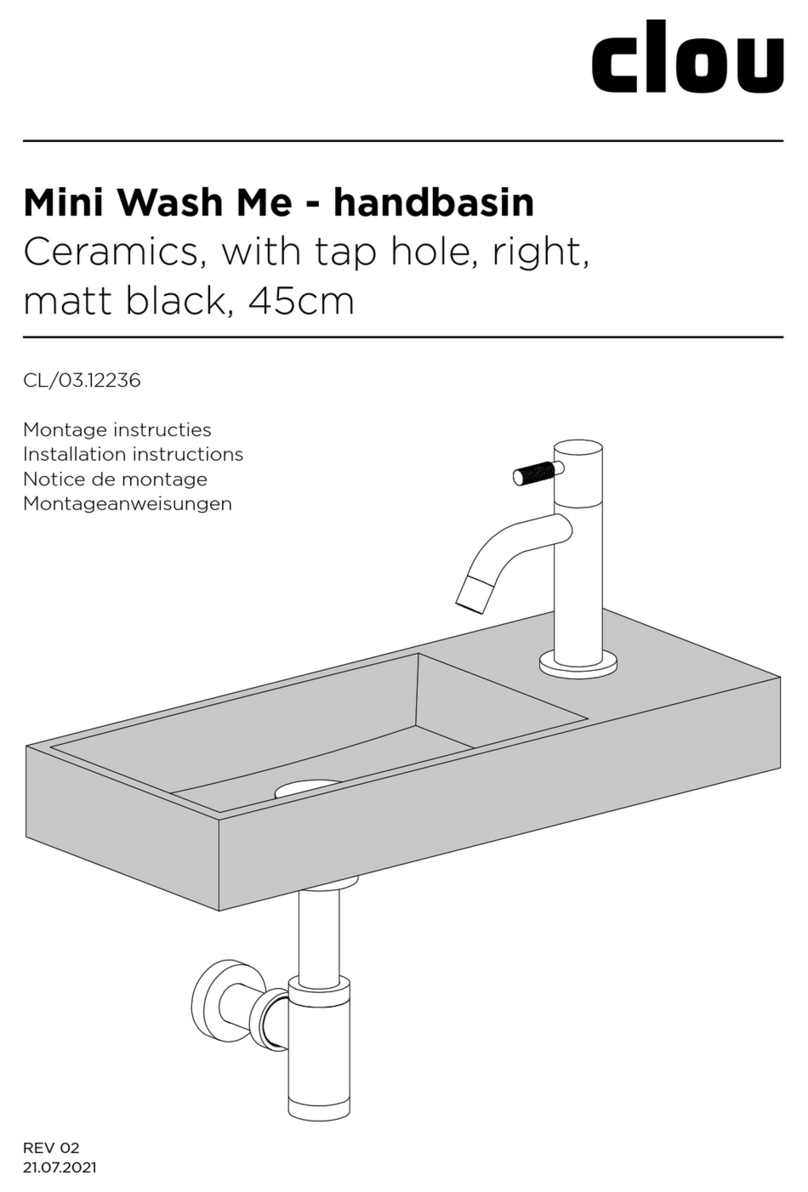
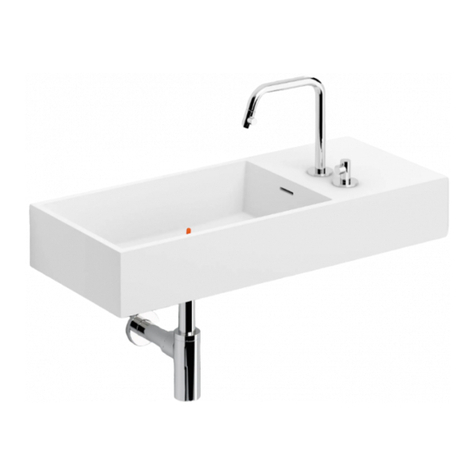
mini wash me_45 right ceramics
CL/03.03137, CL/03.12237
Montage instructies
Installation Instructions
Notice de montage
Montageanweisungen
bath findings
- Alvorens de montage te beginnen moet de volledig-
heid van de levering gecontroleerd worden. Tevens
moet ook op transportschade gecontroleerd wor-
den, te late schademeldingen (> 1 dag na levering)
worden niet aanvaard.
- De meegeleverde bevestigingsartikelen zijn geschikt
voor gestucte of betegelde, massieve muren die
voldoende draagkracht hebben. Voor andere muren
dient men zelf bevestigingsartikkelen te voorzien
en dient de muur mogelijk verstevigd te worden.
- Clou behoudt zich het recht voor technische en op-
tische wijzigingen aan te brengen t.o.v. afgebeelde
producten.
- Door wijzigingen in de productie kan het zijn dat gegeven afmetingen niet meer
correct zijn. Alle vermelde afmetingen in deze handleiding dienen te worden geve-
rifieerd alvorens de actie uit te voeren.
- Clou b.v. kan niet verantwoordelijk worden gesteld voor de gevolgen van onaange-
past gebruik, onaangepast transport of beschadigingen veroorzaakt door tussenop-
slag.
- De van toepassing zijnde garantievoorwaarden gelden steeds.
- De montage dient uitgevoerd te worden door 2 personen waarvan minstens één
vakkundig opgeleid persoon.
- Alle maten zijn in mm.
- Before starting with the mounting check whether
the delivery is complete. At the same time the deli-
very should be checked for damage due to trans-
portation, damage reports that are too late (> 1 day
after delivery) will not be accepted.
- The included fixing media are suited for plastered
or tiled solid walls with enough supporting power.
For other walls the used fixing media is at own res-
ponsibility, and the wall might need reinforcement.
- Clou reserves the right to introduce technical and
visual changes with respect to the depicted images.
- Due to changes in production it is possible that
given dimensions are no longer correct. All menti-
oned dimensions in this manual should be verified before executing the action.
- Clou b.v. can not be held responsible for the results of improper use, improper
transportation or any damage caused during interim storage.
- The current terms of guarantee are always valid.
- The installation has to be performed by at least 2 persons of whom at least one
should be a skilled professional.
- all dimensions are in mm.
NL
GB
- Avant de procéder au montage, veuillez contrôler
si l’article livré est complet. Veuillez aussi contrôler
des dommages éventuels causés par le transport,
nous n’acceptons pas de réclamations dues à des
dégâts causés par le transport au-delà de 1 jour
après livraison.
- Les fixations livrées avec les articles sont destinés
pour montage sur un mur massif porteur, finition
stuc ou carrelé. Pour d’autres finitions ou murs plus
faibles, prévoir d’autres fixations et éventuellement
consolider le mur si nécessaire.
- Clou se réserve le droit pour tout changement tech-
nique ou optique par rapport à la photo représen-
tant le produit.
- Des changements de production peuvent faire en sorte que les dimensions affi-
chées ne correspondent plus, nous vous prions de vérifier avant de procéder à
toute action.
- Clou BV ne peut être tenu responsable pour usage non approprié des articles, trans-
port inadéquat ou dommage causés à votre entrepôt en attente de livraison.
- Les conditions de garanties en vigueur restent toujours valables.
- Le montage doit être effectué par 2 personnes dont une au moins soit un corps de
métier.
- Toutes les mesures affichées sont en mm.
- Vor Beginn der Montage überprüfen Sie bitte, ob
die Lieferung vollständig ist bzw. ob durch den
Transport Schäden entstanden sind. Diese Überprü-
fung muss direkt am Liefertag erfolgen. Sollte ein
Schaden festgestellt werden, muss dieser unmit-
telbar nach der Lieferung, spätestens (> 1 Tag nach
Lieferung) angezeigt werden.
- Die im Lieferumfang enthaltene Beschreibung, für
verputzte oder geflieste massive Wände, sind aus-
schließlich für Wände mit genügend und ausrei-
chender Tragfähigkeit geeignet und vorgesehen. Bei
Wänden mit einer geringe Tragfähigkeit erfolgt die
Montage auf eigene Verantwortung. Hier empfehlen
wir eine zusätzliche Unterstützung durch spezielle Befestigungslösungen
- Clou behält sich das Recht auf technische und optische Änderungen in Bezug auf
die dargestellten Bilder vor. .
- Aufgrund von Änderungen in der Produktion ist es möglich, dass angegebene Maße
nicht mehr korrekt sind. Alle genannten Dimensionen in diesem Handbuch sollten
vor der Ausführung der Maßnahme überprüft werden.
- Clou B.V. ist nicht verantwortlich für die Ergebnisse des unsachgemäßen Gebrauch,
unsachgemäßen Transport oder Schäden, die während Zwischenlagerung verursacht
werden.
- Der aktuelle Garantiebedingungen sind immer gültig.
- Die Installation muß von mindestens 2 Personen durchgeführt werden, wobei 1 Per-
son bereits vorhandene Fachkenntnisse hat.
- Alle Dimensionen erfolgen in mm Angaben.
DE
FR
Inhoud levering:
Content of delivery:
Contenu de la livraison:
Inhalt der Anlieferung:
Benodigd gereedschap:
Required tools:
Outils requis:
Erforderliche Werkzeuge:
Tijdensde installatie moet men voorkomen dat het oppervlak
van het product beschadigd raakt door harde voorwerpen
op het product te leggen.
During installation one has to prevent damaging the surface
of the product due to placing hard objects on the product.
Pendant l’installation on doit empêcher endommager la
surface du produit dû à placer des objets durs sur le pro-
duit.
Während der Installation muss man Schädigung verhindern
der Oberfläche des Produktes, das zur Platzierung der harten
Gegenstände auf das Produkt passend ist.
Gebruiksvoorschriften:
zie ook de onderhoudsvoorschriften op www.clou.nl
User’s instructions:
See also the maintenance guides at www.clou.nl
Instructions d’utilisation:
Voyer aussi les instructions de maintenance sur www.clou.nl
Gebrauchsanweisungen:
Sehen Sie auch die Wartungsanweisungen am www.clou.nl
max.
15 kg
2x
32,50
36
70
45
50
70
145
35,50
60
70
157,50
170
295
190
450
norm. 700
max. 755
min. 530
900
157,50
1050
1_
Duidt met potlood en waterpas
de middellijn van de fontein
aan.
Mark with pencil and level the
centreline of the wash-hand
basin.
Marquer avec un crayon et avec
un niveau la ligne de centre du
lave-mains.
Markieren Sie mit einem Blei-
stift und mithilfe der Was-
serwaage die Mittellinie des
Handwaschbecken.
2_
Duidt met potlood en waterpas
de gewenste hoogte X van de
fontein aan. (aangeraden: X =
900 mm)
Mark with pencil and level the
prefered height X of the wash-
hand basin. (recommended: X
= 900 mm)
Marquer avec un crayon et avec
un niveau la hauteur souhaitée
X du lave-mains. (recomman-
dé: X = 900 mm)
Markieren Sie mit einem Blei-
stift und mithilfe der Wasser-
waage die gewünschte Höhe X
des Handwaschbecken. (Emp-
fohlener Wert: X = 900 mm)
X mm
X mm
centre
293 mm
3_
Duidt met potlood de plaatsen
aan waar u gaten moet boren.
Mark with pencil the spots to
drill holes.
Marquer avec un crayon les
endroits de perçage des trous.
Markieren Sie mit einem Blei-
stift die Stellen, an denen Lö-
cher gebohrt werden müssen.
4_
Boor de gaten (ø 8 & 10 mm).
Drill the holes (ø 8 & 10 mm).
Percer les trous (ø 8 & 10 mm).
Bohren Sie die Löcher (ø 8 & 10
mm).
125 mm 222 mm
36 mm
36 mm
ø 10 mm
ø 10 mm
5_
Steek de pluggen in de gaten
en schroef de stokschroef in de
linkse plug, bevestig de beugel
met de schroef.
Insert the dowels in the holes
and screw the dowel screw in
the dowel on the left, also fix
the bracket with the screw.
Enfoncer les chevilles dans les
trous et visser le goujon dans la
cheville gauche, aussi fixer le
support avec la vise.
Bringen Sie die Dübel in den
Löchern an und Schrauben Sie
die Stockschraub in die linke
Dübel, befestigen Sie auch die
Unterstützung mit die Schraub.
6_
Plaats de fontein op de stok-
schroef en beugel en bevestig
met de kraagmoer en bouten.
Place the wash-hand basin on
the dowel screw and bracket
and fix with the collar nut and
bolts.
Placer le lave-mains sur le
goujon et le support et fixer
avec l’écrou à collerette et les
boulons.
Bringen Sie das Handwaschbe-
cken auf die Stockschraube und
Unterstützung an und befes-
tigen Sie es mit Spannmutter
und Schraubbolzen.
2x
7_
Bevestig de kraan (niet inbe-
grepen) op de fontein en sluit
deze aan op de waterleiding.
Mount the tap (not included)
on the wash-hand basin and
connect it to the water supply.
Fixer le robinet (non inclus) sur
le lave-mains et le raccorder à
la conduite d’eau.
Befestigen Sie die Waschti-
scharmatur (nicht im Liefer-
umfang enthalten) am Hand-
waschbecken und schließen Sie
ihn an der Wasserleitung an.
8_
Bevestig de afvoer (niet inbe-
grepen) in de fontein.
Mount the drain (not included)
in the wash-hand basin.
Fixer la bonde (non inclus)
dans le lave-mains.
Befestigen Sie den Ablauf (nicht
im Lieferumfang enthalten) am
Handwaschbecken.
9_
Bevestig de sifon (niet inbegre-
pen) aan de afvoer en aan de
afvoerleiding.
Attach the trap (not included)
to the drain and to the waste
pipe.
Fixer le siphon (non inclus) à la
bonde et à la décharge d’eau.
Befestigen Sie den Siphon
(nicht im Lieferumfang ent-
halten) am Ablauf und an der
Abflussleitung.
10_
Clou bv
Thermiekstraat 1
NL-6361 HB Nuth
T +31 (0)45 524 56 56
F +31 (0)45 524 60 00
[email protected]
www.clou.nl
bath findings

This manual suits for next models

1

Other Clou Plumbing Product manuals

Clou Freddo 2 CL/06.03.001.21.L User manual

Clou

Clou Freddo 2 CL/06.03.001.21.L User manual

Clou New Flush 1 CL/03.13410 User manual

Clou

Clou New Flush 1 CL/03.13410 User manual

Clou Flush 2 CL/03.03220 User manual

Clou

Clou Flush 2 CL/03.03220 User manual

Clou CL/03.03432.01 User manual

Clou

Clou CL/03.03432.01 User manual

Clou New Flush 3.1 CL/03.03431 User manual

Clou

Clou New Flush 3.1 CL/03.03431 User manual

Clou mini wash me CL/03.03140 User manual

Clou

Clou mini wash me CL/03.03140 User manual

Clou Xo CL/06.04013.41 User manual

Clou

Clou Xo CL/06.04013.41 User manual

Clou Mini Wash Me CL/03.03231 User manual

Clou

Clou Mini Wash Me CL/03.03231 User manual

Clou Freddo 10 CL/06.03014 User manual

Clou

Clou Freddo 10 CL/06.03014 User manual

Clou New Flush 3.1 CL/03.03431 User manual

Clou

Clou New Flush 3.1 CL/03.03431 User manual

Clou Freddo 10 CL/06.03014 User manual

Clou

Clou Freddo 10 CL/06.03014 User manual

Clou Wash Me CL/02.13030 User manual

Clou

Clou Wash Me CL/02.13030 User manual

Clou New Flush 3 CL/03.03432 User manual

Clou

Clou New Flush 3 CL/03.03432 User manual

Clou Flush 3 CL/03.36030 User manual

Clou

Clou Flush 3 CL/03.36030 User manual

Clou Kaldur CL/06.05.004.41.L User manual

Clou

Clou Kaldur CL/06.05.004.41.L User manual

Clou Minisuk BRS73-0504 User manual

Clou

Clou Minisuk BRS73-0504 User manual

Clou Flush 3 CL/03.42030 User manual

Clou

Clou Flush 3 CL/03.42030 User manual

Clou Aluite CL/02.27011 User manual

Clou

Clou Aluite CL/02.27011 User manual

Clou Xo 13 CL/06.04013.41 User manual

Clou

Clou Xo 13 CL/06.04013.41 User manual

Clou Freddo 5 CL/06.03.006.41.L User manual

Clou

Clou Freddo 5 CL/06.03.006.41.L User manual

Clou Kaldur CL/06.05.001.20 User manual

Clou

Clou Kaldur CL/06.05.001.20 User manual

Clou Kaldur CL/06.05.003.29.L User manual

Clou

Clou Kaldur CL/06.05.003.29.L User manual

Clou CL/03.03141 User manual

Clou

Clou CL/03.03141 User manual

Clou Freddo 11 CL/06.03015.41 User manual

Clou

Clou Freddo 11 CL/06.03015.41 User manual

Popular Plumbing Product manuals by other brands

Almost Heaven Saunas Newport Hybrid Sauna Installation & owner's manual

Almost Heaven Saunas

Almost Heaven Saunas Newport Hybrid Sauna Installation & owner's manual

Alpine Saunas HY-YM6008 Installation & owner's manual

Alpine Saunas

Alpine Saunas HY-YM6008 Installation & owner's manual

Elkay Lustertone LLVR1916 Specification sheet

Elkay

Elkay Lustertone LLVR1916 Specification sheet

Lakes Bathrooms Coastline Series Installation & maintenance instructions

Lakes Bathrooms

Lakes Bathrooms Coastline Series Installation & maintenance instructions

Brizo Rook T60861-GL installation instructions

Brizo

Brizo Rook T60861-GL installation instructions

Franke PRTR0008 Installation and operating instructions

Franke

Franke PRTR0008 Installation and operating instructions

agape ASEN0912H Instructions for installation

agape

agape ASEN0912H Instructions for installation

Spectrum Brands Pfister Rancho 8P8-WS2-RCH Quick installation guide

Spectrum Brands

Spectrum Brands Pfister Rancho 8P8-WS2-RCH Quick installation guide

Mira 1731.001 Installation & user guide

Mira

Mira 1731.001 Installation & user guide

Fresca FFT9151CH installation instructions

Fresca

Fresca FFT9151CH installation instructions

WERIT Jomo SLD 03 Instructions for use

WERIT

WERIT Jomo SLD 03 Instructions for use

Panasonic DH-4MS1 operating instructions

Panasonic

Panasonic DH-4MS1 operating instructions

Gessi 32849 manual

Gessi

Gessi 32849 manual

Wickes TRITON Aquatronic 3 ultra Installation and operating instructions

Wickes

Wickes TRITON Aquatronic 3 ultra Installation and operating instructions

Viega 1078 Instructions for use

Viega

Viega 1078 Instructions for use

Laufen LIS CW2 H894661 manual

Laufen

Laufen LIS CW2 H894661 manual

KWC F5SM2025 Installation and operating instructions

KWC

KWC F5SM2025 Installation and operating instructions

Harvia VARIANT Assembly instructions

Harvia

Harvia VARIANT Assembly instructions

manuals.online logo
manuals.online logoBrands
  • About & Mission
  • Contact us
  • Privacy Policy
  • Terms and Conditions

Copyright 2025 Manuals.Online. All Rights Reserved.