RegisteredwithTheFCC
Please note: This cordlessphoneoperates under part15 and part 68 of FCCrules.
Operation is subject totwo conditions:
1.It maynotinterferewith radio communications,and2.Itmustacceptanyinterference
received,including that which maycause undesirable operation. See the Operational
Features section of this manual for ways to reduce in terference.
Changes ormodifications not expressly approved bythe party responsibleforcompliance
could void the user’s authority to operate this equipment.
NOTE:This equipment hasbeen testedand found tocomply with thelimits for a ClassB
digitaldevice,pursuant to Part 15 of theFCC Rules.The limits aredesignedto provide rea-
sonableprotectionagainstharmfulinterferencein a residentialinstallation.This equip-
ment generates,uses and can radiate radio frequency energy and,if not installed andused
in accordancewith the instructions,may causeharmful interference to radiocommunica-
tions.However,there is no guaranteethatinterference will notoccur ina particular installa-
tion.If this equipment does cause harmful interference to radio or television reception,
whichcan be determined by turningthe equipmentoff and on,the user is encouragedto
trytocorrect the interference by one ofthe followingmeasures:
- Reorient or relocate the receiving antenna.
-Increasetheseparationbetweentheequipmentandreceiver.
-Connect the equipment into an outlet ona circuitdifferent
from that to whichthe receiveris connected.
-Consultthedealeroranexperiencedradio/TVtechnicianforhelp.
Yourtelephonecompany is requiredby the Federal Communications Commission to allow
you to connectFCCregistered telephones to their lines.
TheFCCrequires you to provide information,ifrequested by the local telephone company,
about the connectionof an FCCregisteredtelephone totheir lines. Theymayaskyoufor
theFCC registrationnumberandringerequivalence number (REN),both of which are on
thebottomof the base. Theymay also ask for the UniversalService OrderCode (USOC)
number which isRJ-11C. It is illegalto use this phone ona party line or to
connectitto a coin-operatedtelephone.
The REN is usedto determinethequantity ofdevicesyou may connect to thetelephone
line.Excessive RENs on the telephoneline may result inthe devices not ringing in response
toanincomingcall.In most areasthe sum of RENs should not exceed 5.0.Tobe sure,con-
tactthelocaltelephonecompany.
If your equipment causes harmto the telephone network,the telephonecompanywill
notify youin advance (if possible) ofa temporary discontinuance of service.Also,youwill
be advised ofyour rightto file acomplaint with the FCC.
Thetelephone company maymakechangesin it’sfacilities,equipment or proceduresthat
couldaffect the operation ofyour equipment.The telephone companywillprovide
advancenoticetohelpyoumaintainuninterrupted service.
FCC Information
Included Accessories
Fortechnicalassistance,pleasecallourAutomatedHelpDeskwhichcan assist
youby answering the most frequentlyaskedquestionsaboutCobraproducts.
(773) 889-3087
24 hours a day, 7 days a week.
A Consumer Service Representative can be reached through this same number
8:00 am - 8:00 pm,Monday through Friday,CST.
Technical assistance is also available on-line in the Frequently Asked Questions (FAQ)
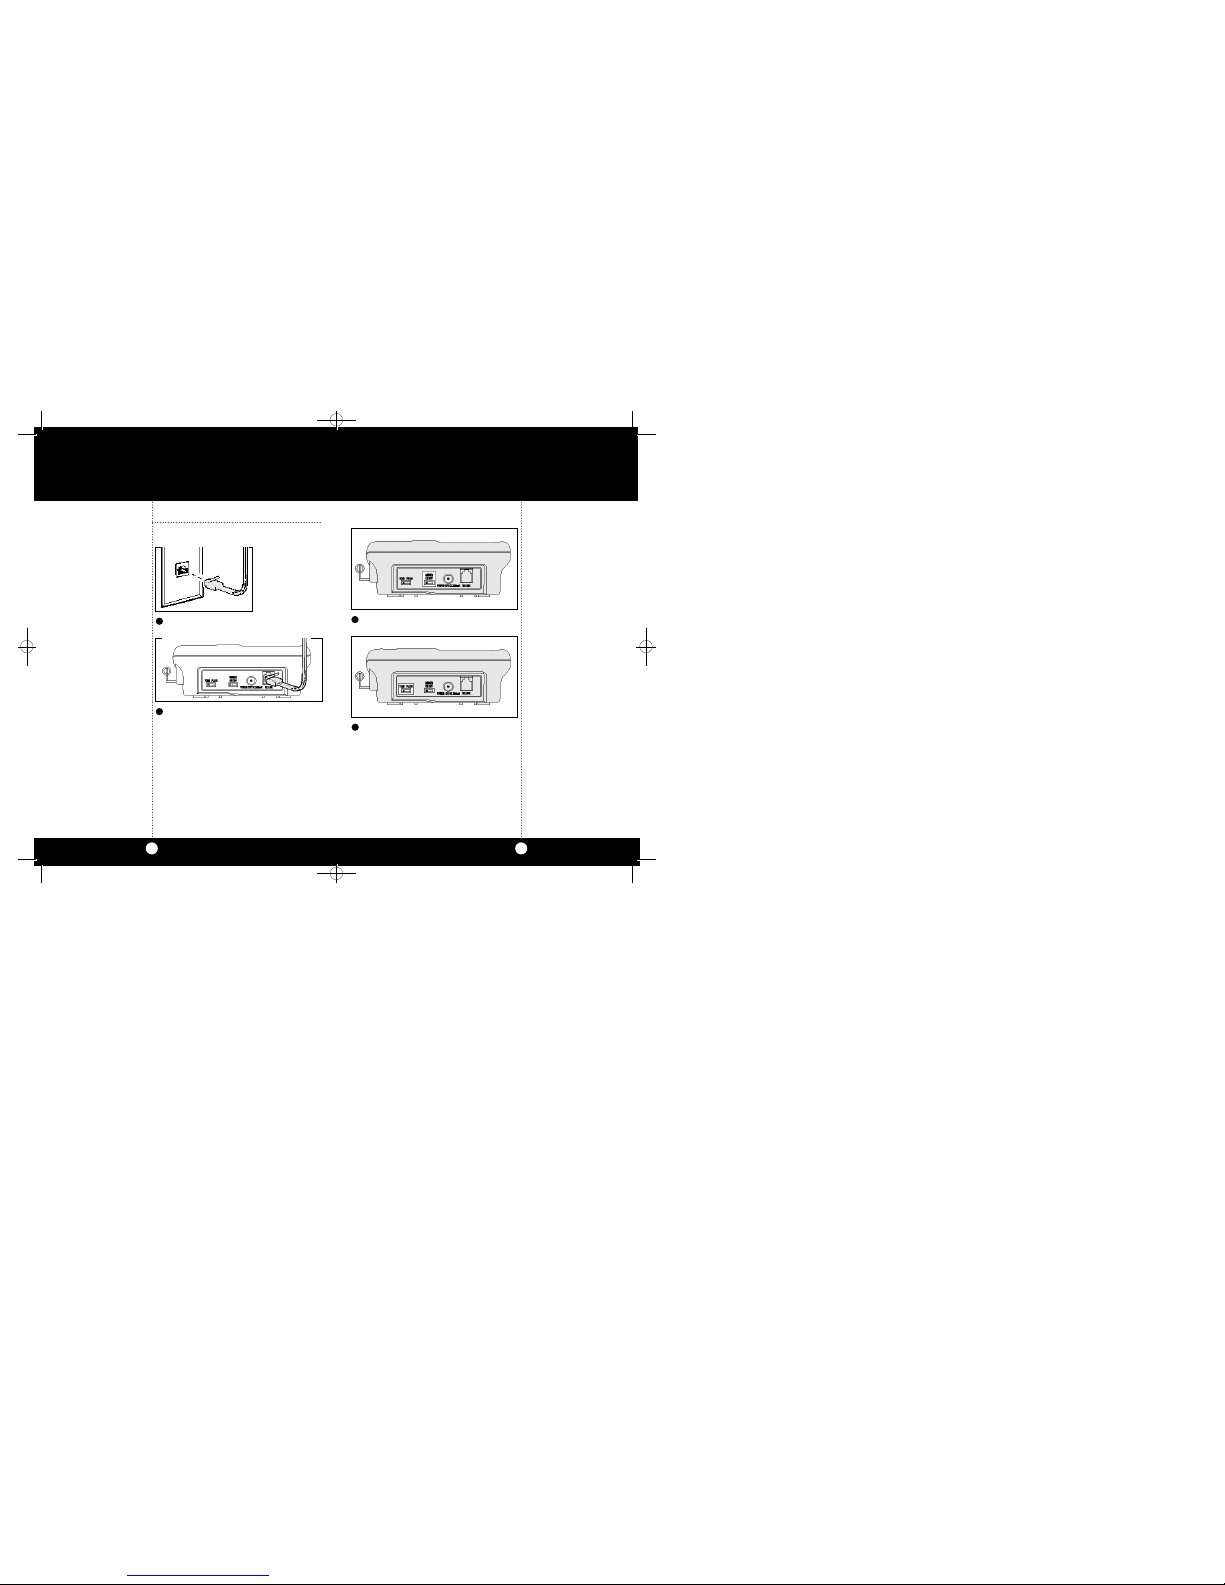
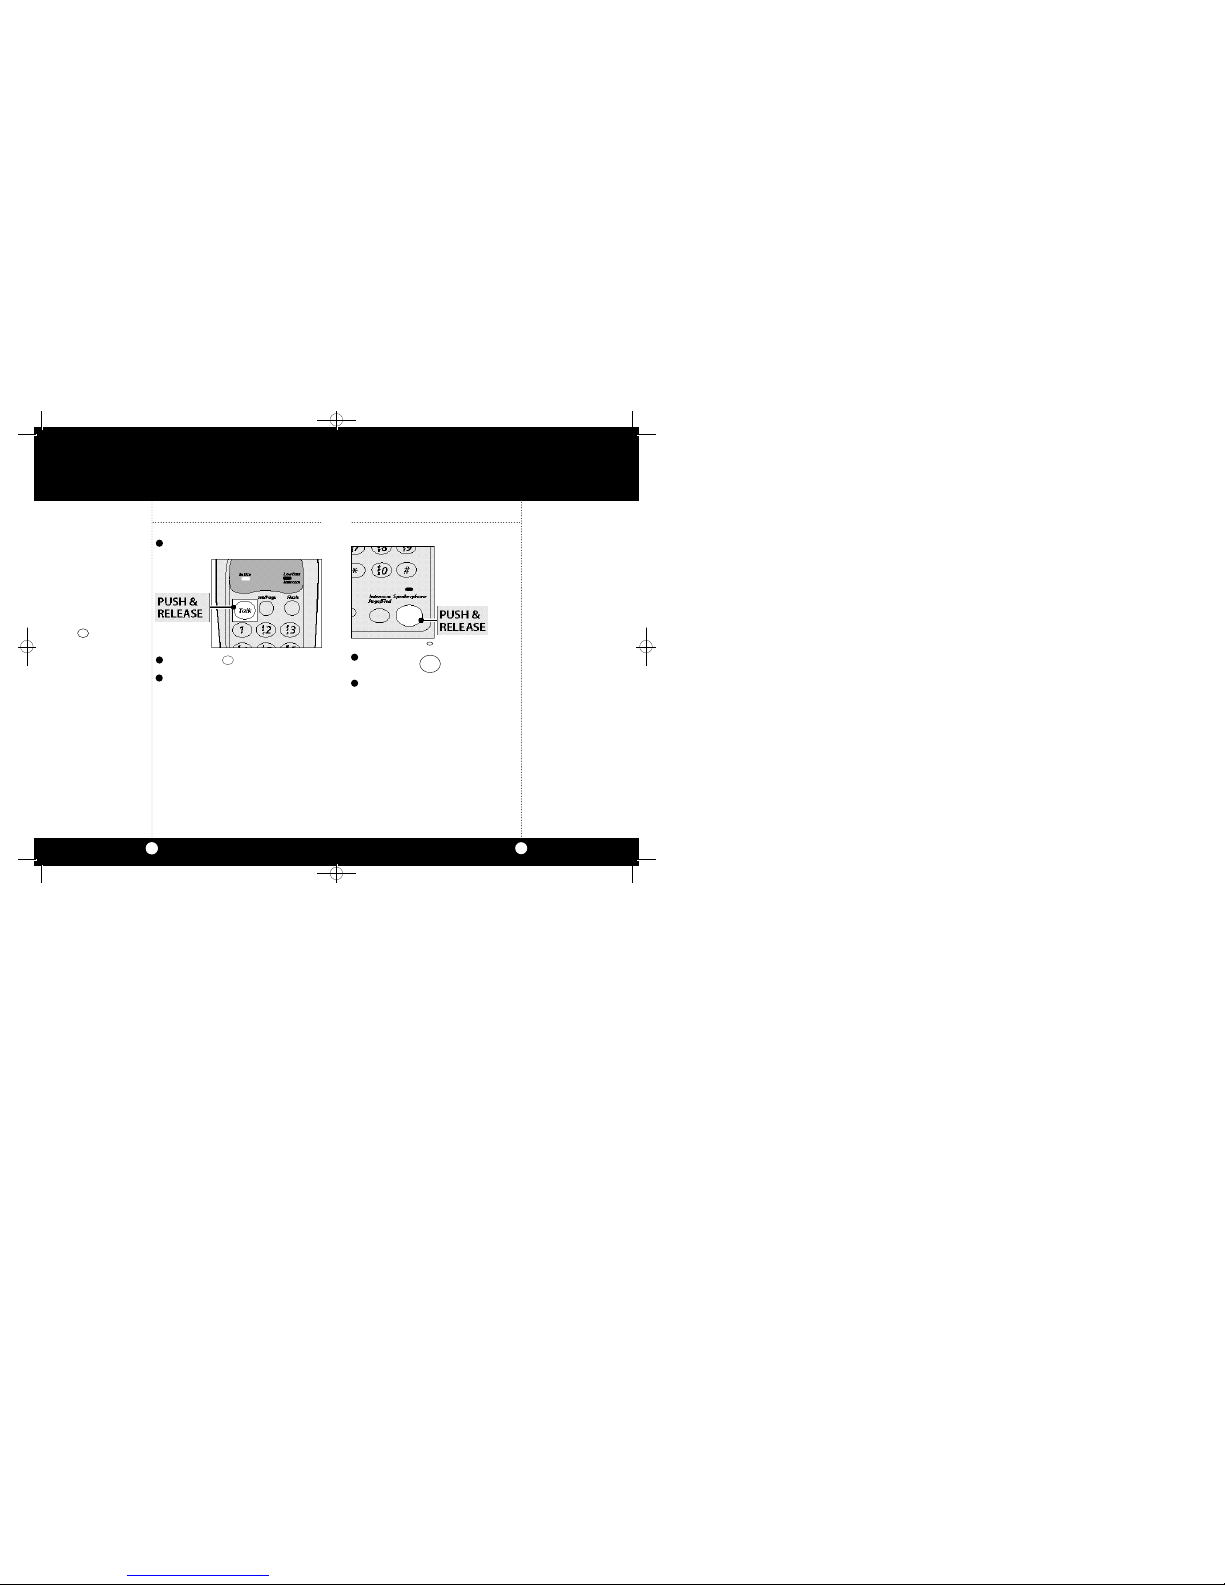
What’s Included with Your CP-9125
1. Headset
2. AC/DC Power Adapter
3. Memory Label
4. Line Cords (6”and 6’)
5. Belt Clip
6. Belt Clip Slot Cover
7. Wall Mount Bracket
8. Handset Battery
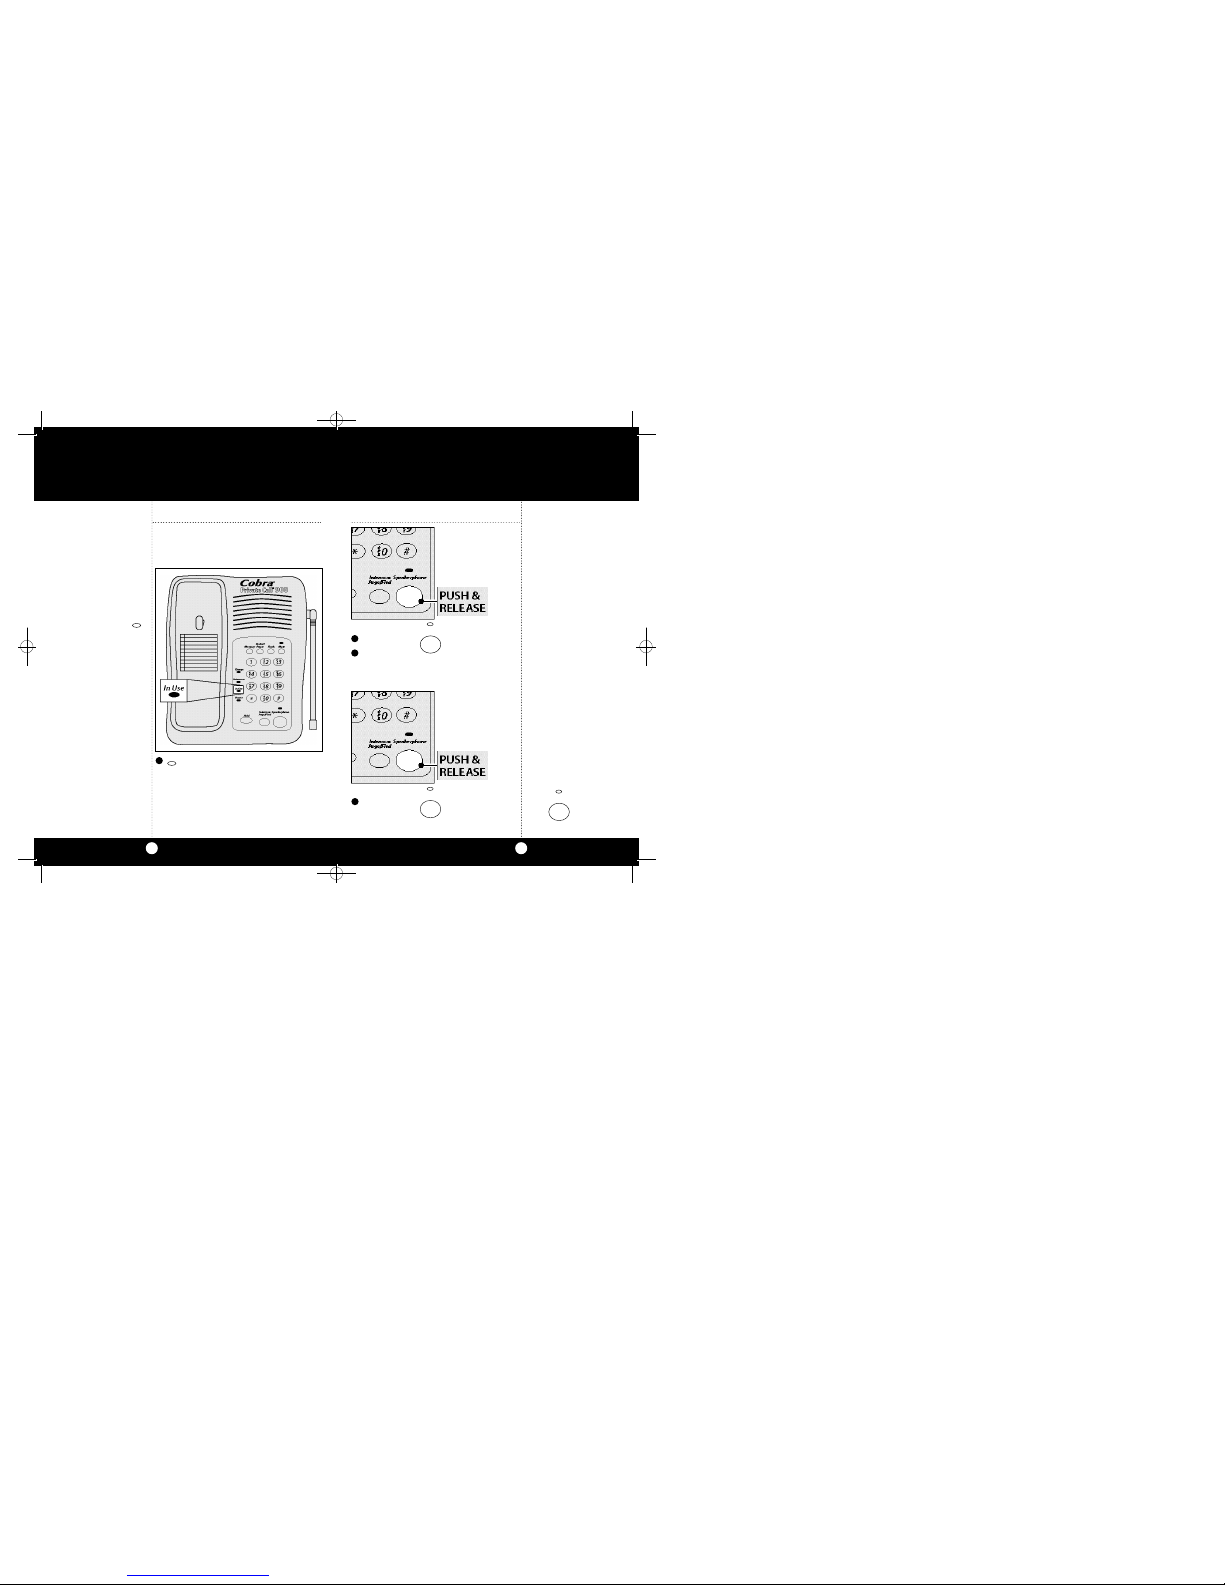
CP-9125
Cobra Electronics Corporation
6500 West Cortland Street
Chicago, IL60707
Cobra Electronics Corp.© 1998
Printed in China
Part No. 480-282-P-001
FCC Information
Included Accessories
2
1
3
5
4
6
7
A1
If you think you need service call 1.773.889.3087
“Ifyour productshouldrequirefactoryservice pleasecall Cobra firstbefore sending yourunit in.
Thiswill ensure the fastest turn-around time onyour repair.”
You may be asked to send your unit to the Cobra factory.It will be necessary to furnish the follow-
ing in order to have the product serviced and returned.
1. For Warranty Repair include some form of proof-of-purchase,such as a mechanical reproduction
or carbon or a sales receipt.If you send the original receipt it cannot be returned.
2. Send the entire product.
3. Enclose a description of what is happening with the unit.Include a typed or clearly print name
and address of where the unit is to be returned.
4. Pack unit securely to prevent damage in transit.If possible, use the original packing material.
5. Ship prepaid and insured by way of a traceable carrier such as United Parcel Service (UPS) or First
Class Mail to avoid loss in transit to: Cobra Factory Service, Cobra Electronics Corporation,6500
W.Cortland St., Chicago,IL 60707.
6. If the unit is in warranty,upon receipt of your unit it will either be repaired or exchanged
depending on the model. Please allow approximately 3 to 4 weeks before contacting us for
status. If the unit is out of warranty a letter will automatically be sent informing you of the
repair charge or replacement charge. If you have any questions, please call 1.773.889.3087 for
assistance.
IfYouThinkYouNeed Service
8
“Ingenious Products for Easier Communication.”
Operating Instructions
for your Cobra CP-9125
PrivateCall®900
900MHz
Cordless
Telephone
CP9125manual(6.12) 10/20/98 11:38 AM Page 1