manuals.online logo
Brands
  1. Home
  2. •
  3. Brands
  4. •
  5. Cobra
  6. •
  7. Radar Detector
  8. •
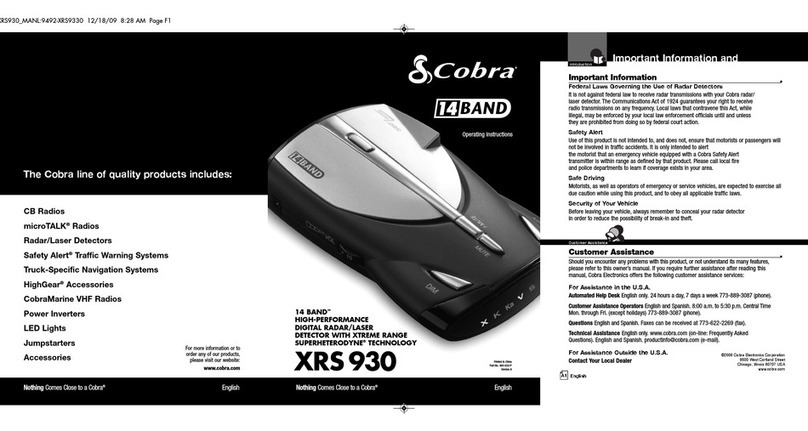
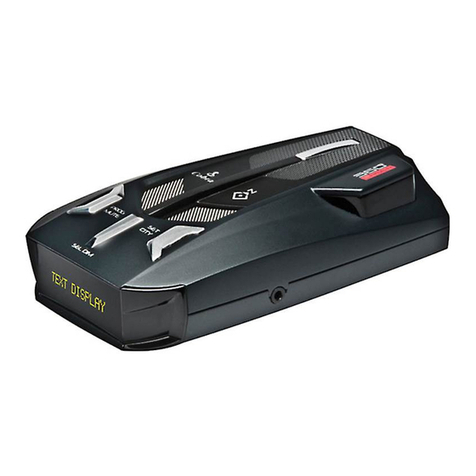
  9. Cobra XRS 9440 User manual

Cobra XRS 9440 User manual

Other manuals for XRS 9440

1

Other Cobra Radar Detector manuals

Cobra iRAD User manual

Cobra

Cobra iRAD User manual

Cobra SLR 600 User manual

Cobra

Cobra SLR 600 User manual

Cobra ESD - 9230 W X User manual

Cobra

Cobra ESD - 9230 W X User manual

Cobra XRS R10G User manual

Cobra

Cobra XRS R10G User manual

Cobra XRS 9670 User manual

Cobra

Cobra XRS 9670 User manual

Cobra 15 BAND XRS 970 User manual

Cobra

Cobra 15 BAND XRS 970 User manual

Cobra ESD-9210 User manual

Cobra

Cobra ESD-9210 User manual

Cobra PRO 9780 Operating manual

Cobra

Cobra PRO 9780 Operating manual

Cobra SPX 5400 User manual

Cobra

Cobra SPX 5400 User manual

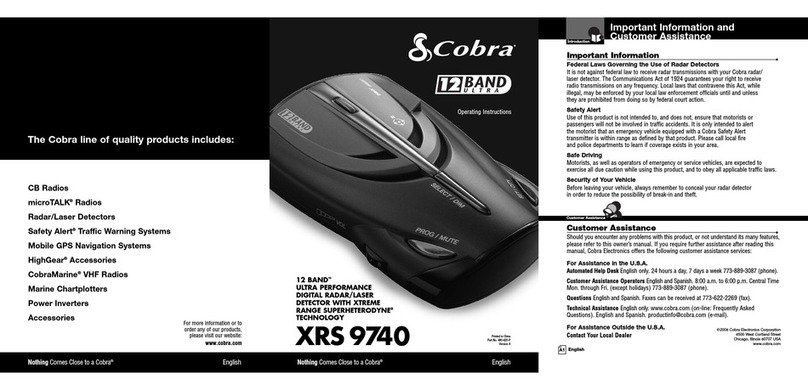
Cobra XRS 9740 User manual

Cobra

Cobra XRS 9740 User manual

Cobra XRS 9670 User manual

Cobra

Cobra XRS 9670 User manual

Cobra XRS 9955 User manual

Cobra

Cobra XRS 9955 User manual

Cobra XRS 9700 Operating manual

Cobra

Cobra XRS 9700 Operating manual

Cobra RAD350 User manual

Cobra

Cobra RAD350 User manual

Cobra BDL 150 User manual

Cobra

Cobra BDL 150 User manual

Cobra 12 BAND 9375-XRS User manual

Cobra

Cobra 12 BAND 9375-XRS User manual

Cobra XRS 9600 User manual

Cobra

Cobra XRS 9600 User manual

Cobra XRS 9730 User manual

Cobra

Cobra XRS 9730 User manual

Cobra 12 BAND XRS 9530 User manual

Cobra

Cobra 12 BAND XRS 9530 User manual

Cobra RAD350 User manual

Cobra

Cobra RAD350 User manual

Cobra ESD-6100 Guide

Cobra

Cobra ESD-6100 Guide

Cobra 12 BAND XRS 9940 User manual

Cobra

Cobra 12 BAND XRS 9940 User manual

Cobra 12 BAND ULTRA XRS 969 User manual

Cobra

Cobra 12 BAND ULTRA XRS 969 User manual

Cobra BDL 150 User manual

Cobra

Cobra BDL 150 User manual

Popular Radar Detector manuals by other brands

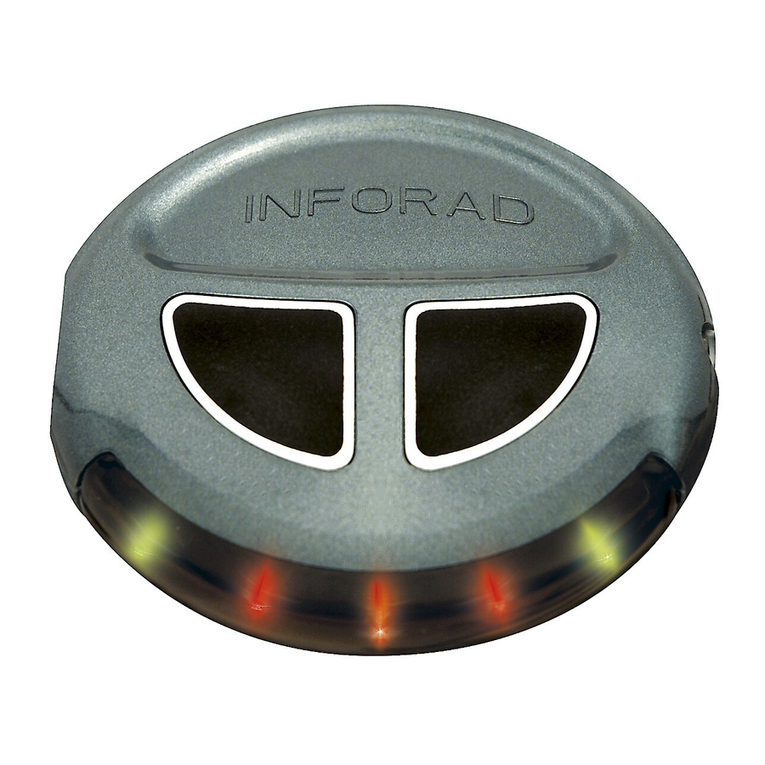
Inforad v3 user manual

Inforad

Inforad v3 user manual

Lowrance LRA-2400 instruction manual

Lowrance

Lowrance LRA-2400 instruction manual

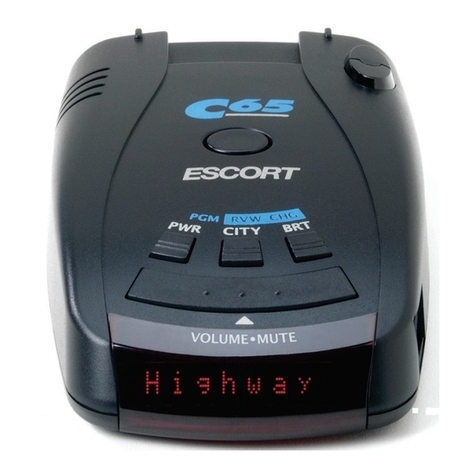
Escort C65 owner's manual

Escort

Escort C65 owner's manual

Stinger VIP installation manual

Stinger

Stinger VIP installation manual

Escort max 360c quick reference

Escort

Escort max 360c quick reference

Eskan ORBIS 9 user guide

Eskan

Eskan ORBIS 9 user guide

Whistler TITAN user guide

Whistler

Whistler TITAN user guide

Escort PASSPORT iQ user manual

Escort

Escort PASSPORT iQ user manual

Escort SOLO S2 owner's manual

Escort

Escort SOLO S2 owner's manual

Whistler 1655 owner's manual

Whistler

Whistler 1655 owner's manual

Quintezz Radar Flash user manual

Quintezz

Quintezz Radar Flash user manual

Escort PASSPORT Max International owner's manual

Escort

Escort PASSPORT Max International owner's manual

North Star 10 kW installation manual

North Star

North Star 10 kW installation manual

Scosche RDTXPRO user manual

Scosche

Scosche RDTXPRO user manual

ATTOWAVE K40 owner's manual

ATTOWAVE

ATTOWAVE K40 owner's manual

Whistler XXTR-145 owner's manual

Whistler

Whistler XXTR-145 owner's manual

Whistler MAXIMUM PERFORMANCE user guide

Whistler

Whistler MAXIMUM PERFORMANCE user guide

Whistler 3300 owner's manual

Whistler

Whistler 3300 owner's manual

manuals.online logo
manuals.online logoBrands
  • About & Mission
  • Contact us
  • Privacy Policy
  • Terms and Conditions

Copyright 2025 Manuals.Online. All Rights Reserved.

mportant nformation and
Customer Assistance
ntroduction
A1 English
Importa t I formatio •
Federal Laws Governing the Use of Radar Detectors
It is not against federal law to receive radar transmissions with your Cobra radar/
laser detector. The Communications Act of 1924 guarantees your right to receive
radio transmissions on any frequency. Local laws that contravene this Act, while
illegal, may be enforced by your local law enforcement officials until and unless
they are prohibited from doing so by federal court action.
Safety Alert
Use of this product is not intended to, and does not, ensure that motorists or
passengers will not be involved in traffic accidents. It is only intended to alert
the motorist that an emergency vehicle equipped with a Cobra Safety Alert
transmitter is within range as defined by that product. Please call local fire
and police departments to learn if coverage exists in your area.
Safe Driving
Motorists, as well as operators of emergency or service vehicles, are expected to
exercise all due caution while using this product, and to obey all applicable traffic laws.
Security of Your Vehicle
Before leaving your vehicle, always remember to conceal your radar detector
in order to reduce the possibility of break-in and theft.
Customer Assista ce •
Should you encounter any problems with this product, or not understand its many features,
please refer to this owner’s manual. If you require further assistance after reading this
manual, Cobra Electronics offers the following customer assistance services:
For Assistance in the U.S.A.
Automated Help Desk English only. 24 hours a day, 7 days a week 773-889-3087 (phone).
Customer Assistance Operators English and Spanish. 8:00 a.m. to 6:00 p.m. Central Time
Mon. through Fri. (except holidays) 773-889-3087 (phone).
uestions English and Spanish. Faxes can be received at 773-622-2269 (fax).
Technical Assistance English only. www.cobra.com (on-line: Frequently Asked
Questions). English and Spanish. [email protected] (e-mail).
For Assistance Outside the U.S.A.
Contact Your Local Dealer ©2008 Cobra Electronics Corporation
6500 West Cortland Street
C icago, Illinois 60707 USA
www.cobra.com
Customer Assistance
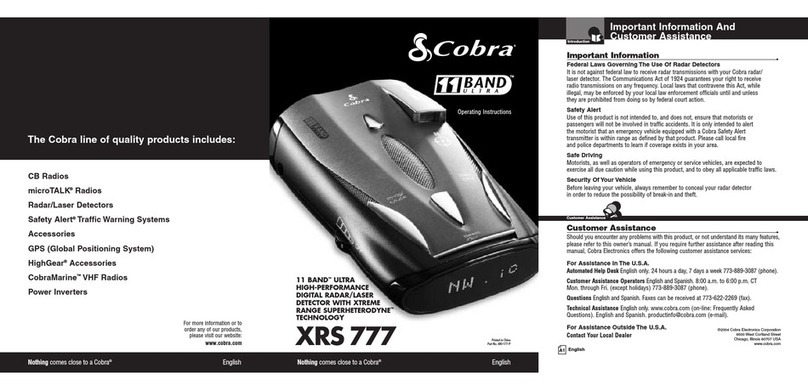
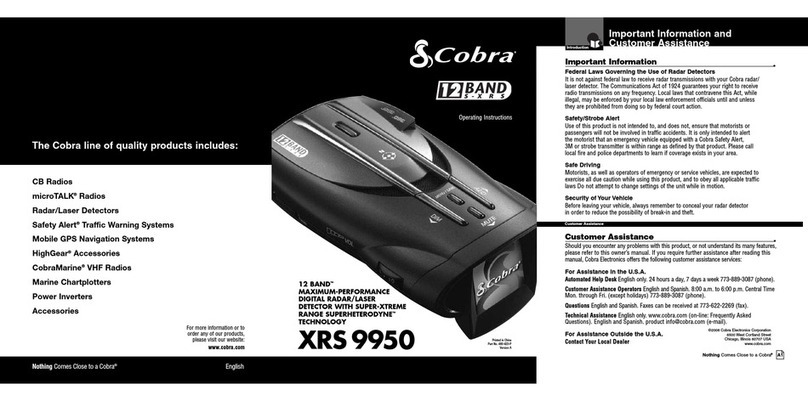
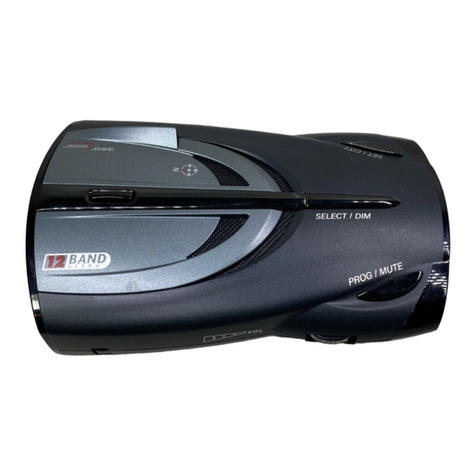
XRS9440
12 BAND™
HIGH-PERFORMANCE
DIGITAL RADAR/LASER
DETECTOR WITH XTREME RANGE
SUPERHETERODYNE®TECHNOLOGY
Nothing Comes Close to a Cobra®English
Operating Instructions
Printed in China
Part No. 480-417-P
Version B
Nothing Comes Close to a Cobra®English
For more information or to
order any of our products,
please visit our website:
www.cobra.com
CB Radios
microTALK®Radios
Radar/Laser Detectors
Safety Alert®Traffic Warning Systems
Mobile GPS Navigation Systems
HighGear®Accessories
CobraMarine®VHF Radios
Marine Chartplotters
Power nverters
Accessories
The Cobra line of quality products includes:
This booklet describes the simple steps for mounting and setting up your detector. It also provides helpful
information about how radar and laser guns are used and how you can interpret the alerts you receive.
Accessories Order nfo
Nothing Comes Close to a Cobra®25
Customer Assistance
Display and Product Features
ntroduction
Nothing Comes Close to a Cobra®A3
Display •
X K Ka VSc
XKKa V S c
X K Ka VSc
Controls, ndicators
and Connections
ntroduction
A2 English
Co trols, I dicators a d Co ectio s •
12V DC
Power Jack
On-Off/ Volume
Control
Allows you to adjust the
volume of the tone alerts.
Dim Button
Allows you to adjust the UltraBright
Data Display brightness for easy
reading. (Also turns V -2 and
Spectre 1 alerts On and Off.*)
LaserEye
For 360° detection of
laser and strobe signals.
Windshield Bracket
Release Button
ntelliMute Button
Engine RPM sensing mute function
which reduces false alerts. Button
turns IntelliMute On and Off. (Also
enters IntelliMute setting mode.*)
Mute Button
For manual mute or
auto mute of audio alerts.
(Also turns Voice Alert
On and Off.*)
* Press and hold for four seconds to
access these functions.
Windshield
Bracket Mount
WARN NG
Modifications or parts substitutions not approved
by Cobra Electronics Corporation may violate
FCC Rules and void your aut ority to operate
t is equipment.
Speaker
NOTE: In This Manual
When steady,
the display will
be shown:
When blinking,
the display will
be shown:
X & K will light
simultaneously
when indicating
Ku detection:
Audio Jack
City Button
For City or Highway
modes to reduce
false alerts. (Also
turns Ku alerts On
and Off.)
Ordering From U.S.A.
Call 773-889-3087 for pricing or visit www.cobra.com.
For Credit Card Orders
Call 773-889-3087 [Press one from the main menu] 8:00 a.m. to 6:00 p.m. Central Time,
Monday through Friday.
Make Check or Money Order Payable To
Cobra Electronics, Attn: Accessories Dept.,
6500 West Cortland Street, Chicago, IL 60707 U.S.A.
To Order Online
Please visit our website: www.cobra.com
tem # Description
420-030-N-001 Straight 12V P wer C rd
420-026-N-001 C iled 12V P wer C rd
545-159-N-001 Windshield M unting Bracket
CLP-2B Dual P rt P wer Adapter
Xtreme Range
Superheterodyne Technology
With super-fast sweep circuitry,
XRS provides extra detection range
and the best possible advance warning
to even the fastest radar guns
Detection and Separate Alerts For:
Radar signals (X, K, Ka and Ku bands,
with signal strength indicated), laser
signals, Safety Alert signals, Strobe Alert
signals, V -2 signals, Spectre 1 signals
LaserEye
For 360° detection of laser and strobe signals
Instant-On Ready
Detects radar guns with “instant-on”
(very fast) speed monitoring capabilities
Tone Alert or Voice Alert
With adjustable volume
UltraBright Data Display
Easy-to-read with adjustable brightness
City or Highway
Modes to reduce false alerts
Alert Programming
Easy setting of radar bands to be monitored
Safety Alert
Traffic warning system distinguishes
important safety alerts from other
K band signals
Strobe Alert
Emergency vehicle warning system
Manual Mute or Auto Mute
A mute function of audio alerts
IntelliMute
A mute function which
automatically reduces false
alerts by sensing engine RPMs
Mounting
Mounts easily on windshield
or dashboard
Product Features •
Congratulations! You’ve made a smart choice by purchasing a high
performance radar/laser detector from Cobra. Just look at some of the
sophisticated features and capabilities your new unit includes:
ntelliMute
ndicator
Radar, VG-2,
Spectre 1,
Safety and
Strobe ndicators
X K Ka V S L
Signal
Strength,
Laser and
City/Highway
Mode ndicators
Signal Strength
1 (weakest) to 5 (strongest)
Nothing Comes Close to a Cobra®1
Contents
ntroduction
I troductio
ImportantInformation ........................................A1
CustomerAssistance.........................................A1
Controls, Indicators and Connections . . . . . . . . . . . . . . . . . . . . . . . . . . . . A2
Display....................................................A3
ProductFeatures ............................................A3
Your Detector
Installation ..................................................2
ettingStarted...............................................5
AuxiliaryAudioJack .........................................5
Settings ....................................................5
Highway/CityMode..........................................6
UltraBright Data Display Brightness . . . . . . . . . . . . . . . . . . . . . . . . . . . . . 7
MutinganAlert.............................................8
AutoMuteMode............................................8
IntelliMute.................................................9
Voice/ToneSetting .........................................12
V -2 and Spectre 1 Alert Settings . . . . . . . . . . . . . . . . . . . . . . . . . . . . . 13
RadarAlertSettings.........................................13
Detection ..................................................14
SignalsDetected...........................................14
AudioAlerts ..............................................14
VisualDisplay .............................................14
Instant-OnDetection........................................17
RespondingtoAlerts .......................................17
UnderstandingRadarandLaser ................................18
Maintenance................................................20
Specifications...............................................21
Warra ty
Limited1-YearWarranty ......................................22
Customer Assista ce
ProductService .............................................23
TrademarkAcknowledgement ..................................23
OptionalAccessories .........................................24
AccessoriesOrderInfo .......................................25
Nothing Comes Close to a Cobra®
nstallation
Your Detector
3
nstallation
Your Detector
2English
I stallatio •
Where to Mount Your Unit
You will get optimum performance from your detector if you Mount it at a
point approximately in the center of the vehicle, as low as possible on the
front windshield without obstructing the unit’s view of the road either to
the front or rear. Make sure the unit is level with the road. You can also
mount it directly on the dashboard.
The unit’s lens must not be blocked and the LaserEye should have a clear view
out the back window to allow 360° detection.
Radar and laser signals pass through glass but not through other materials
and objects. Objects that can block or weaken incoming signals include:
■Windshield wiper blades
■Mirrored sun screens
■Dark tinting at the top of the windshield
■Heated windshields currently available on some vehicles
(Instaclear for Ford, Electriclear for M.) Consult your dealer
to see if you have this option.
1. Attach the rubber
cups to the bracket.
2. Make sure the rubber cups and your windshield are clean.
3. Push the bracket firmly
onto the windshield.
4. Attach the detector to
the bracket. Check the
angle of the unit.
5. To adjust the angle if
necessary, gently push or
pull on the bracket to bend
it. DO NOT use the detector
to bend the bracket.
6. Plug the power cord
into the detector.
7. Plug the cigarette lighter
adapter on the power
cord into your vehicle’s
cigarette lighter.
8. You can temporarily remove the detector whenever you
wish by pressing the bracket release button and sliding
it off the bracket.
Windshield Mounting
The LaserEye Should Have a Clear View
Windshield Mounting Dashboard Mounting
Getting Started
Getti g Started •
Your Detector
Nothing Comes Close to a Cobra®5
nstallation
Your Detector
4English
1. Place the detector on the dashboard to find a location
where the unit has a clear, level view of the road.
The angle can NOT be adjusted after mounting.
2. Remove the paper backing
from one side of the hook-
and-loop fastener.
3. Attach the pad to the
dashboard at your chosen
location and remove the
other paper backing.
4. Attach the detector to the
hook-and-loop fastener.
You can remove and
reattach the unit as
often as you like.
5. Plug the power cord
into the detector.
6. Plug the cigarette lighter
adapter on the power
cord into your vehicle’s
cigarette lighter.
Dashboard Mounting
Power On
X K Ka V S h
To Turn On the Unit and Adjust the Audio Volume
Rotate the On-Off/
Volume control
clockwise (away
from you).
Tone Voice Visual Display
Three beeps Testing, then
three beeps
System Ready, then
Voice Alert
happears in the
display indicating
that the power
is On
On-Off/
Volume Control
Rotate clockwise
(away from you)
NOTE
In some vehicles, power is supplied to the cigarette lighter even while the ignition
is Off. If this is the case with your vehicle, you should turn Off or unplug your
detector when parking for lengthy periods.
Auxiliary Audio Jack •
The Auxiliary Audio Jack can be used to connect external speakers in
environments with high ambient noise levels. The internal speaker will
be disconnected. (This uses a mini stereo audio connector.)
Auxiliary
Audio Jack
Dim Button
Press and release
City Button
Press and
release
Settings
Your Detector
Nothing Comes Close to a Cobra®7
UltraBright Data Display Brightness
You can choose from three settings for Brightness of the display.
You can cycle through the settings by repeatedly pushing the Dim button.
The factory setting is Bright.
Settings
Your Detector
6English
Highway/City Mode
Setting your detector to City mode delays all X band audio alerts until
the signal strength reaches Level 3. (A single beep will sound when the
signal is first detected.) This will reduce false alerts while you are driving
in, or near, urban areas where there are many sources for conflicting
X band signals such as microwave towers and automatic door openers.
To change settings, follow the procedure listed below, which indicates
what you will see and hear (either in Voice Alert or Tone Alert mode)
as you complete each step. The factory setting is Highway mode.
Bright
Dark
Dim
Press and
release Dim
button
City Mode
X K Ka V S
c
Highway Mode
X K Ka V S h
To Change From Highway Mode to City Mode
Press and release
the City button. Tone Voice Visual Display
One beep City
c
appears
in the display
To Change From City Mode Back to Highway Mode
Press and release
the City button again. Tone Voice Visual Display
Two beeps Highway happears
in the display
To Change the Brightness to Dim
Press and release
the Dim button
once.
Tone Voice Visual Display
One beep Dim Display dims
To Change the Brightness to Dark
Press and release
the Dim button
again.
Tone Voice Visual Display
One beep Dark Display remains
dim (no visual
alerts will be seen)
To Change the Brightness to Bright
Press and release
the Dim button a
third time.
Tone Voice Visual Display
Two beeps Bright Display returns
to full brightness
Setti gs •
When changing the Settings on your detector, please keep in mind:
■Buttons can have multiple functions.
■Depending on your choice of Voice Alert or Tone Alert mode, you will
hear either voice messages or tones confirming changes in settings.
■All settings will be stored in memory when the power is
turned Off and recalled when the power is turned back On.
ntelliMute Button
Press and release
Mute Button
Press and release
Settings
Your Detector
Nothing Comes Close to a Cobra®9
Settings
Your Detector
8English
Muting an Alert
Your detector allows you to quickly turn Off an audio Alert by momentarily
pressing the Mute button. If you press the Mute button a second time
during the Alert, the audio Alert will be turned back On.
Auto Mute Mode
Auto Mute will automatically reduce the audio volume of all alerts
after four seconds for as long as the signal is detected. The factory
setting for Auto Mute is On.
ntelliMute
IntelliMute is a unique new feature that allows you to avoid alerts you
don’t need to hear because you are stopped or moving slowly. By sensing
the “revs” (RPMs) of your engine, IntelliMute knows when you are at low
speed and automatically mutes alerts (except for strobe signals from
emergency vehicles).
Before IntelliMute will work, you must set an activation point for your engine’s
revs (see page 11). Whenever the revs are below that point, IntelliMute will
begin muting. The activation point will be stored in memory and recalled
each time the power is turned On. The factory setting is IntelliMute Off.
NOTE
IntelliMute may not work with some vehicles because it cannot sense
the engine’s revs. In such cases, you can reduce unwanted audio alerts
by using Auto Mute and City mode when appropriate.
To Turn Auto Mute Off
Press and release
the Mute button
while no alert
is occurring.
Tone Voice Visual Display
One beep Auto Mute Off None
To Turn Auto Mute On
Press and release
the Mute button
again while no
alert is occurring.
Tone Voice Visual Display
Two beeps Auto Mute On None
To Turn ntelliMute On
Press and release
the IntelliMute
button.
Tone Voice Visual Display
Two beeps IntelliMute On Dot appears next to
the large character
on the right
To Turn ntelliMute Off
Press and release
the IntelliMute
button again.
Tone Voice Visual Display
One beep IntelliMute Off Dot disappears
ntelliMute Button
Press and release
Settings
Your Detector
Nothing Comes Close to a Cobra®11
Settings
Your Detector
10 English
What to Remember While Using IntelliMute
IntelliMute works with both City and Auto Mute modes.
Whenever your engine revs are below the activation point,
the dot next to the large character on the right side of the display
will remain lit. Above the activation point, the dot will blink twice
every two seconds.
If, for any reason, the unit stops sensing your engine’s revs,
IntelliMute will indicate an error and automatically turn Off.
The rev point you set will be stored in the unit’s memory when
power is turned Off and recalled each time the power is turned On.
NOTE
The rev point must be reset if you use your detector in a different vehicle.
NOTE
When initially choosing your IntelliMute activation point, a setting
of approximately 300 to 600 RPMs above idle is recommended.
You can reset the activation point at any time to fit your individual
preferences and driving style.
Setting the IntelliMute Activation Point
Your detector must be installed in your vehicle.
CAUTION
Do not attempt to set the rev point while driving.
Your vehicle should be parked and idling.
IntelliMute must be turned On before setting the activation point. Depending
on whether the unit is in Tone Alert or Voice Alert mode, you will hear a
series of beeps or voice messages as you follow the steps on page 11.
Below Activation Point
X K Ka V S
c
Above Activation Point
X K Ka V S
c
To Set the ntelliMute Activation Point
Press and hold
the IntelliMute
button for two
seconds.
Tone Voice Visual Display
Two beeps Set Engine Revs None
Rev your engine to
the level you wish
to set (recommend
slightly above idle)
and hold revs steady
for two seconds.
None None Three bars will
flash in succession
At the desired
rev level, press
and release the
IntelliMute
button.
Three beeps IntelliMute Set All three bars flash
three times
Tone Voice Visual Display
Four beeps IntelliMute Error,
followed by
IntelliMute Off
Eappears
X K Ka V S E
NOTE
If the unit is unable to sense usable pulses within three
seconds or if you do not set a rev point within 20 seconds
of beginning these steps, IntelliMute will indicate an error
and automatically turn Off.
123
123
To Turn VG-2 and Spectre 1 Alerts On and Off
While no signal
is being detected,
press and hold the
Dim button for four
seconds.
Tone Voice Visual Display
On = Two Beeps Spectre VG-2 On Vwill blink twice
in the display
Mute Button
Press and old for
two seconds
Settings
Your Detector
Nothing Comes Close to a Cobra®13
Settings
Your Detector
12 English
Voice/Tone Setting
You can set your detector to sound alerts with either a Voice
or a Tone. You can change settings by using the Mute button.
In Voice Alert mode, you will first hear several tones, then a
voice message announcing the type of signal detected, followed
by more tones. In Tone Alert mode, you will hear the tones only.
The factory setting is Voice Alert mode.
To Change From Voice Alert to Tone Alert
While no signal
is being detected,
press and hold
the Mute button for
two seconds.
Tone Voice Visual Display
One beep Tone Alert None
To Change From Tone Alert Back to Voice Alert
While no signal
is being detected,
press and hold
the Mute button
for two seconds
again.
Tone Voice Visual Display
None Voice Alert None
Spectre VG-2 Off Vwill blink once
in the display
Off = One Beep
On/Off ndicator
X K Ka VS
c
Radar Alert Settings
The detector allows you to choose whether it will show alerts on the X, K,
and Ku bands. The factory settings are: X Band and K Band On; Ku Band Off.
Dim Button
Press and old
for two seconds
VG-2, Spectre 1 Alert Settings, K & Ku Band Detection
The detector is undetectable by police VG-2 and Spectre 1 radar detector
detectors and will alert you when such a device is in use near your vehicle.
During the alert, the unit continues to detect other signals. You can choose
whether or not you want your unit to show VG-2 and Spectre 1 alerts.
The factory setting is VG-2 and Spectre 1 alert Off. (See table on the next page.)
To Turn K Band On and Off
While no signal is being
detected, press and
hold the Mute button
for four seconds.
Tone Voice Visual Display
K On = Two beeps K On Kwill blink twice
in the display
To Turn Ku Band* On and Off
While no signal is being
detected, press and
hold the City button
for four seconds.
Tone Voice Visual Display
Ku On = Two beeps Ku On Xand Kwill blink
twice in the display
Kwill blink once
in the display
K Off = One beep K Off
Ku Off Xand Kwill blink
once in the display
Ku Off = One beep
To Turn X Band On and Off
While no signal is
being detected, press
and hold both the Dim
and Mute buttons for
four seconds.
Tone Voice Visual Display
X On = Two beeps X On Xwill blink twice
in the display
X Off Xwill blink once
in the display
X Off = One beep
Detection
Your Detector
Nothing Comes Close to a Cobra®15
Detection
Your Detector
14 English
Radar Signals, Voice and Visual Displays
Type of Signal Voice Visual Display
X Band Radar X Alert X and Signal Strength
K Band Radar K Alert K and Signal Strength
Ka Band Radar Ka Alert Ka and Signal Strength
Ku Band Radar Ku Alert X K and Signal Strength
Laser Signal Detected
X K Ka V S L
Laser Signals, Voice and Visual Displays
Type of Signal Voice Visual Display
LTI 20-20* Laser Alert L is Steady
LTI Ultra-Lyte* Laser Alert L is Steady
Kustom Signals ProLaser* Laser Alert L is Steady
Kustom Signals ProLaser III* Laser Alert L is Steady
* Your detector provides 360˚ detection of these signals.
NOTE
Beep rate changes with different laser alerts.
Detectio •
Signals Detected
The tables on the following pages show you the types of Signals your detector
will detect, as well as the voice and visual alerts it provides for each of them.
Audio Alerts
In Voice Alert mode you will first hear several tones, then a voice message
announcing the type of signal detected, followed by more tones. In Tone Alert
mode, you will hear the tones only.
In both Voice Alert and Tone Alert modes, a distinctly different alert tone is
used for each type of signal detected (including separate tones for each laser
signal). For X, K, Ka and Ku band radar signals, the tones will repeat faster as
you approach the signal source. The repeat rate of the tones gives you useful
information about the signal detected. (See responding to alerts on page 17.)
Visual Display
An indication of the type of signal detected will appear in the UltraBright
data Display. During X, K, Ka and Ku alerts, a number will also appear,
indicating the strength of the signal detected. (1 = weakest, 5 = strongest)
During laser alerts the letter Lwill appear, instead of the signal strength indication.
During V -2 or Spectre 1 alerts, the letter Vwill appear. It will be steady
during V -2 and blink during Spectre 1.
During Safety Alert and Strobe Alert the letter Swill appear. It will be
steady during a Safety Alert and will blink during a Strobe Alert.
Laser Signal Detected
X K Ka V S L
VG-2 Alert Signal Detected
X K Ka VS
c
Safety Alert Signal Detected
X K Ka V S
c
Strobe Alert Signal Detected
X K Ka V S
c
Spectre 1 Alert Signal Detected
X K Ka VS
c
X Signal Detected
XKKaVS 2XKKa V S 3X K Ka V S 5XKKa V S 4
K Signal Detected Ka Signal Detected Ku Signal Detected
X Signal Detected
XK Ka V S 2XKKa V S 3X K Ka V S 5XKKa V S 4
K Signal Detected Ka Signal Detected Ku Signal Detected